My Friends Always Ask How I Achieve My Bouncy, Loose Waves—These 7 Steps Are Key
Our beauty editor has mastered loose waves. Here, she walks through her step-by-step with expert tips and tricks.

Welcome to How to Hair. Think of this series as your go-to guide to achieve your best hair yet. Whether you want to master a certain hair tool, work out how to wear a new hairstyle or if you're just in need of some hair inspiration, our beauty editor Eleanor Vousden is here to talk you through what you need to know, step-by-step, with plenty of insider intel along the way. Allow How to Hair to become your trusted guide on the journey to great hair days—every day.
As a beauty editor who studies hair trends for a living, I'm surprisingly unadventurous when it comes to styling my hair. If I am doing it, though, nine times out of 10, I'll be using a curling wand to create loose waves. I like hair that looks effortless and never too "done", and crucially, any hairstyle I'm doing has to be quick and easy. Loose waves tick all the boxes for me.
Coincidentally, it's often the low-maintenance hairstyle that gets me the most compliments, and I always have people asking me how to do loose waves on their own hair. Having sat in the chair of some of the best salons and spoken to celebrity hairstylists throughout my decade in the industry, I've picked up plenty of tips on exactly how to do loose waves. Ahead, I'm sharing my step-by-step guide to getting effortless waves. From the best curling wands to the styling products that make all the difference, here's everything I've learned about creating loose waves. And trust me: it honestly couldn't be easier.
How to Do Loose Waves
1. Smooth and Prep
First things first, you want to start with clean, dry hair. If you have naturally curly hair, you'll want to first straighten your lengths with a hair straightener as a starting point. Gently brush to detangle, and prep with a heat protectant.
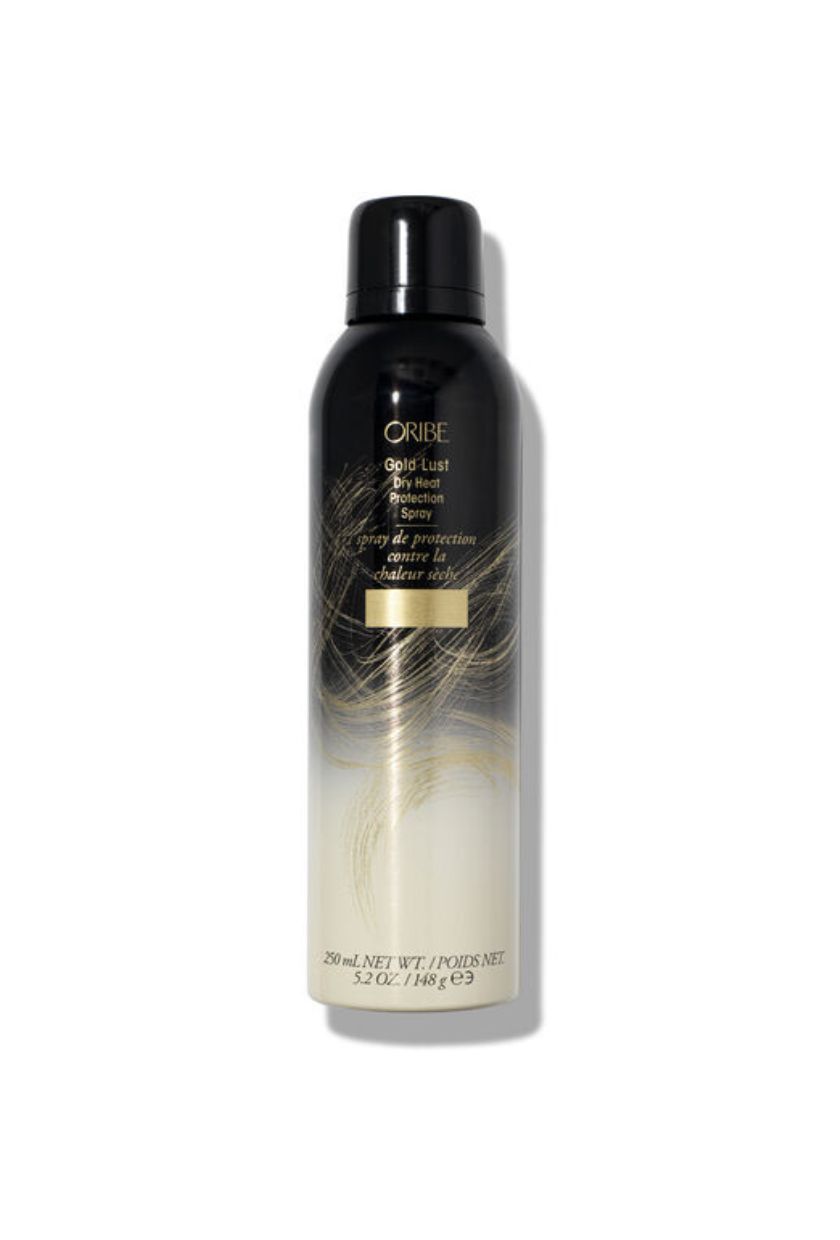
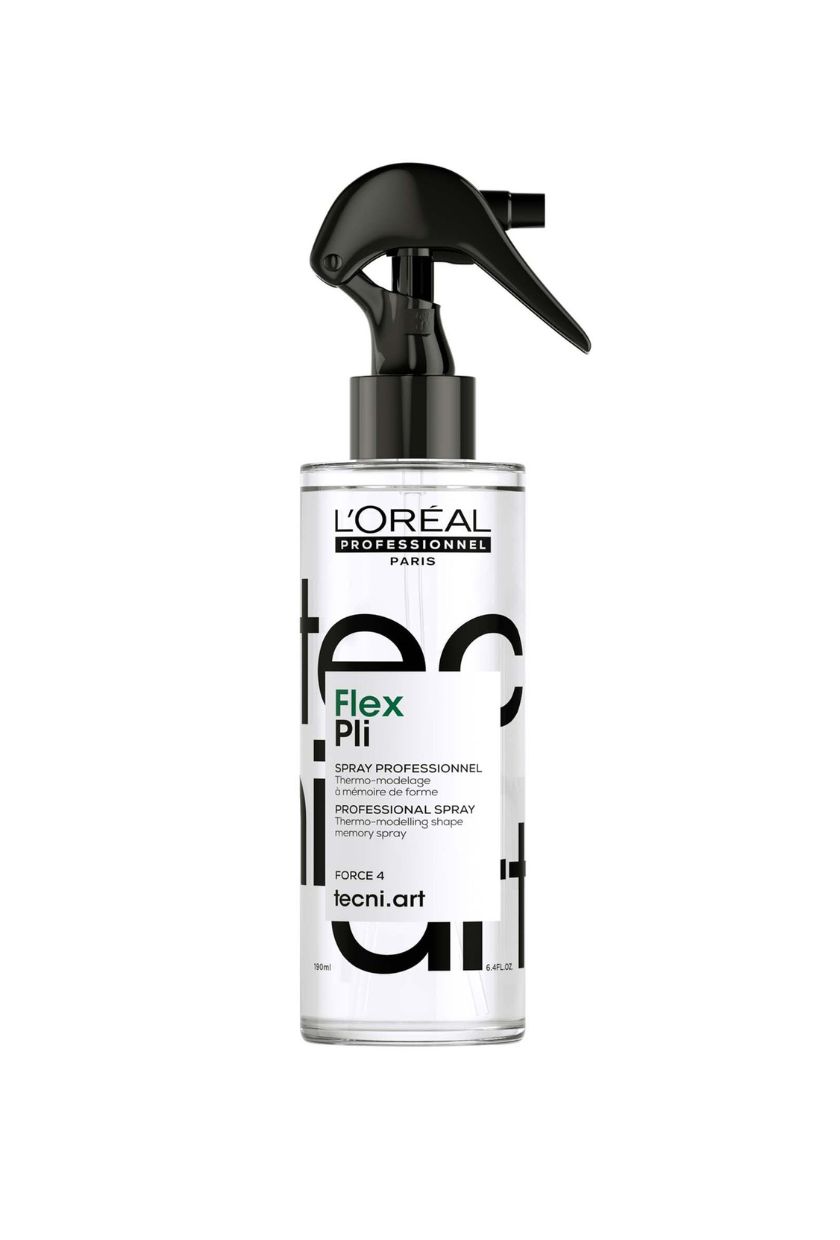
It can be tricky to find heat protectants that work on dry hair (most are better suited to damp hair pre-blow-dry), but my favourite is Oribe Gold Lust Dry Heat Protection (£42). It's an aerosol spray, so it doesn't make your hair wet, and it applies evenly in a light, non-sticky veil. Another hairstylist favourite is L'Oréal Professionnel Flex Pli (£17)—which you'll find in all the best salons, FYI—as it helps to hold your style in place whilst protecting from heat. I recommend this one if your hair doesn't hold a curl well.
Shop Hair Prep:
2. Choose Your Wand
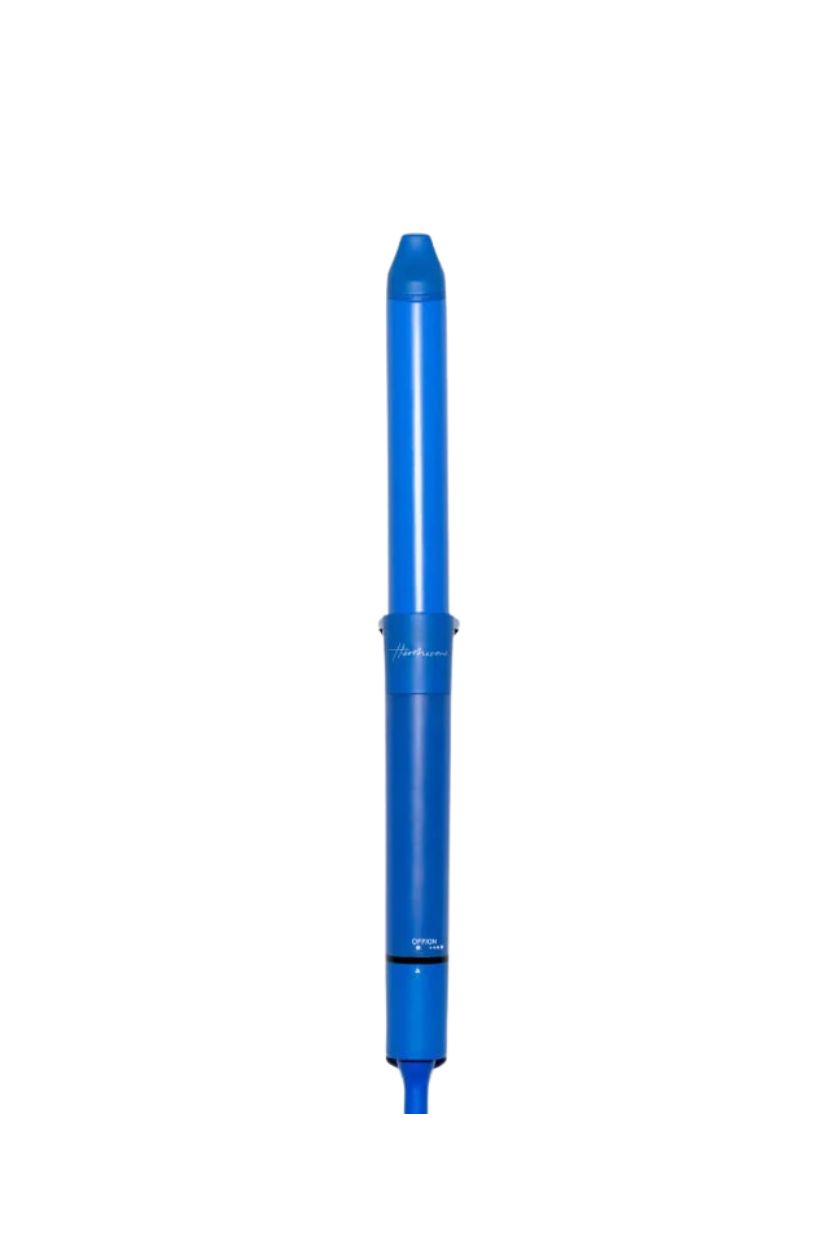
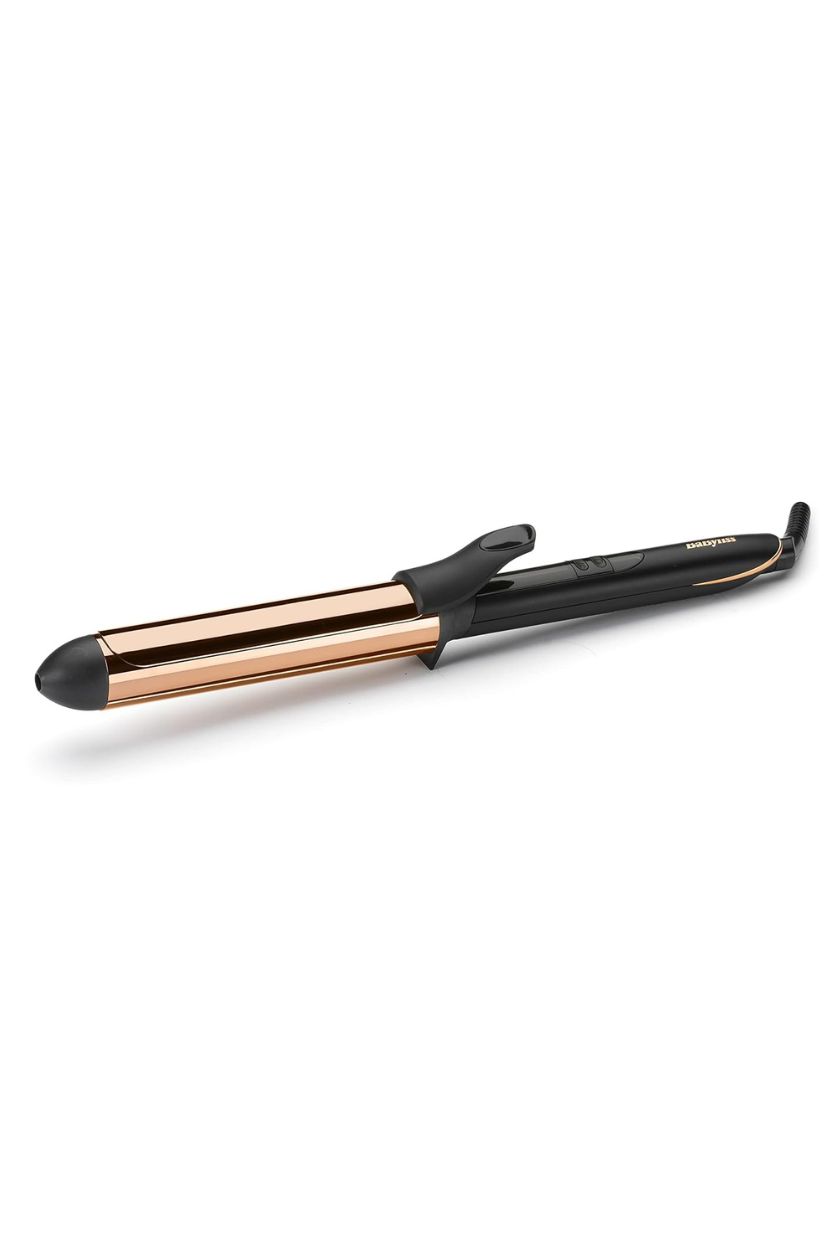
When you're creating loose waves, the size of your curling wand is so important. Generally speaking, the larger the wand or tong, the larger and looser the curl. The smaller the barrel, the tighter and smaller the curl.
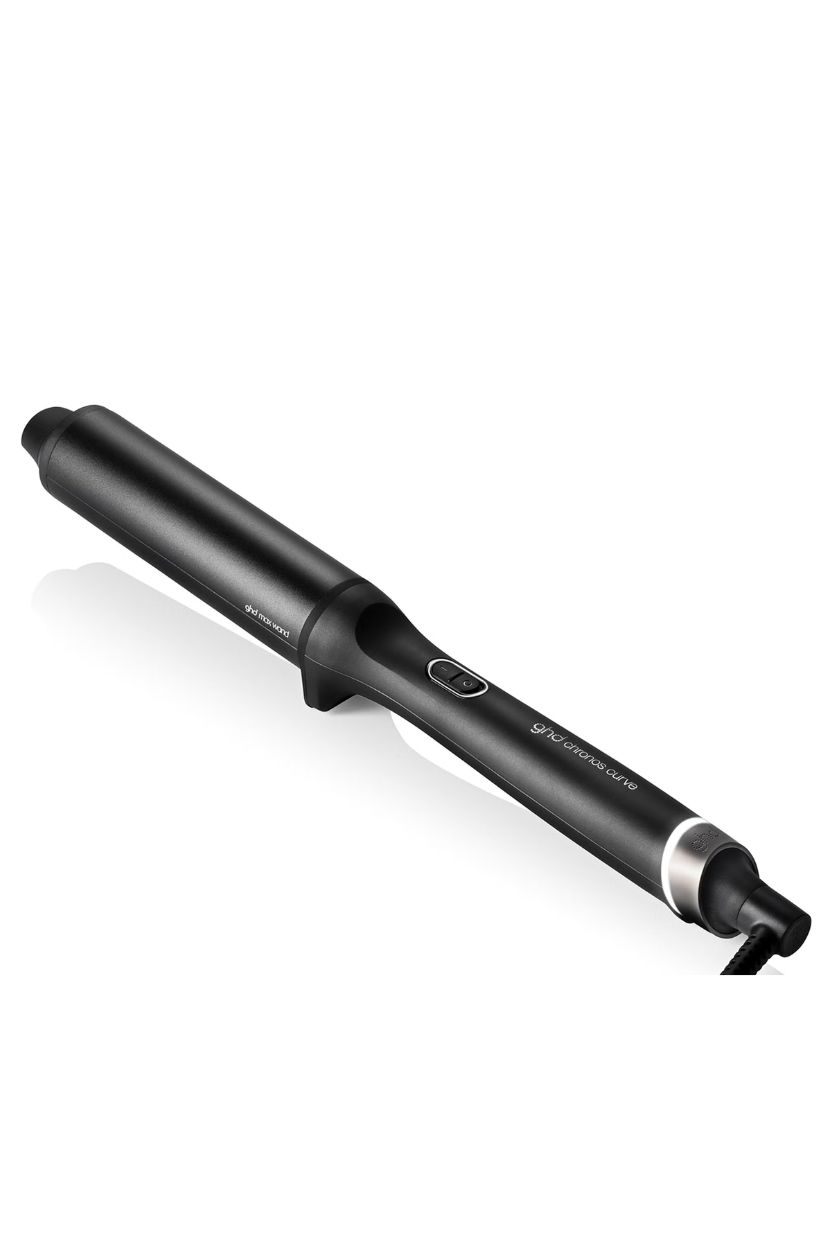
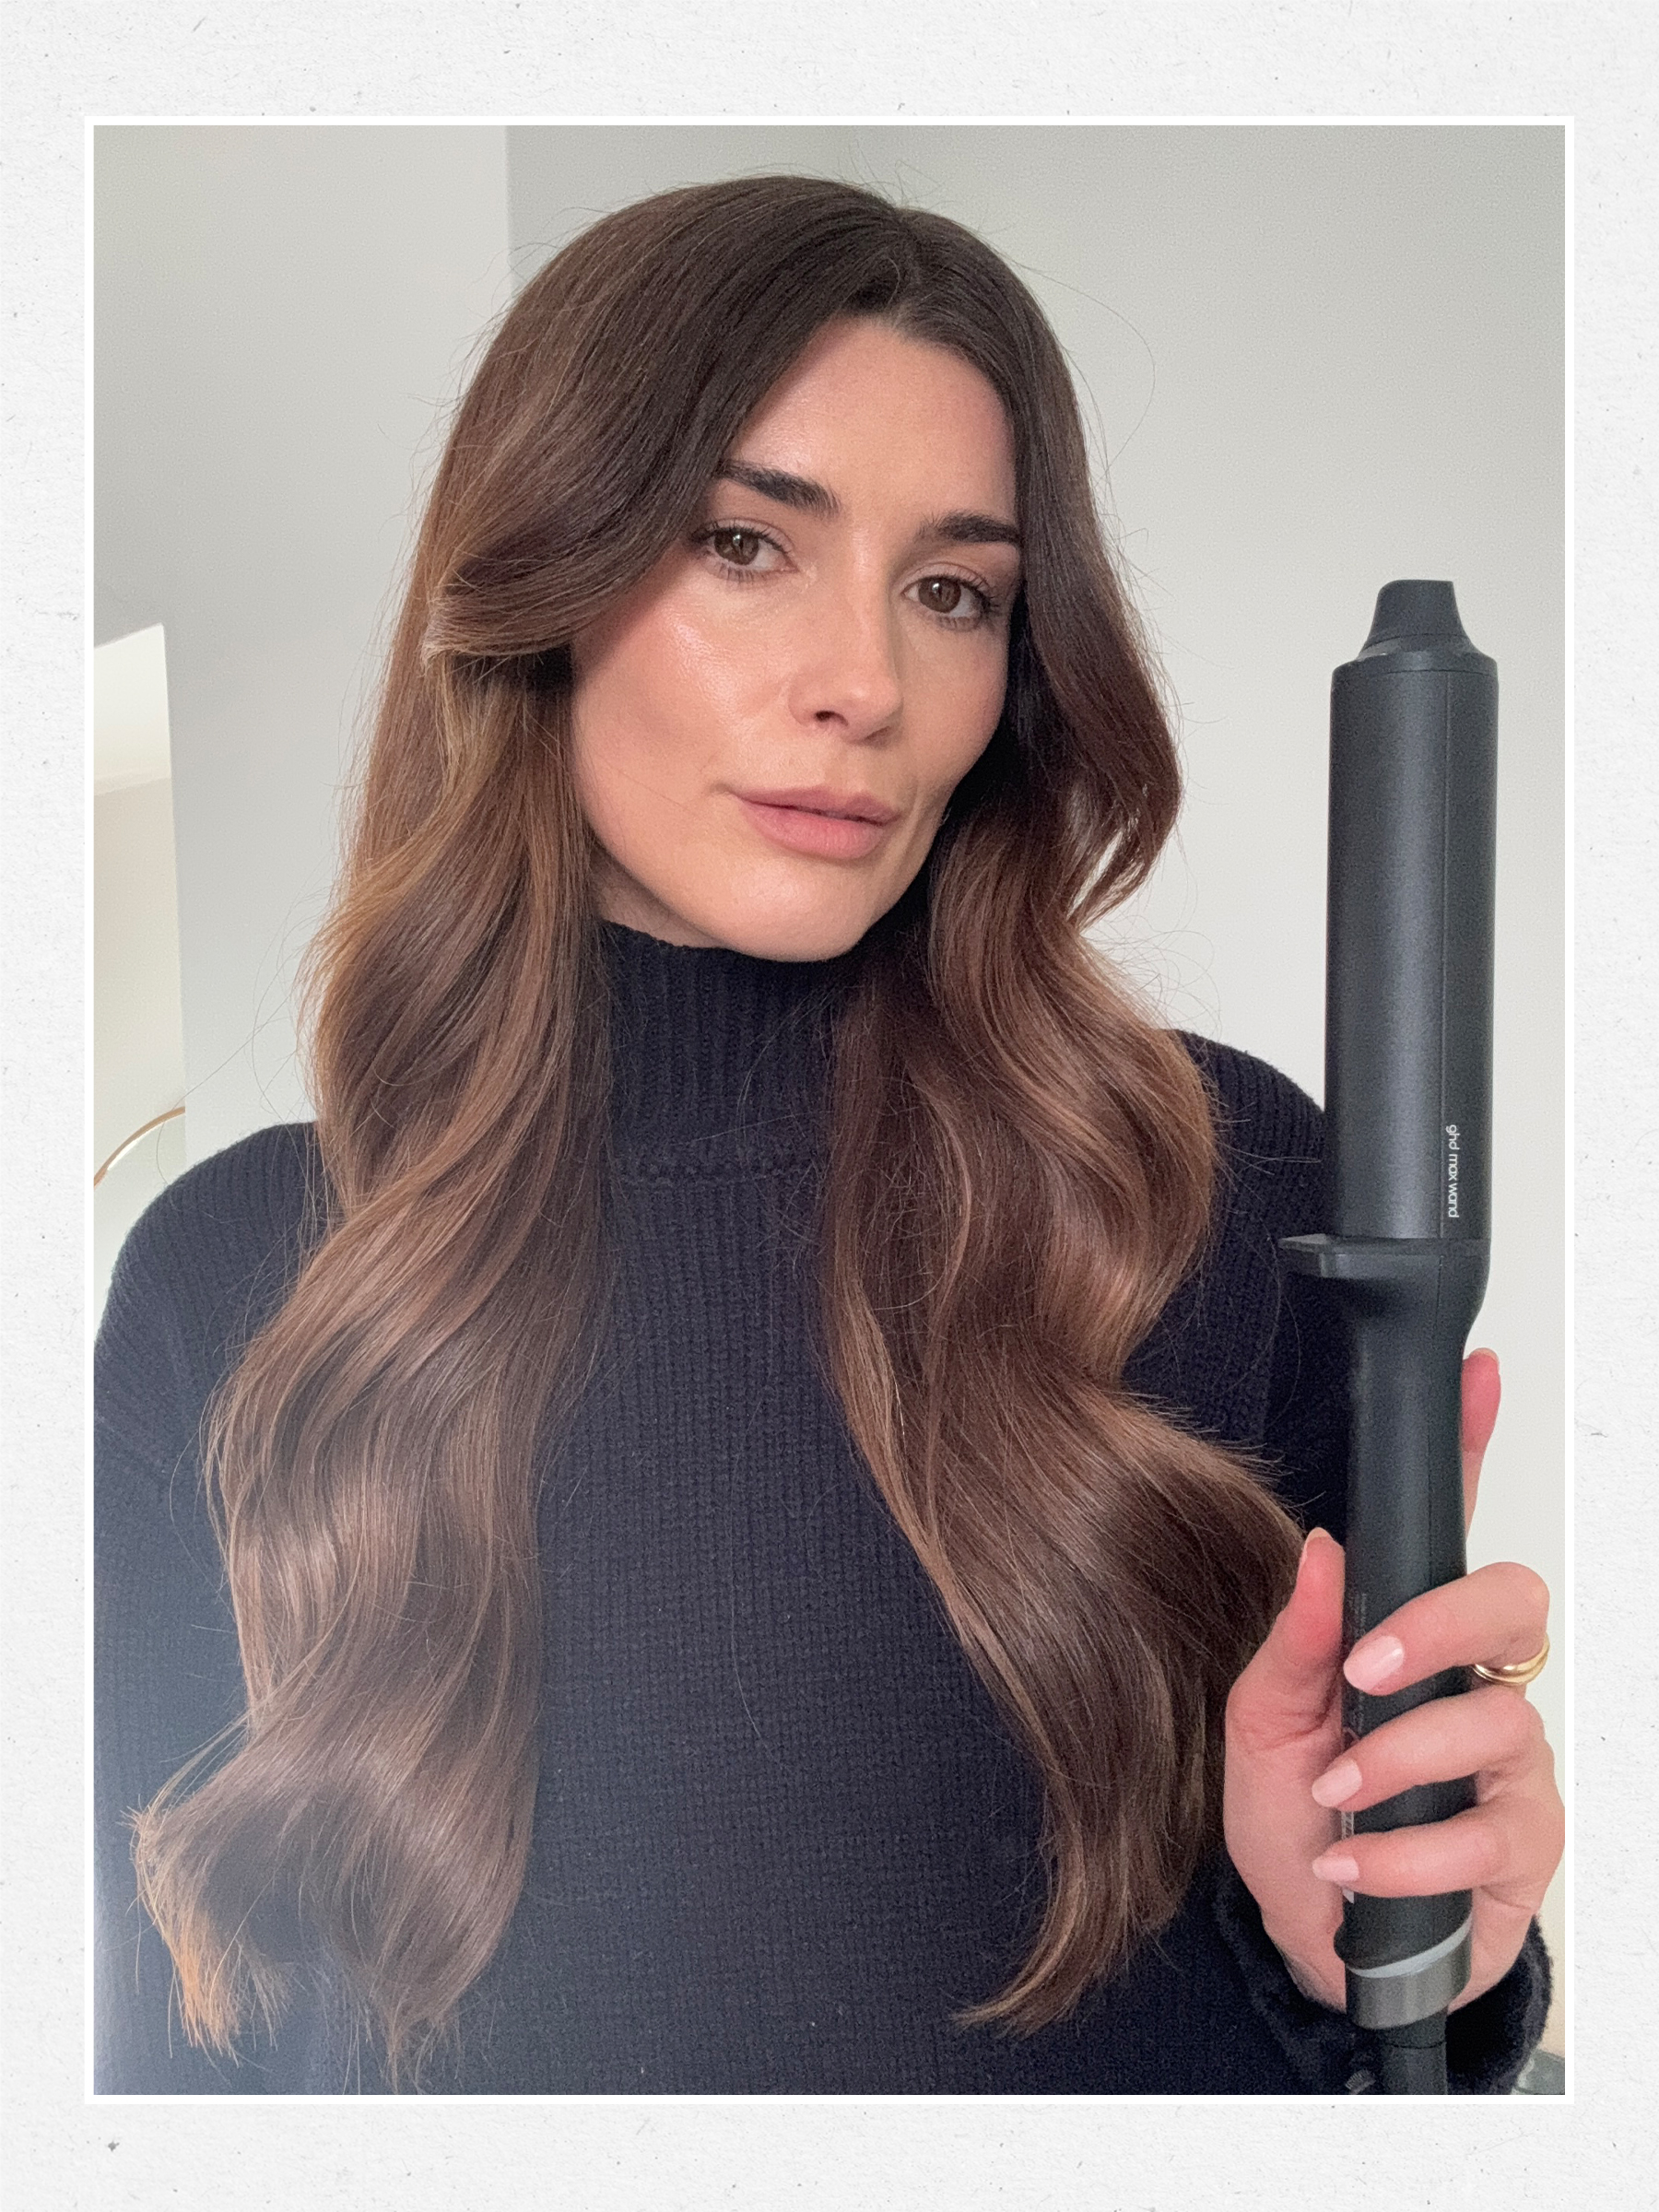
My favourite curling wand for loose waves is the GHD Chronos Curve Max Wand (£189). It has a large 38mm barrel, which gives each section of hair a perfectly loose and effortless curl. This is a great size if you have long hair, as you can wrap the entire length around the barrel easily. However, you can still achieve loose waves if you own a smaller curling wand and don't want to buy another larger styling tool.
In fact, if you have hair that doesn't hold a curl well, then I'd actually recommend using a smaller curling wand instead. As you release each curl from the barrel, you can gently tug on the end to stretch the hair as it cools to soften the curl, all whilst getting the benefit of the hold from a tighter curl.
Shop Curling Wands:
3. Choose Curl Direction
You can achieve different looks depending on the direction in which you curl the hair. When I style my loose waves, I like to curl away from my face on either side and continue in the same direction towards the back. This results in a more uniform, loose wave ripple throughout the lengths and looks more polished.
If you prefer more of a beachy texture, you can alternate the curl direction as you go. Start by curling away from the face around the front sections, alternating the curl direction around the head. I also find that this results in more volume and texture, as the curls offset each other and create the illusion of thicker, volumised hair, so it's ideal for thin hair types. Experiment and see which effect works best for you.
4. Wiggle the Wand
I picked up this tip from celebrity hairstylist Halley Brisker (watch the video of him using this technique on my hair here), who told me that wiggling the wand helps create an effortless-looking loose wave. As you hold your hair around the barrel, you can gently wiggle the wand up and down the section length. This results in a looser, softer curl, which makes the wave look more natural than an overly styled ringlet lot of curling wands and tongs deliver. If you curl a section and it's looking too springy, you can gently pull on the end whilst the hair is warm to elongate the curl as it cools.
5. Brush It Out
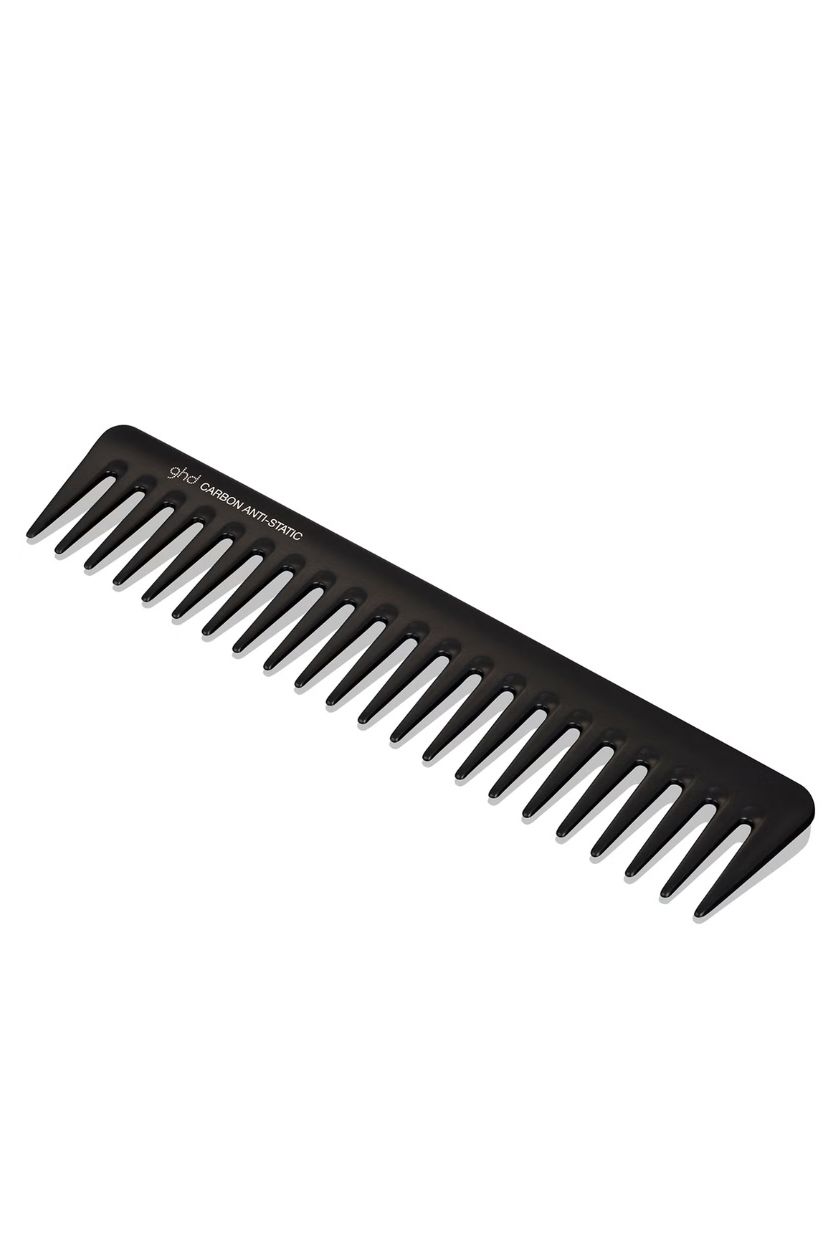
Once your hair has cooled and set into place, use your fingers to gently break up the curls. It's important to do this when the hair has cooled, because if you disturb the curls whilst still warm, it can affect the hold. Using your fingers to gently shake out the curls helps create that undone look; however, if you want something more polished, you can also use a wide-tooth comb or hairbrush to brush out the curls, particularly if they look too ringlet-y. I find this method makes the overall effect softer and glossier, whilst using your fingers helps retain texture.
6. Finishing Products
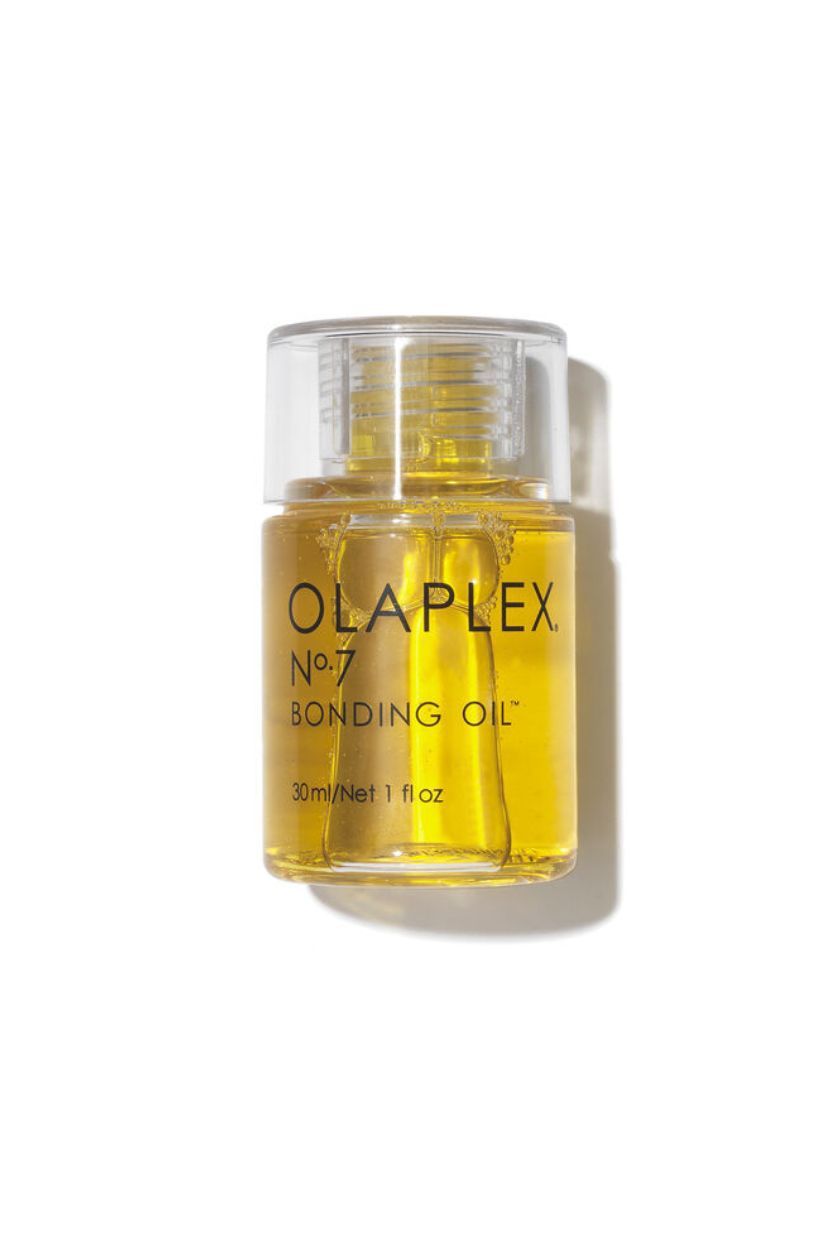
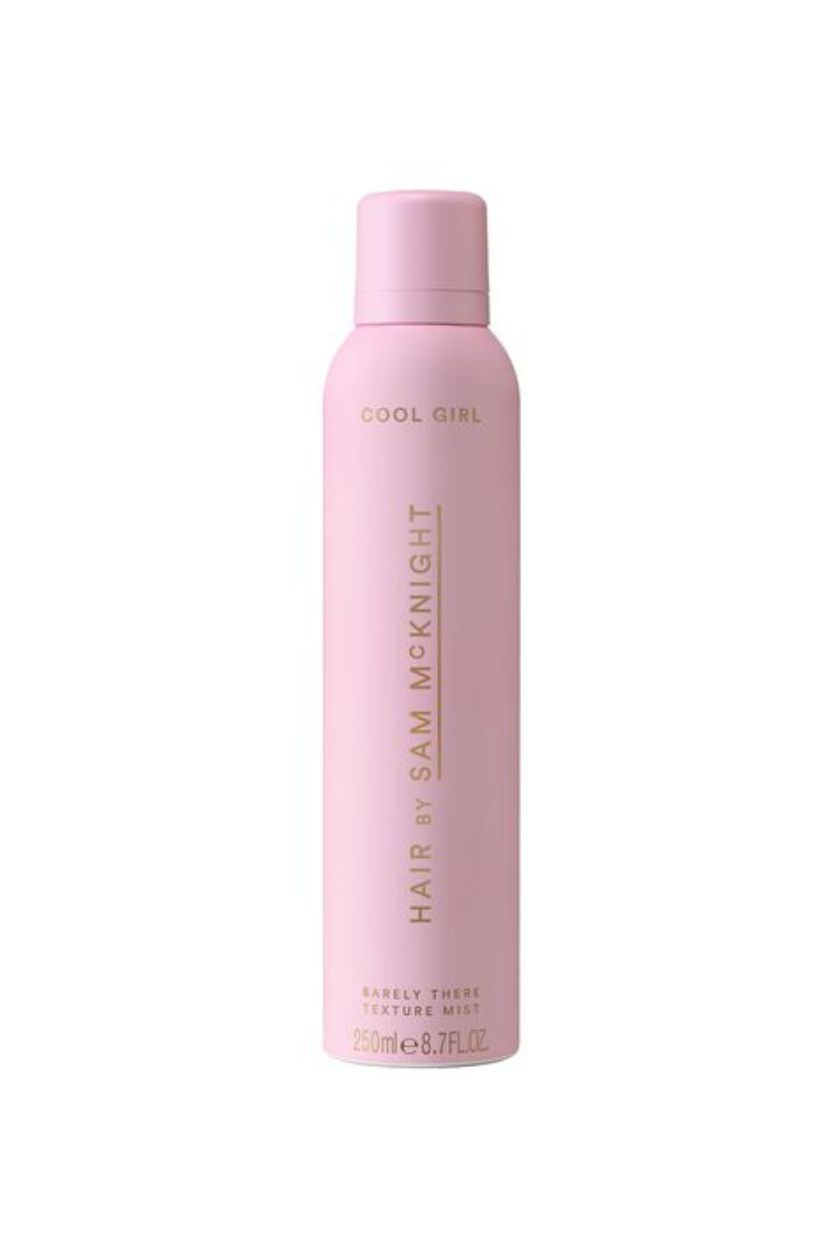
There are a few different ways you can finish and set your style. I like to run through a few drops of a hair oil or hair serum to add smoothness, tame flyaways and boost shine. But if you want more piecey waves, then a texturising spray can add texture and volume for that undone, just-rolled-out-of-bed dishevelledness (in the best way).
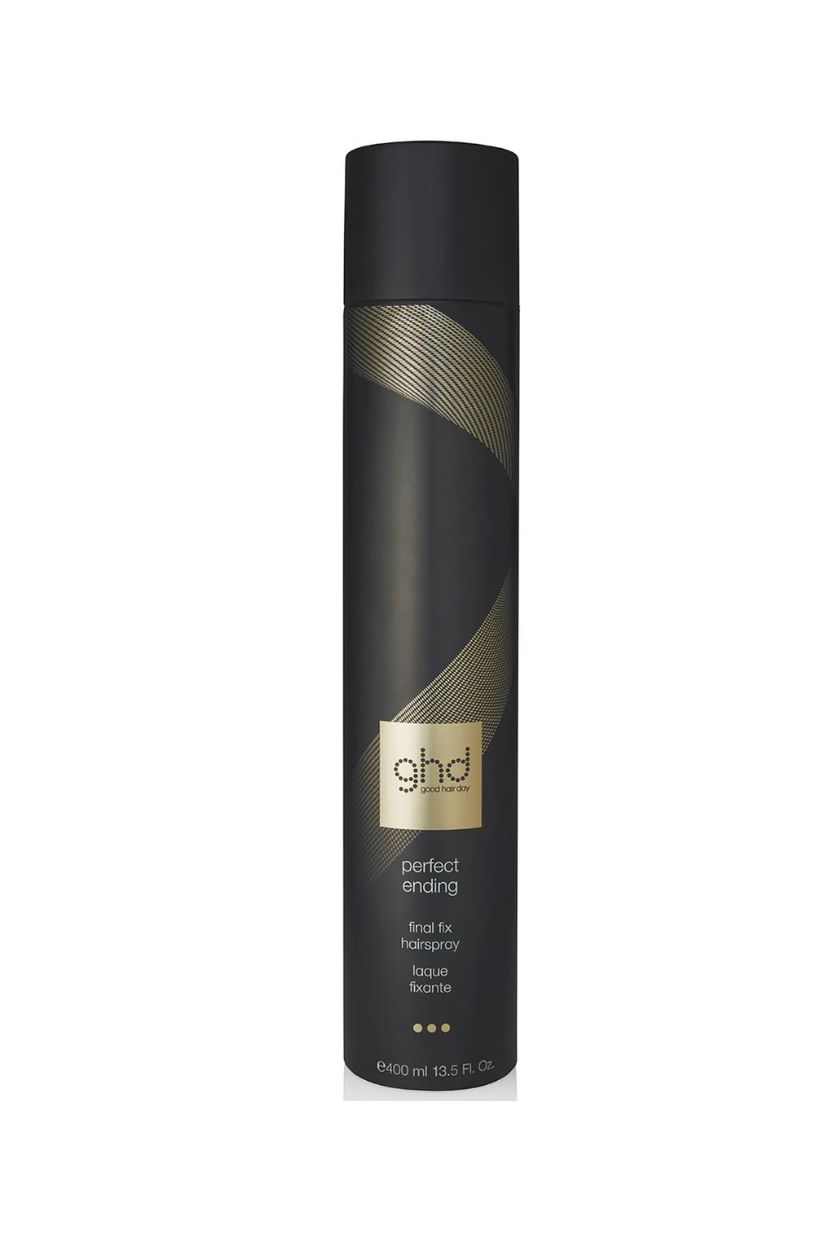
If you have fine hair or hair that doesn't hold a curl, then I'd recommend not overloading your lengths with too much product. A light misting of hairspray will help to keep your style in place without making your hair feel crispy.
To tame any rogue flyaways around the crown, I like to gently roll the curling wand (as it's cooling down) over the top of my head, carefully smoothing and sealing any frizz. You can then set them in place with a little hairspray (I like to apply a little to my hands first, then smooth the hair with my palms for a sleek result).
Shop Finishing Products:
7. The Result
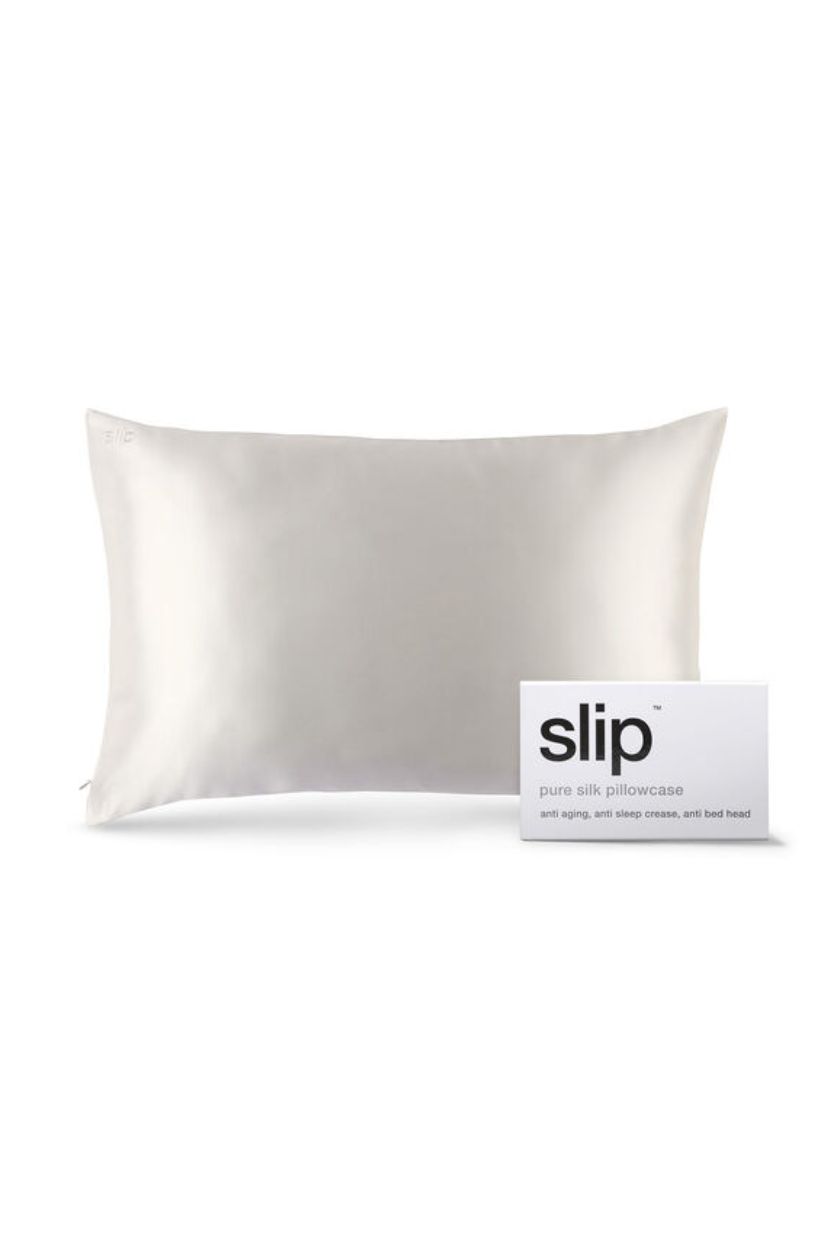
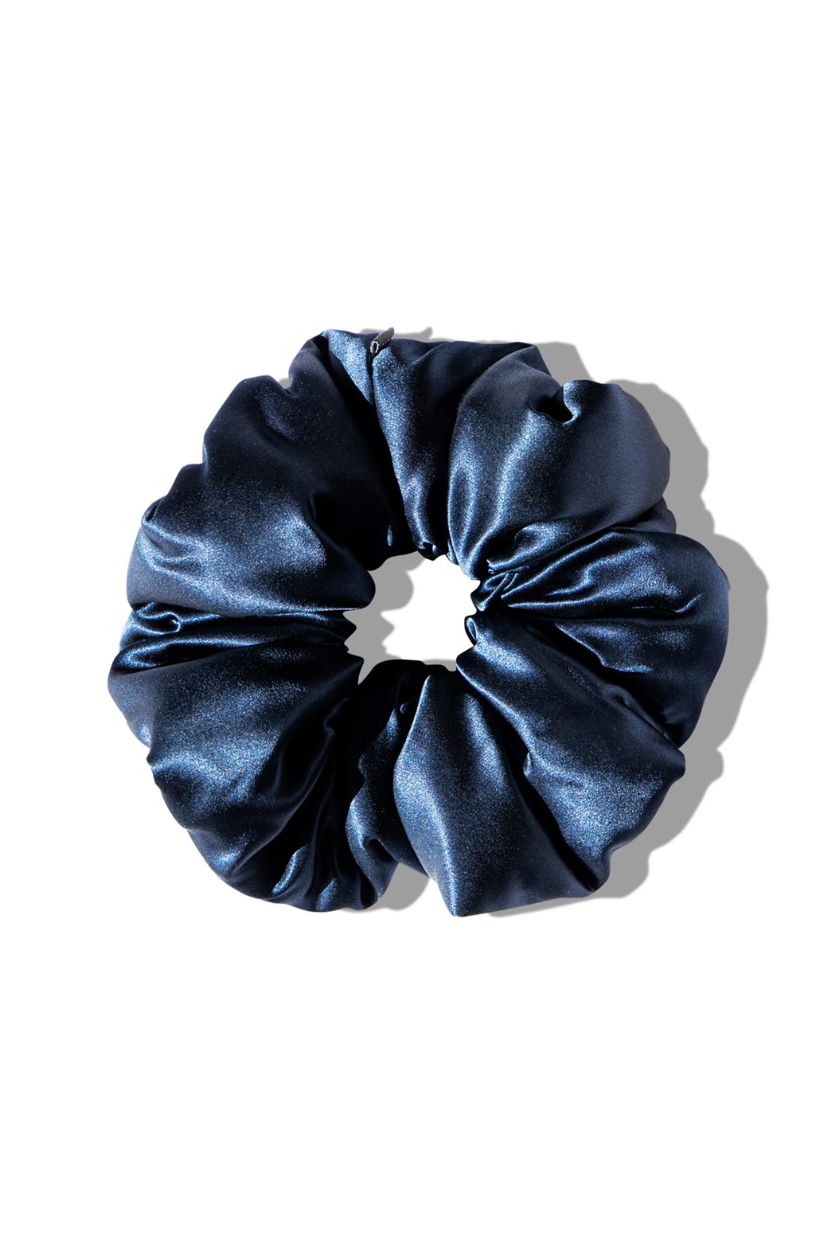
And there you have your loose waves. To help your style last for as long as possible, I recommend sleeping with your hair in a loose bun with a silky scrunchie or a silk pillowcase to keep the curl memory and prevent friction on your hair. This helps retain the style the following day and means you only need to go over a few sections with your wand to refresh the style on second-day hair.
Shop Style Enhancers:
Eleanor Vousden is the beauty editor for Who What Wear UK. She was previously deputy editor at Hairdressers Journal, health writer at Woman
Home and junior beauty editor at Powder. She has also contributed to Wallpaper and Elle Collections.
With a degree in fashion journalism from the London College of Fashion, she has 10 years of industry experience and has been highly commended at the BSME Talent Awards for her work on Powder and also contributed to the title winning Website of the Year at the PPA Awards.
Eleanor’s journalistic focus is providing readers with honest and helpful beauty content. She has interviewed celebrity makeup artists, hairstylists and dermatologists throughout her career, as well as celebrities such as Hailey Bieber, Sarah Jessica Parker and Scarlett Johansson.
