Instagram's Fittest Duo Shares How to Build a Proper Home Gym

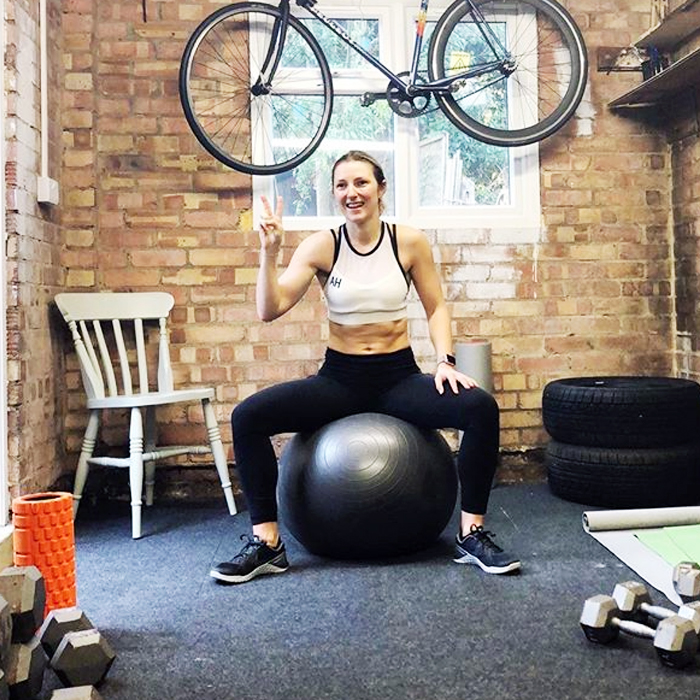
Welcome to The Kit, our new series where we ask experts from different fields which tools they think we need to succeed in life. Today we’ve called on Women’s Health Digital Editor Amy Hopkinson (known as @wellness_ed on Instagram) and her partner Men’s Health Commissioning Editor Edward Lane (known as @wellness_ted on Instagram), who live together and have an epic home gym on how to build your own.
Having your own home gym is ideal because it means you can strike excuses like “it’s too far” or “it’s raining” off your “reasons for not going” list. Now you may be thinking that you don’t have space in your apartment or house for a home gym, and you might be right, but with some imagination, it’s easy to morph your living room into a functional workout area. If you’re lucky enough to have a garage, then you can dedicate the space to a home gym. While you will initially need to spend a bit on equipment, in the long run, it will be a darn sight cheaper than a gym membership you never use.
The Living Room Gym
Clear away the coffee table. It’s easier than you think to turn the room usually reserved for relaxation into a space equipped to ramp up your metabolism. The key is choosing free weights and accessories that are versatile. The more moves you can do with each piece of equipment, the less clutter to clear away. Remember, home is where the start is.
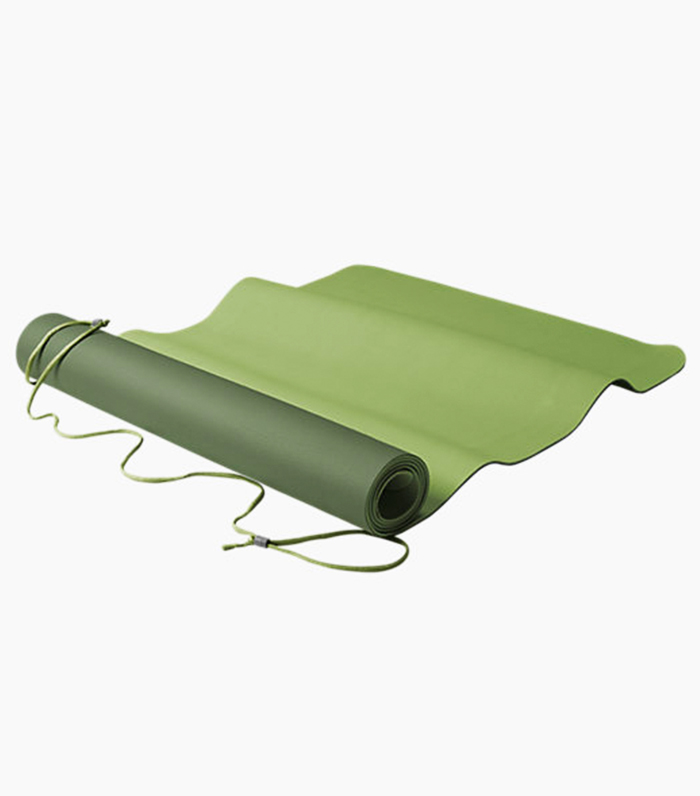
Yoga Mat: This is essential no matter what type of flooring you have for several reasons. When lying with your back flat to the floor (essential in all core exercises) you want to feel comfortable throughout each set. Secondly, you can heat up quickly when exercising indoors, which soaks into and can stain your new carpets. And lastly, carpet burns are bloody painful and awkward to explain in the spin studio changing rooms.
Kettlebells or Dumbbells: One heavy-ish kettlebell is all you need to turn your body into a weight lifting gym. It’s the most versatile piece of equipment you can buy. Use this to squat, swing, and row. Further down the line, you can work up to doing Turkish getups and clean and press movements. Basically, these are moves that use a lot of muscle groups and therefore burn more calories in less time.
Foam roller: Forget about using this piece of equipment as part of your warm down. Sit on it at the beginning of your session instead. Just five minutes of rolling before your first rep will help mentally prepare you for the workout ahead and forget the stress of the day.
Sofa: Not just for watching Netflix, sadly. Push back the cushions and the edge is a great height for triceps dips. Try raising one leg for 10 dips then switch and raise the other to add some instability that will fire up your abs. The sofa arms are also great for doing decline press-ups. Place your feet on the arm and your hands on the ground, these are an easier option that can help you progress to full press-ups in weeks.
Dining room chair: If you have wooden chairs, you can use them to step up on (being careful of any low-hanging light fixtures, obviously). Feeling strong? Hold a dumbbell in either hand while you do this. No dumbbells? Use full one-liter water bottles instead. You can also use a chair to sit down and get back up from while holding a kettlebell as a progression towards a full squat.
The Garage Gym

Spit and sawdust gyms have been getting the nation fit since muscles and tans became famous in the ’80s. But you don’t need dusty barbells and scary machines to build one (though leg warmers, string vests, and headbands are still very much encouraged).
Your garage can hold all the equipment you need. To set up, simply move all your clutter that you don’t use—but don’t want to throw away—to one wall. Preferably stacked on sturdy shelving. Next, hang bikes, ladders, and big equipment from the rafters. This should give you a good amount of floor space to work with.
On the floor, lay either cheap office-style carpet tiles—they’re big and inexpensive—or increase the budget to get foam squares that fit together like a jigsaw. You can work out on concrete, but it’s not advisable, as it’s so cold. And no one wants to chill their bum cheeks for 30 minutes or more during a core session.
Accessories: A whiteboard is a must for writing your WOD (Workout of the Day) on and referring back to during the session. Very Crossfit.
Mirror: Use this to check your form but also for those post-workout selfies. Purely for tracking progress of course. Never only for Instagram.
Bench, Barbells and Plates: Before moving more, you want to learn how to move well, and big compound moves help build strength for this. Think squats and deadlifts.
Squat Rack: This doesn’t need to rival a modern art installation. The simple racks work just as well as their bigger cousins.
The Extras:
Balls! If you want to go balls to the wall, you need the right equipment. Personally, I think you need two balls: a slam and a Swiss. Use the first to increase your heart rate and core stability. A nice superset is 10 slams followed by 10 very slow mountain climbers with hands on the ball. Then use the Swiss ball how you would the TRX in the gym: pikes, rollouts, side planks—all the interesting stuff that also makes great pictures for the ’gram.
Step: Although simple in design, there are a few bits of equipment that have been in use as long as these have. Why? Because you can complete a sweaty lower-body workout using it, that’s low impact. Be it a short warmup session or during BBG (Kayla’s Bikini Body Guides), a step is the best prop you’ll buy. Hardcore cardio lovers stream Youtube step classes wearing eighties spandex with a permed ponytail.
Resistance Tube Bands: These are a brilliant at-home easier-to-store alternative to dumbbells or a cable machine for that matter. And they build muscle (read: tone) in just the same way. For example, pulling the 9kg band with both hands equates to the same weight as a 9kg dumbbell.
Punchbag or Pads and Gloves: To boost your heart rate and agility.
UE Boom speaker: Small but seriously loud, this speaker is the perfect garage sound system. You can hang it from a nail on the wall and operate it from your phone.
Interval Timer App: Download this app, plug in your warmup time, rest, and sets and it does the rest. It’s much easier than trying to time everything on a wristwatch.
This article was originally published on Byrdie UK.
This article is provided for informational purposes only and is not intended to be used in the place of advice of your physician or other medical professionals. You should always consult with your doctor or healthcare provider first with any health-related questions.
