These Genius Falsies Render Lash Extensions Obsolete—See My Review
I’ve always wanted to try eyelash extensions, but I’ve never actually taken the plunge. For one thing, the thought of keeping my eyes open for an extended period of time while a stranger applies cyanoacrylate glue to my lash line scares me, and for another, I’ve never wanted to shell out the extra cash required to try them. Because of this, I’ve always stuck to run-of-the-mill strip lashes whenever I felt my lashes needed a little extra oomph.
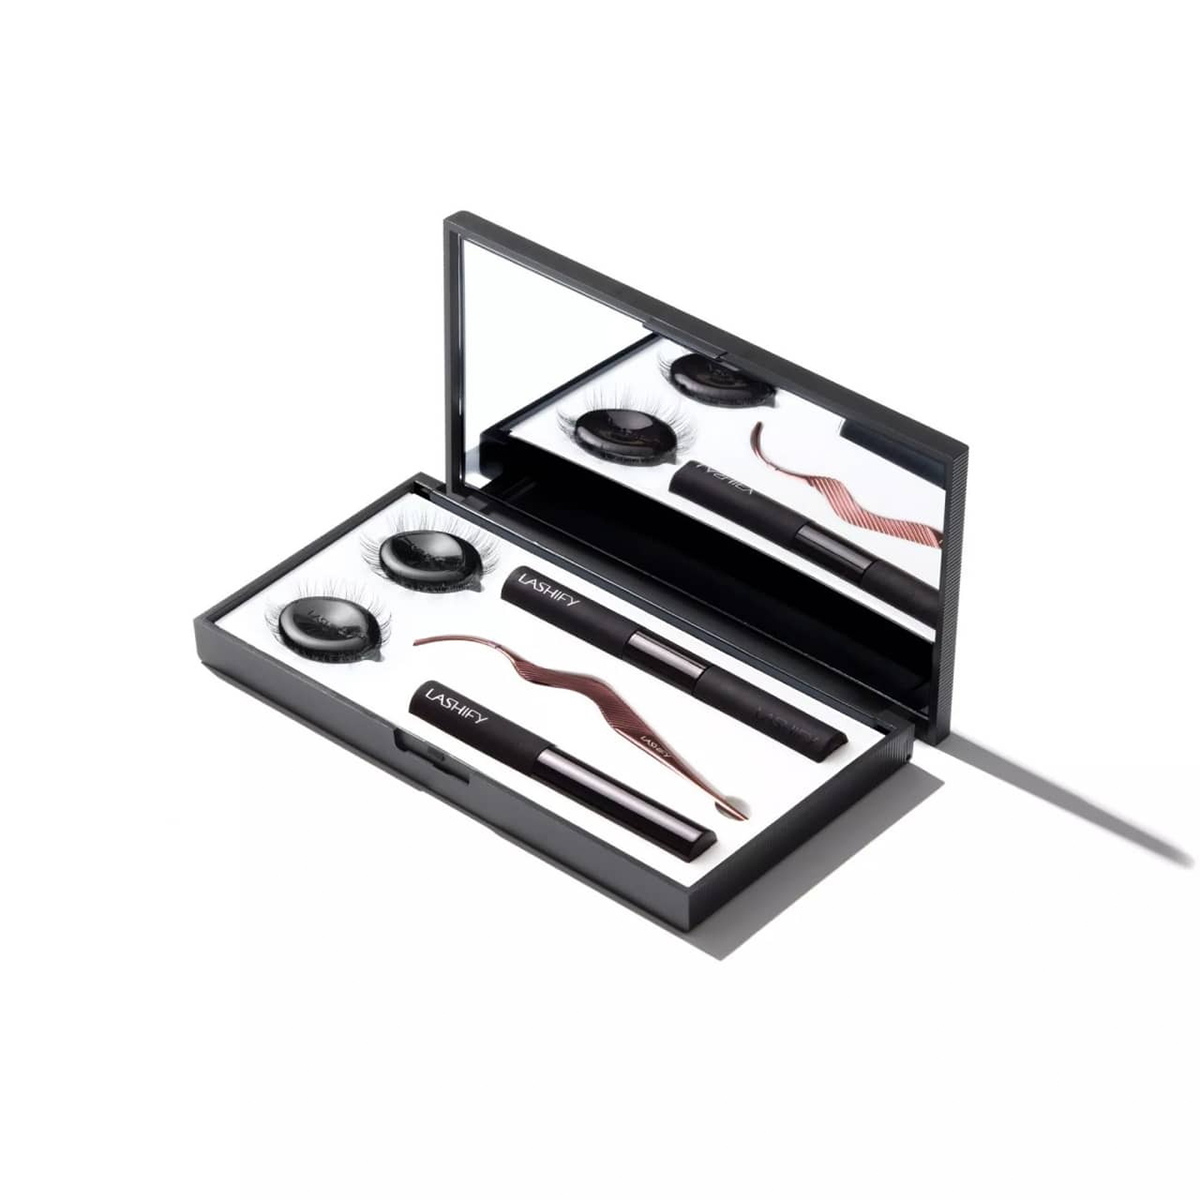
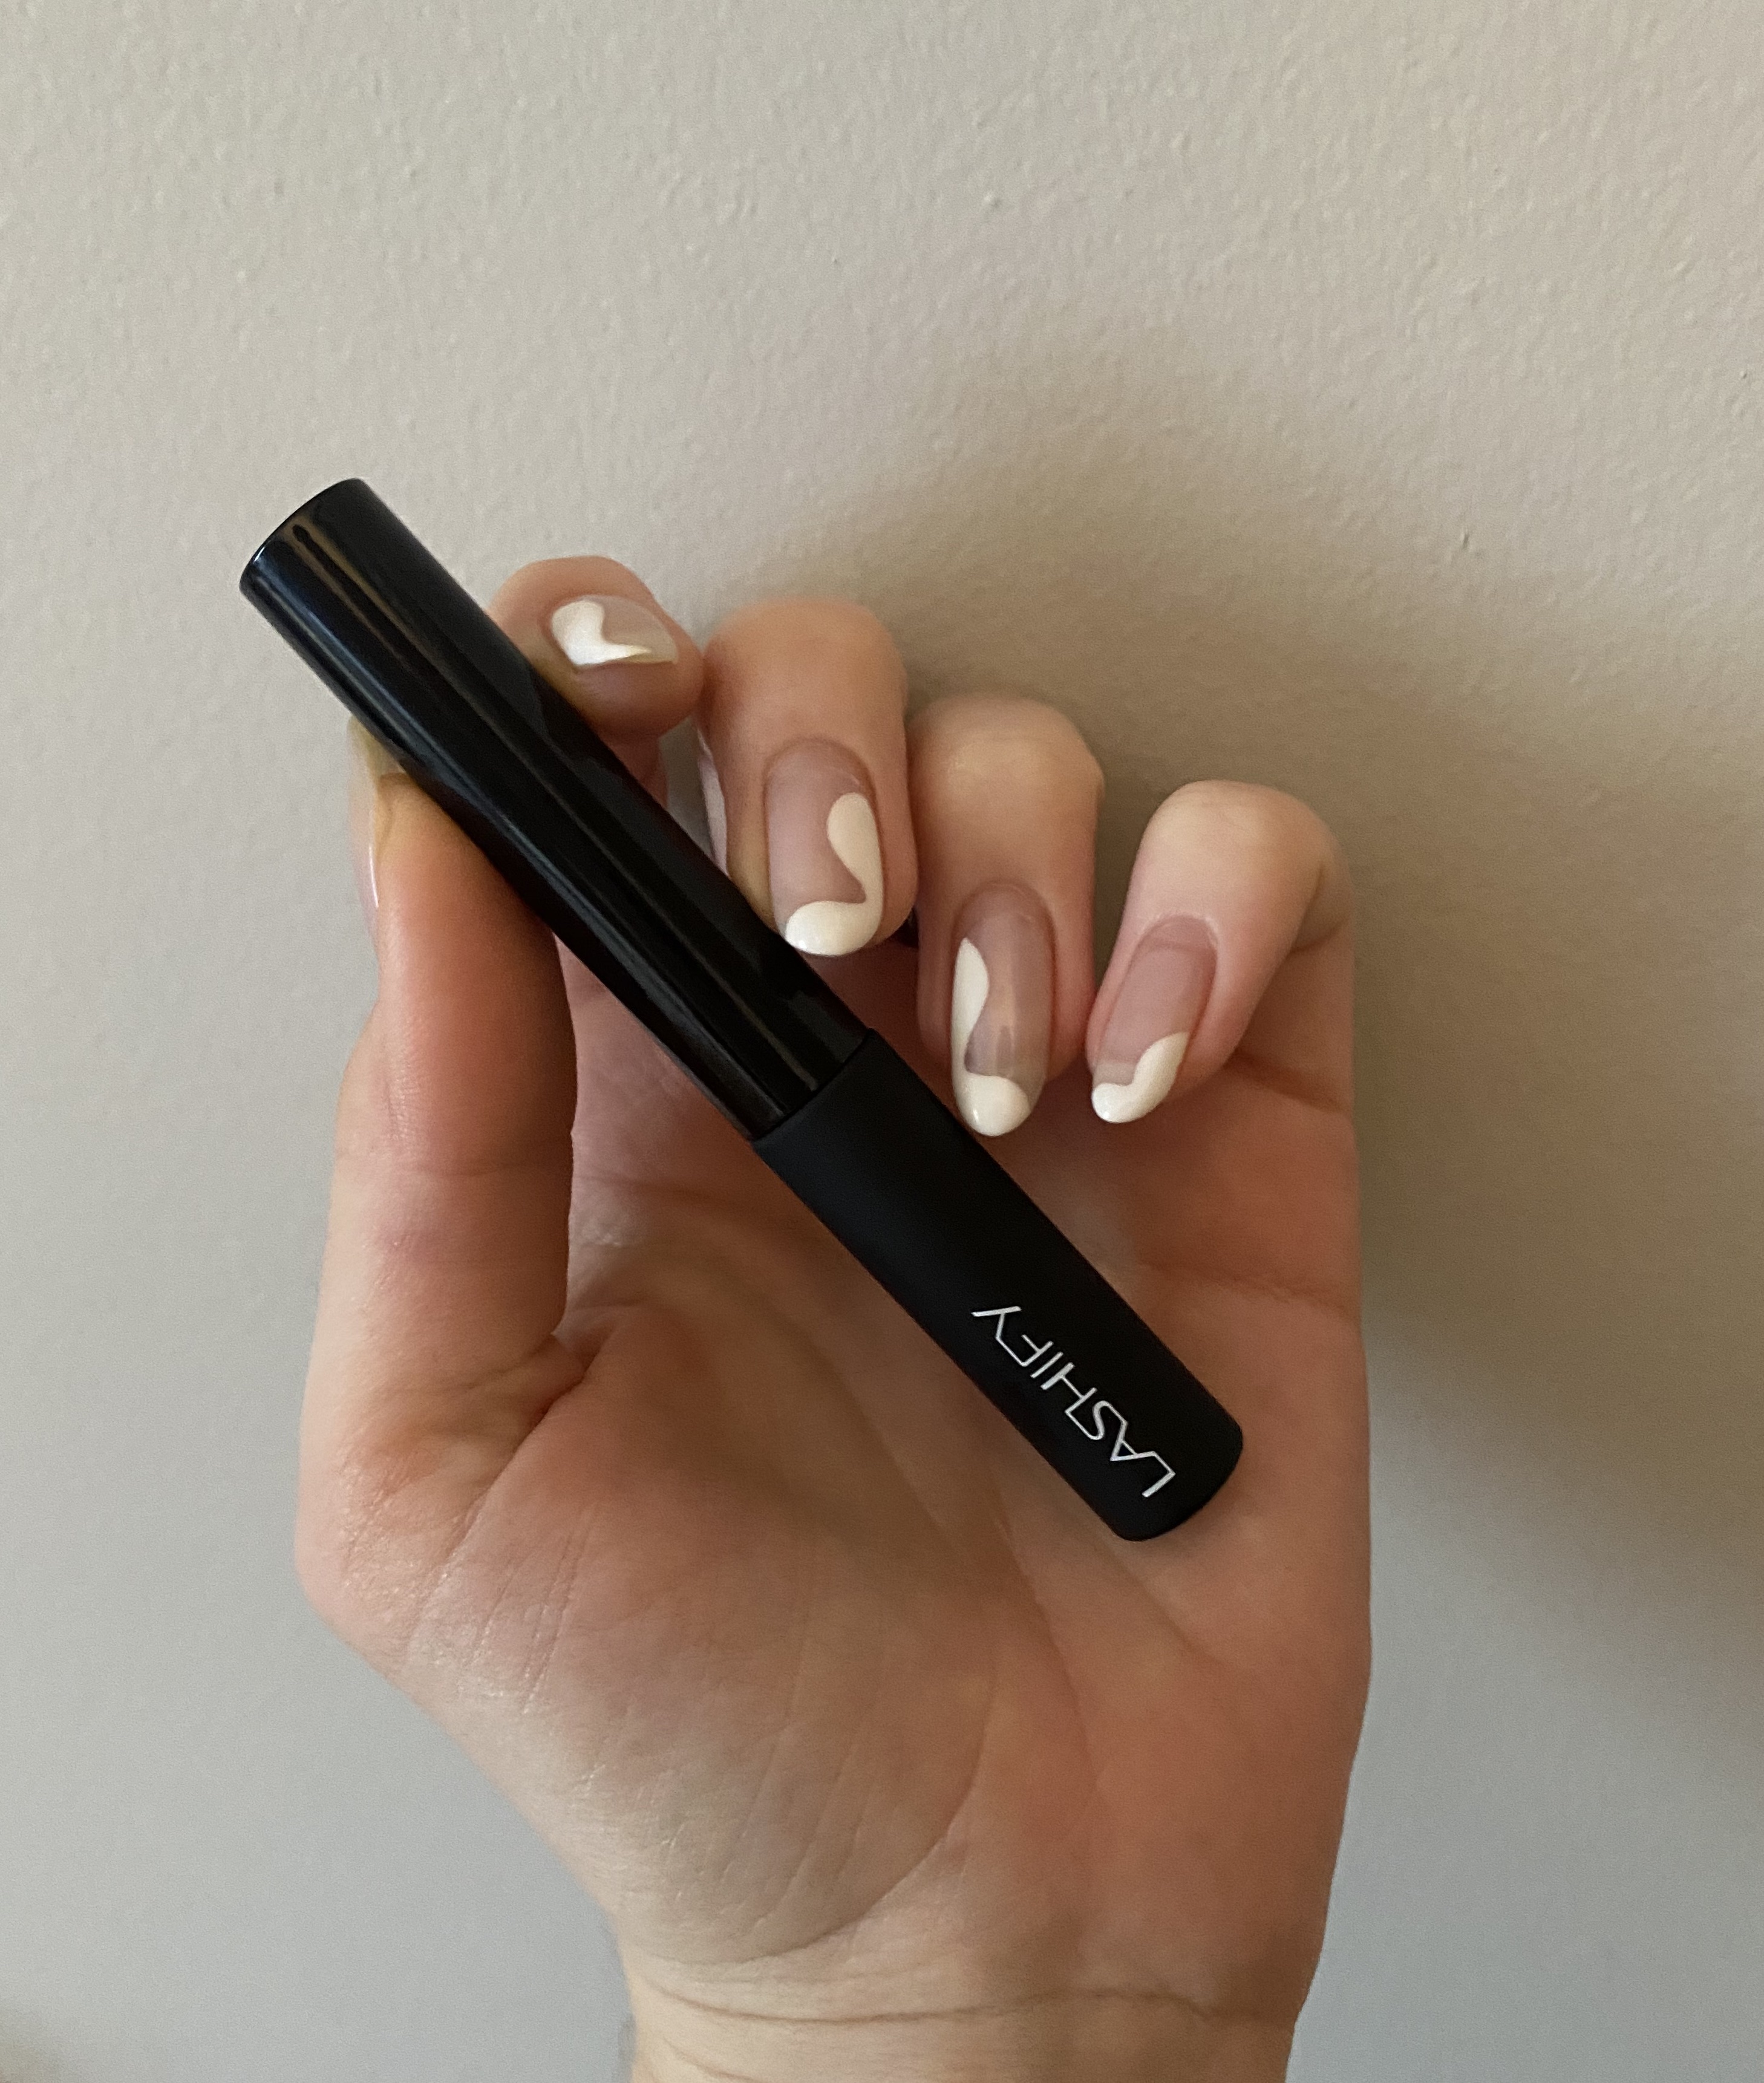
Enter Lashify, the world’s first DIY lash extension brand. With Lashify’s system, you can get salon-quality lashes all from the comfort of home—no keeping your eyes open for a long time or superglue required. They’re very different from both in-salon lash extensions and false eyelash strips. You apply Lashify’s lashes—also known as Gossamers—straight to the underside of your natural lashes, which leads to a more seamless, natural look.
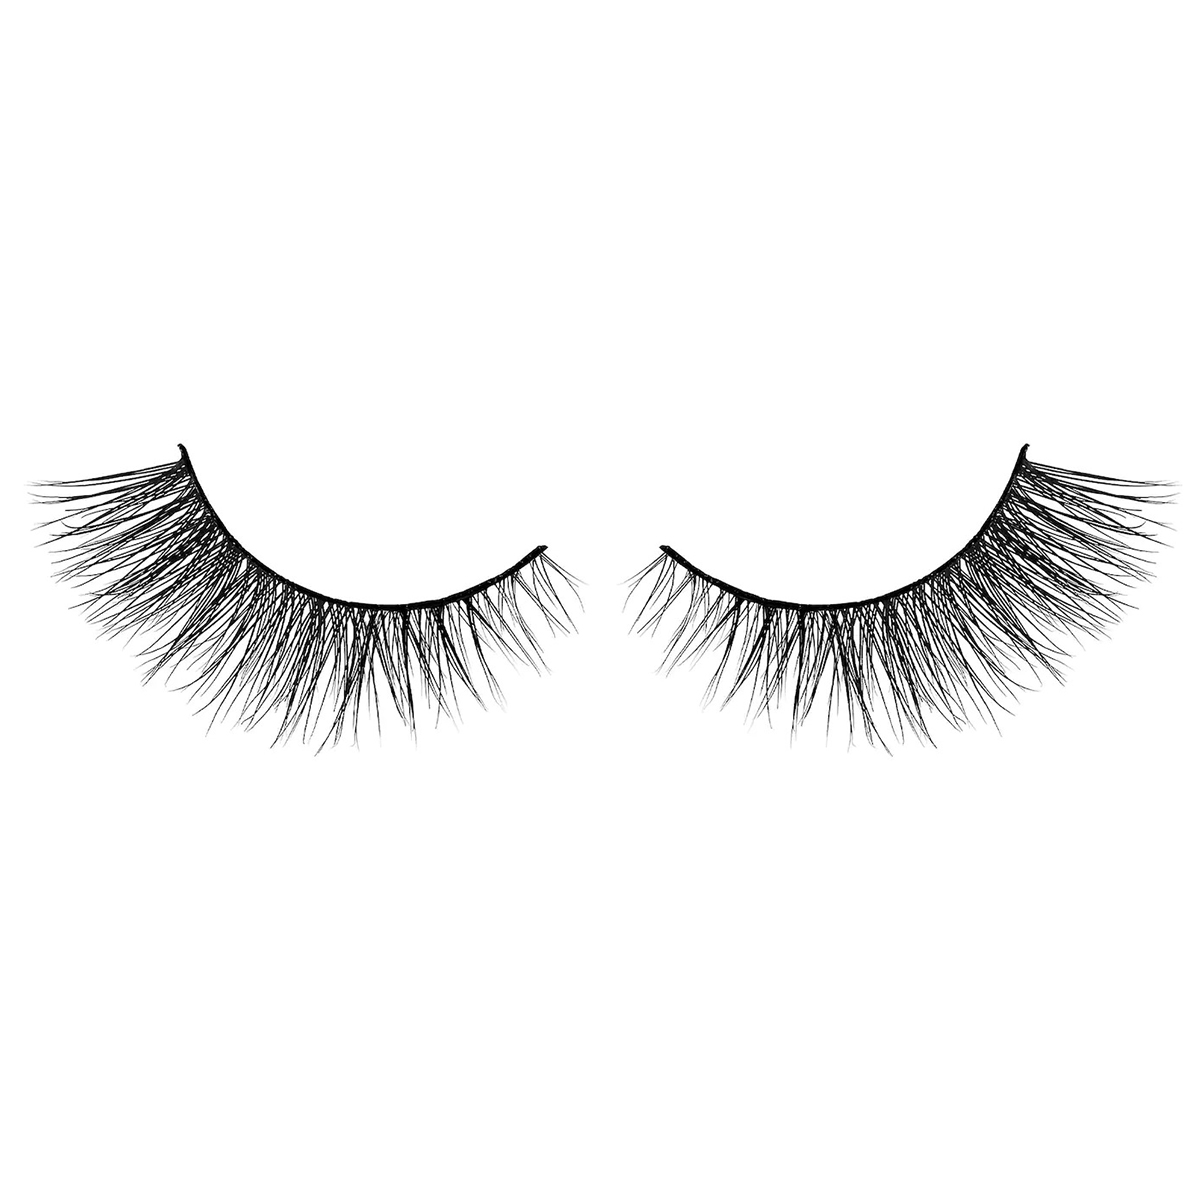
Gossamers are hand-made and meant to feel virtually weightless once you have them on. The lashes come in tons of different lengths and volumes, so you can customize your lash experience based on what you want your lashes to look like. Once you’ve applied them, Lashify’s Gossamers are meant to last for up to 10 days. Before you ask, the answer is yes—you can wash your face with them on, and even use an oil-based cleanser, as long as you avoid your eyes.
The best part? If you have sensitive eyes (which many of us do—it’s a delicate area!) Lashify won’t bother you. In fact, these lashes were designed with sensitive eyes in mind. All of the brand’s formulas were ophthalmologist-tested, hypoallergenic, and irritant-free. This means no cyanoacrylate, which is usually the culprit for people who are allergic to in-salon lash extensions. Their formulas also don’t contain latex or formaldehyde.
Below, check out exactly how to put on Lashify lashes, and you can follow step-by-step with my pictures. I hopped on a call with Lashify’s lead educator, Jill Medicis, who gave me expert tips and tricks for how to apply the lashes best.
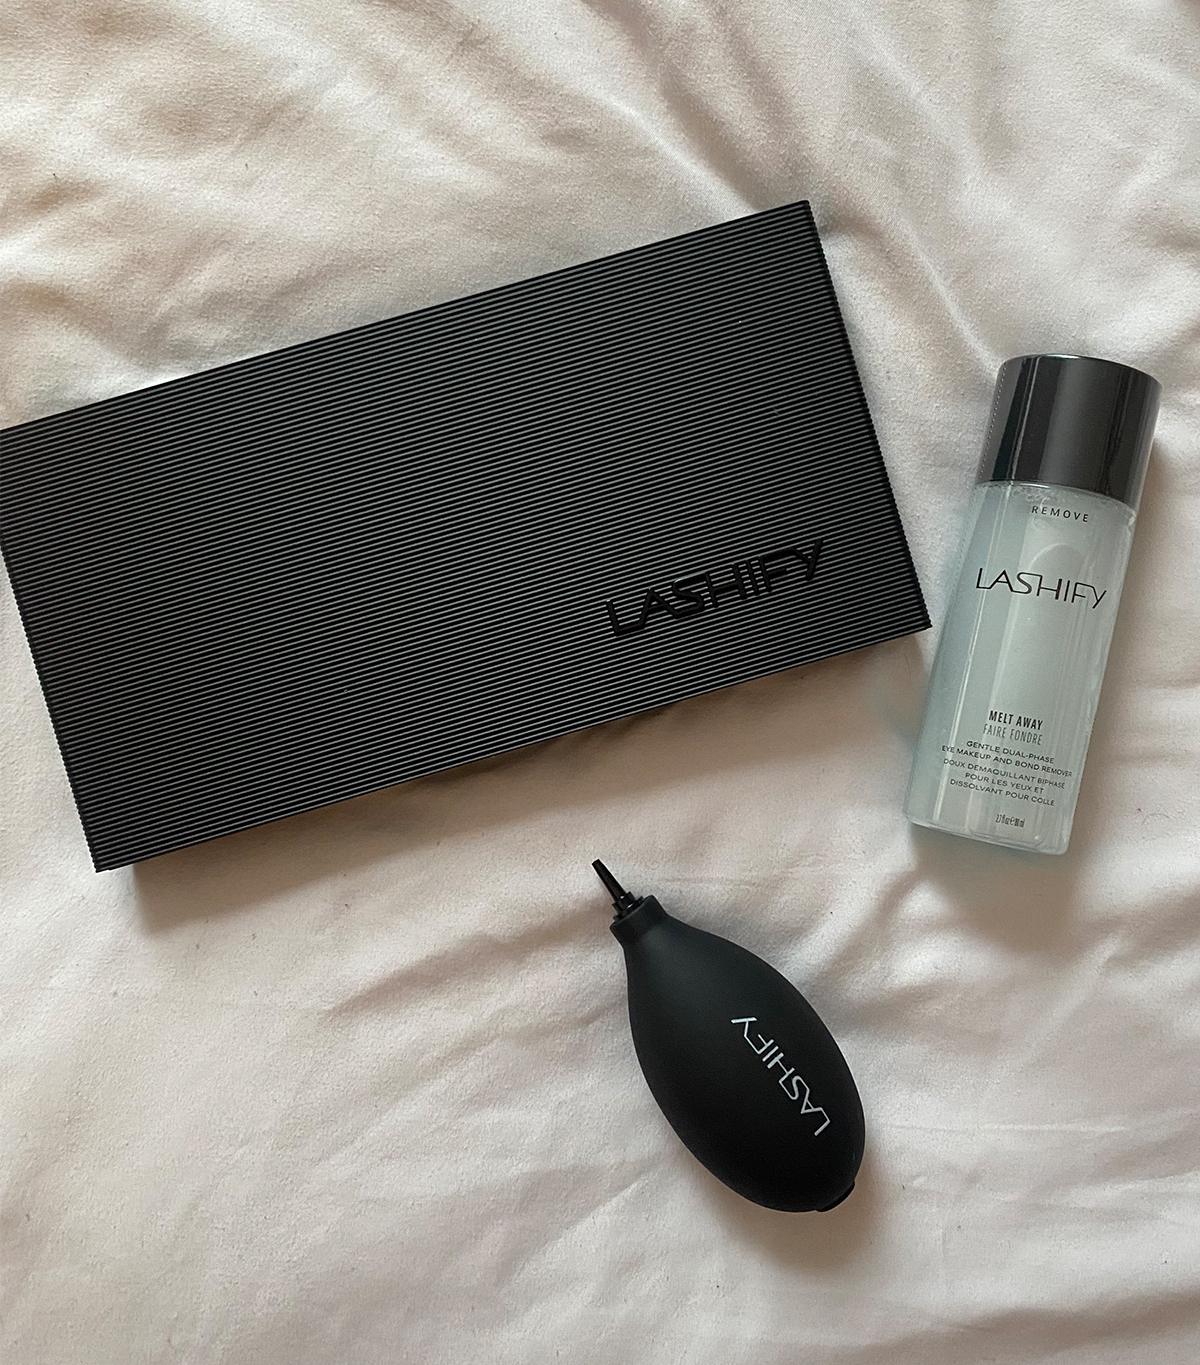
What you'll need:
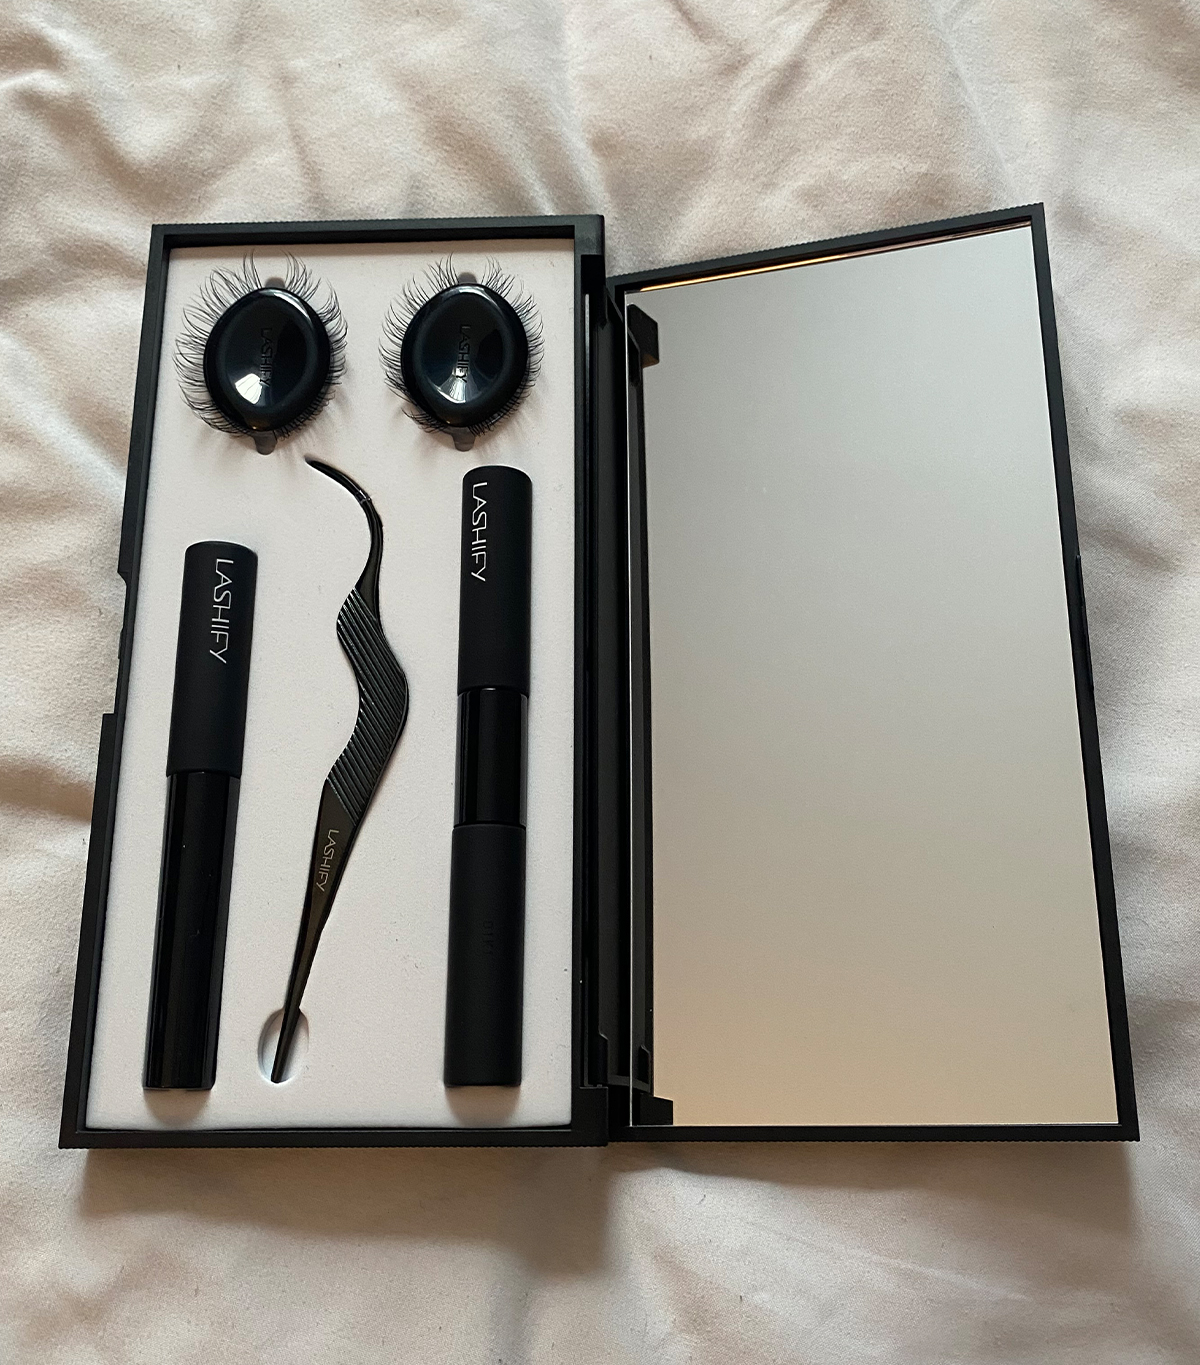
1. Prep the lashes.
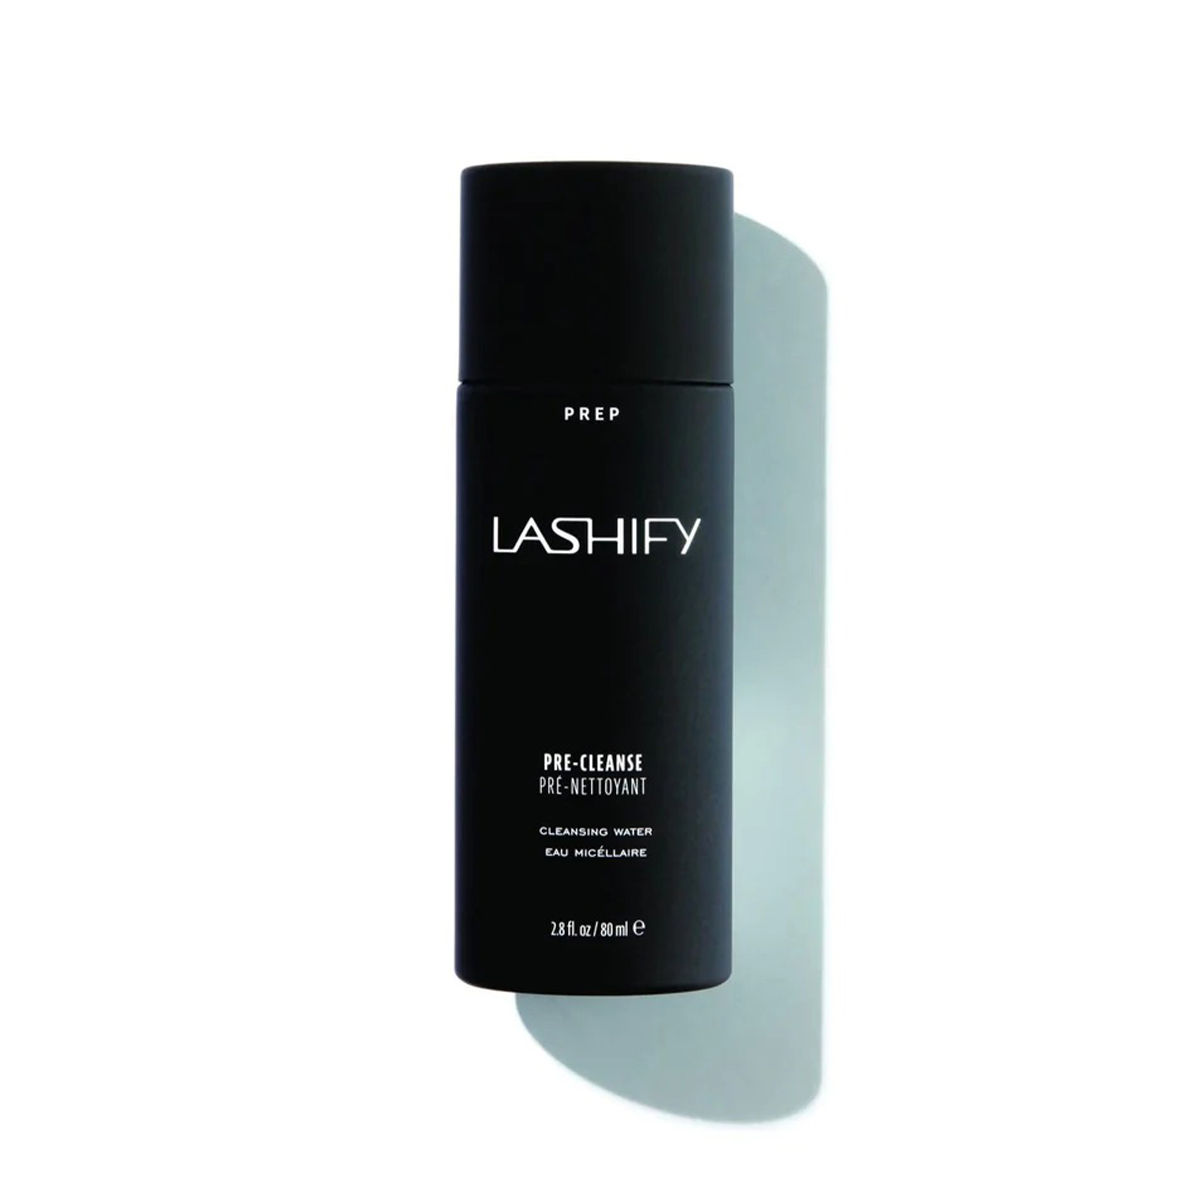
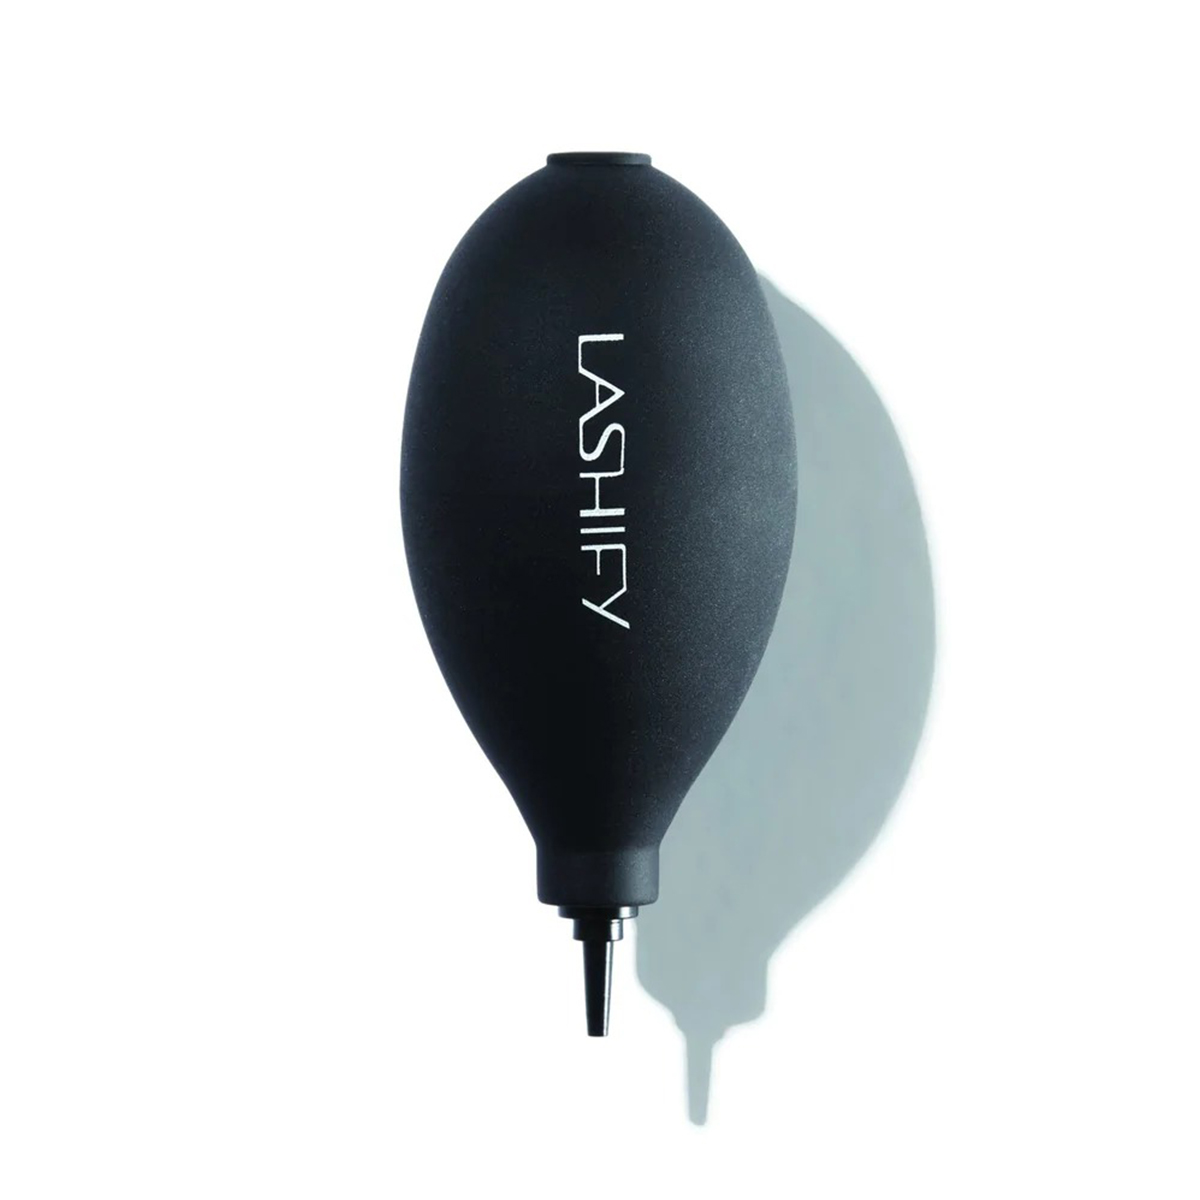
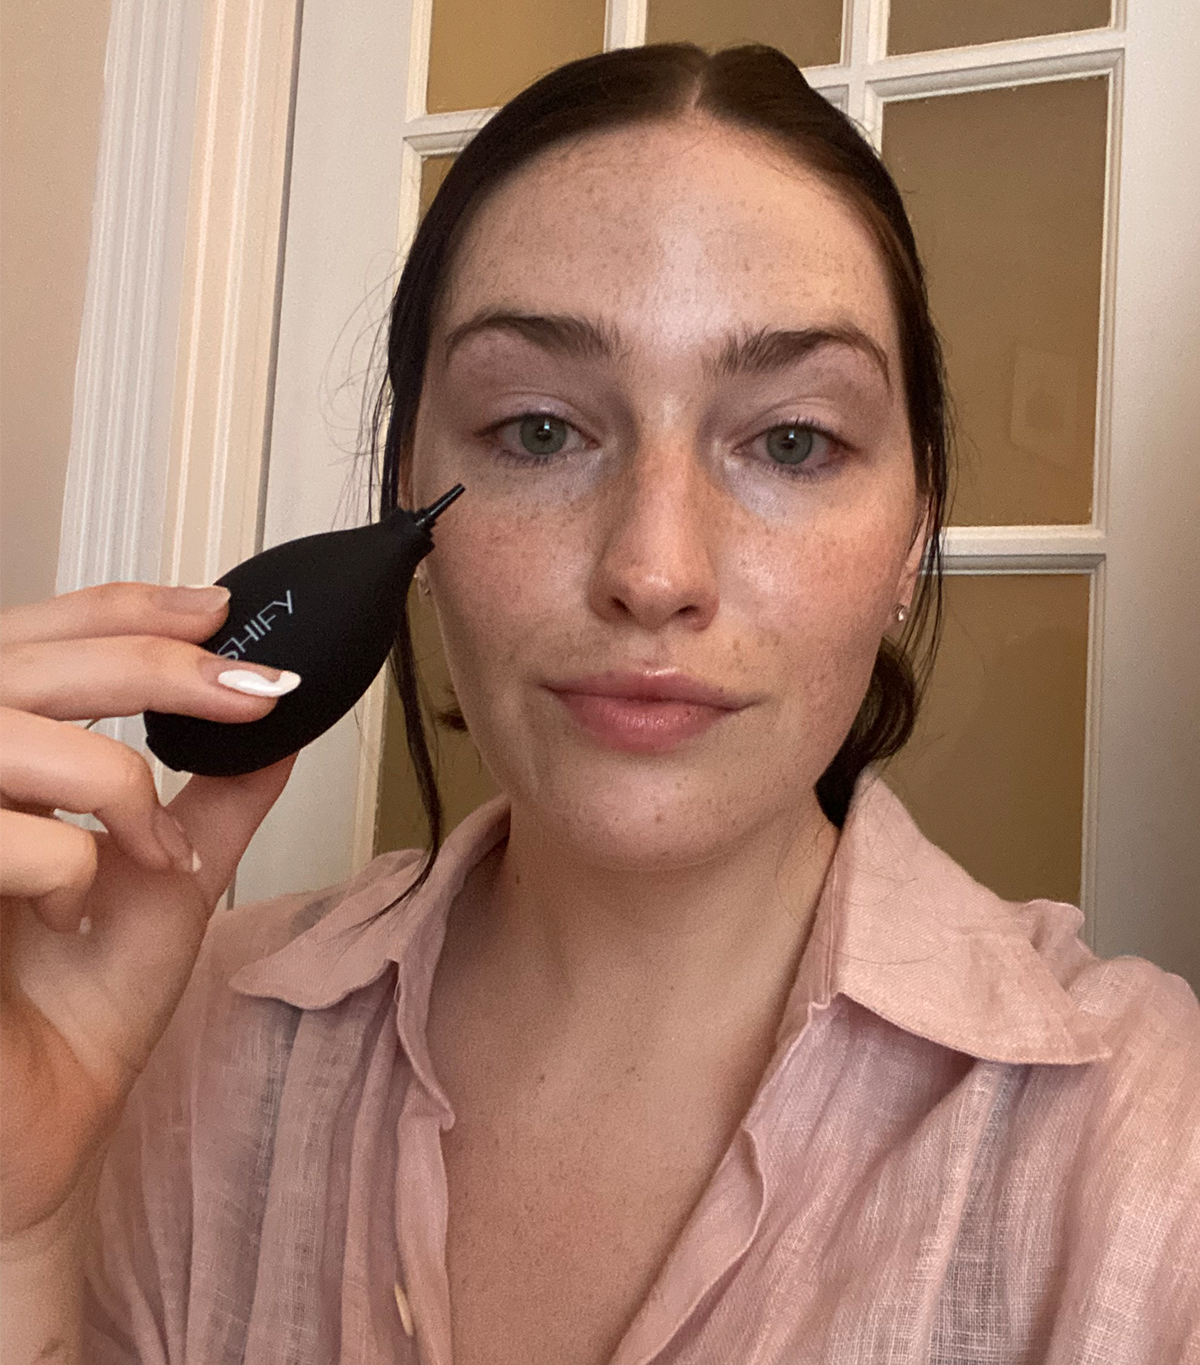
"Prepping the lash is really important because it's going to remove any oils, anything that would affect your application or the longevity of your lashes,” says Medicis. "Prep using the Pre-Cleanse, brush it through, and you can take your blow tool to make sure that they get nice and dry.”
My notes: I used a cotton round for this, and it worked perfectly. The blow tool sped up the drying process really well—just be careful not to direct air into your eyes because it could make them water.
2. Apply your bond.
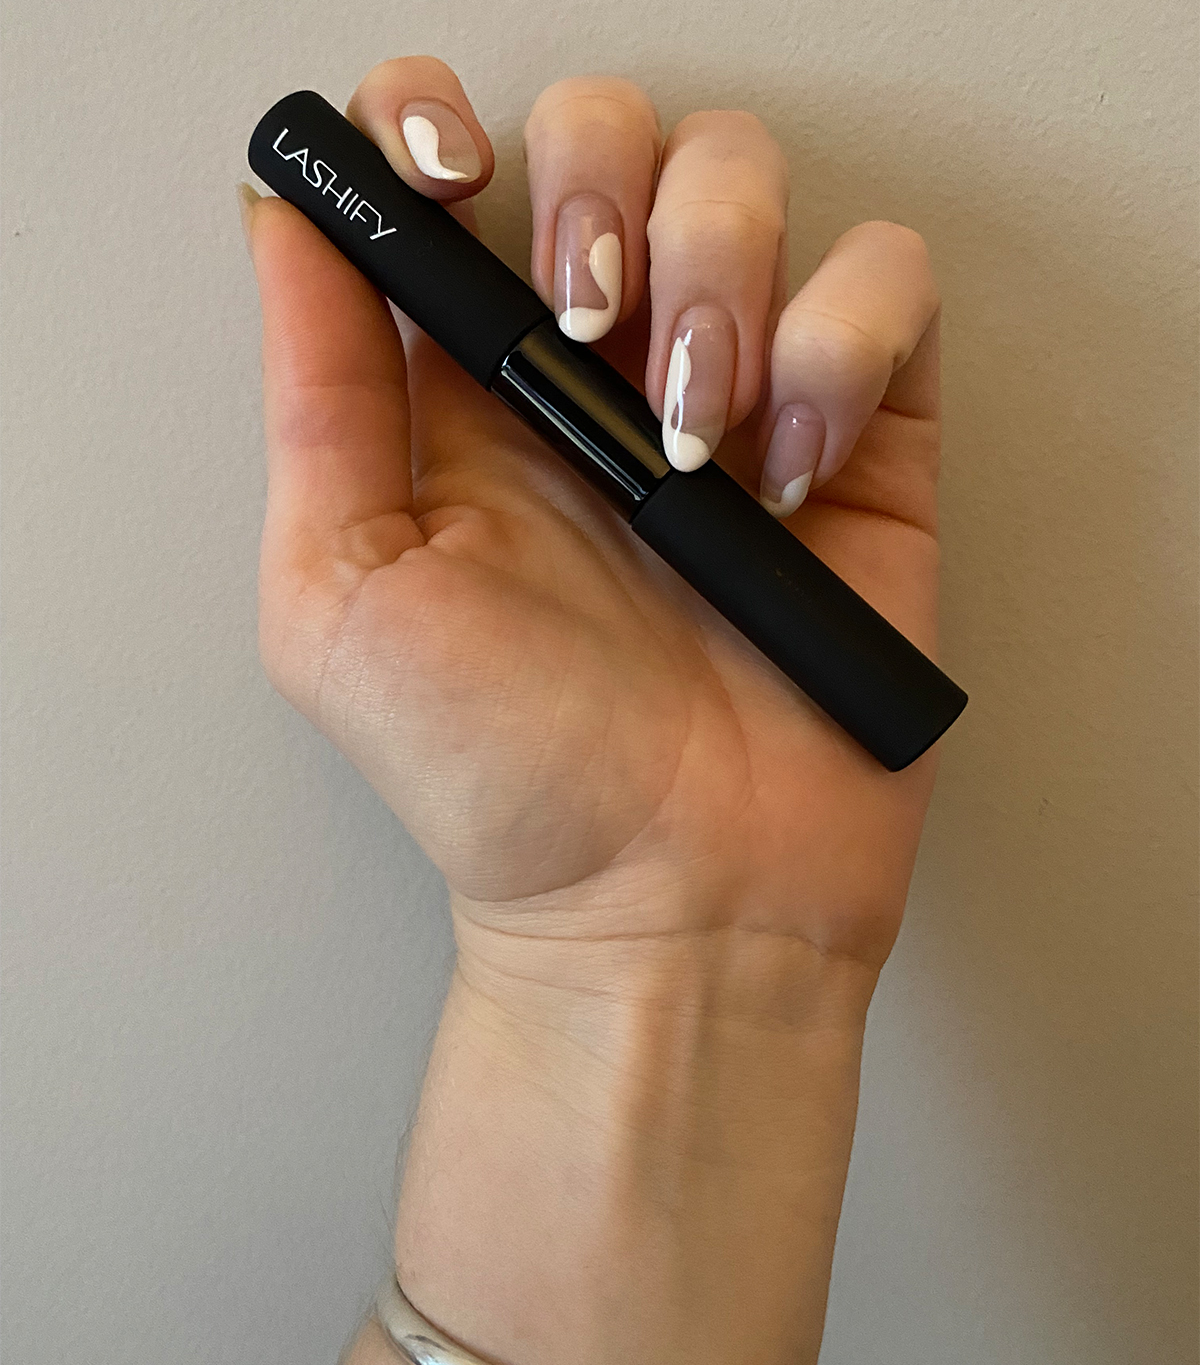
"In the control kit, you have the double sided Whisper Light. So these are both bonds, there's black on one side and clear on the other. The Black has a micro mascara wand. And then the clear has a precision tip. The key to longevity is layering the bonds.” Medicis says. She taught me the Lockdown method, which is Lashify’s most recommended way to secure your lashes.
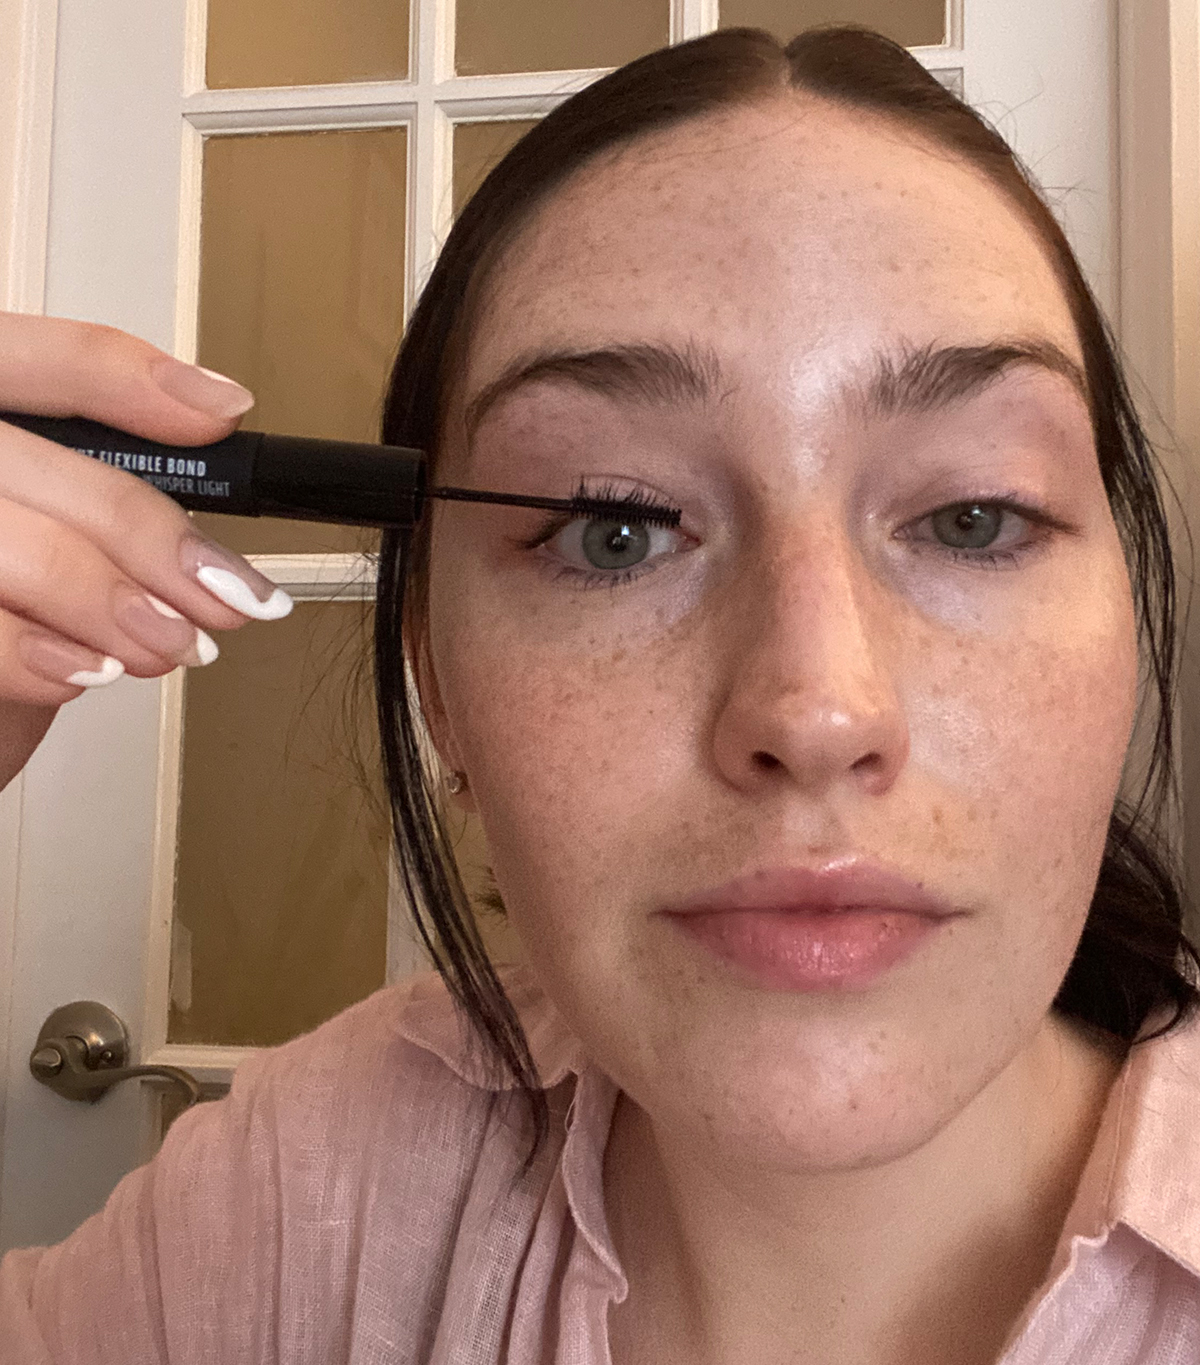
"You'll come in with the black Whisper Light first and just brush it through from base to tip just like a light coat of mascara. One of the keys to layering the bonds is really thin coats and allowing each layer to get nice and tacky. Then you'll take your blow tool and you'll use it to blow some air for like 30 to 60 seconds once it gets tacky. The second layer is the black again. This time instead of brushing all the way through, you're going to come in and just wiggle it at the base. Then you're going to take that blow tool and let it get nice and tacky for 30 to 60 seconds. Our next layer involves that clear side. The clear actually goes on white, so you can see where you're placing it. Then when it gets tacky, it goes clear.” Use the clear to create a white guideline on your lashes, one to two millimeters from the waterline.
My notes: Perhaps this is intuitive and I just needed another cup of coffee, but put your lashes on one eye before doing anything to the other eye! I got ahead of myself and put bonds on both eyes before realizing I only needed to do one eye at a time. Luckily, it was easy to remove the initial bonds on my left eye with Pre-Cleanse and start again. Also, I found the clear wasn’t that easy to see, but it was still easy enough to draw a guide line.
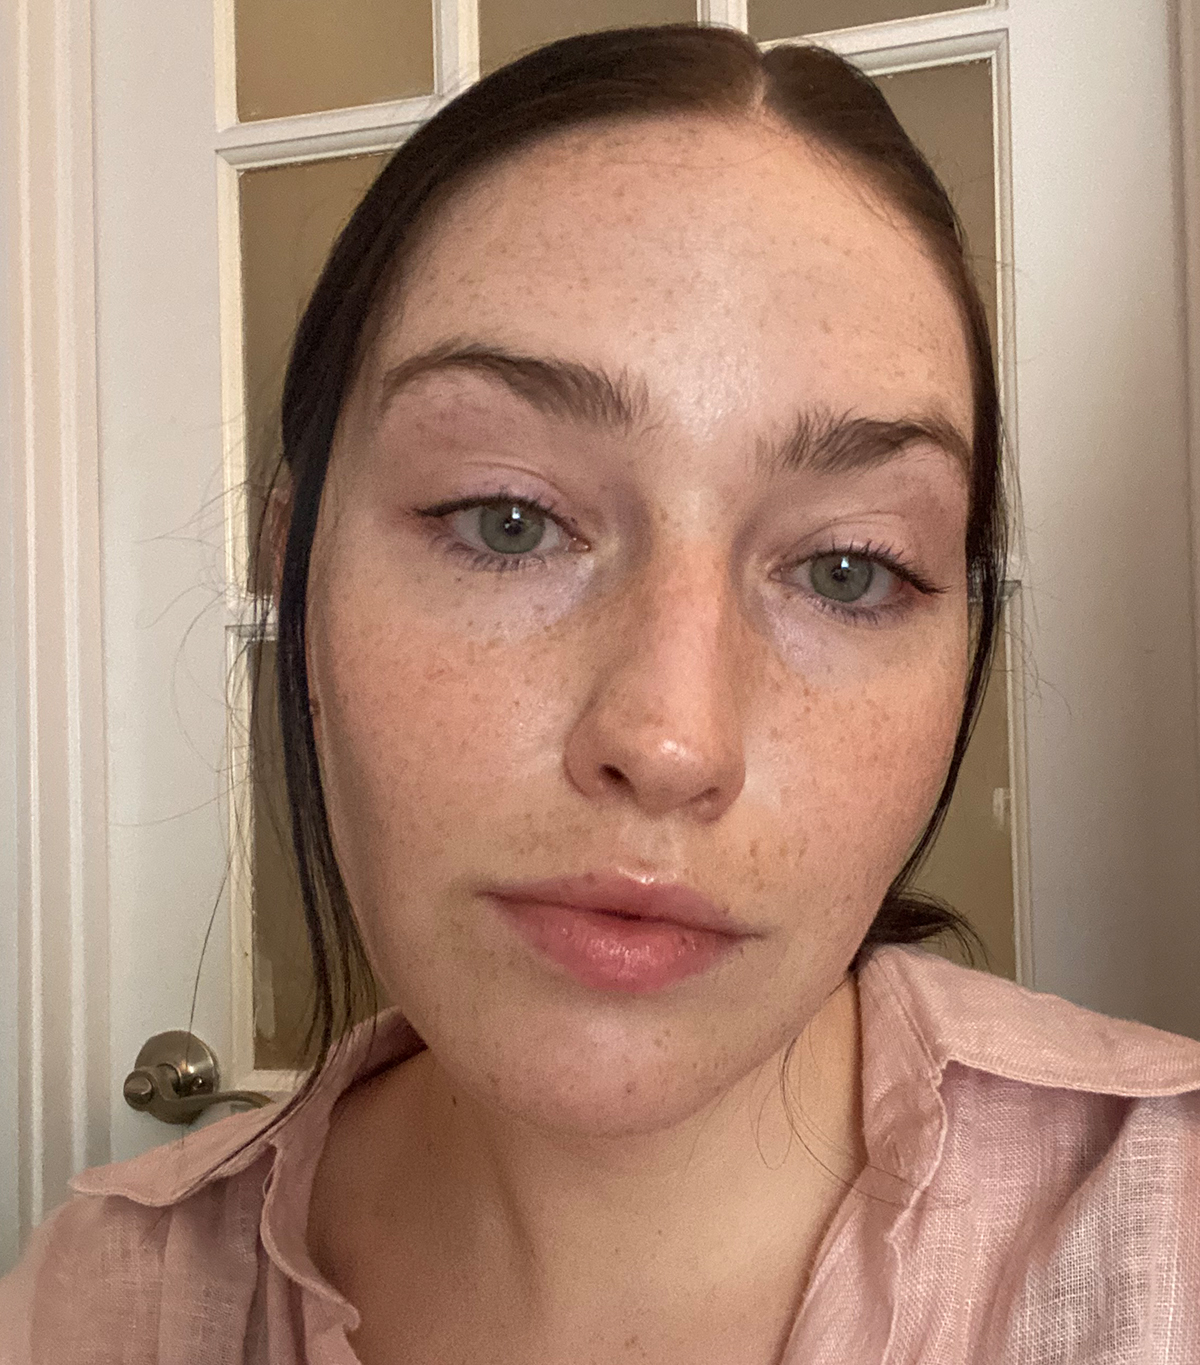
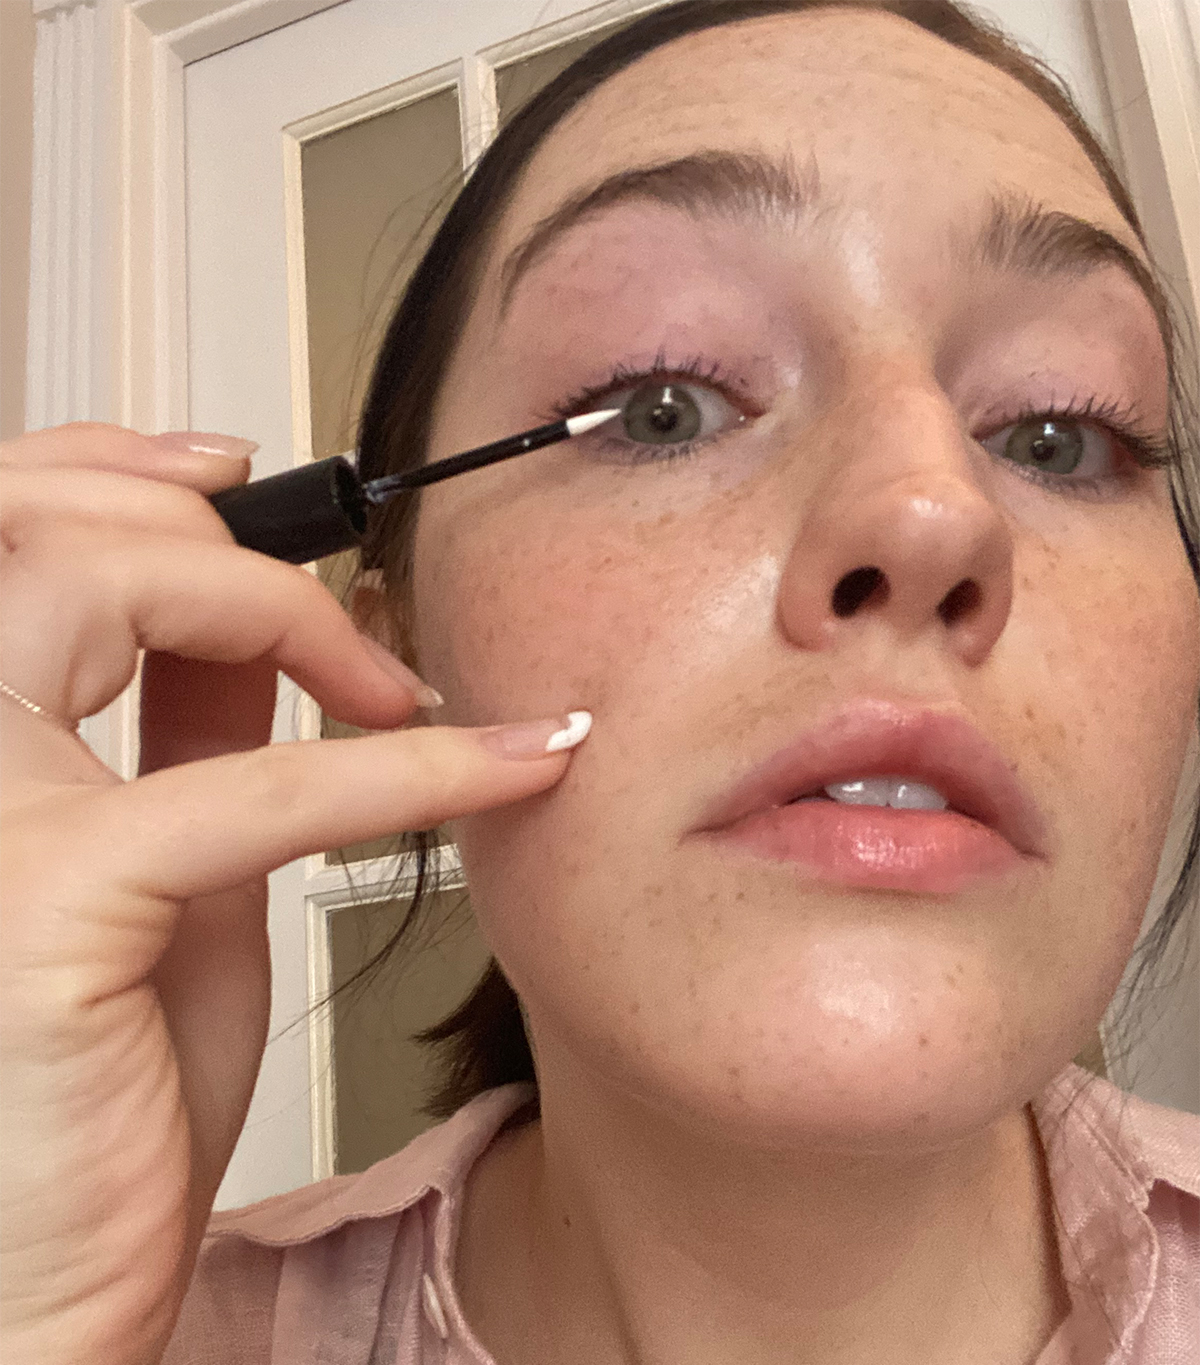
3. Add your lashes.
It doesn’t matter where you begin to place your lashes, but Medicis likes starting at her inner corner. To mimic your natural lashes, try two or three shorter lashes toward the inner corners, then two or three longer lashes toward the outer corner. Take the lashes out with your hands and grab them by the tips using the Fuse Control Wand. Be sure to grab all of the lashes, and not just one.
Grab them as close to the ends of the lashes as possible so you don’t get your wand on the glue. "We recommend looking down into your control kit mirror because that's going to give you the best view of the underside of your lash. Place the spine one to two millimeters away from the waterline and it should just stick. I like to have them so the spines sit side by side. You'll apply them all the way across. Then I like to take my blow tool, and I'll do another quick, like 30 seconds just to make sure everything's tacky. If it's not tacky, and you fuse down, they slide around.” Remember, practice makes perfect—it might take a few times to get this completely right!
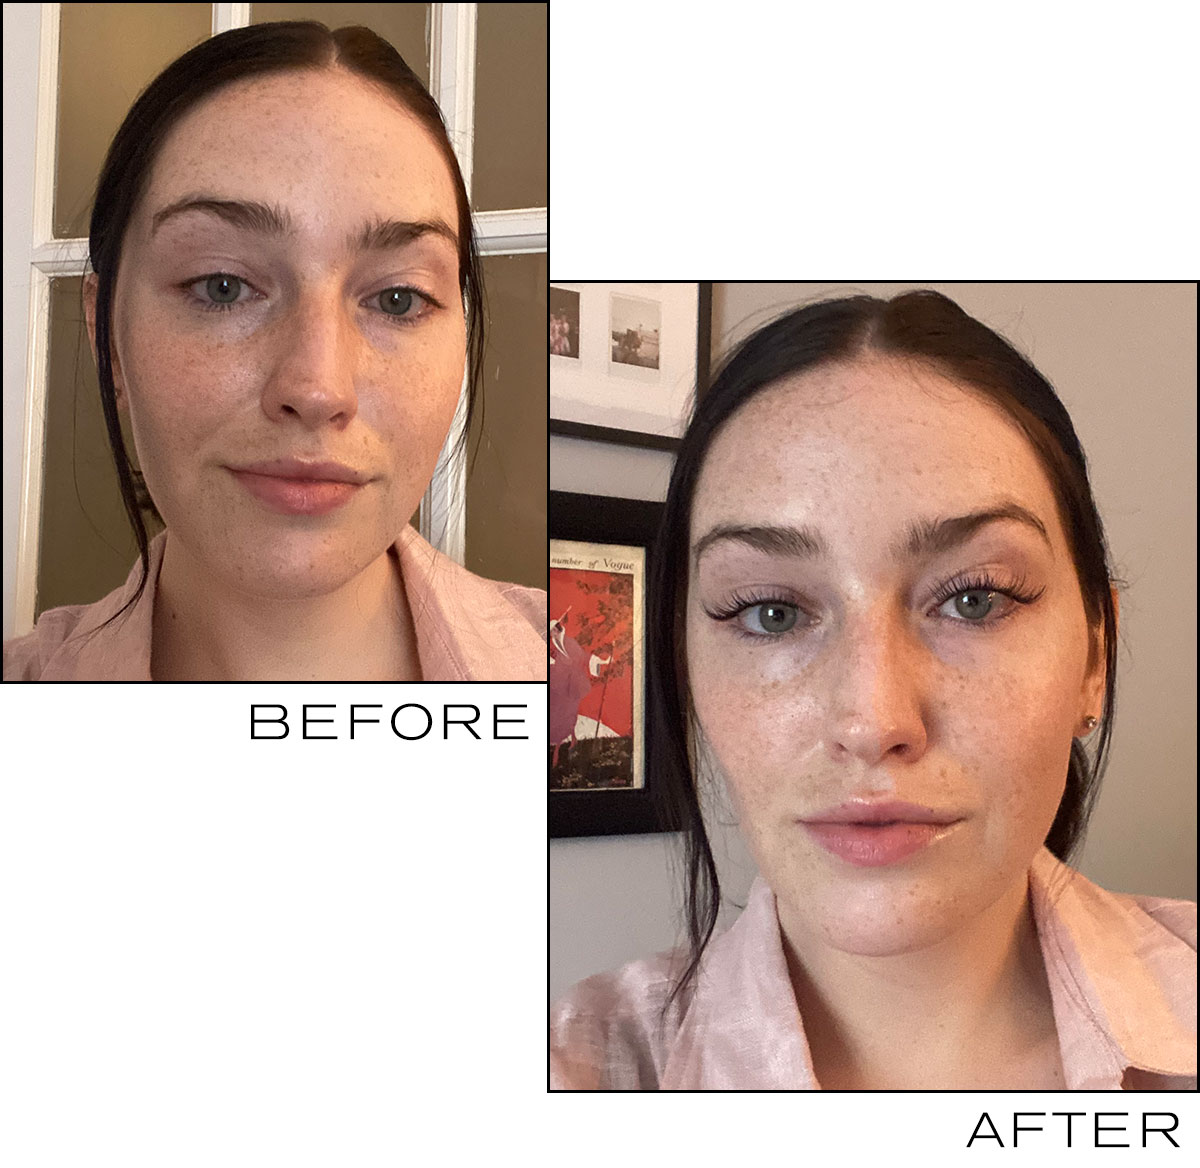
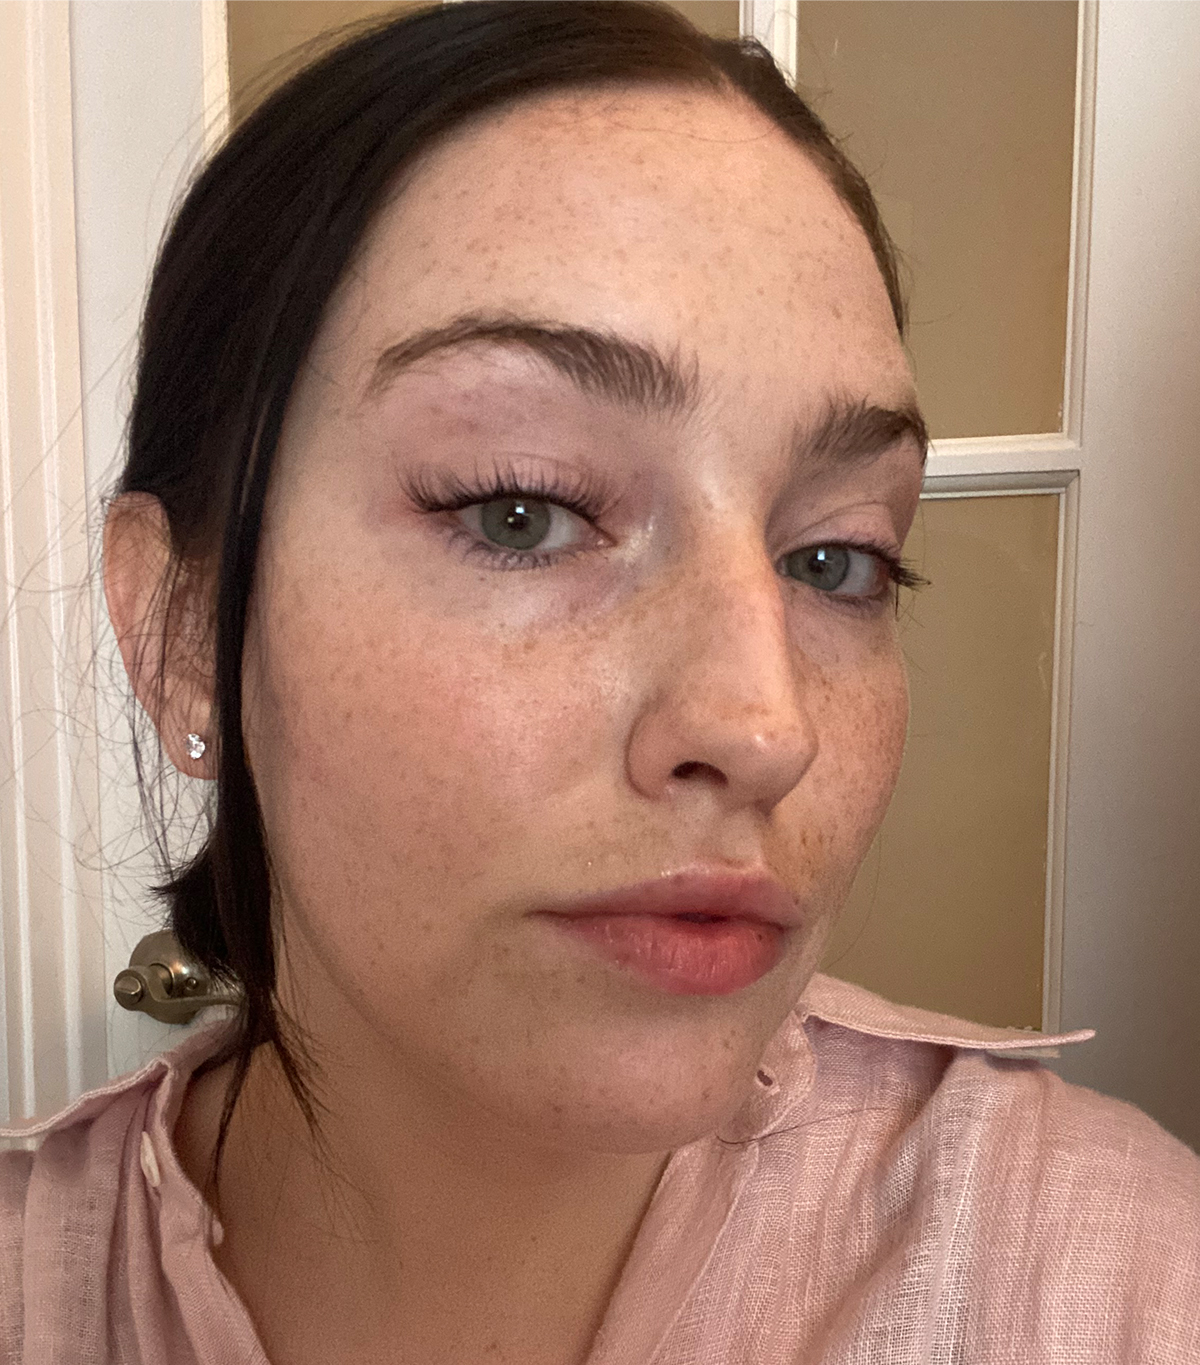
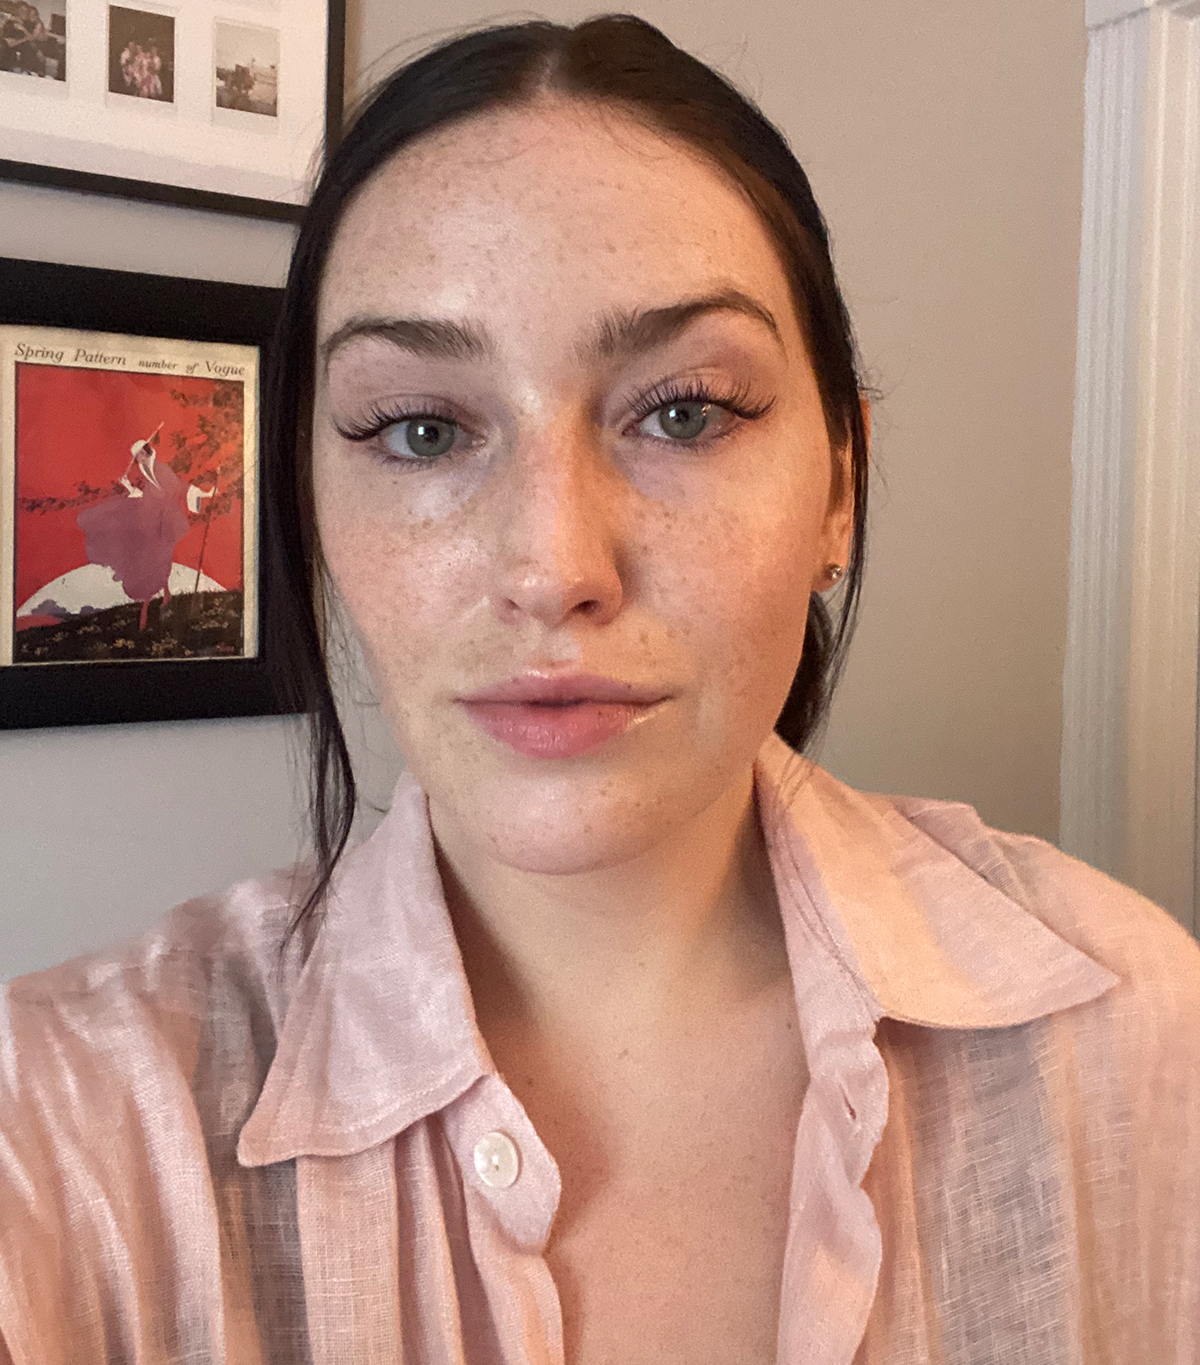
My notes: The lashes stick really easily, which made application a breeze. I did have one lash that got tangled, so I removed it and replaced it with a different one. I used three short lashes and two longer lashes and thought the end result was perfect.
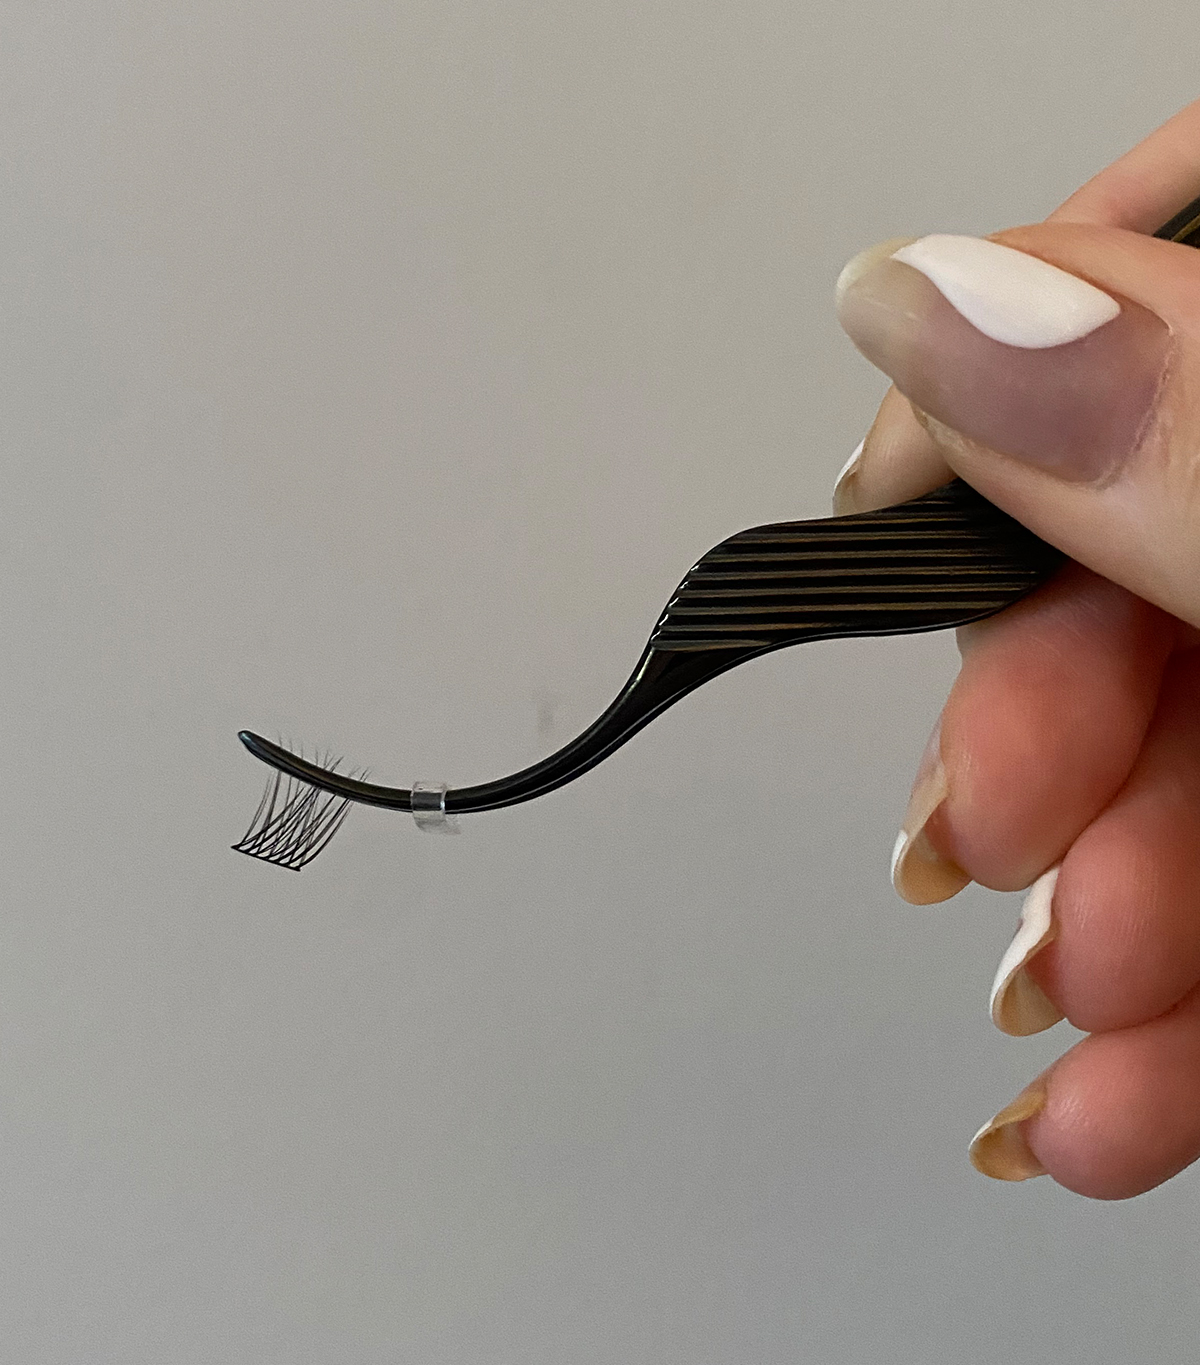
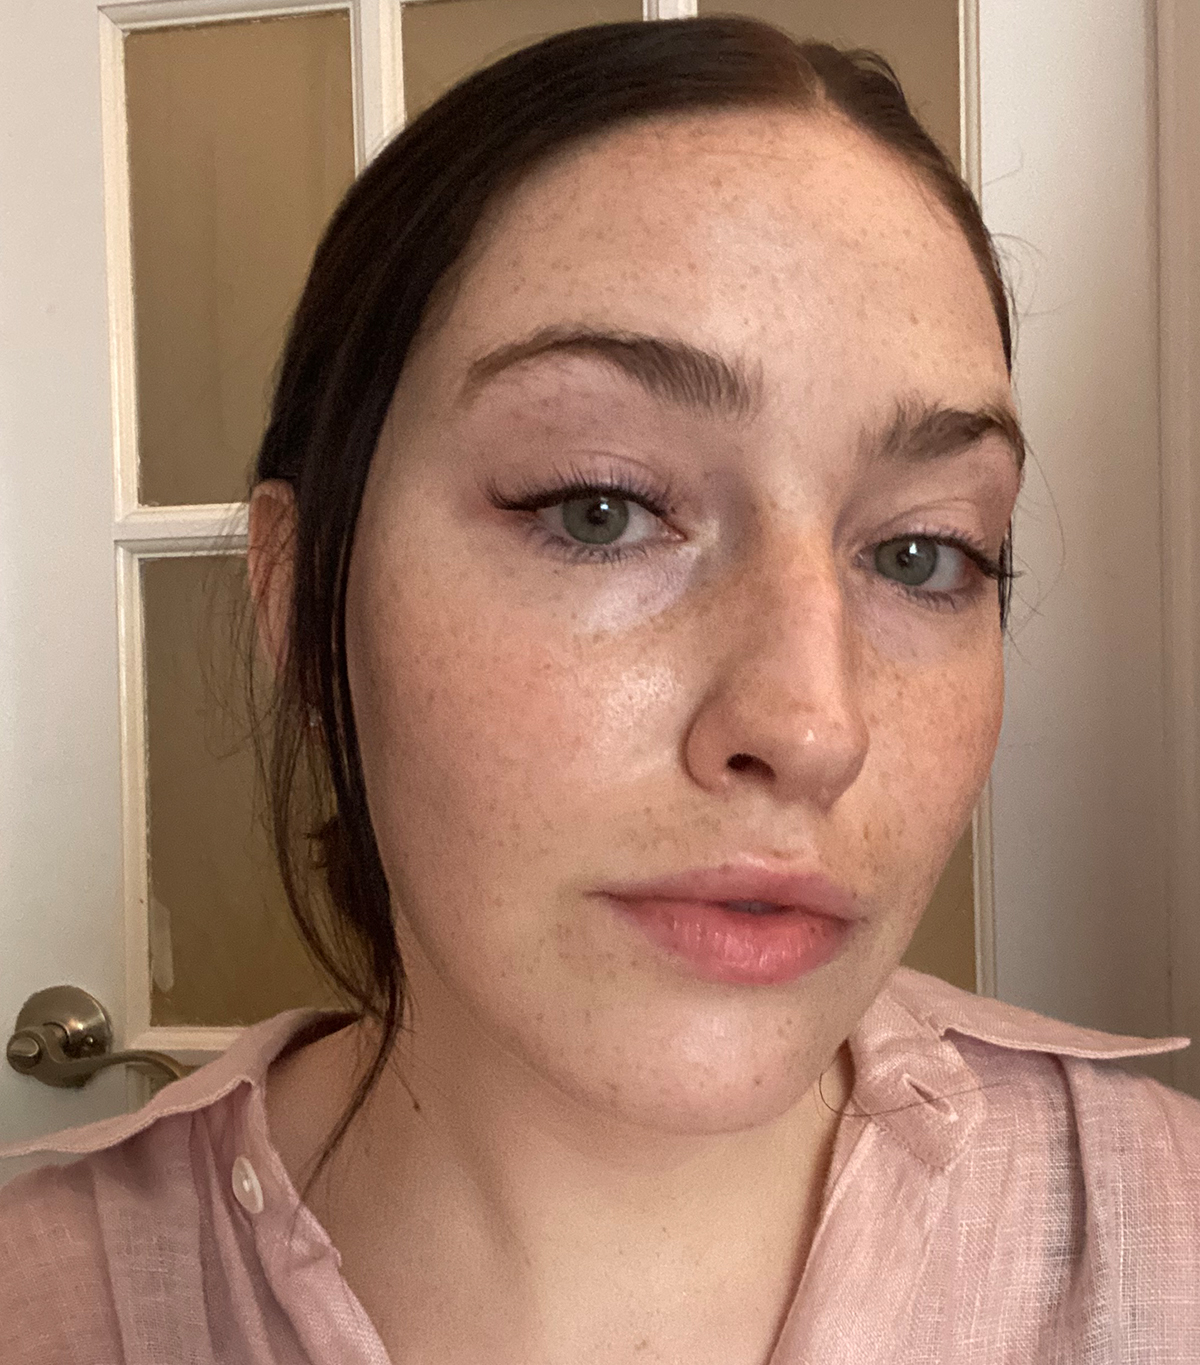
4. Fuse the lashes.
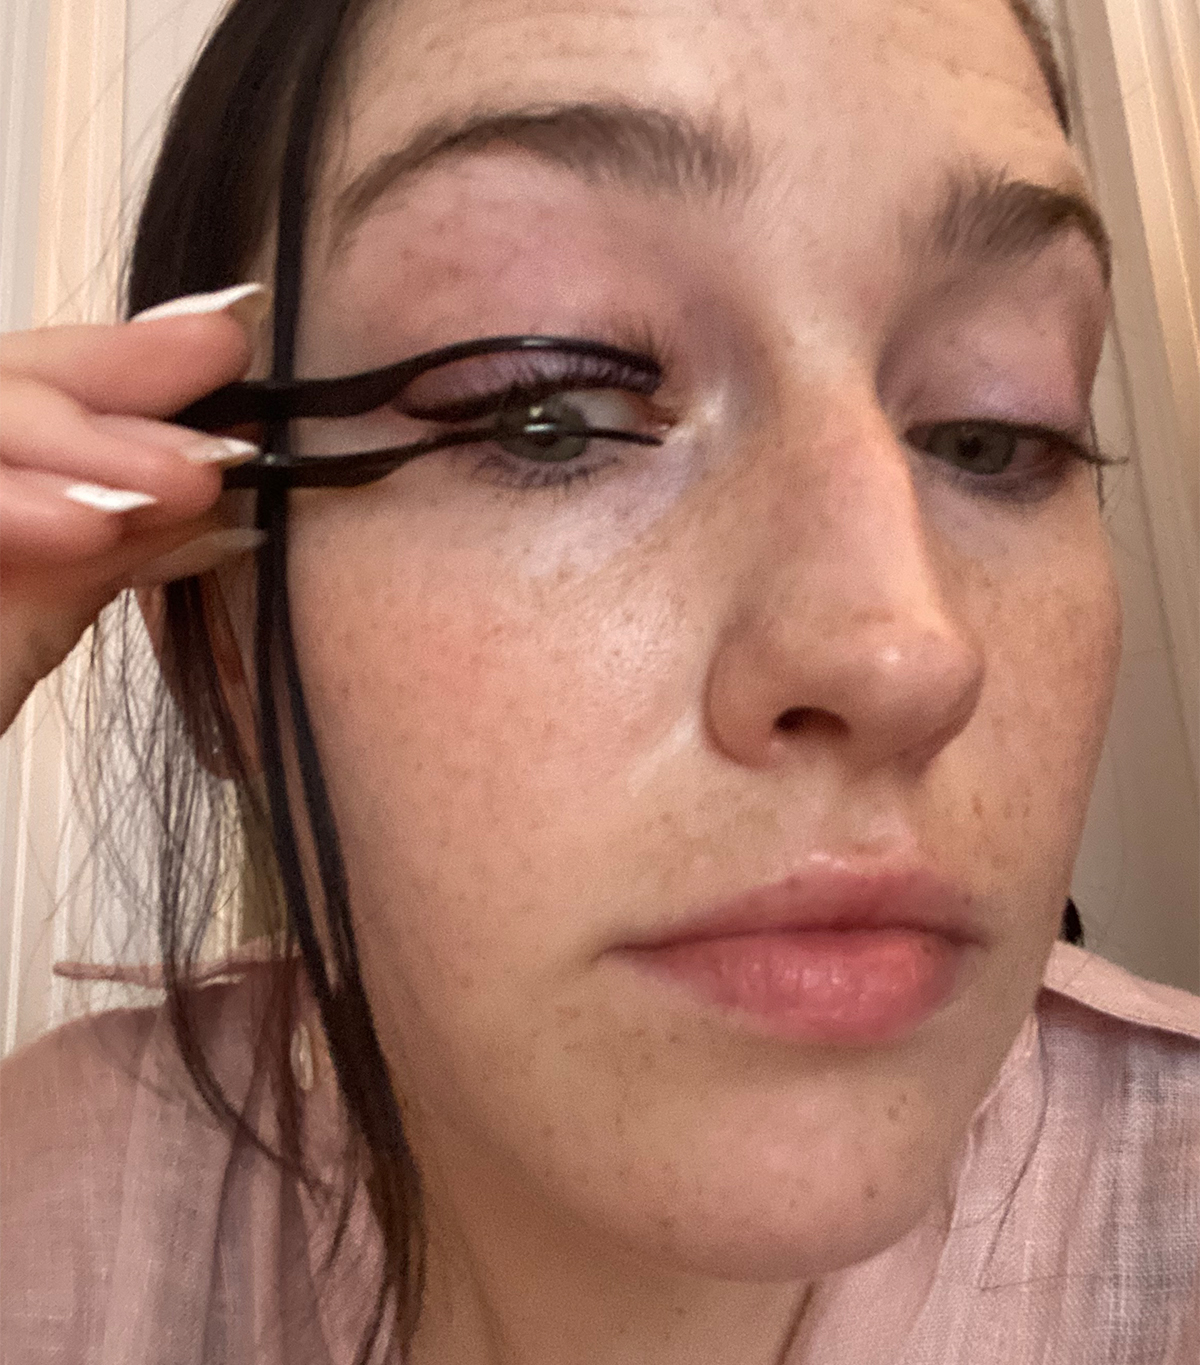
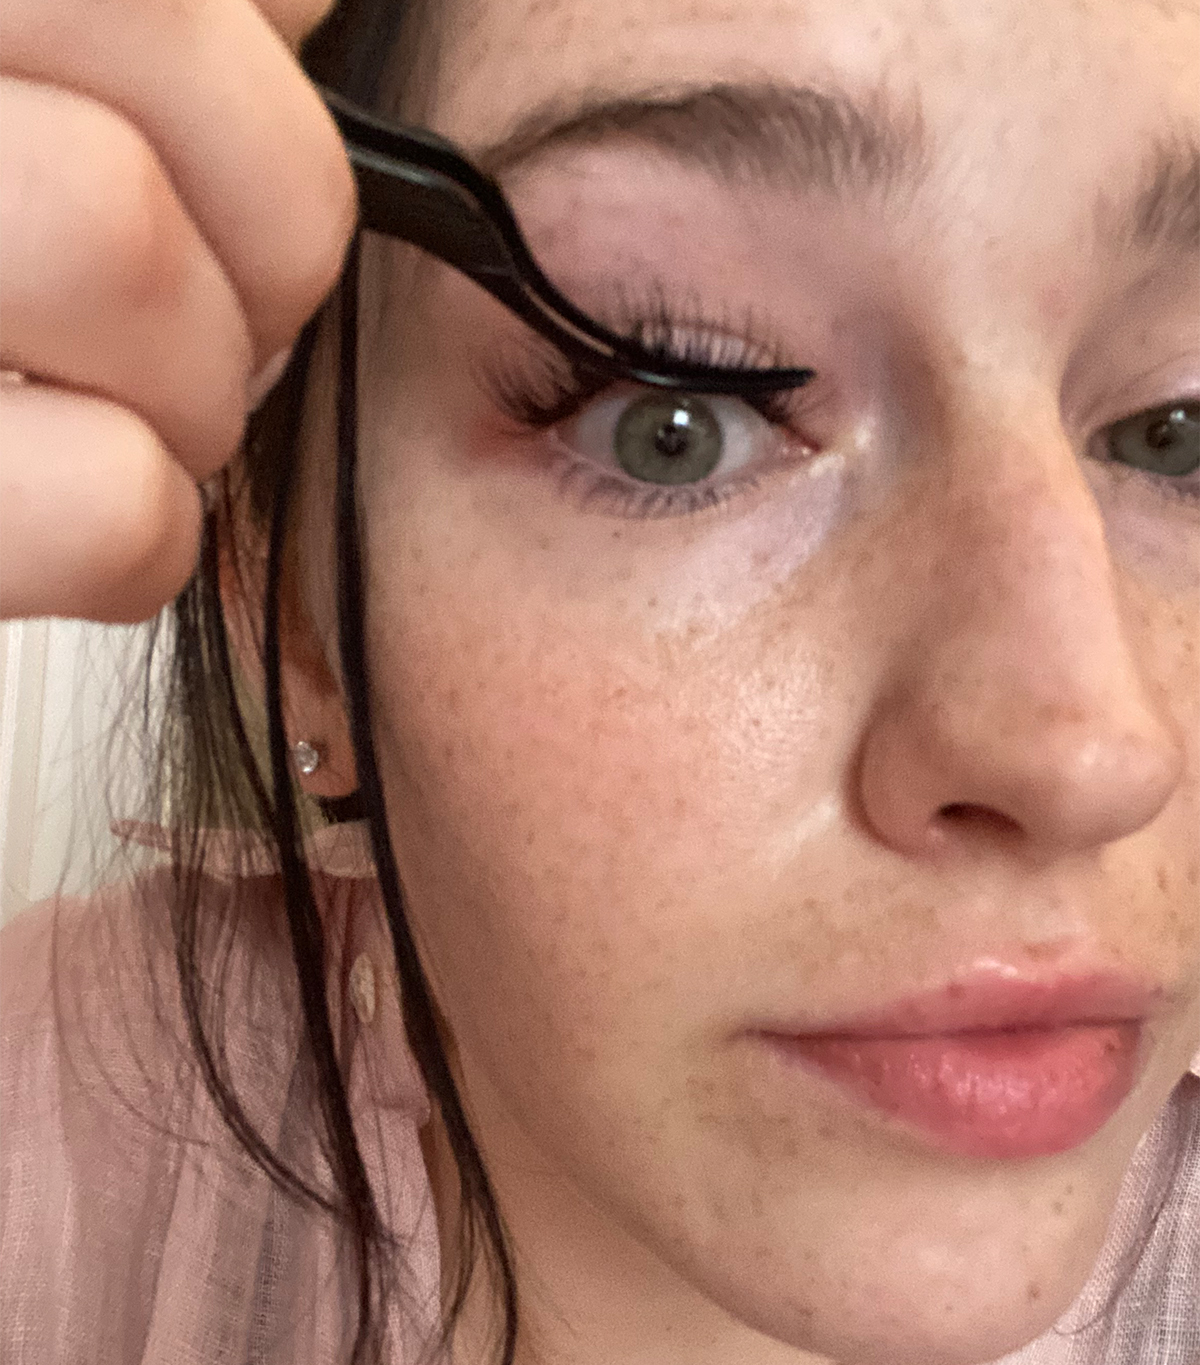
This is the final step for lashes. "There [are] two different ways to fuse, we can do a full fuse and a reverse fuse,” says Medicis. For the full fuse, you’ll take the want and squeeze down on the spines lightly and hold for 5 to 10 seconds. For a reverse fuse, you’ll hold your wand like a pen and do small little fuses along the lash line. Medicis says you can also do a combination of each.
My notes: I found the reverse fuse method easier, so I ended up doing the reverse fuse on both sides. I might not have waited long enough to fuse on my left side because my lashes stuck a little to the wand, but they ended up still looking good. Here's a picture of both fusing methods:
5. Seal everything.
Wait 30 minutes, then go in with the Glass Crystal. It removes excess tackiness and makes the lashes water-resistant. "I always recommend coming in and using the tip of the wand and going back and forth two or three times along the spines,” says Medicis.
My notes: I found that after using the Glass Crystal twice, my lashes completely lost all remaining tackiness and even looked better.
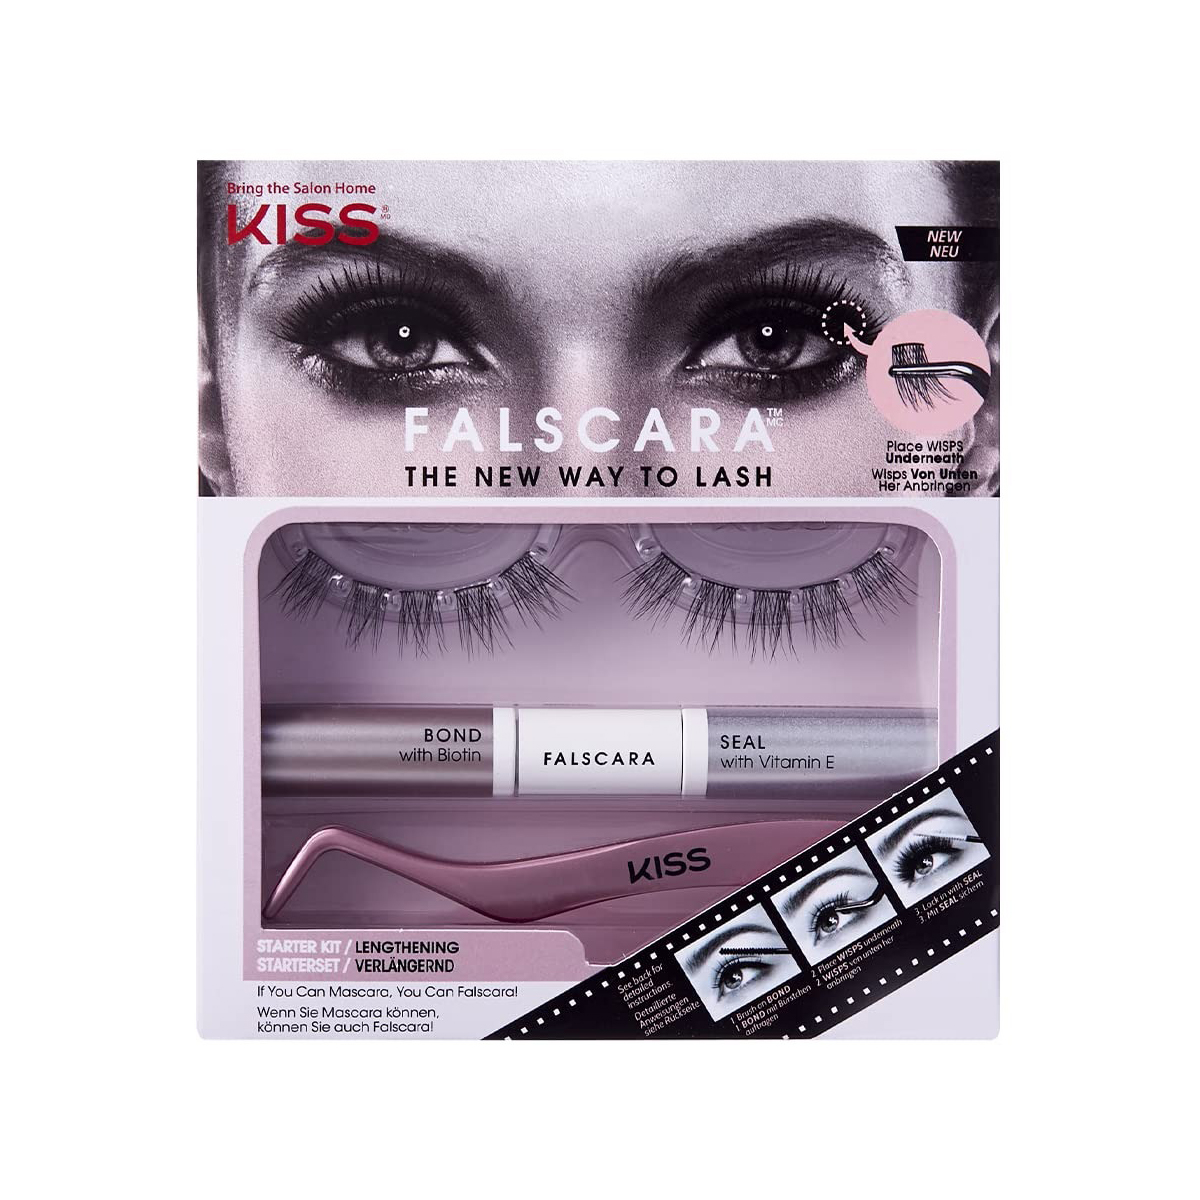
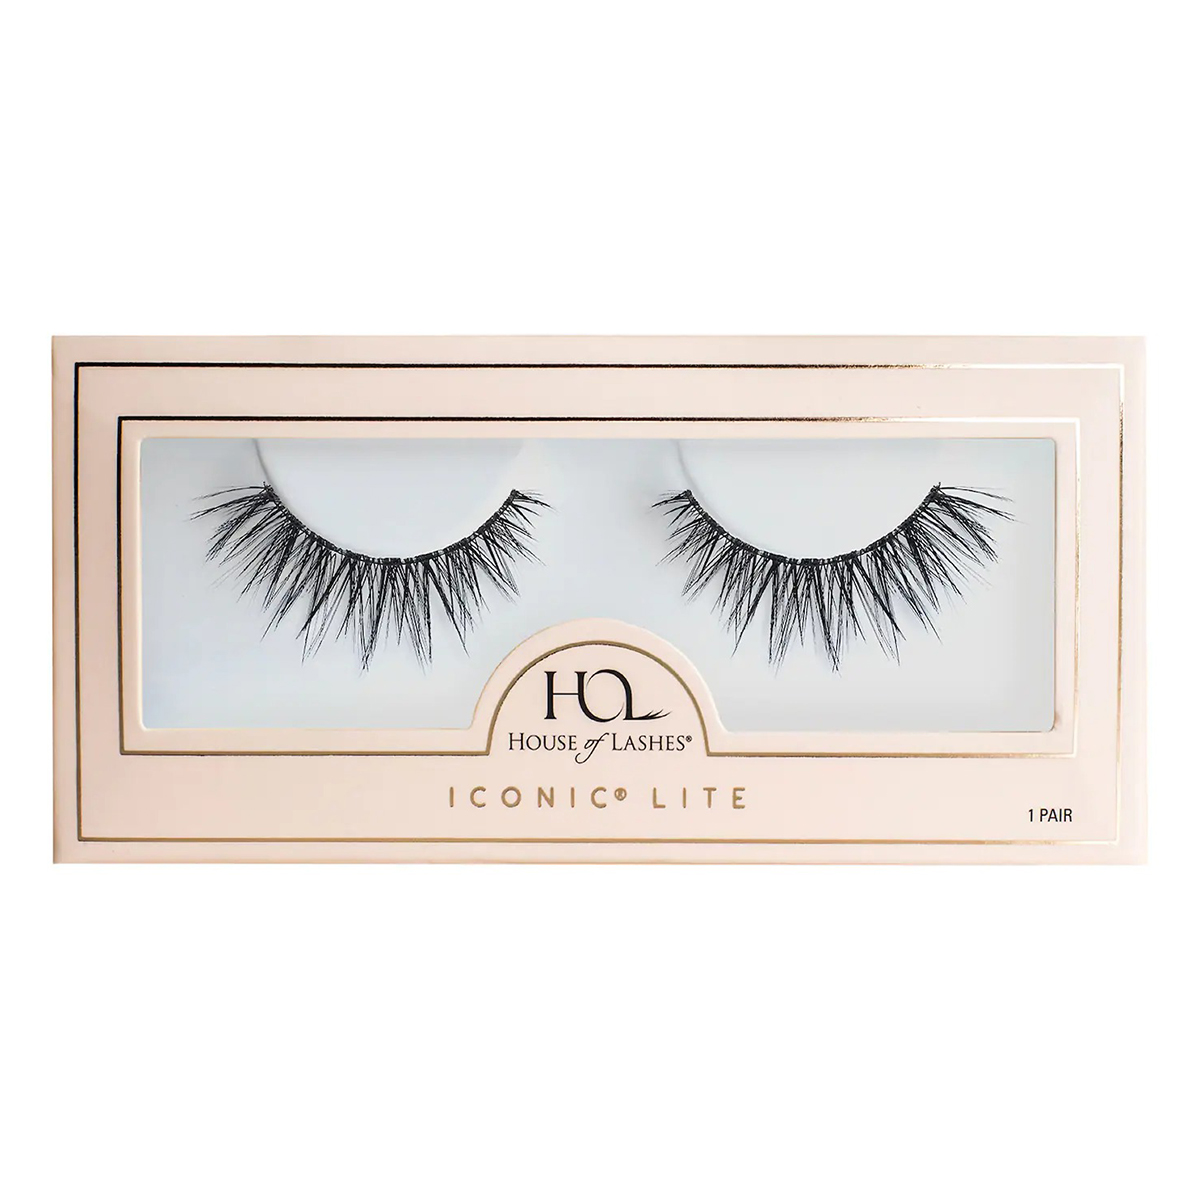
Other false lashes we swear by, if you'd rather keep the drama to one night:
Next: 12 Super-Effective Curling Mascaras If Your Lashes Are Stick Straight
Prior to her time atBest Knockoff Luxury Clothing , Katie Berohn worked as the beauty assistant for Good Housekeeping, Woman's Day, and Prevention magazines, all part of the Hearst Lifestyle Group. She graduated from the University of Colorado, Boulder, with a major in journalism and minor in technology, arts, and media, and earned her master's degree at NYU's graduate program for magazine journalism. In addition, Katie has held editorial internships at Denver Life magazine, Yoga Journal, and Cosmopolitan; a digital editorial internship at New York magazine's The Cut; a social good fellowship at Mashable; and a freelance role at HelloGiggles.
