This Parisian-Coded Hairstyle Is Dominating My Feeds—Here's How to Do the Perfect French Twist
I asked a top hairstylist to share how to use a French pin to create a chic French twist in mere seconds (and actually get it to hold).

If your feeds are anything like mine right now, French pins are everywhere. There's no denying that French hair accessories are having a huge moment right now and have asserted themselves as a key player in 2026 hair trends. And ever since spotting the masterfully placed French pins and French combs at The Row's Spring/Summer 2026 show (it's probably my favourite beauty trend of the season), I've not been able to stop thinking about them. Claw clips may have reigned during the first half of the decade, but I'm willing to bet that 2026 belongs to the French pin.

Whilst I might not have the magically coiffing hands of legendary hairstylist Guido Palau, who was behind the intricate hairstyles backstage, it has encouraged me to get out of my hair rut of wearing my hair down every day, and so I've been researching exactly how to use a French pin.
If you've never used a French pin before, it can be both a bit intimidating and finicky (my first few French twists? They fell out in seconds). I've scrolled through countless video tutorials, which all make it look so easy to do. But, as I've since learned, there are so many hidden tricks to ensure you're using your French pin correctly. So, I enlisted the help of hair stylist Limoz Logli to share his expert tips on how to use a French pin and actually get your French twist to hold in place all day.
How to Use A French Pin

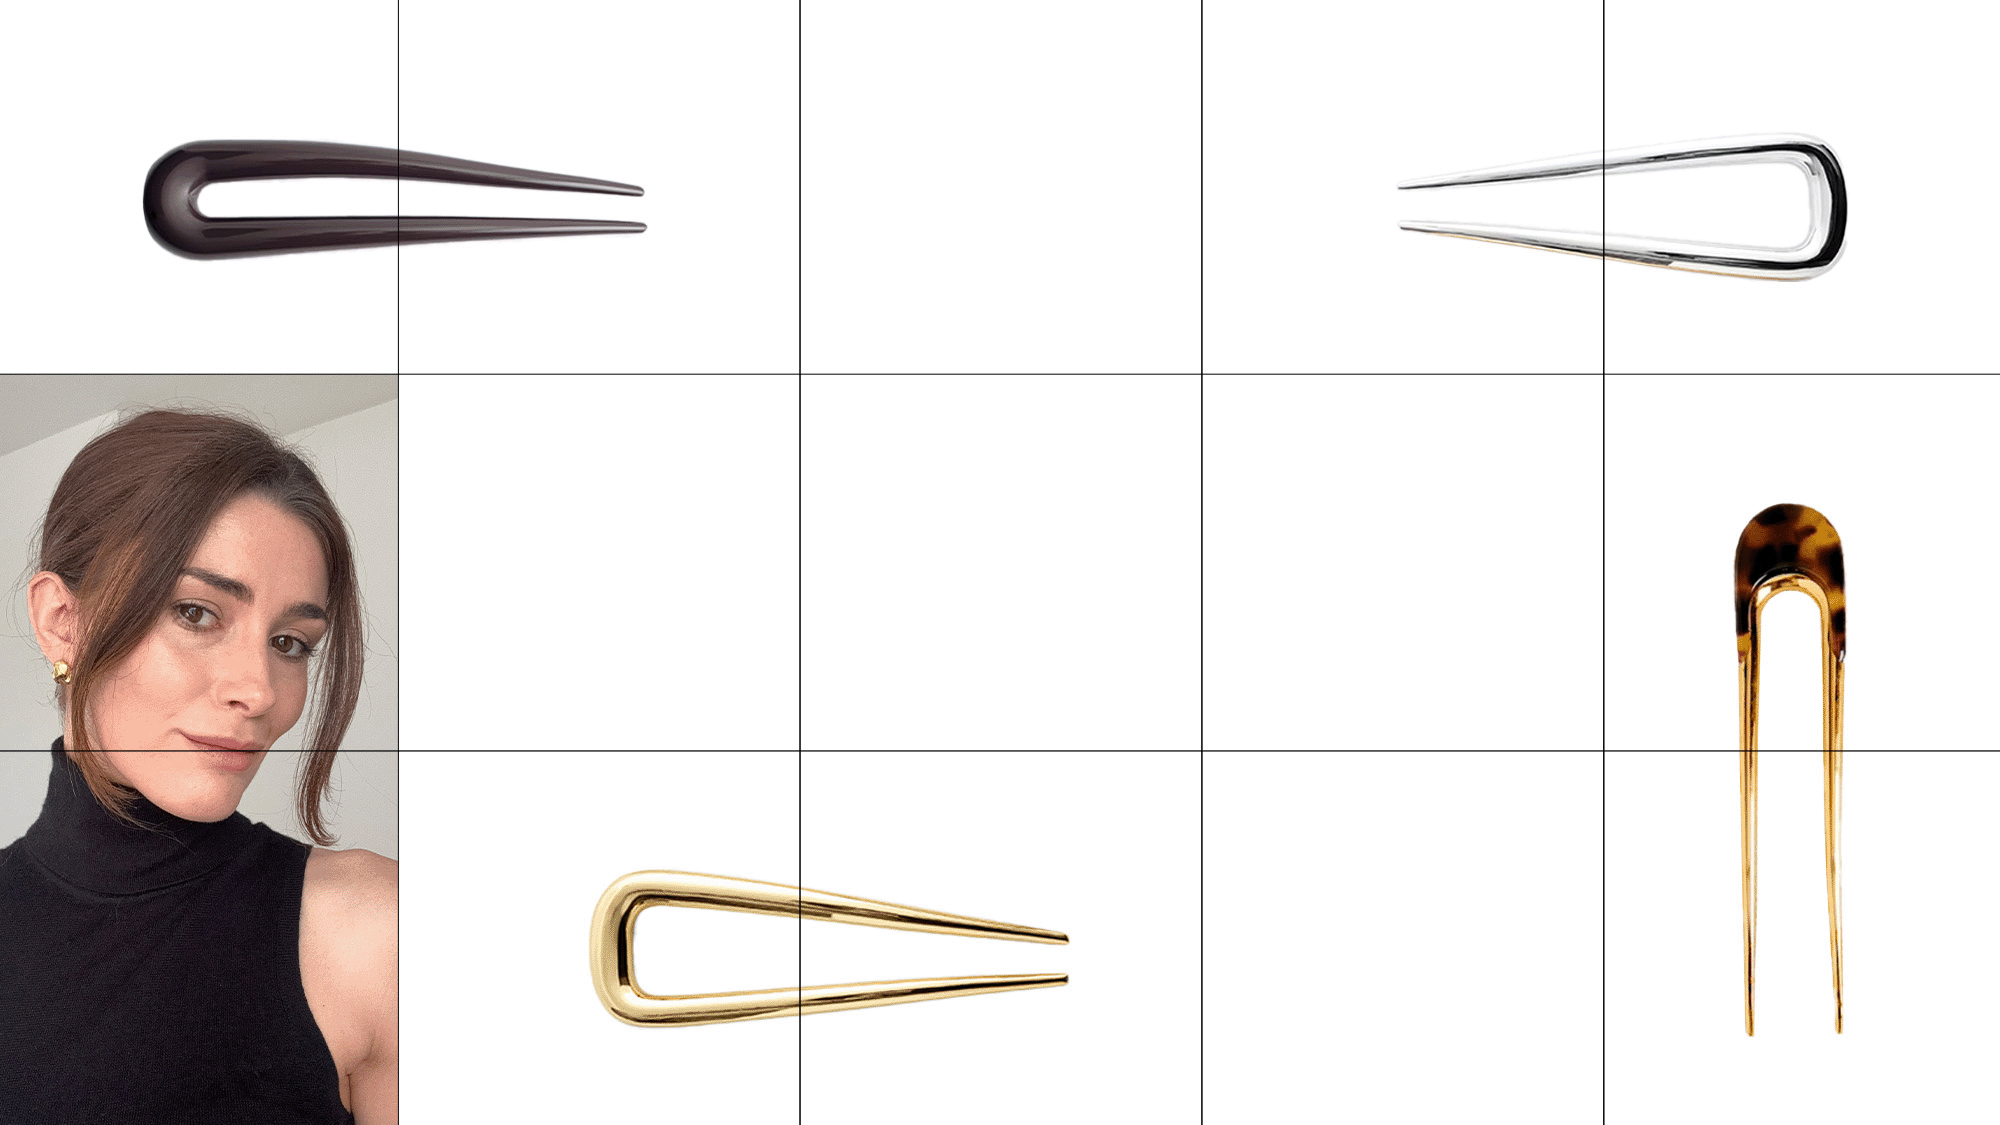
First things first, you'll need to choose the right French pin for your hair. Smaller French pins work on bob-length shoulder-length hair; however, those with longer or thicker lengths will get a more secure hold from a larger French pin. I personally love Logli's Yael French Pin (£19), which is larger than most and gives me the most secure fit on my long and thick hair. It's also a little flexible, helping to easily secure it into twists. For shorter hair lengths and finer hair types,
Other Stories Sculptural Hair Pins (£19) are a good size and have a chic chrome finish that peeks out of your French twist, effortlessly updating your everyday updo.
Prepping your hair will also ensure your French twist holds in place, especially if you have silky lengths that are more slippery to work with. "Hair should be clean but not greasy or slippery. Day-old hair is ideal, or freshly washed hair with a bit of added texture. You want grip; overly clean, soft hair won’t hold as well," says Logli. "A light texture spray or dry shampoo through the roots helps enormously. Start by adding light texture through the roots and mid-lengths; this gives the hair grip and movement," he says. "Avoid pomades, as they’re too slippery and can make the twist collapse," he adds. "Curly or textured hair often holds naturally and usually needs less product, just careful shaping and anchoring."
As for using the French pin itself, there are endless ways to use it. Ahead, I'm sharing two ways to create a French twist using a French pin.
Method 1

This technique involves wrapping your hair around your fingers to create a twist before inserting the French pin to secure it. I find this method gives more of an effortless and undone vibe, especially if you let the ends peek out of your twist. For something more polished and refined, scroll on to method two further below, where you use the pin in place of your fingers (I also find this to provide a more secure fit, IMO).
Step 1
After prepping your hair with any styling products, gather your hair into a low ponytail at the nape of the neck and hold onto it with your non-dominant hand. "Just above the nape is the most flattering and secure place," says Logli. "Keeping it slightly off-centre makes it feel more modern and relaxed."
Step 2
Wrap your ponytail underneath your index and middle fingers of your dominant hand. This allows you to easily twist the hair upwards. My biggest tip? Remove your rings for this part, as they can sometimes catch on the twist.
Step 3
"Gather the hair at the nape and twist it upward, following the shape of the head," says Logli. Twist your hair in a circular motion until your hair is fully twirled into the twist, and use your other hand to help guide the hair up and hold it at the top of the twist. If you have long hair or layers, don't worry if they won't all fit in the twist at this stage.
Step 4
For any ends that are peeking out of the twist, you can simply tuck them inside the twist using your other hand as you hold the twist in place.
Step 5
I'd argue that the technique you use to secure the French pin into your hair is the most crucial step. Above, I'm showing how to move the French pin into the hair for the most secure fit. "Insert the pin with the curve facing outward, not toward the head," says Logli. "Then, slide it into the twist, then rotate it inward so the curve cups the shape of the head," he says.
Step 6
"Hold the twist in place, then insert the French pin from the side with more volume. Catch a section of the twist, rotate the pin inward, and slide it down so it anchors into the hair at the base of the head," he adds.
It can take a few tries to get the right tension, so if it feels too loose or too tight, you can start again. "If it feels loose, it isn’t anchored into the hair near the scalp," says Logli. "If it feels uncomfortable, the pin is pressing against the head instead of sitting within the twist."
Step 7
If you have any ends popping out that bother you, you can slide in some hair grips for a neater look. "With shorter layers, secure the twist first, then pin loose pieces afterwards," says Logli. "For very long hair, fold excess length back into the twist rather than building it upward so the shape stays elegant." However, if you're going for a more effortless look, you can keep them peeking out for a casual French twist.
Step 8
And there you have your French twist. "The twist should feel firm and controlled, but never strained," says Logli. "If it’s too loose, the pin won’t have enough structure to anchor into; if it’s too tight, the hair loses flexibility, and the pin can slip," he says. "Aim for a smooth, secure twist that stays close to the head; the pin should lock it in place, not fight against it," he says.
As a finishing step, you can use a light touch of hairspray to set it into place. and pull a few face-framing tendrils free if you prefer. "Finish with a light mist of hairspray for hold and polish; the result should look glossy and intentional, never stiff," says Logli.
Method 2

If the first method doesn't feel secure enough, try this one instead. Instead of wrapping your hair around your fingers to create the twist, you'll instead wrap it around the French pin itself. I find this method results in a much more secure French twist, as well as looking a little more polished and sleeker overall.
Step 1
Begin by gathering your hair into a low ponytail at the nape of your neck using your non-dominant hand.
Step 2
Wrap the base of the ponytail around the top of the French pin in your other hand, twisting upwards to form a coiled twist at the back of your head. Again, don't worry too much if any ends are peeking out at this stage—they can be tucked away at the end if you wish.
Step 3
Just like the technique used in the first method, we're using a similar process to insert the pin as shown above. You want to angle the pin so that it catches the back of the head, before angling it downwards to secure it to the back of the head as you slide it down towards the nape of the neck.
Step 4
As you come to the end of your twist, angle the end of the pin towards the scalp, angling the pin downwards so the curve of the pin hugs the back of your head as it slides into the twist. You might have to gently wiggle the French pin into place at the top of your twist to find the right angle to comfortably insert the pin. It should feel secure. If it feels too tight or too loose, start again until you find a more comfortable fit.
Step 5
You can then tuck in any ends that didn't fit into the twist at the side of the twist using your fingers, or add a couple of hair grips to secure them more firmly if needed.
Step 6
And there you have your finished French twist. You can then pull a few strands free for some face-framing tendrils if you like, and fix with some hairspray for extra hold.
Shop French Pins


