Our Cover Shoot Reignited My Love for Makeup—Here's How I Re-Created the Look

I’ve been plagued by beauty boredom. Actually, let me back up. Pre-pandemic, I had a low-key makeup routine that relied on the usual suspects: tinted moisturizer, bronzer, a hint of blush (I have naturally rosy cheeks), mascara, and a good ol’ brow pencil. It was a routine I knew and loved. But once working remotely became the norm, I decided to focus more on my skin and less on makeup. My thought process was simple—the better my complexion, the less I would feel I had to rely on other products to make me feel good about myself. It’s smart in theory, and I still stand behind my thinking, but after nearly a year, I’ve realized just how uninspired I’ve felt. Bright lips weren’t doing it for me. Neither were dramatic eyes. Not even a full-on glow! I guess all it took was the new year and our February cover shoot featuring Daisy Ridley to get me excited about makeup again.
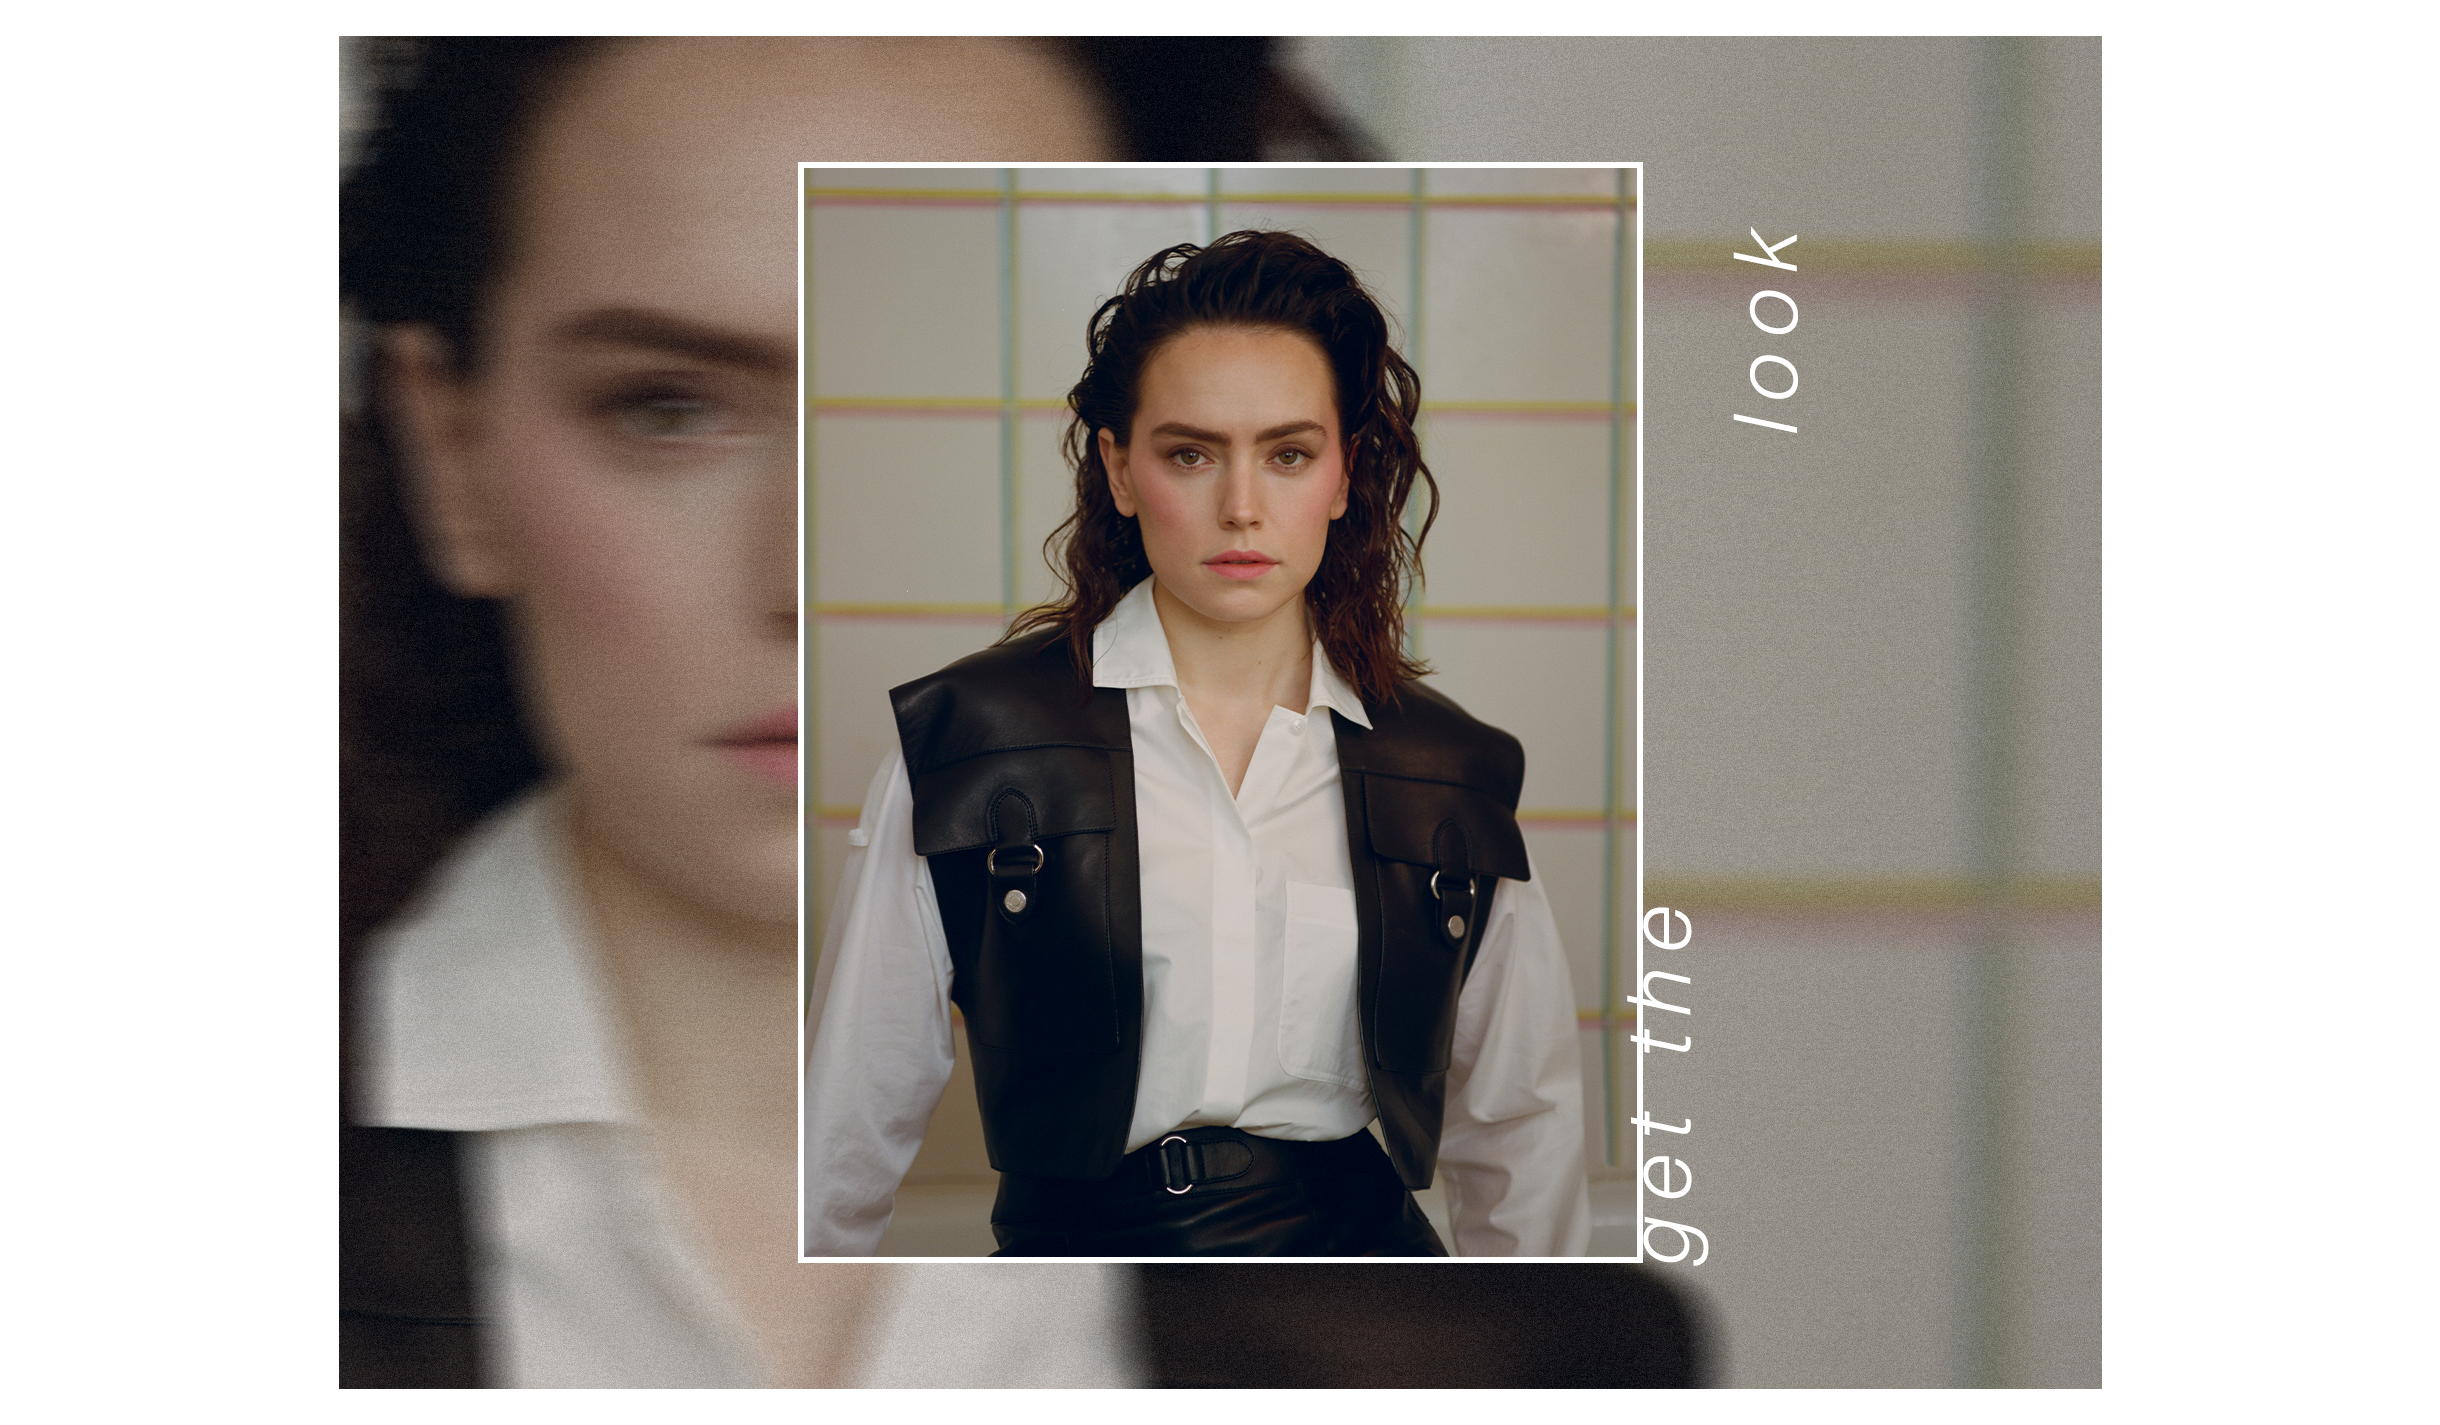
Obviously, the clothes are good, but the glam is really good. From the gelled, pulled-back hair to the over-contoured pink cheeks, there are major ’90s vibes happening, and I’m totally here for it. What can I say? I am a ’90s baby after all. Instead of just admiring the look, it was the first time in a very long time that I felt the need to do my own take. It might not be perfect, but it sure as hell made me feel good! So if you want to put your beauty boredom to rest and flex those makeup muscles, follow along below.
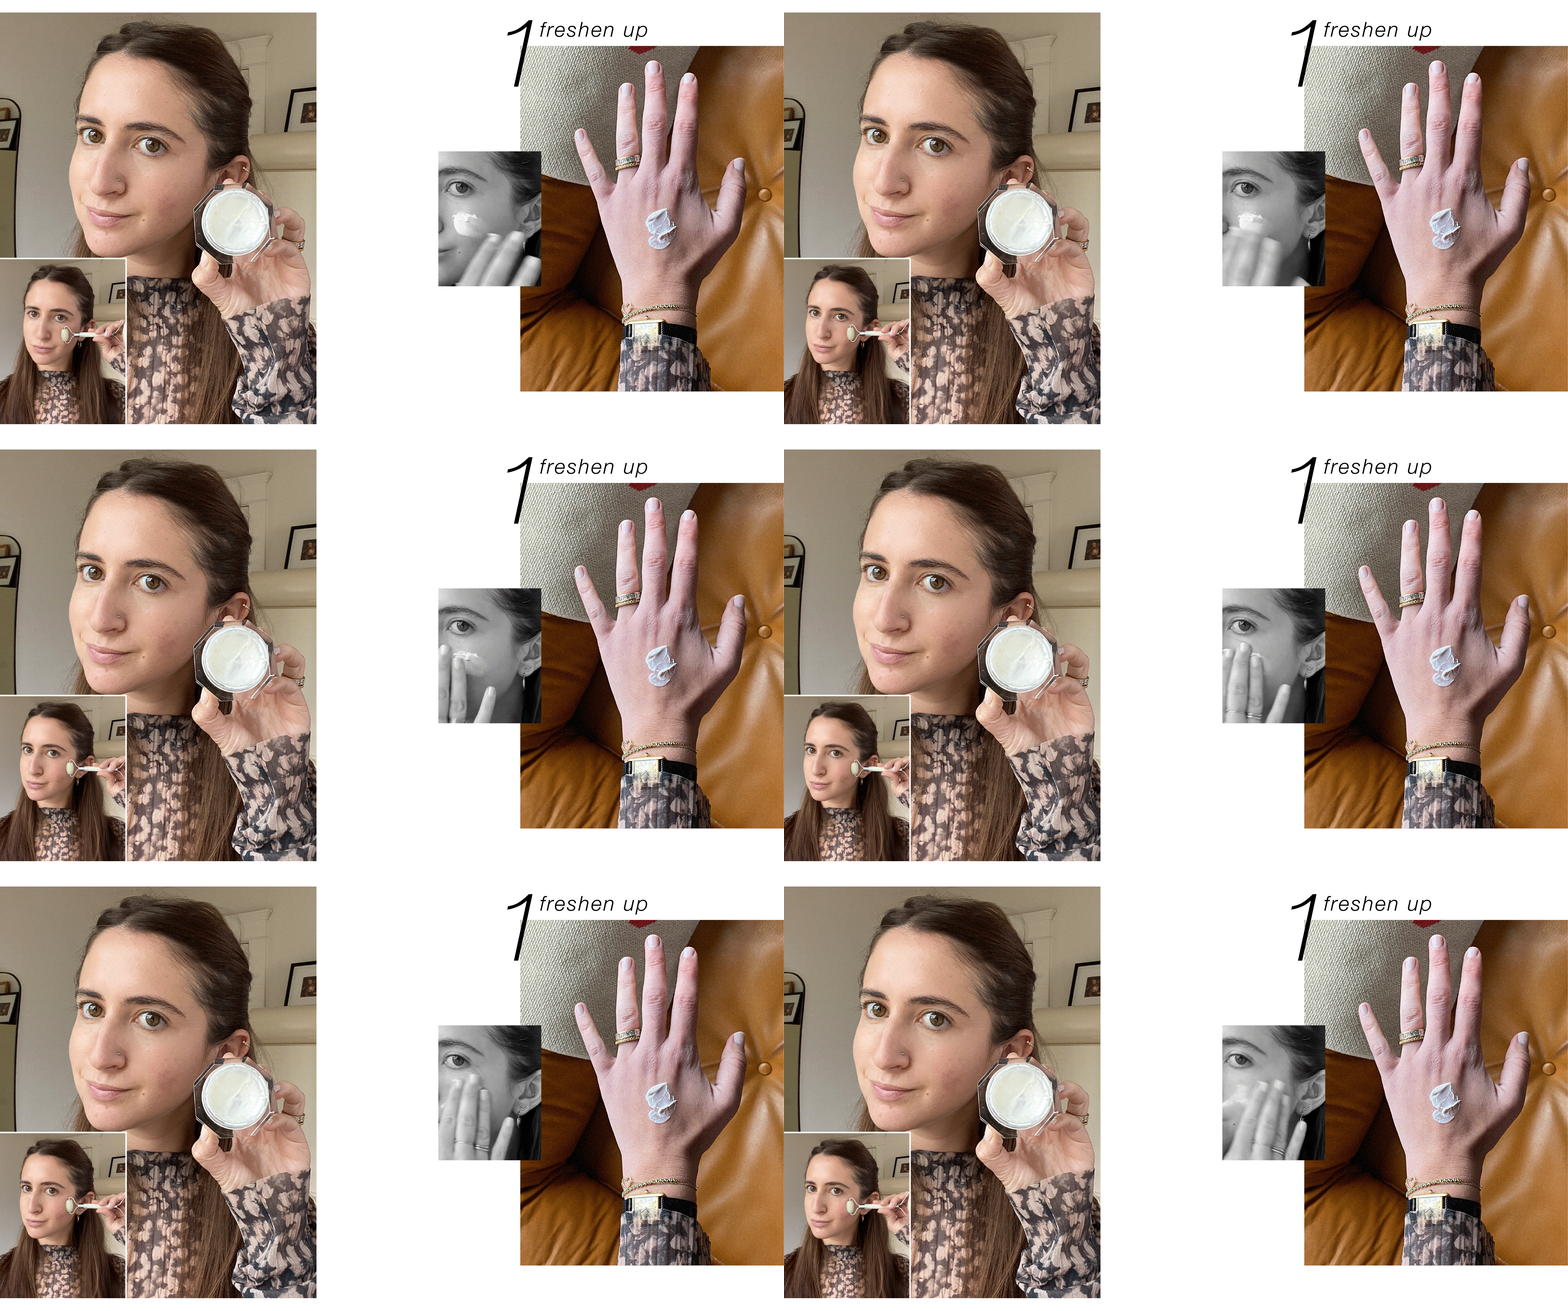
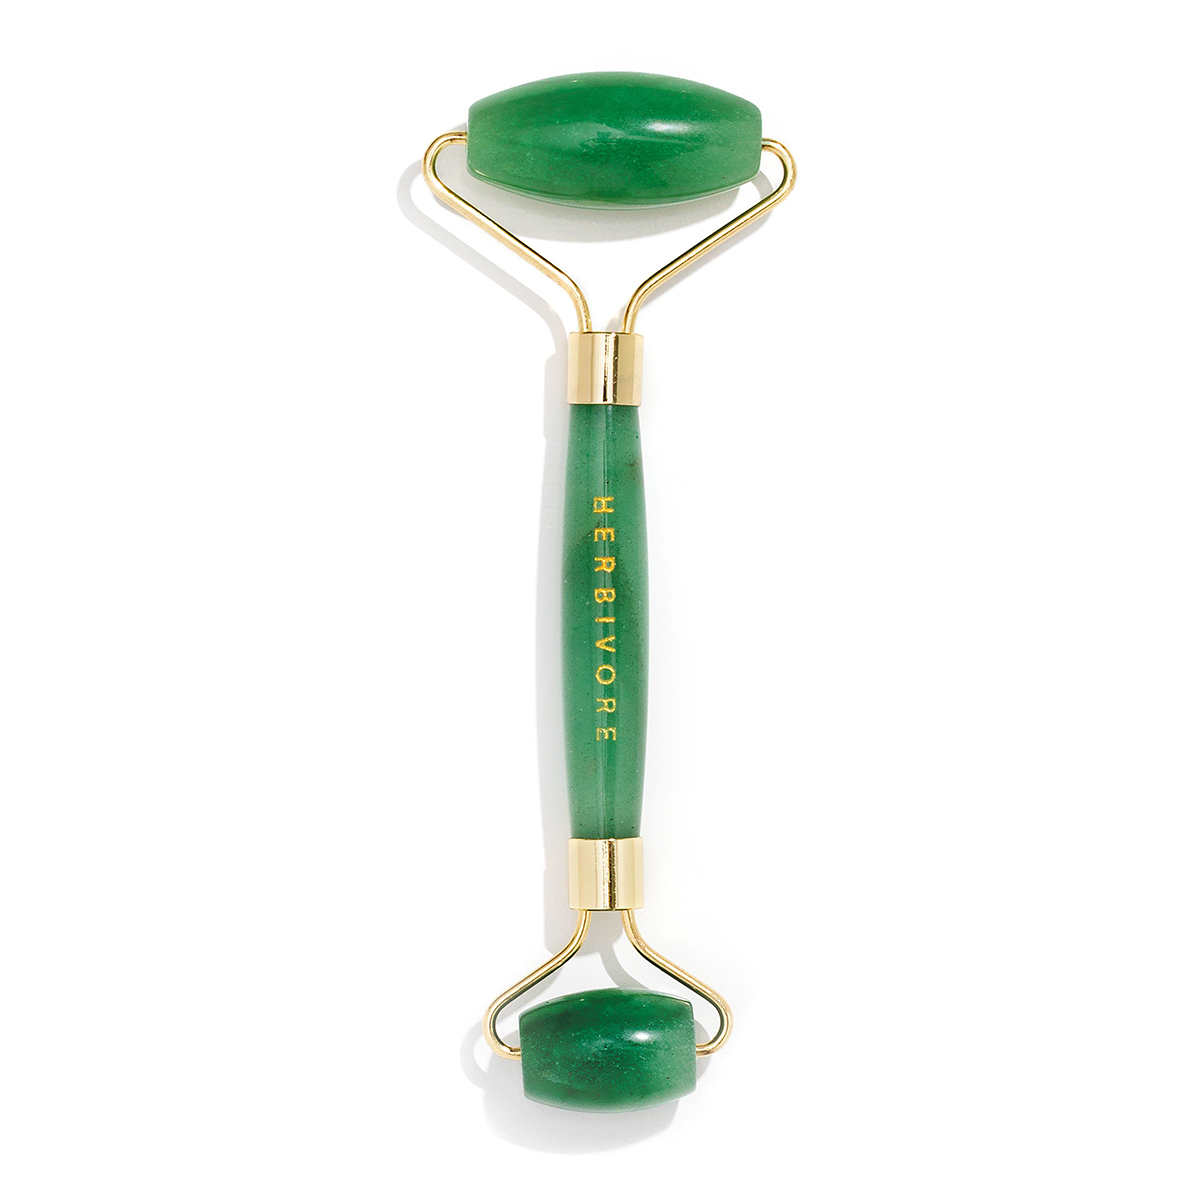
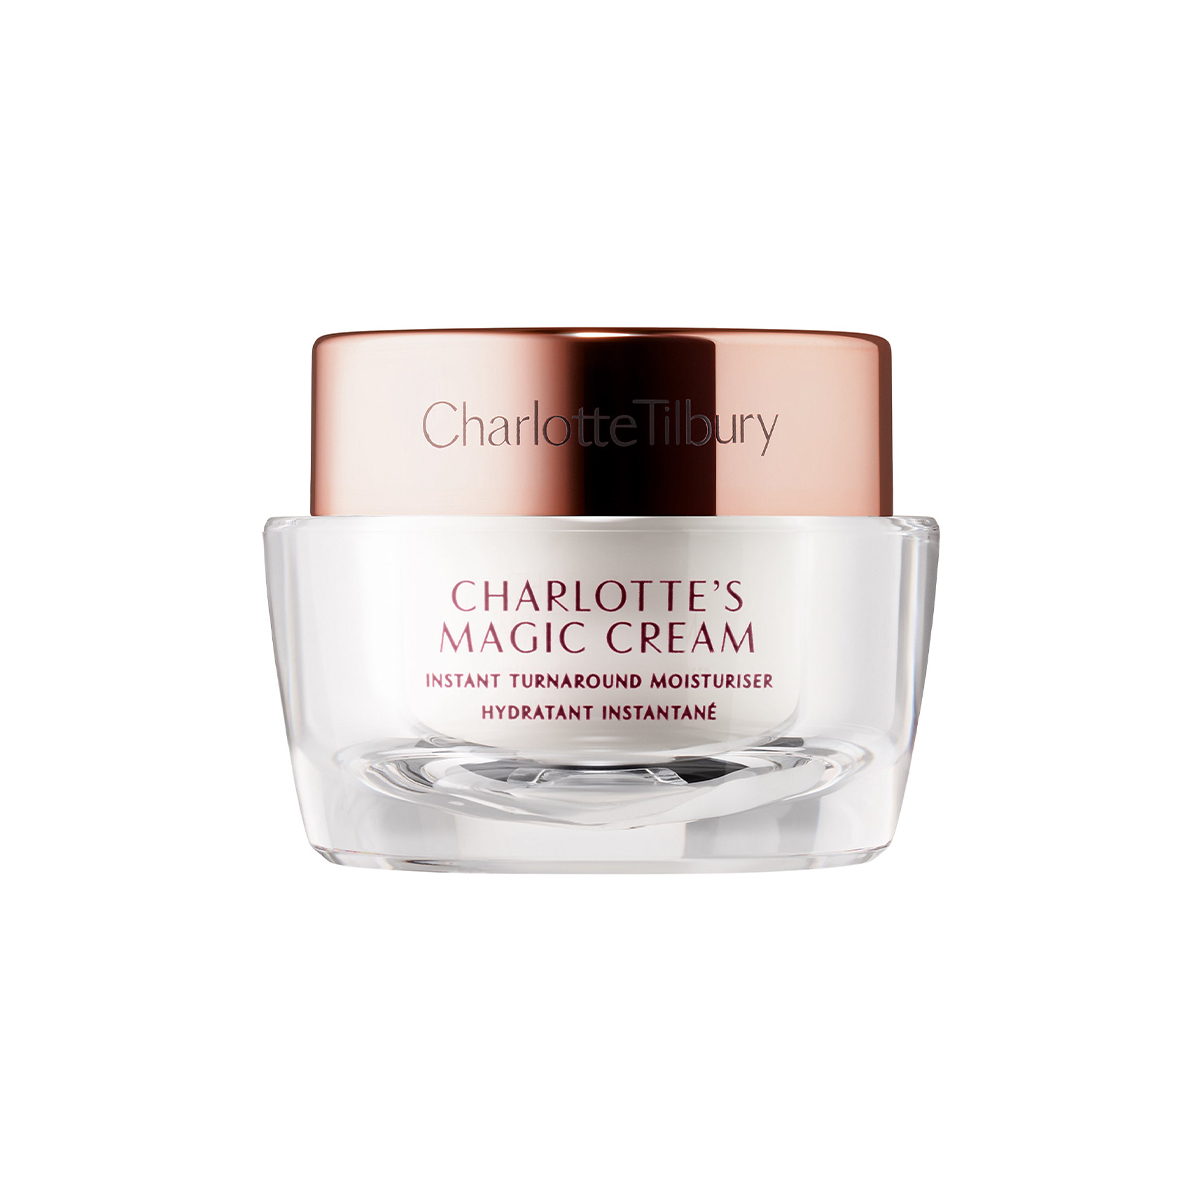
First things first, I like to start by rolling a cold jade roller over my skin. I usually just put mine in the freezer for an hour before using it. Arguably the most important step is to make sure your face is well hydrated. I’m picky when it comes to my moisturizers and hate when my skin feels sticky from them, but the Charlotte Tilbury Magic Cream ($64) never fails me. It’s thick yet still lightweight and makes my skin look and feel fresh and plump. I add a healthy dose of it all over my face before applying my complexion products.
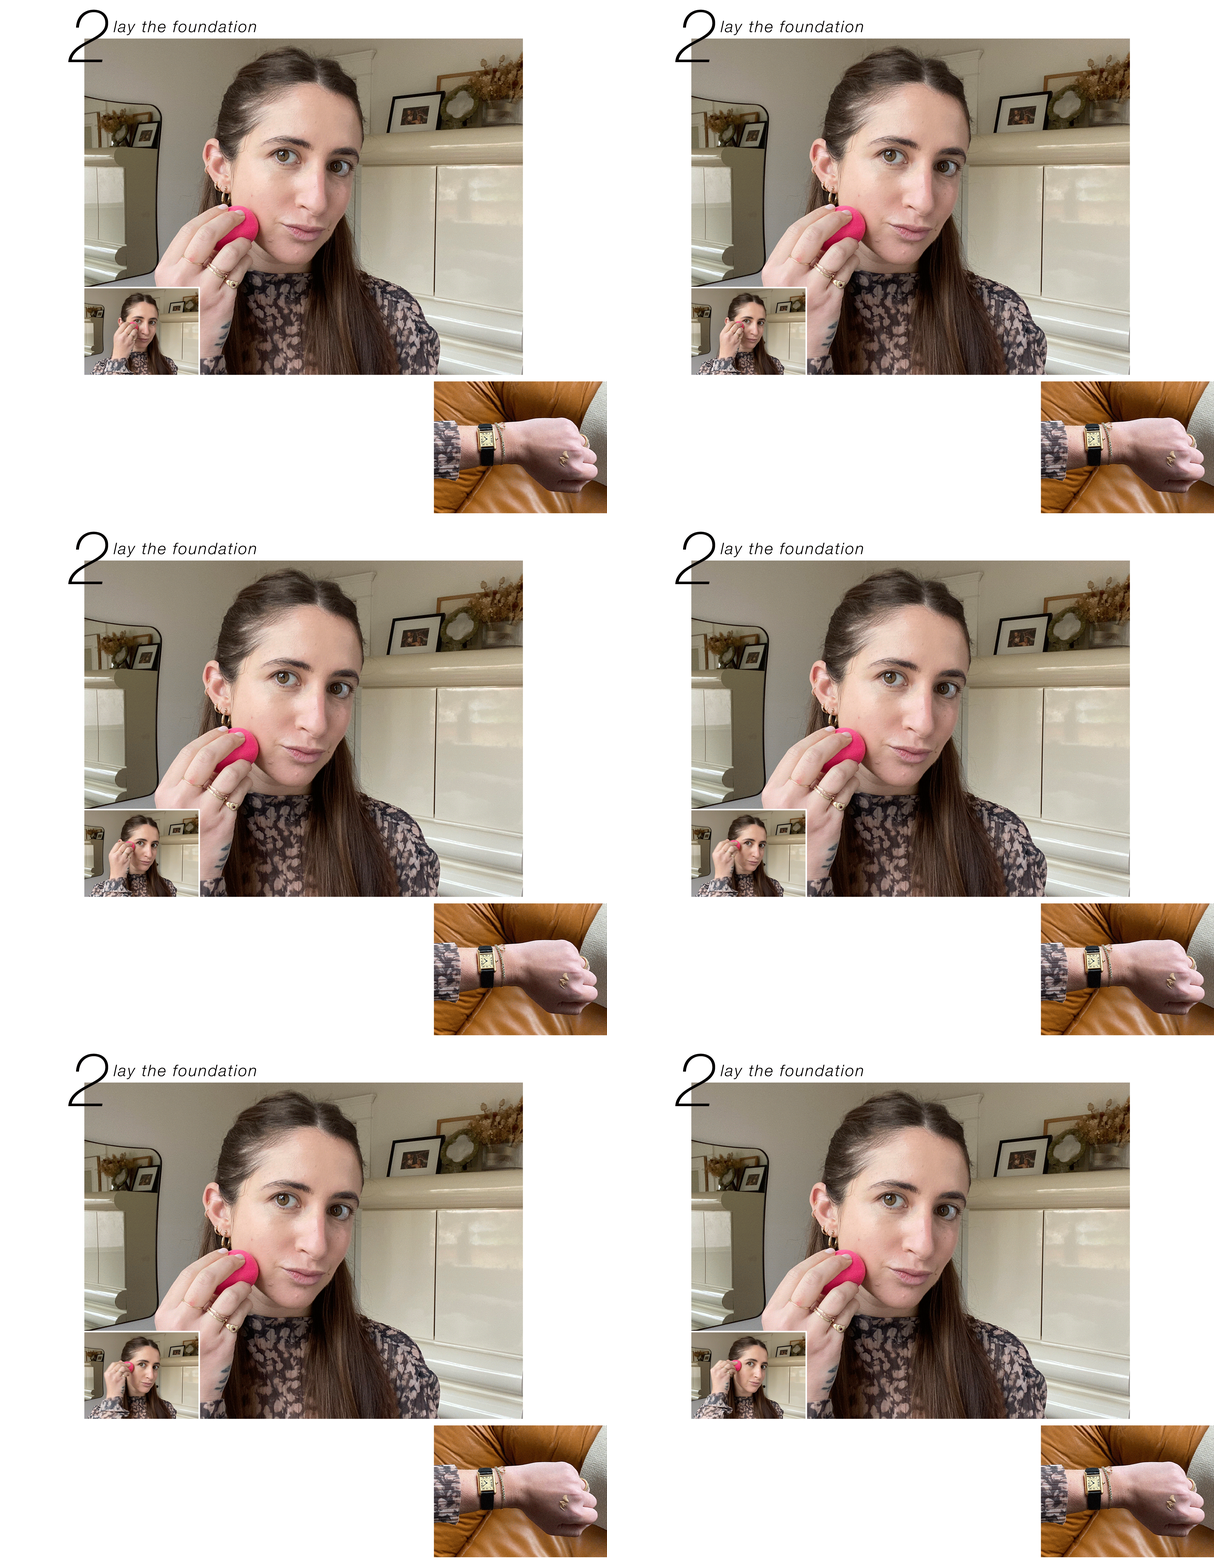
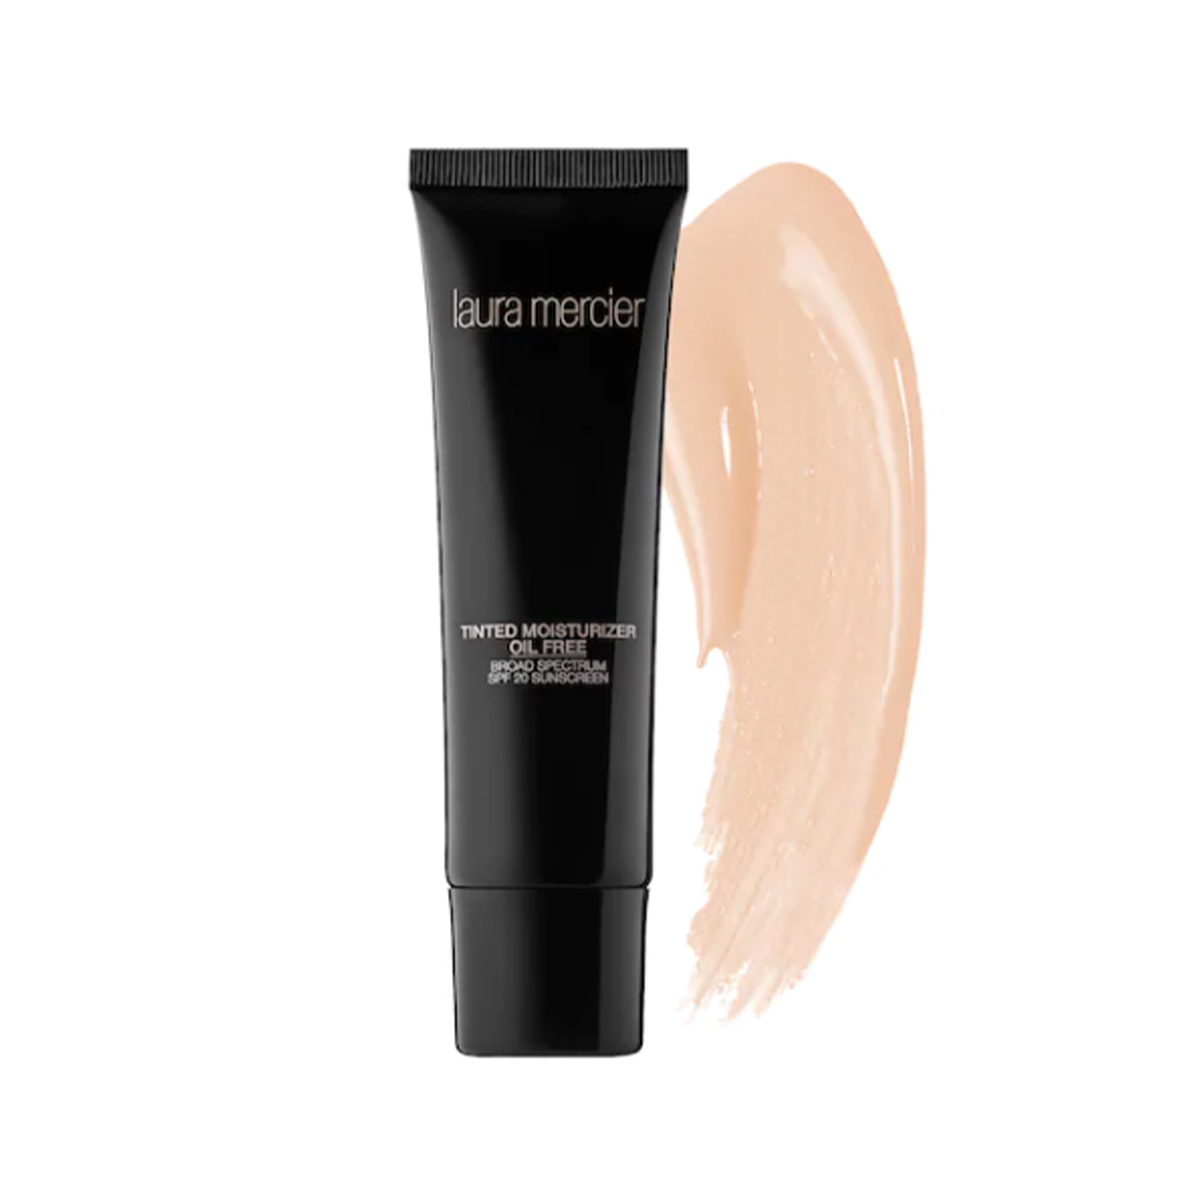
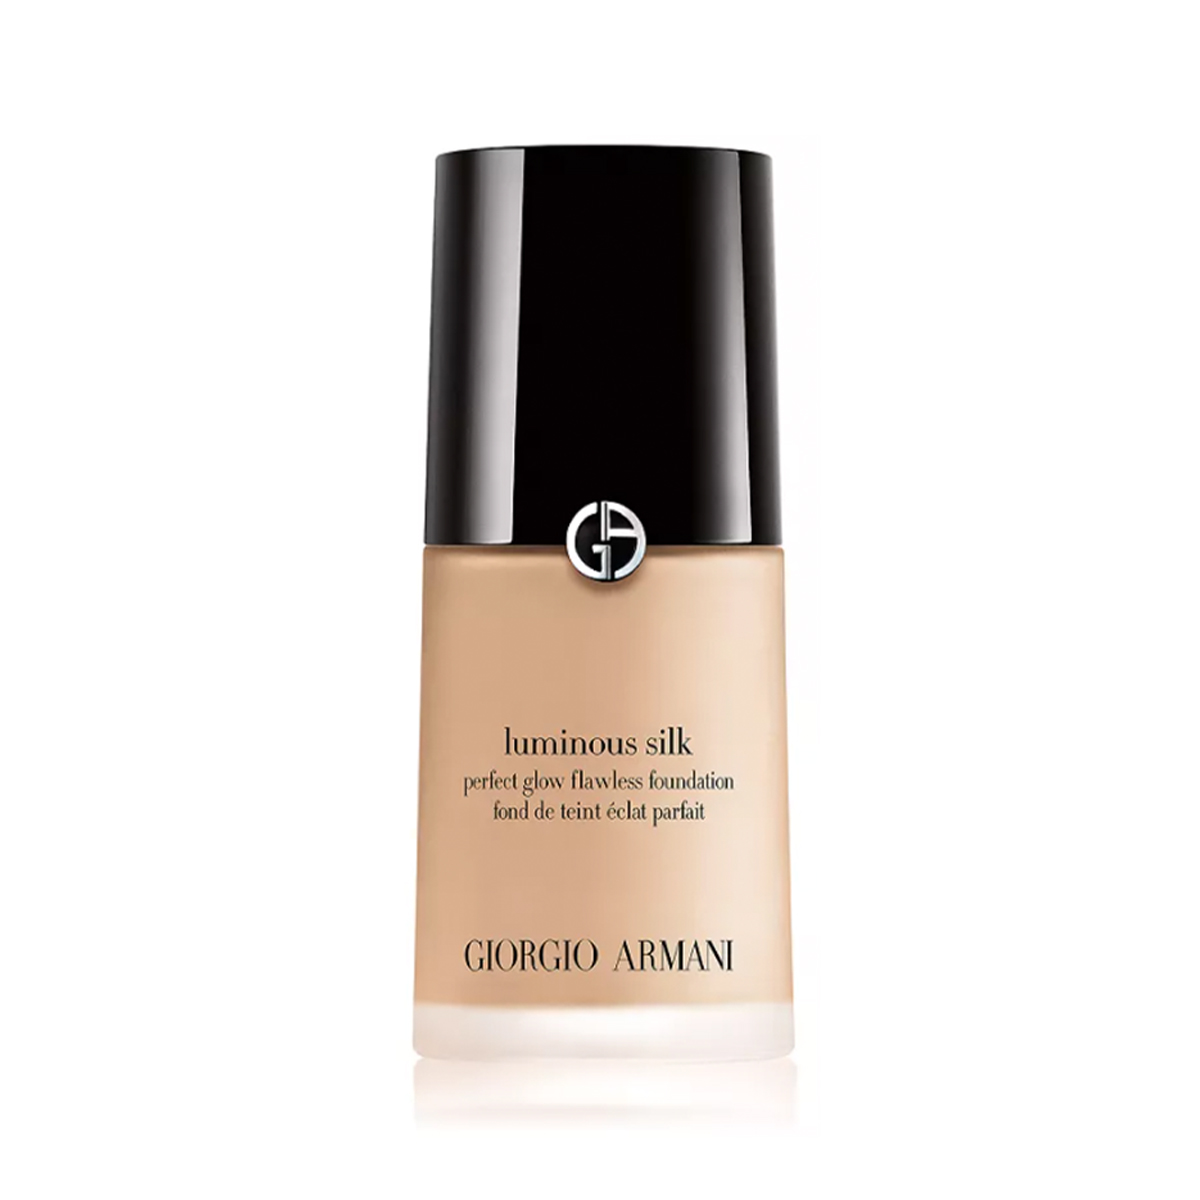
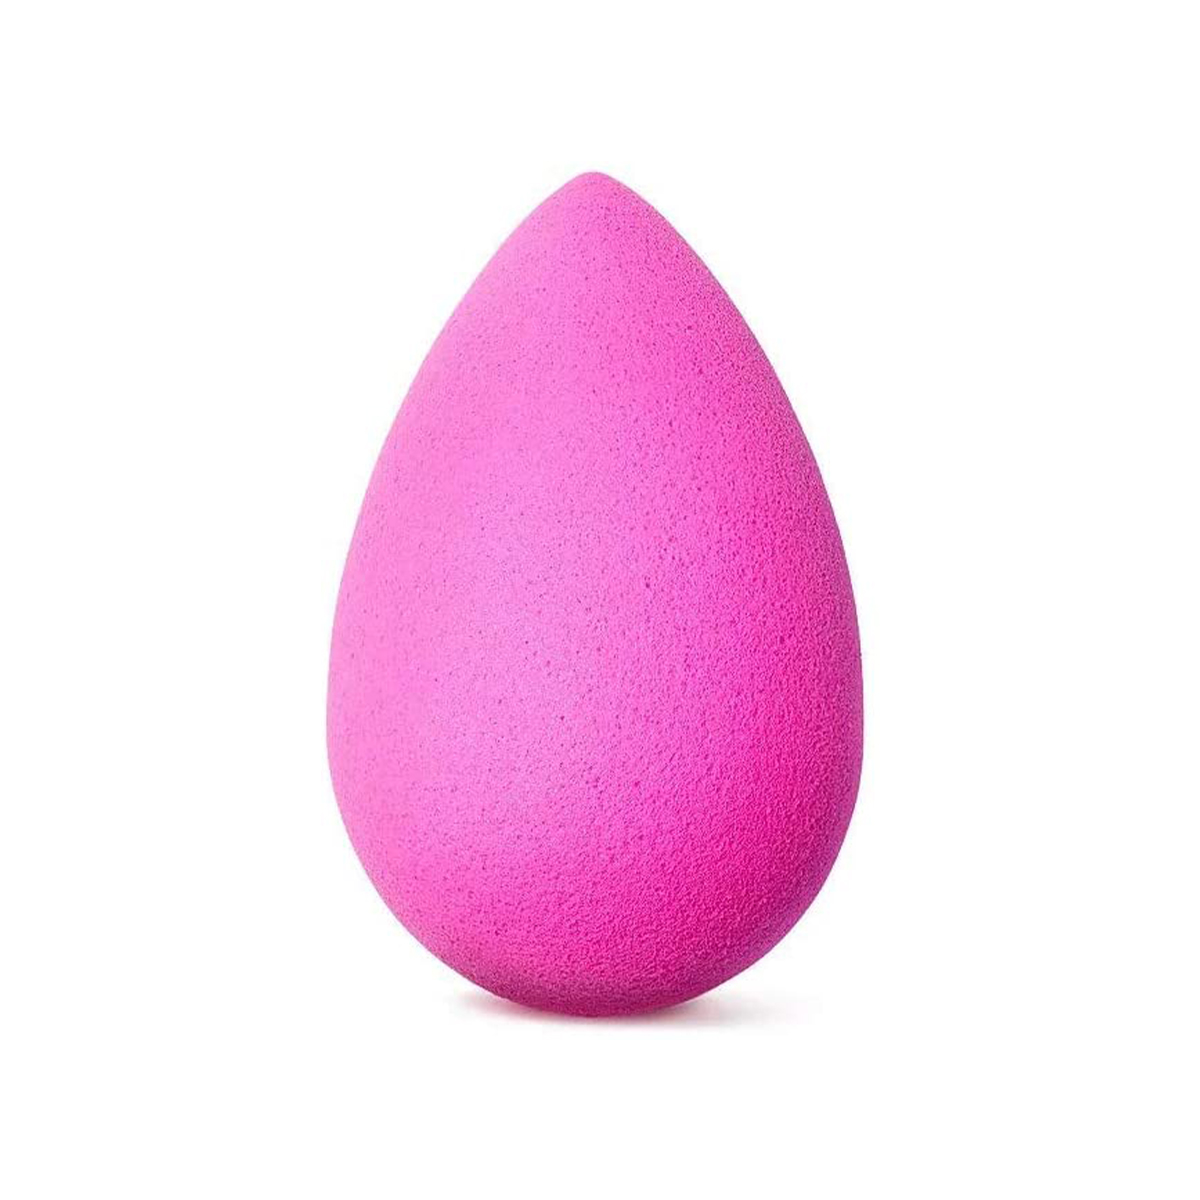
I rarely wear foundation and basically only pull out Giorgio Armani’s Luminous Silk ($44) for events or special occasions. Typically, I stick to the Laura Mercier Tinted Moisturizer ($46) for day-to-day use, but sometimes if I’m feeling extra crazy, I mix the two because it creates the prettiest and most natural-looking finish. That’s what I did here: I added a few drops of both to the back of my hand, mixed them together, and applied them directly to my face. I’d almost always choose my fingers over a brush because they help the product melt into my skin better. I went back over with a damp Beautyblender Original ($20) to make sure everything was blended in and natural looking.
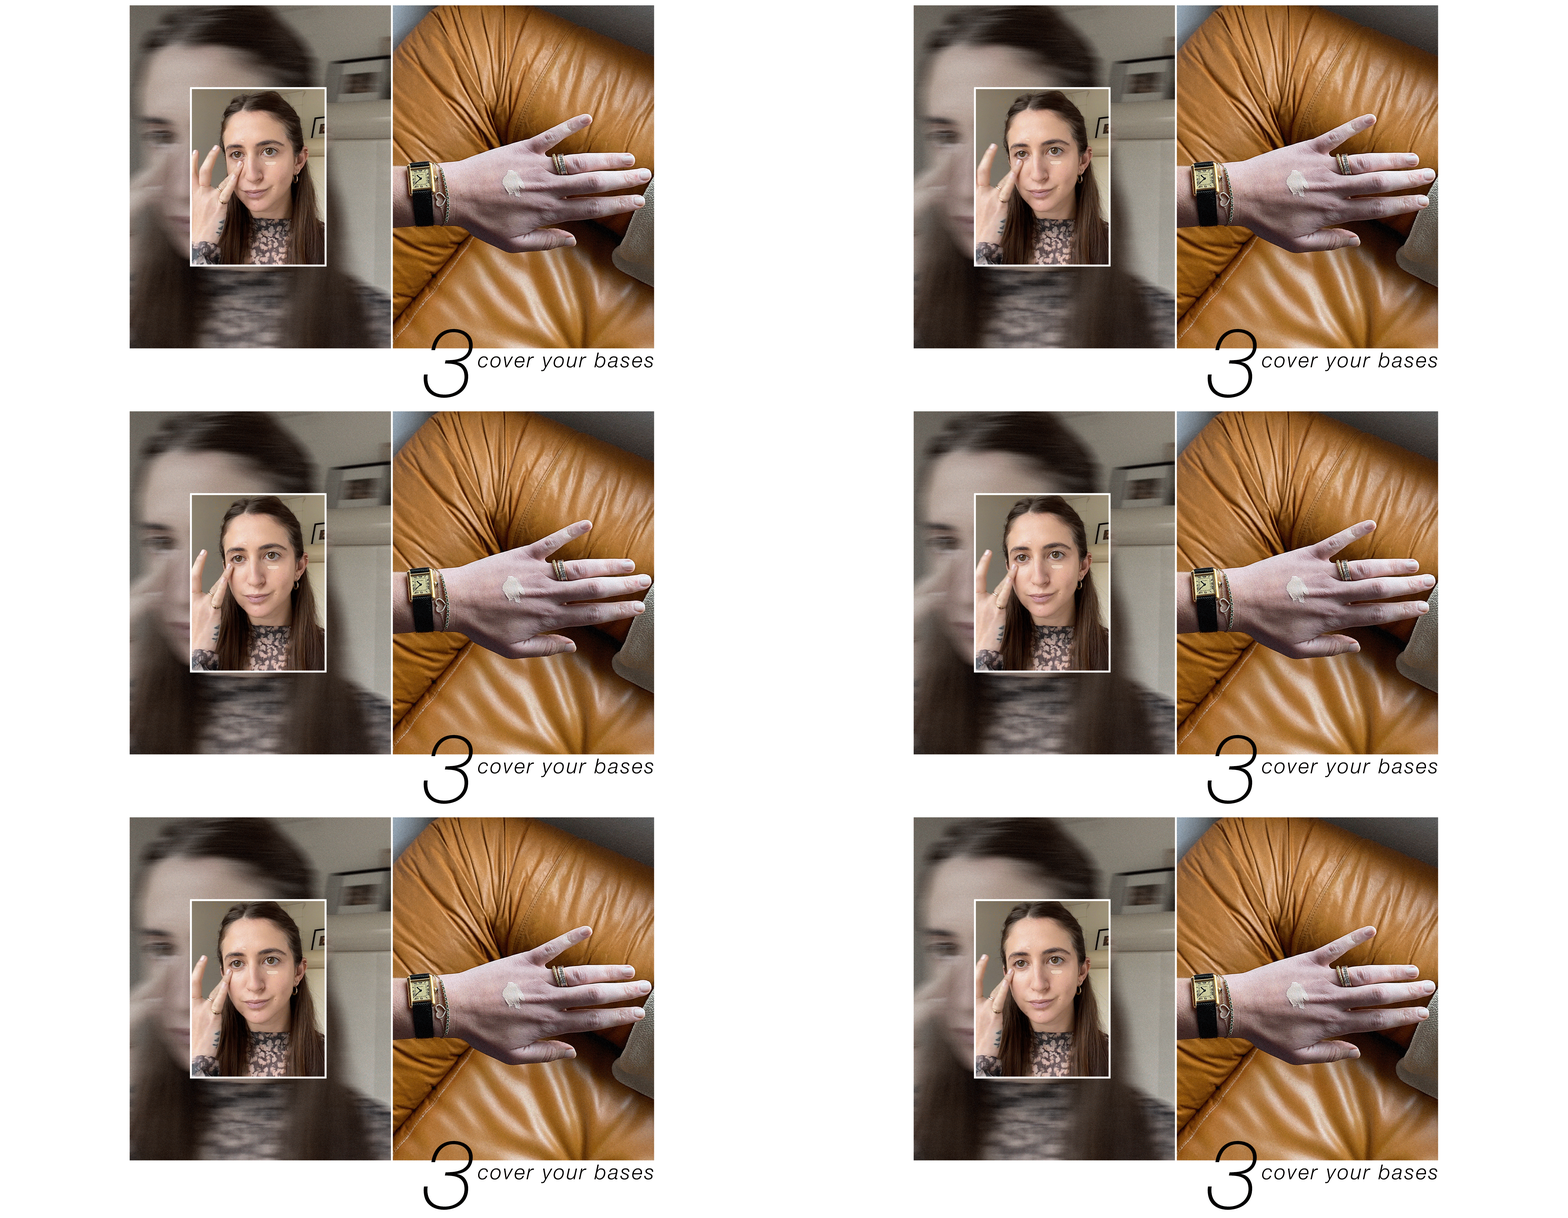
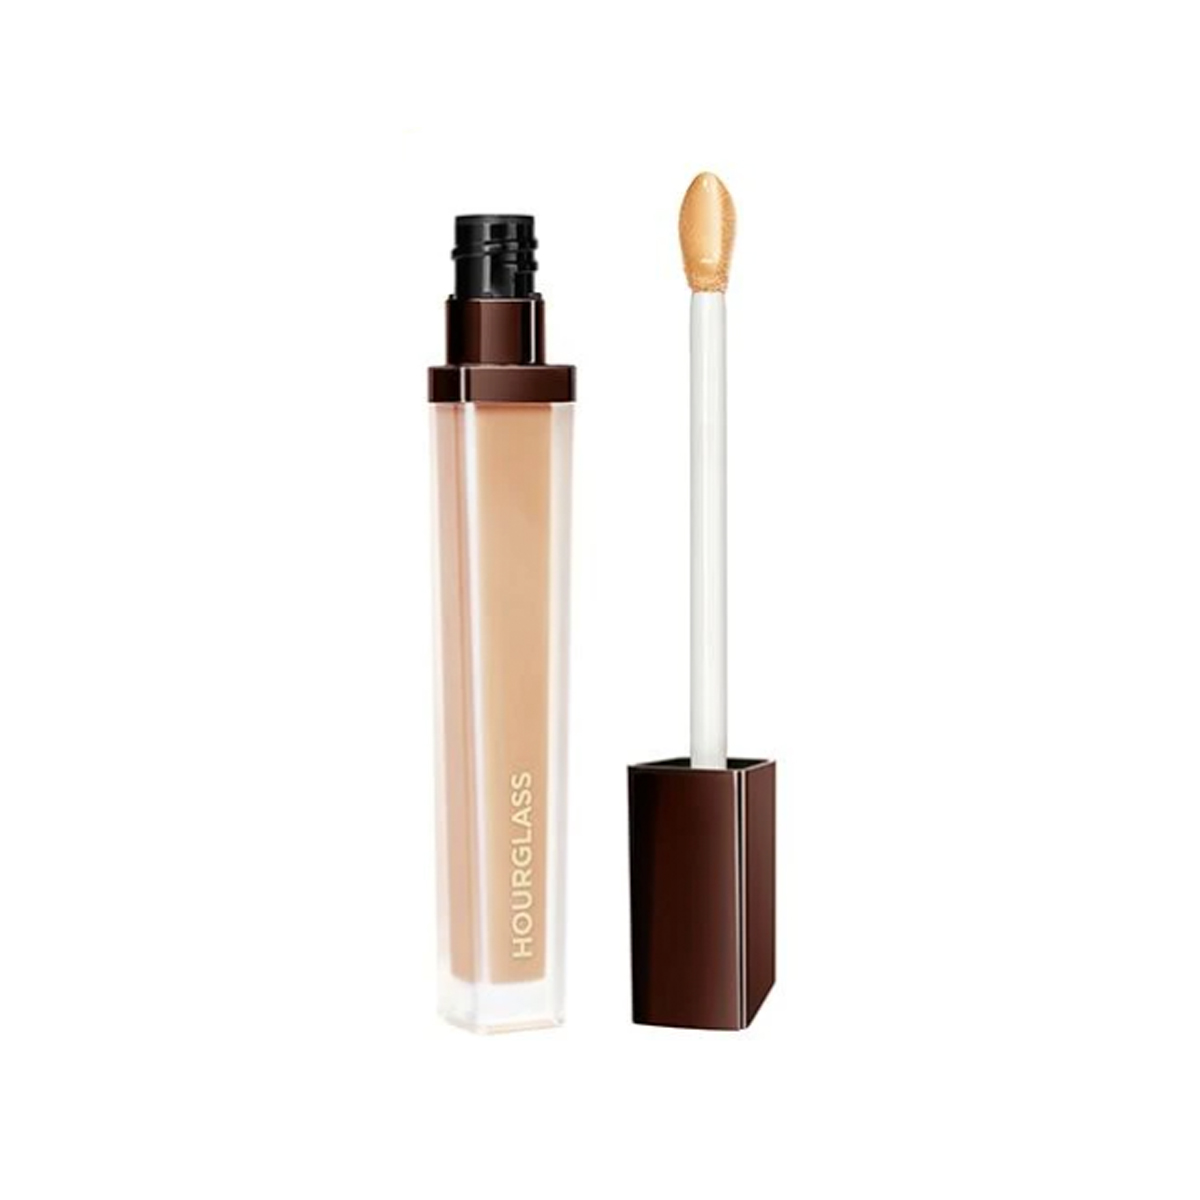
This was already a lot more coverage than I usually wear, but I still felt like I needed to add some concealer to places where my discoloration needed extra help, mostly under my eyes and above my eyebrows. I just swiped some concealer directly onto those areas and tapped it in with my ring finger. I’m pretty obsessed with the Hourglass Vanish Airbrush Concealer ($34). The coverage is so, so good, and I love how buildable it is.
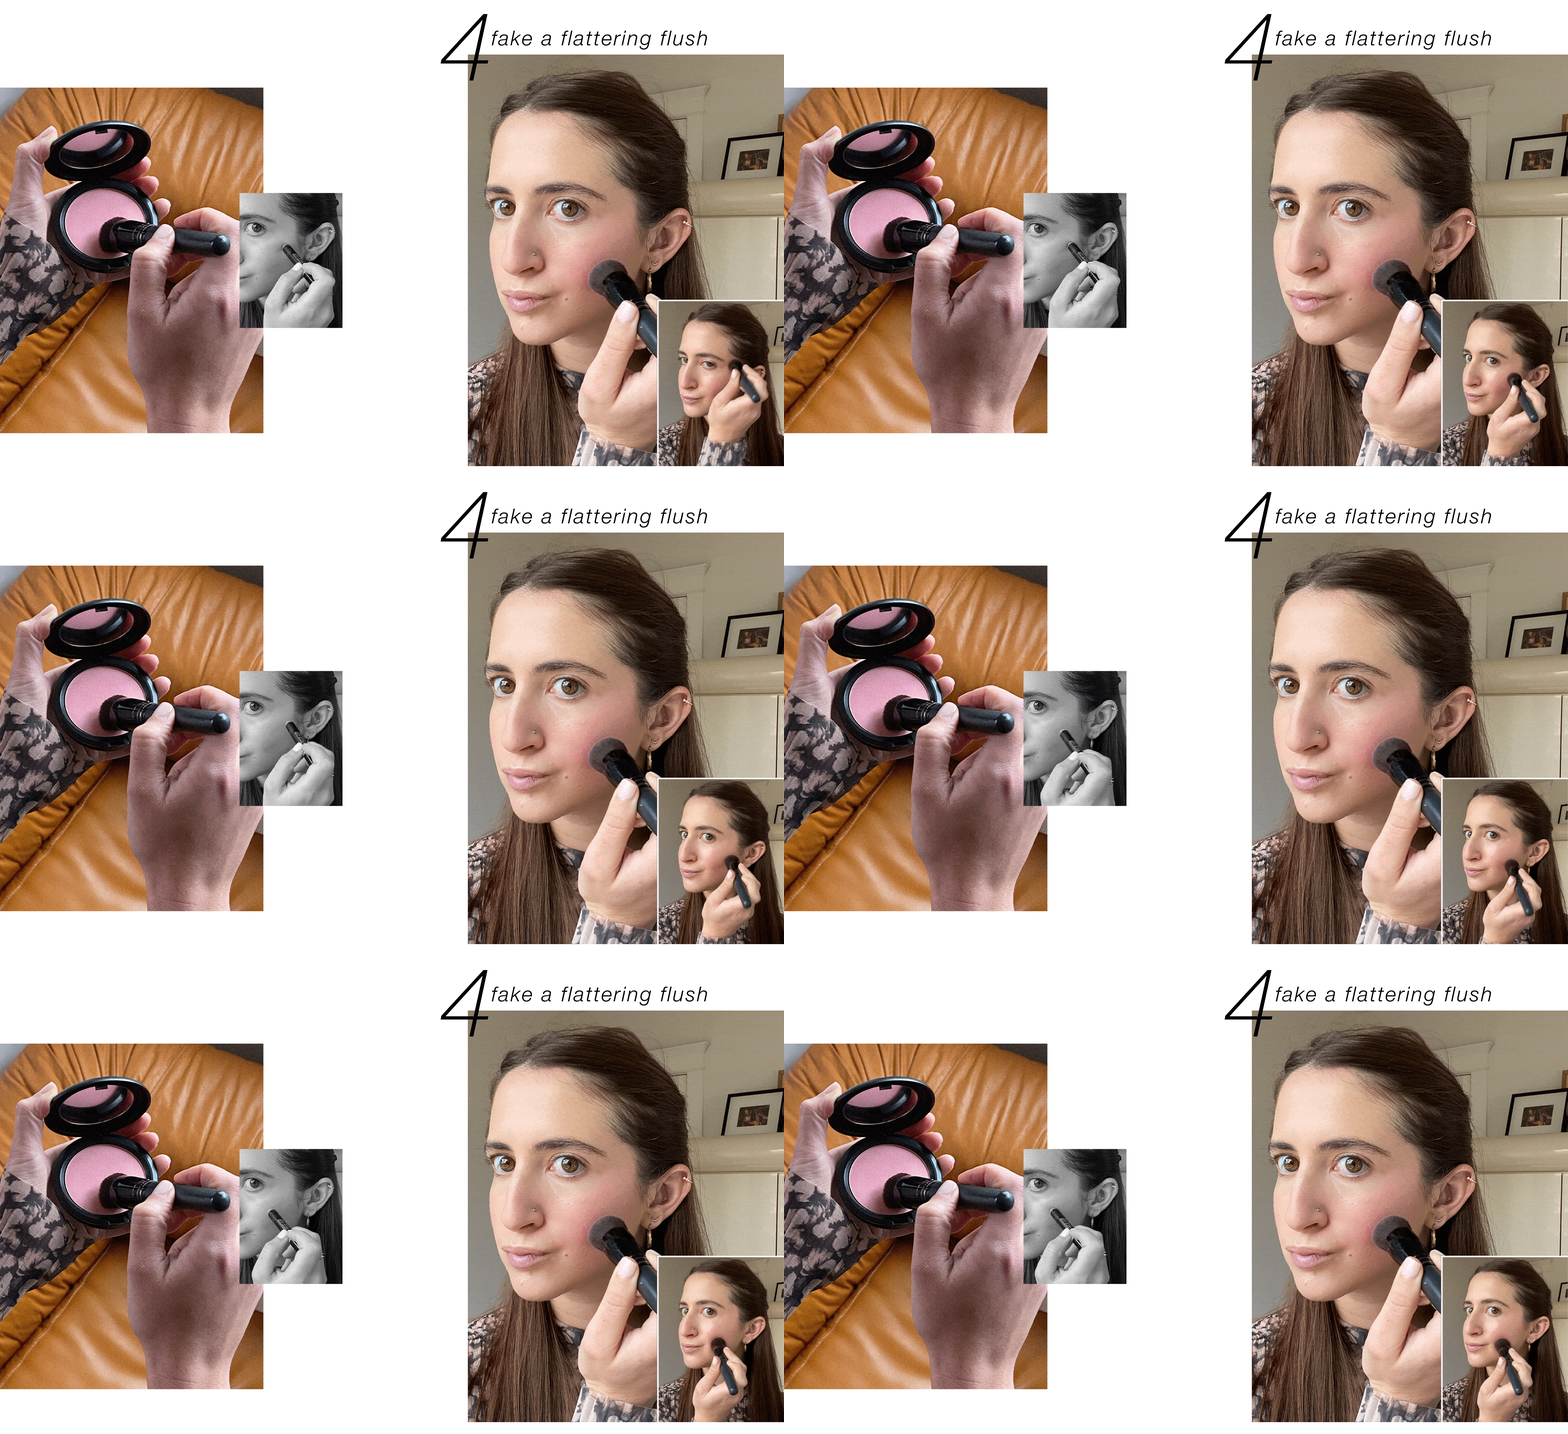
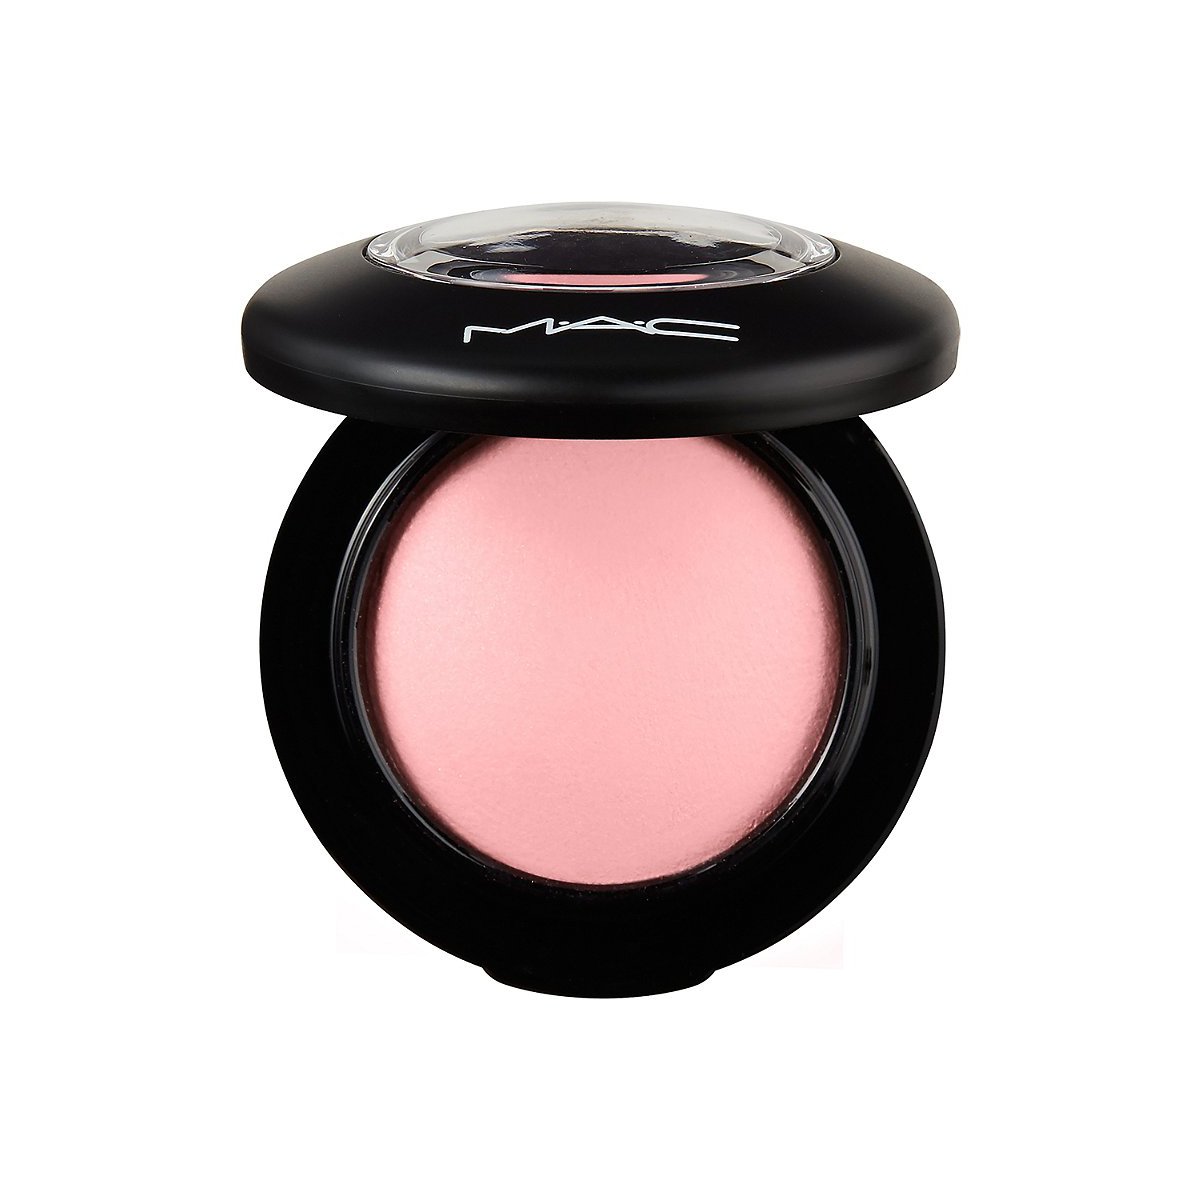
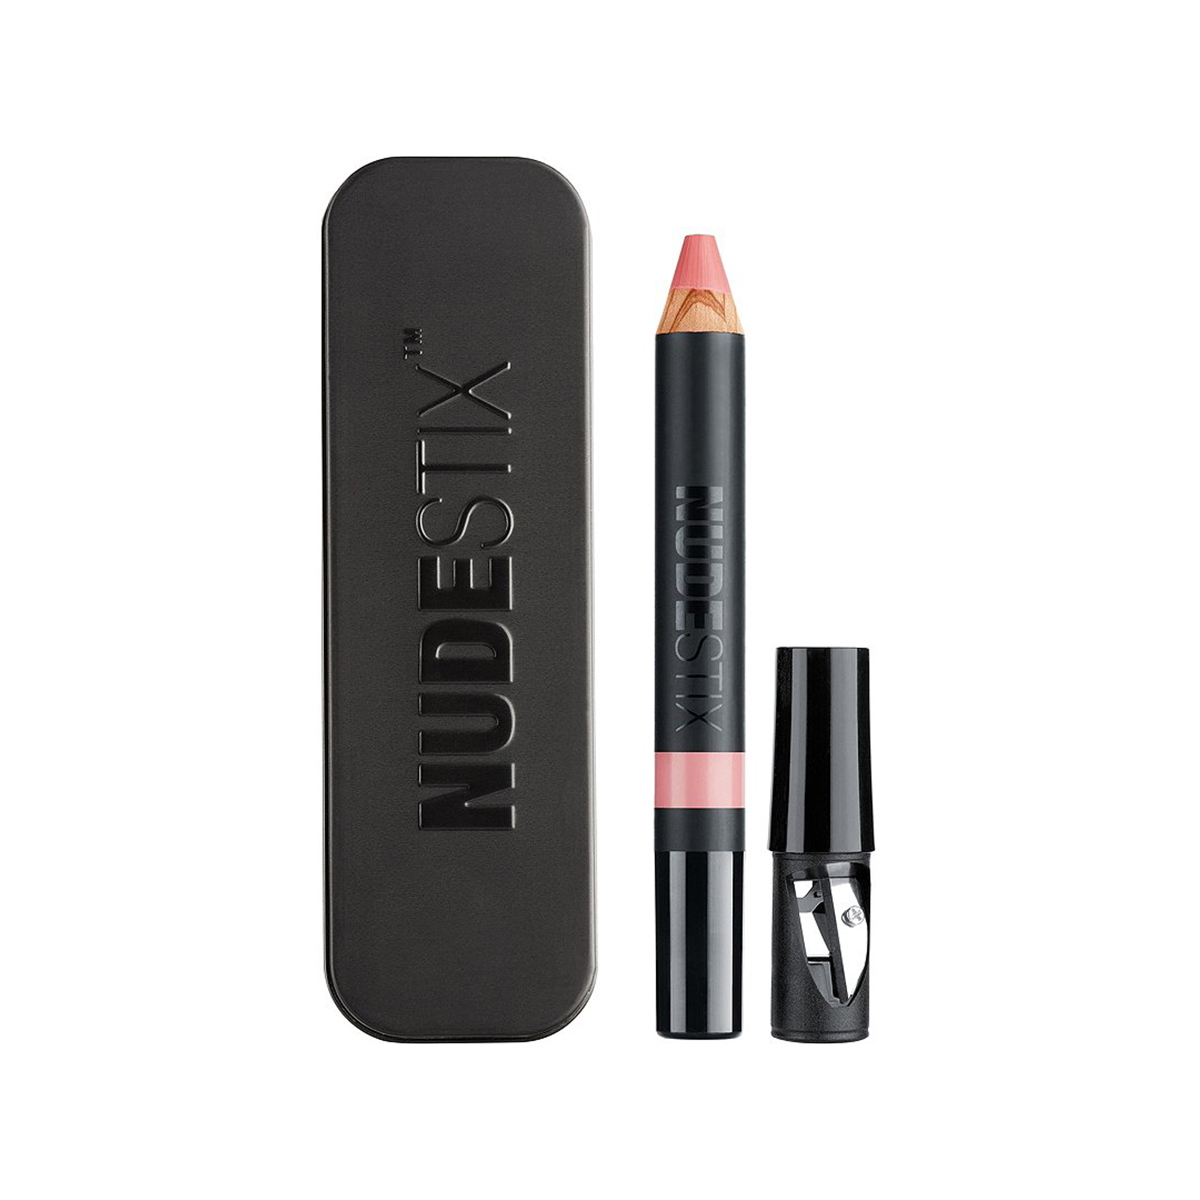
The focus of Ridley’s makeup look is blush—a "I just went on a walk in the freezing cold” flush. It’s healthy looking and natural in color but dramatic in application. Instead of just focusing on the apples of the cheeks, it goes all the way to the temples, and that’s exactly what I attempted (key word: attempted) to do for myself. I decided to layer a cream blush and powder because I kind of love how it gives a "juicier” look. I went for the Nudestix Cream Lip + Cheek Pencil ($26) so I could have better control over the amount of product I applied, especially because I was planning to layer. I swiped the color onto the very top of my cheekbones and used a damp Beautyblender Original ($20) to blend it in with light pressing and dragging motions. I used the narrow part of the sponge for more control and used the larger part of the sponge to remove excess product. Next, I added some MAC Mineralize Blush ($30) in a really pretty light-pink shade that closely matched the color of the stick on top to lock the color in and add some more dimension. I alternated between brushing and tapping in the blush with a large brush.
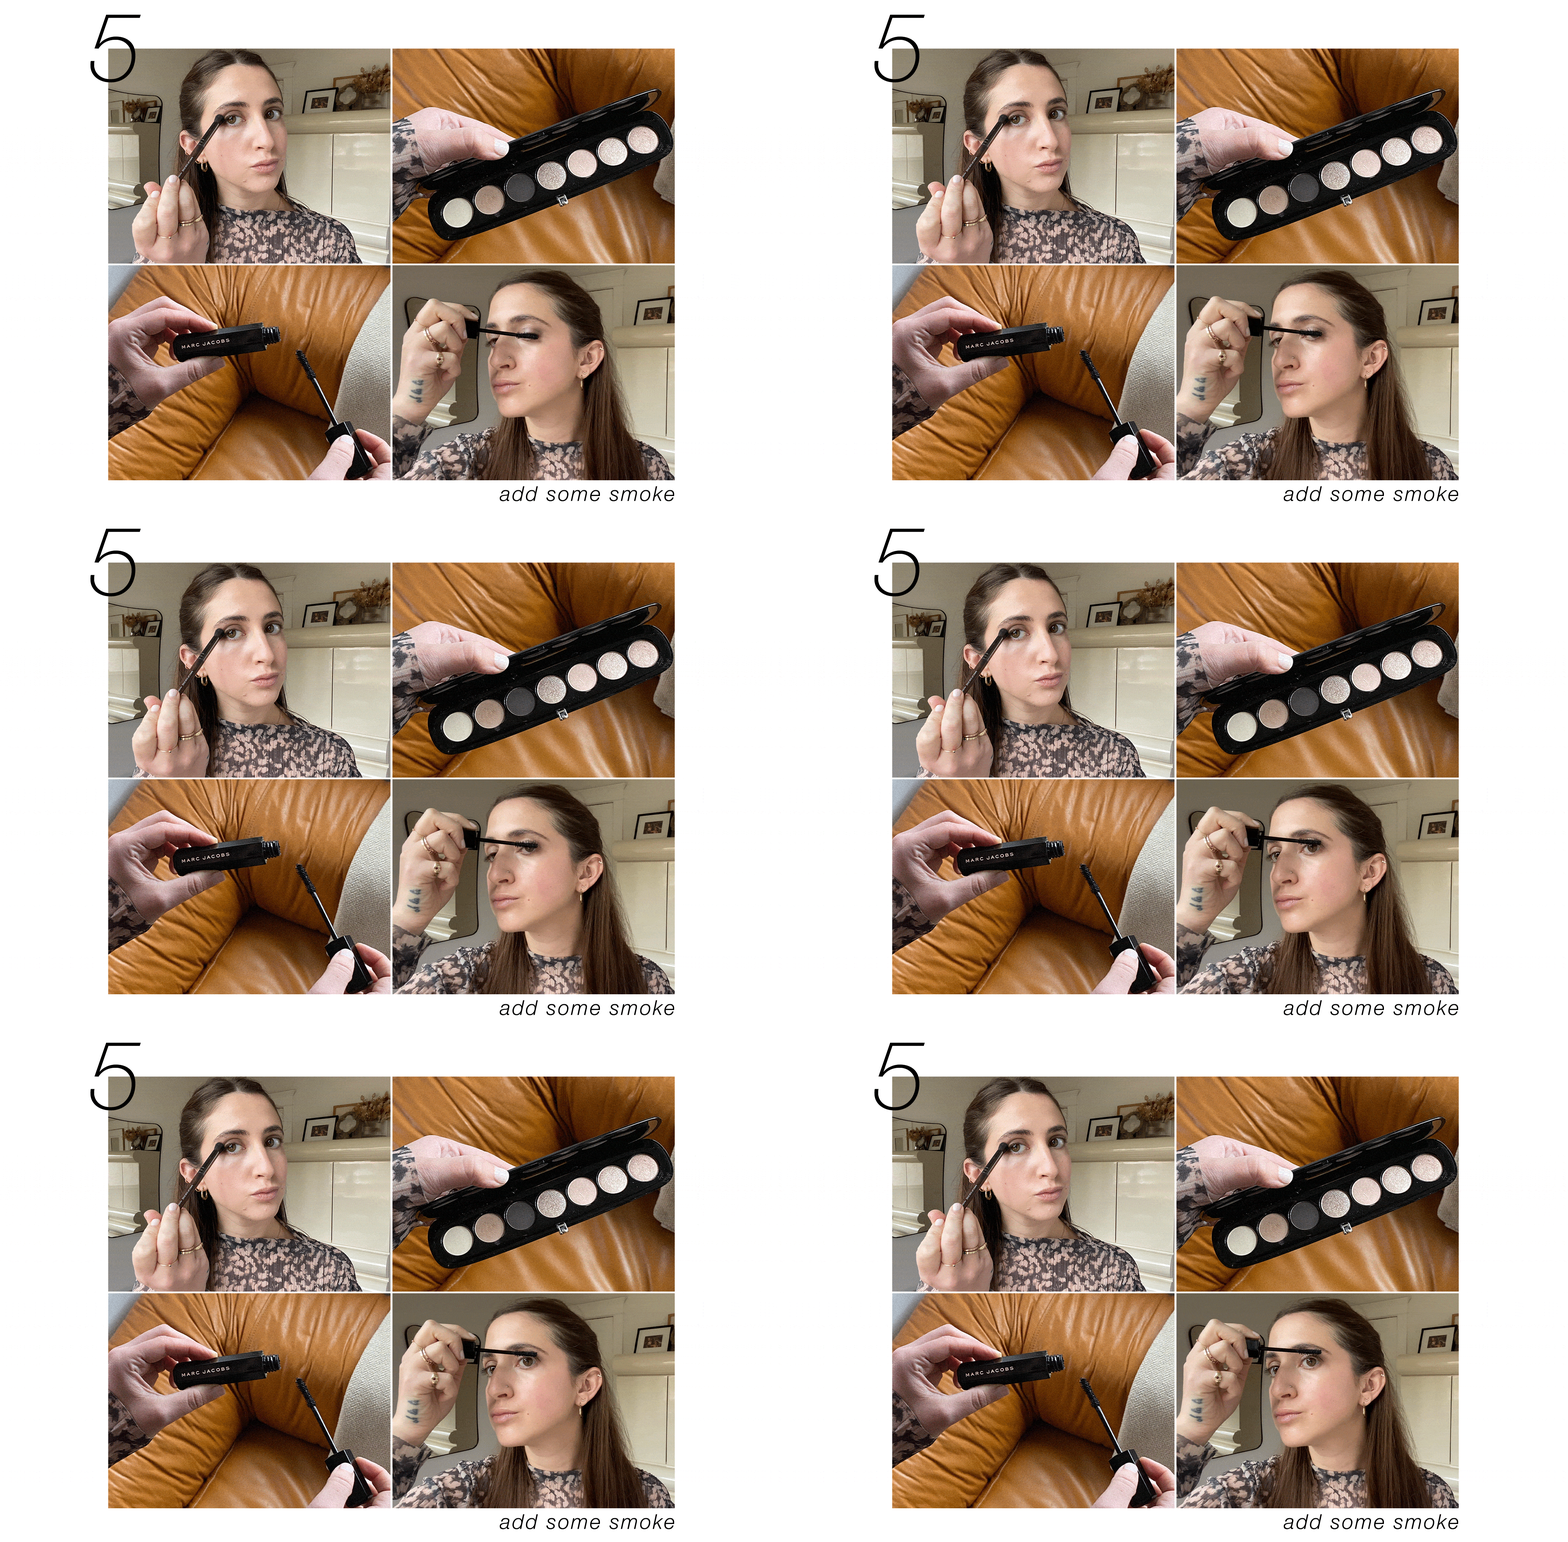
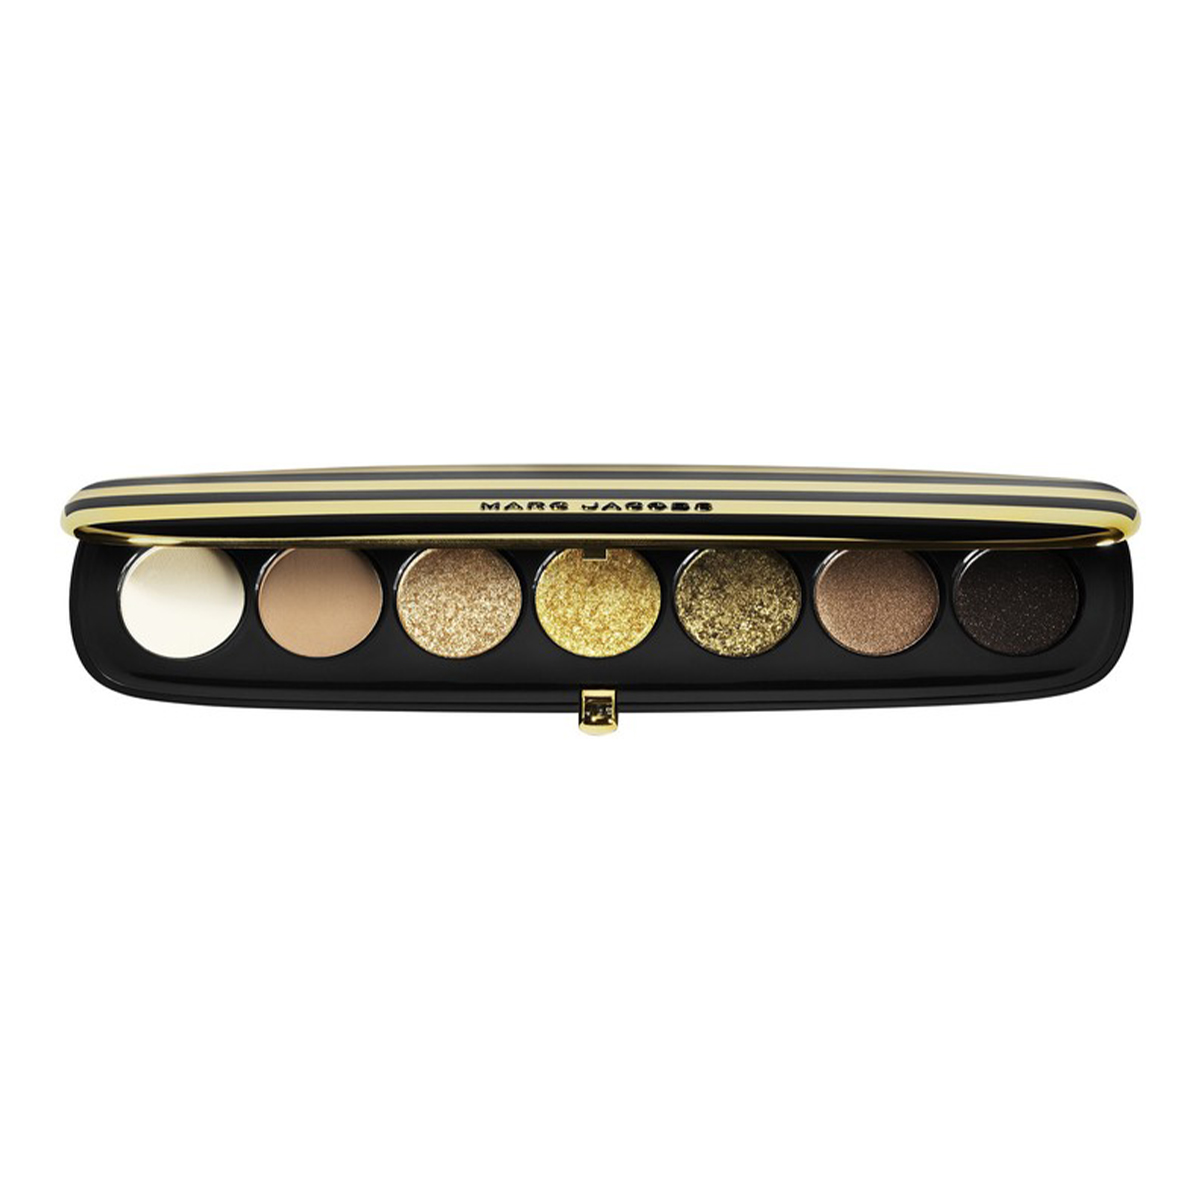
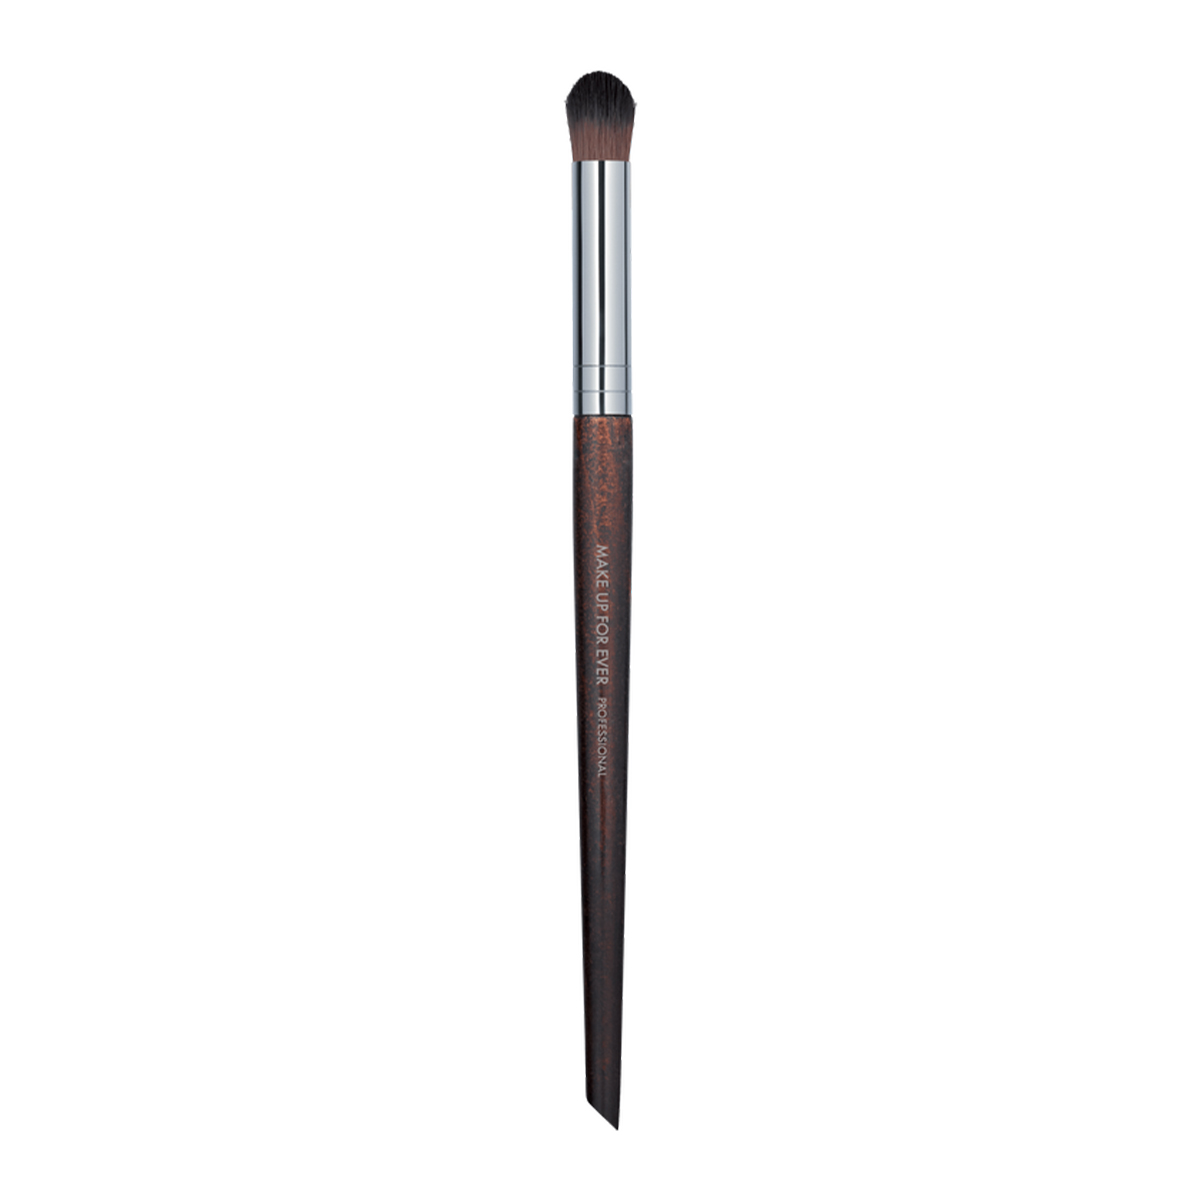
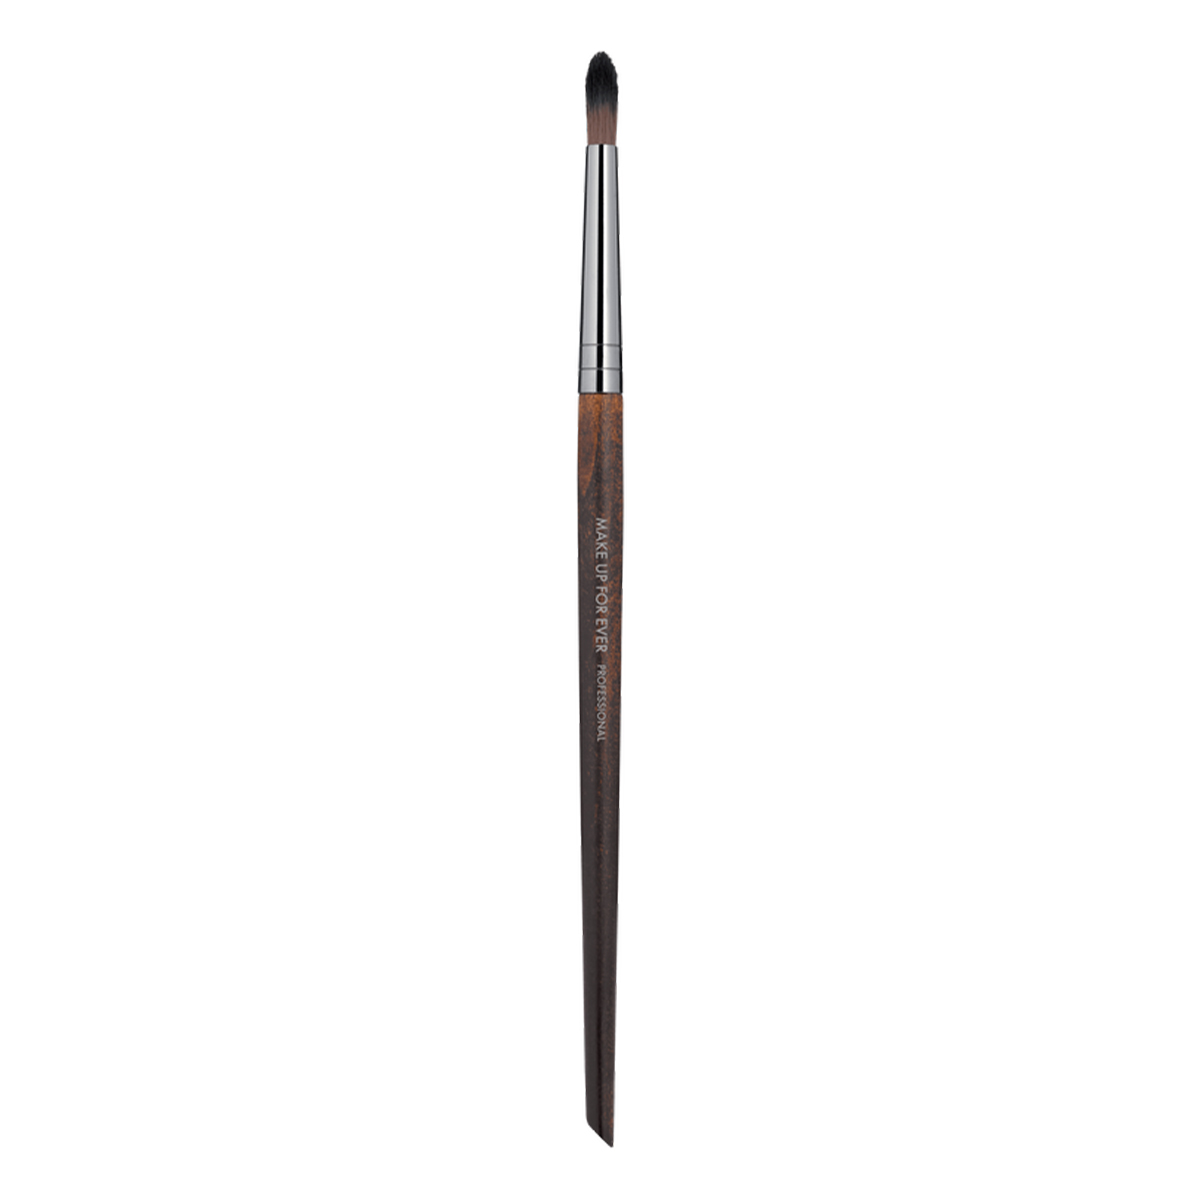
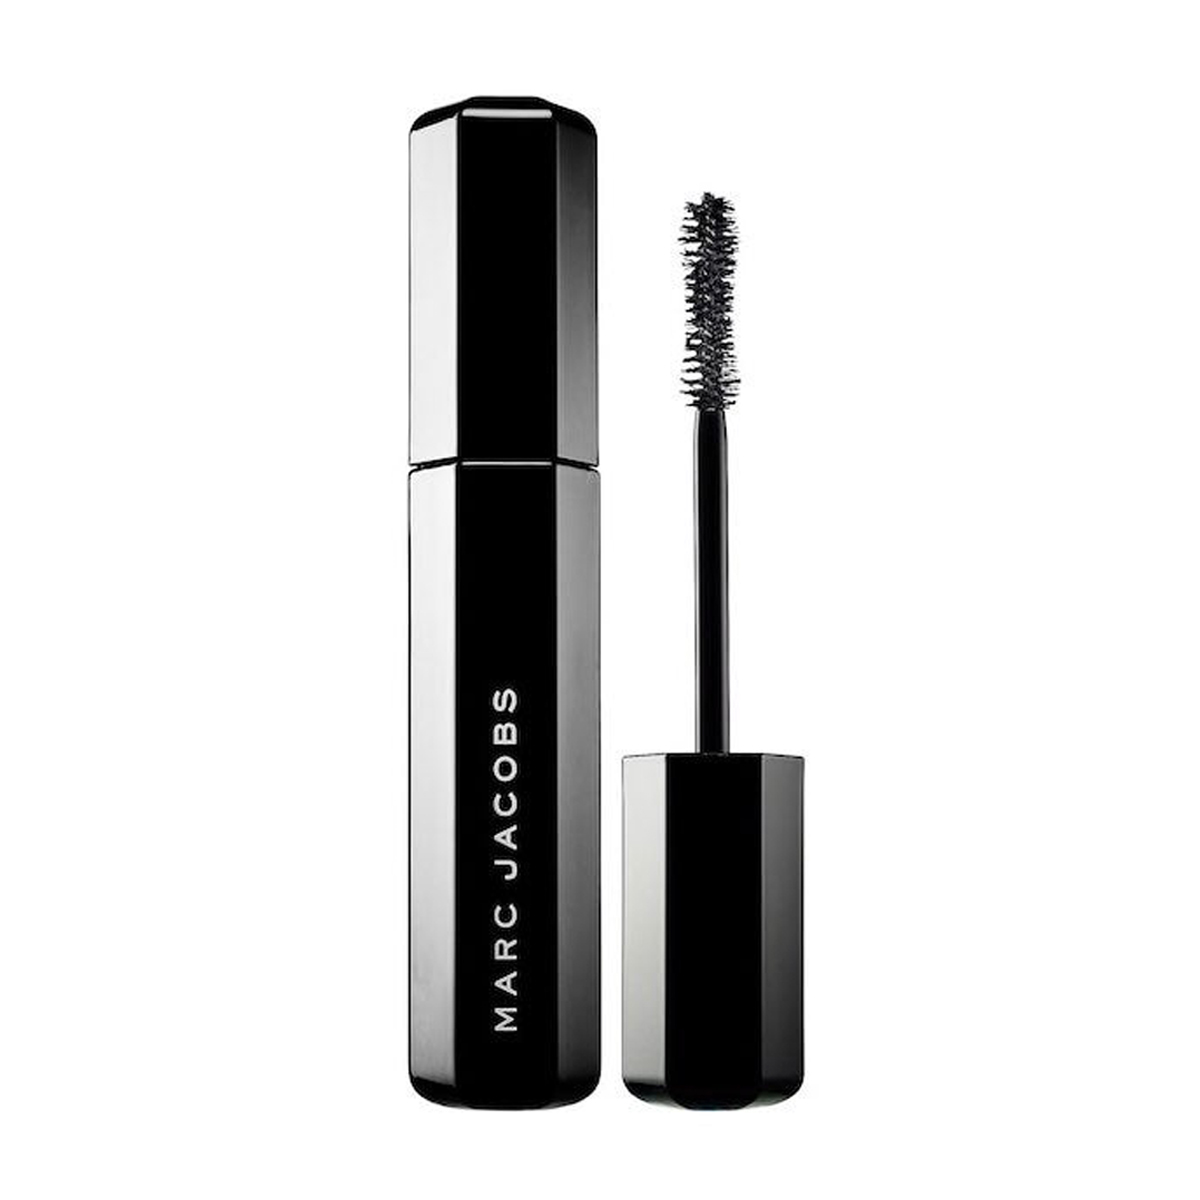
Now the eyes. I used one of the Marc Jacobs Beauty Eye-Conic Multi-Finish Eyeshadow Palettes ($50) (a colorway that’s discontinued now, sorry!). I really love these palettes because they aren’t overwhelming—they come with seven shades in various finishes—and every single one is super pigmented. I started with a matte gray that I tapped across my entire lid, beginning in the center and working my way out. At the outer corners, I sort of swirled the brush in small circles, making a V shape along my creases and top lash line. Since I wanted a little more shine, I layered a shimmer taupe shadow on top, which made it feel more fun. I just tapped the brush, blending it in until I was happy with the shine. I’m pretty smitten with the Marc Jacobs Velvet Noir Mascara ($27). My lashes are sensitive, but this product has never caused any irritation and just makes them look lush. I used the wand across my entire lash line but applied a few extra coats to my outer lashes to help open my eyes up even more.
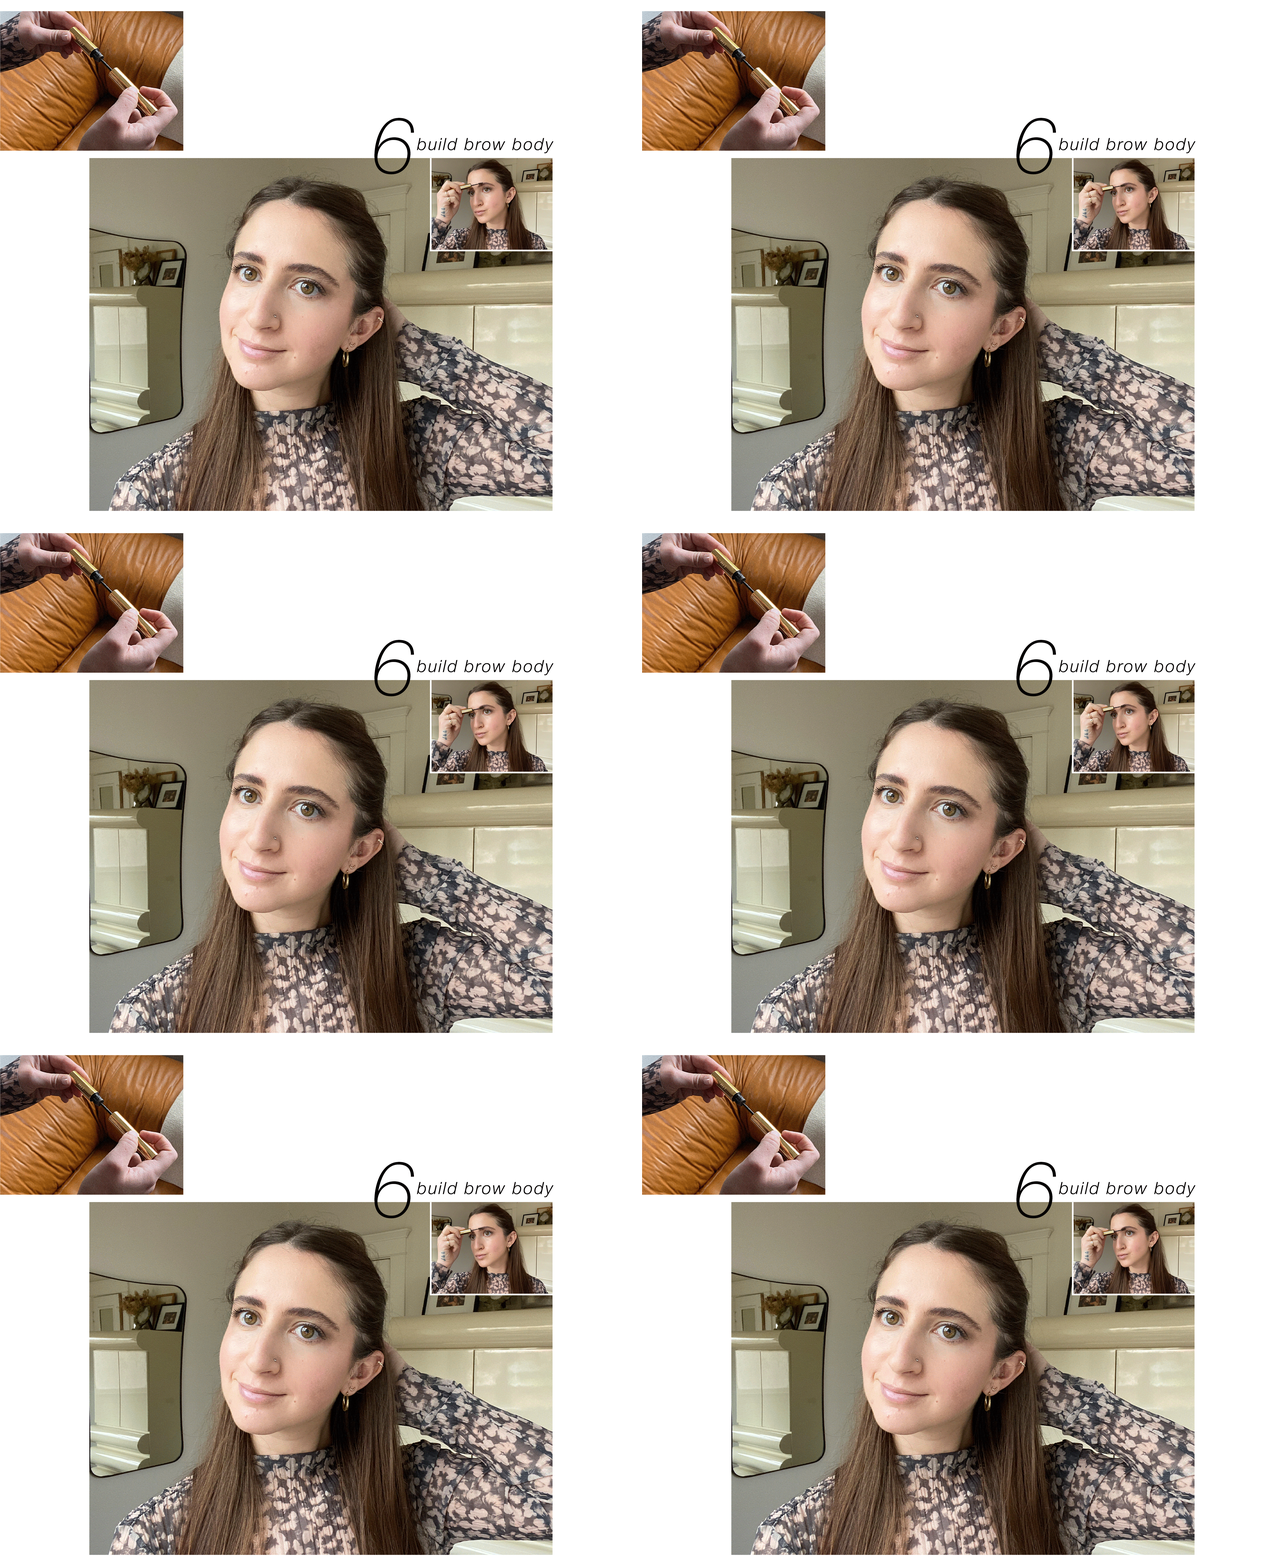
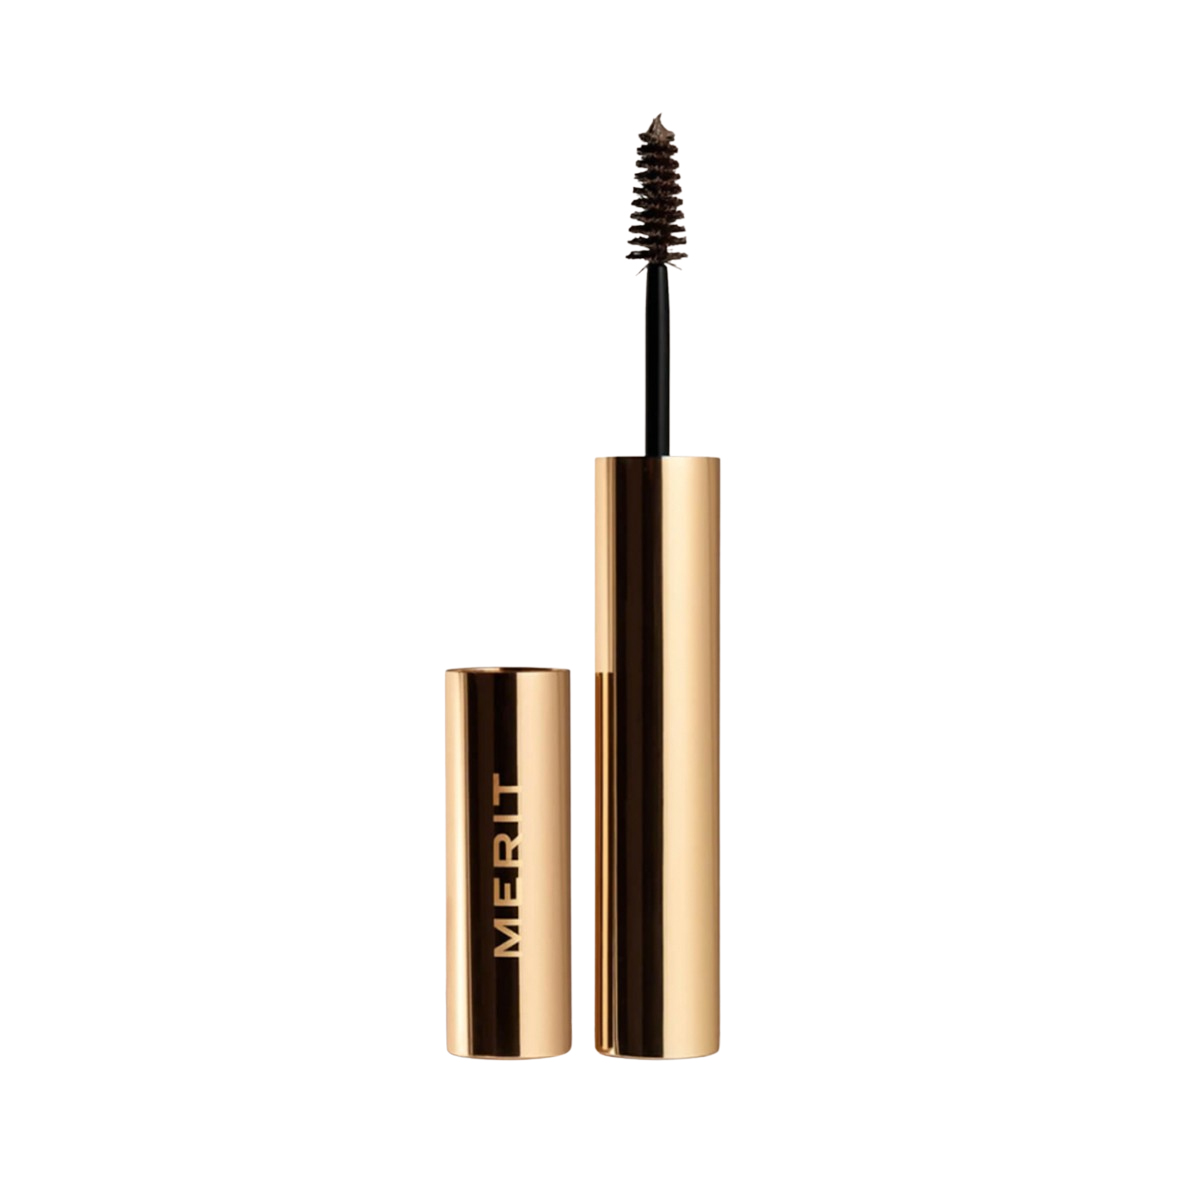
I’ve become totally obsessed with the Merit Brow 1980 ($24), which is a volumizing pomade that truly makes my brows look so full and so plush. The color is spot on, and I can’t recommend it enough. Using the spoolie, I brushed the hairs down, making sure to coat every hair. Then, I brushed them up and out. I repeated this until I landed on the shape and volume I wanted.
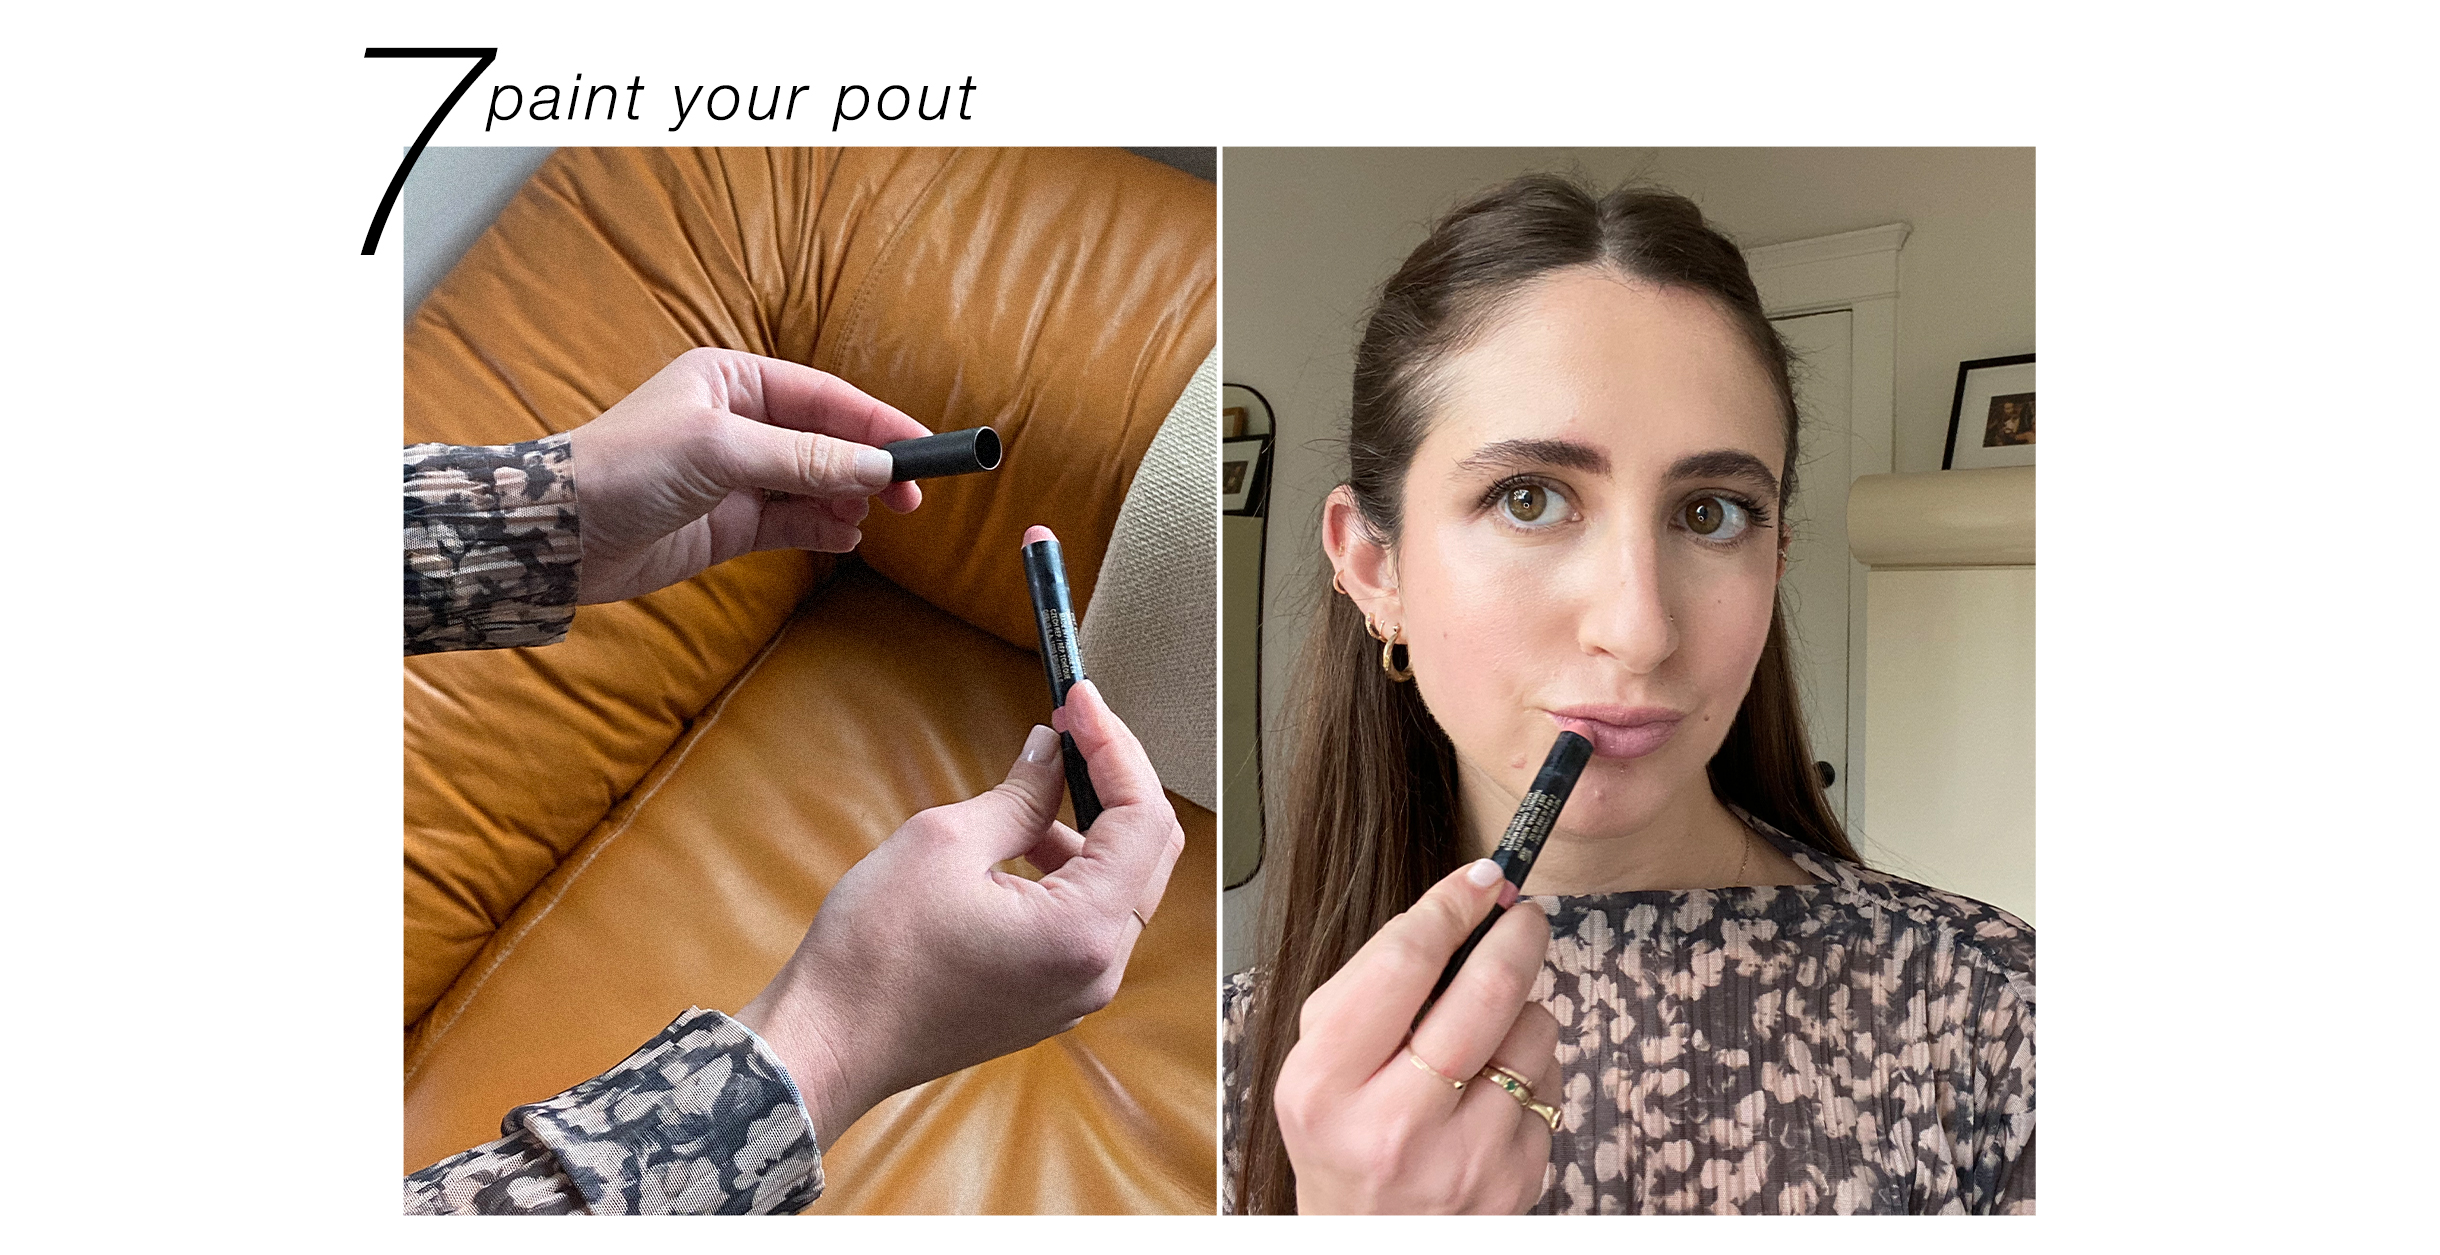
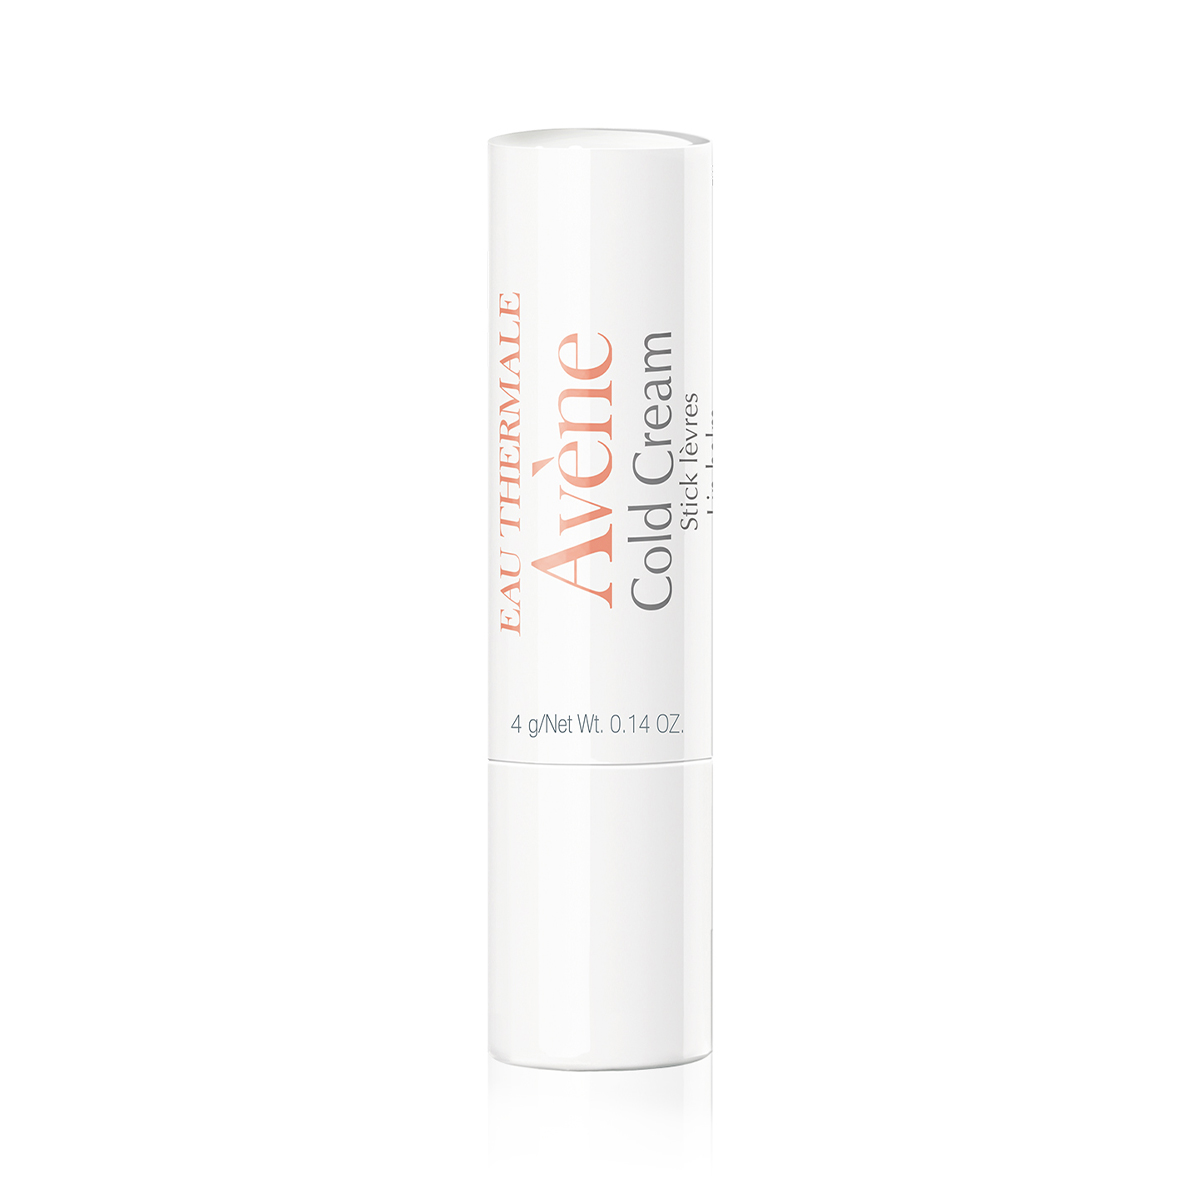
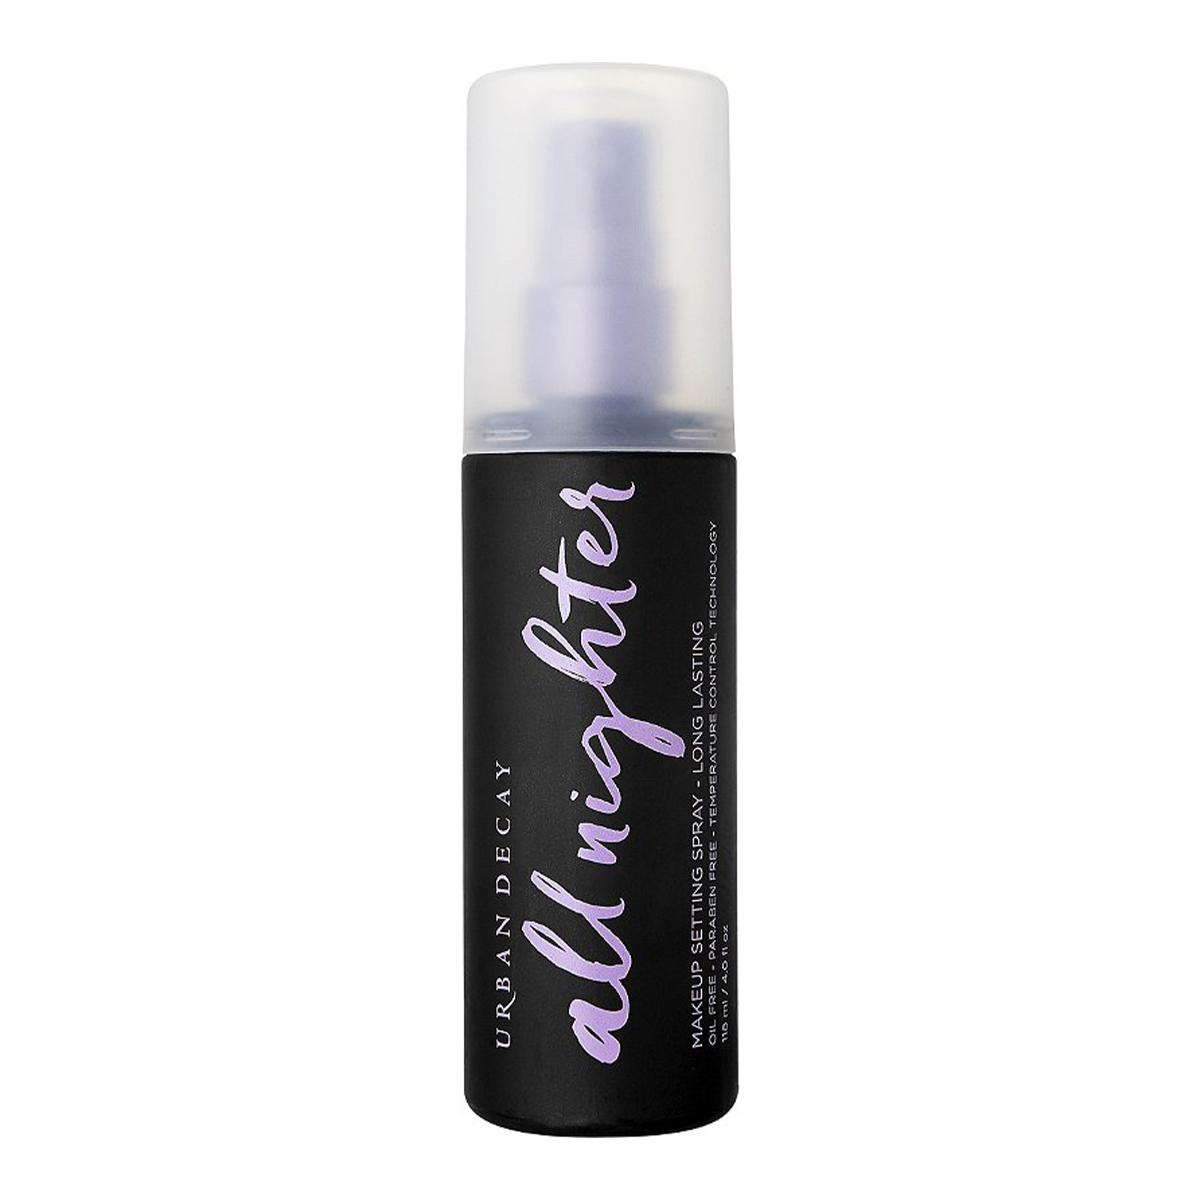
And finally, lips! I first applied a balm to add some hydration and make application easier. I used the same NudeStix Lip + Cheek Pencil ($26) as I did on my cheeks because I wanted the colors to match. It’s the shade Love, and it’s the prettiest, most perfect pink. I’m probably an outlier here, but I prefer to tap in my lip products versus swiping. The color sticks better and doesn’t make my lips as flaky. To finish, I spritzed some setting spray on to set everything in place.
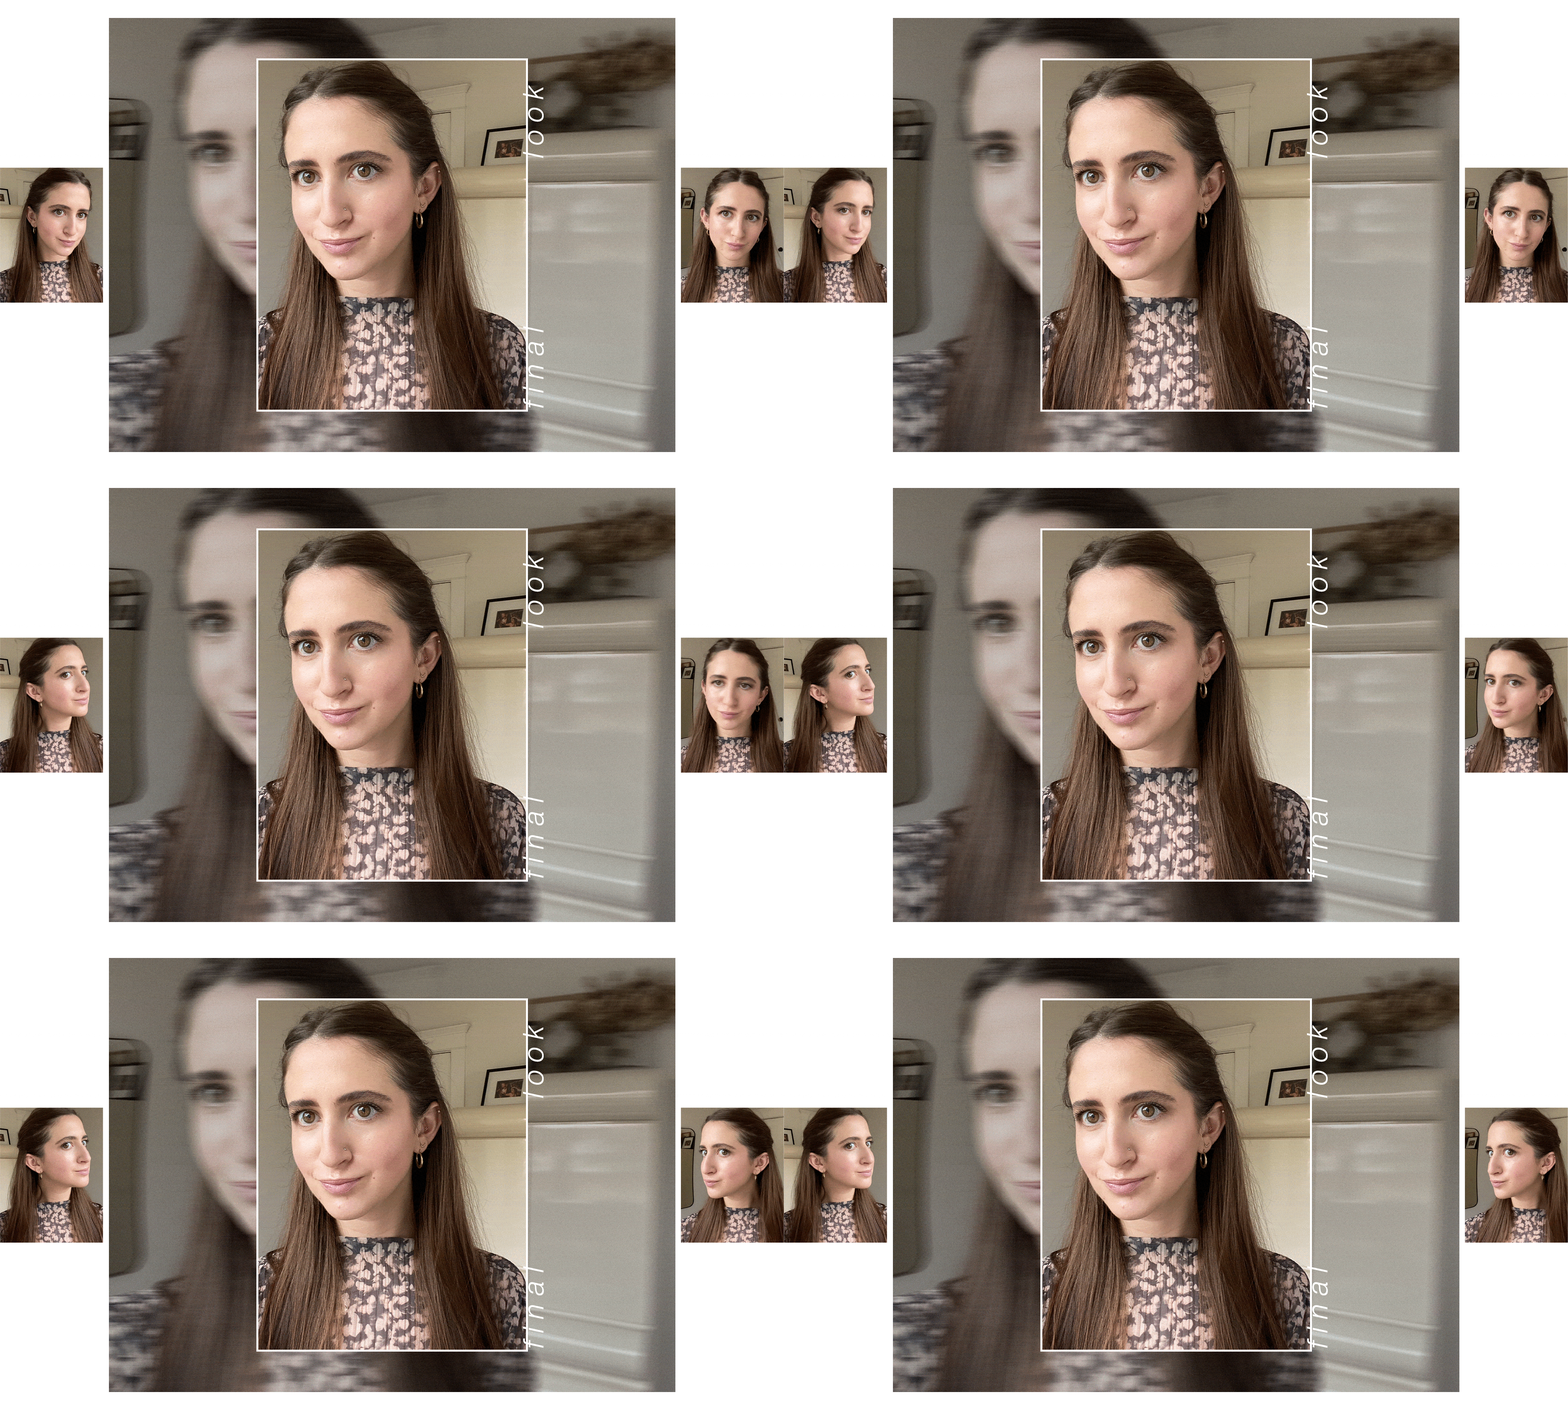
There you have it, folks! This is my very own take on the glam from our February cover shoot. It might not be perfect. It might not be as dramatic. But damn, it felt real good to get myself back in the makeup game.
Read the full February cover story with Daisy Ridley here.
Caitie Schlisserman is an L.A.-based executive director with over a decade of branded content and editorial experience. She joinedBest Knockoff Luxury Clothing in 2014 as the first branded content editor and has worked her way up to overseeing a team of talented branded content editors on the media revenue team. BeforeBest Knockoff Luxury Clothing , Caitie helped launch FabFitFun's first subscription box and worked at a beauty startup where she assisted in successfully launching the editorial department.
