How to Perfect 2020's Biggest Nail Trend at Home With (Basically) No Skills

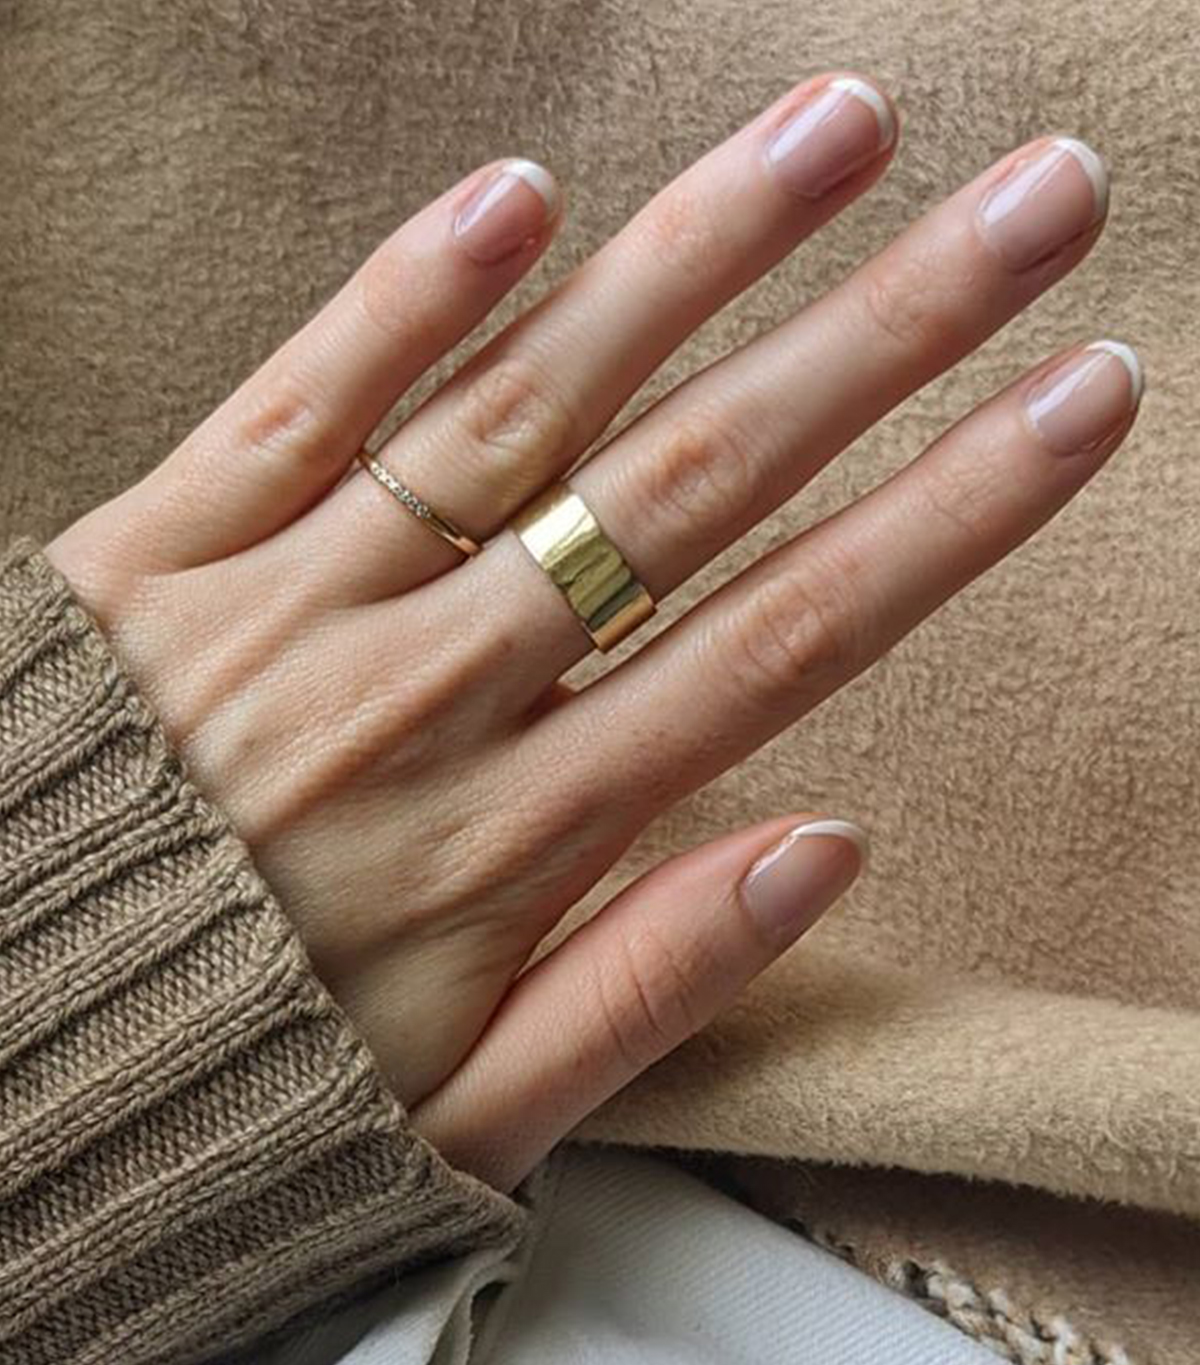
ICYMI—the French manicure has been the comeback kid of 2020. Previously considered outdated, frumpy, and old-fashioned, French-inspired nail designs began their revenge ascent back in 2019, and despite some raised eyebrows, the trend shows no sign of slowing down. (And we're so not complaining!)
Not only is the traditional white Frech manicure overtaking our Instagram feeds and nail-dusted inspiration boards, but countless whimsical, unexpected, and super-fresh takes on the trend are also popping up. The sky is the limit when it comes to French nail designs—not only can you switch up your tip shade of choice (we're especially loving neons and pastels), but things like glitter, nail stickers, and additional patterns and angles make for equally chic updates.
To celebrate, we asked celebrity manicurist Tom Bachik (who works with A-list clients like Jennifer Lopez and Selena Gomez) to walk us through his step-by-step process for perfecting a French nail design at home. And then, (just to get your creative juices flowing), we've included tons of French manicure inspiration pics for you to scroll through at the end. Try them yourself or simply screenshot for whenever we're allowed to visit the nail salon again. Keep Scrolling!
How to Execute a French Manicure At Home:
When it comes to perfecting the art of an at-home French manicure or nail design, Bachik says that above all, a slow and steady approach wins the race.
"I find the biggest mistake people make when attempting a French manicure at home is rushing the process," he warns. "Because a French manicure has multiple layers and the white goes on thicker, it can be easy to smudge. Be patient, and take your time. Allow each step to dry before moving to the next step."
Step 1: Prep Your Nails
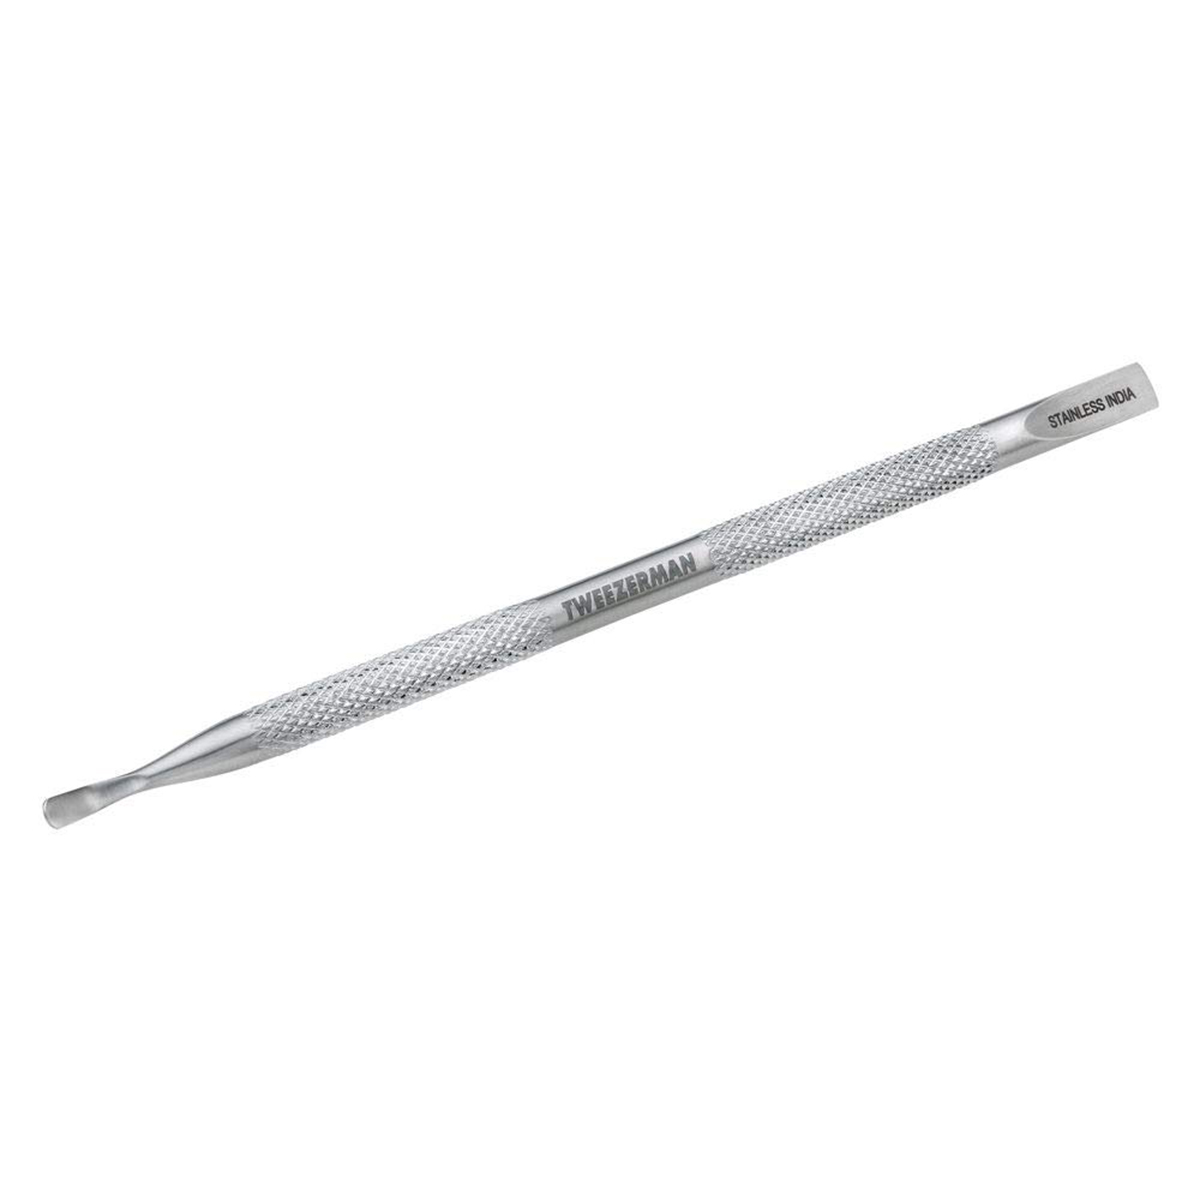
First things first, you'll need to thoroughly remove any old polish using a polish remover—Bachik says acetone-based formulas are most effective. Then, do like Bachik and make sure you have all the right tools on hand. "I use Tweezerman tools on all of my clients because they’re high quality and still affordable," he tells us. For the best nail prep, follow Bachik's below protocol:
Using the Tweezerman Pushy
Nail Cleaner ($15), gently push back cuticles to even out the shape of your nails, and lift excess cuticle from the nail. Remove excess cuticle and any extra bits like hangnails with the Tweezerman Rockhard Cuticle Nipper ($21).
Next, create the general shape of your nails, and reduce the length if desired. "The cuticle nipper tool does this perfectly," Bachik notes. "Keeping your nails slightly longer will make polishing the tips easier and less messy."
Last, perfect your nail shape using a smooth-grit nail file. As far as your technique, Bachik recommends holding your hands away from you using the horizon as a guide to get an even and consistent shape across all of your nails. Before you begin with your polish, make sure to remove any leftover filing dust or surface oils with Isopropyl alcohol.
Step 2: Paint Perfect Your White Tip
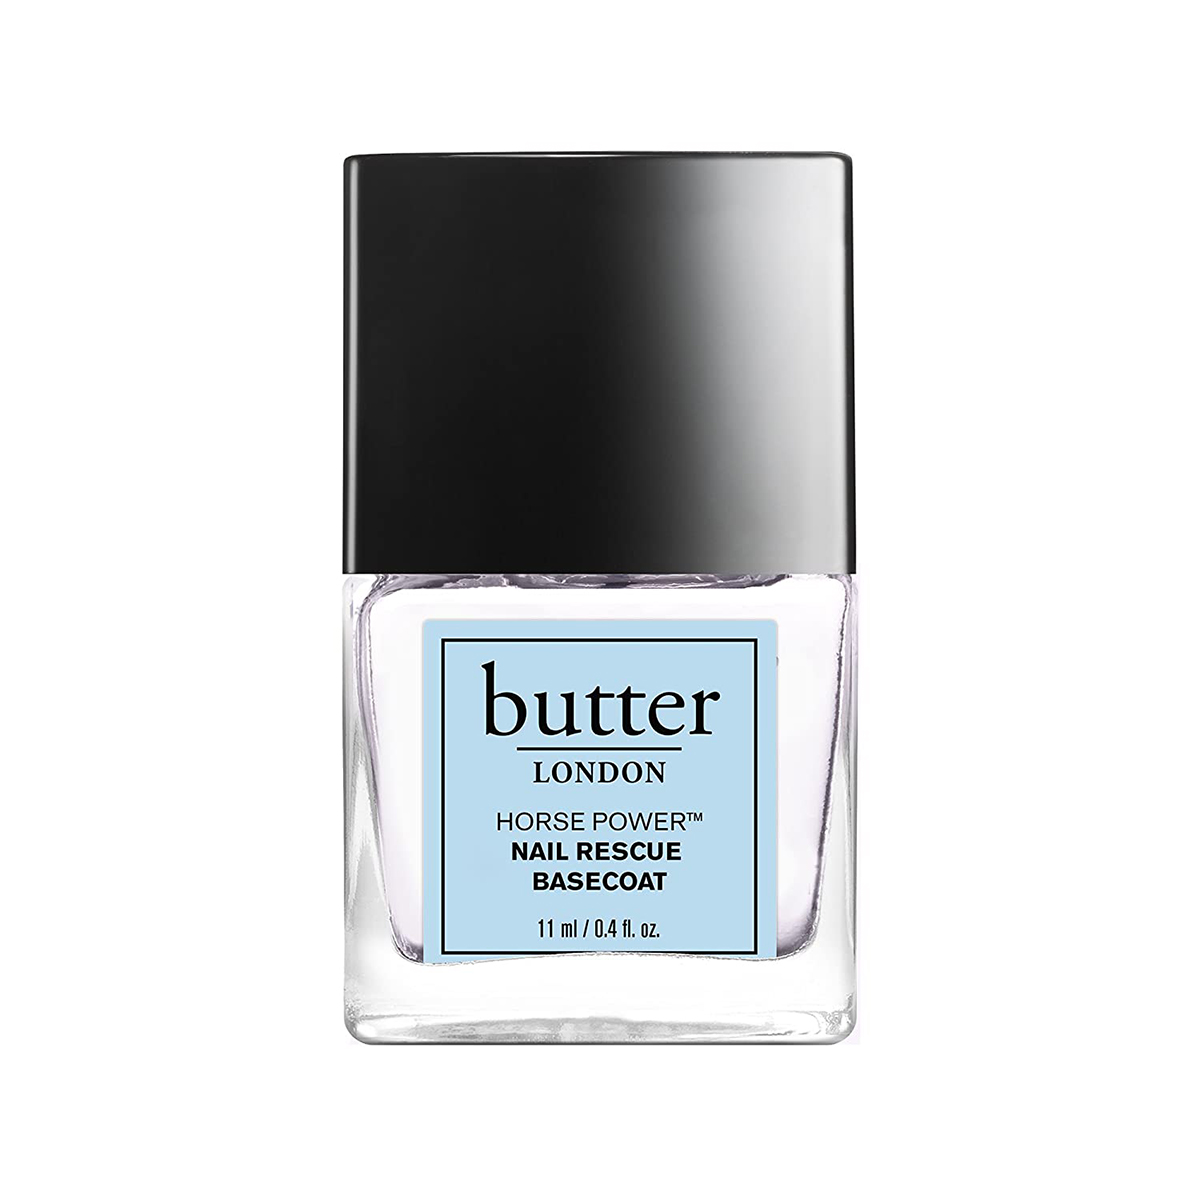
"Start by applying a base coat to your nails and let it dry completely," instructs Bachik. Pro tip: If you have shorter nail beds, Bachik says you can actually camouflage the tips by using an opaque natural nude color first, before applying your white tip. This essentially allows you to "fake" where your nail beds actually start and will create the illusion of longer nails.
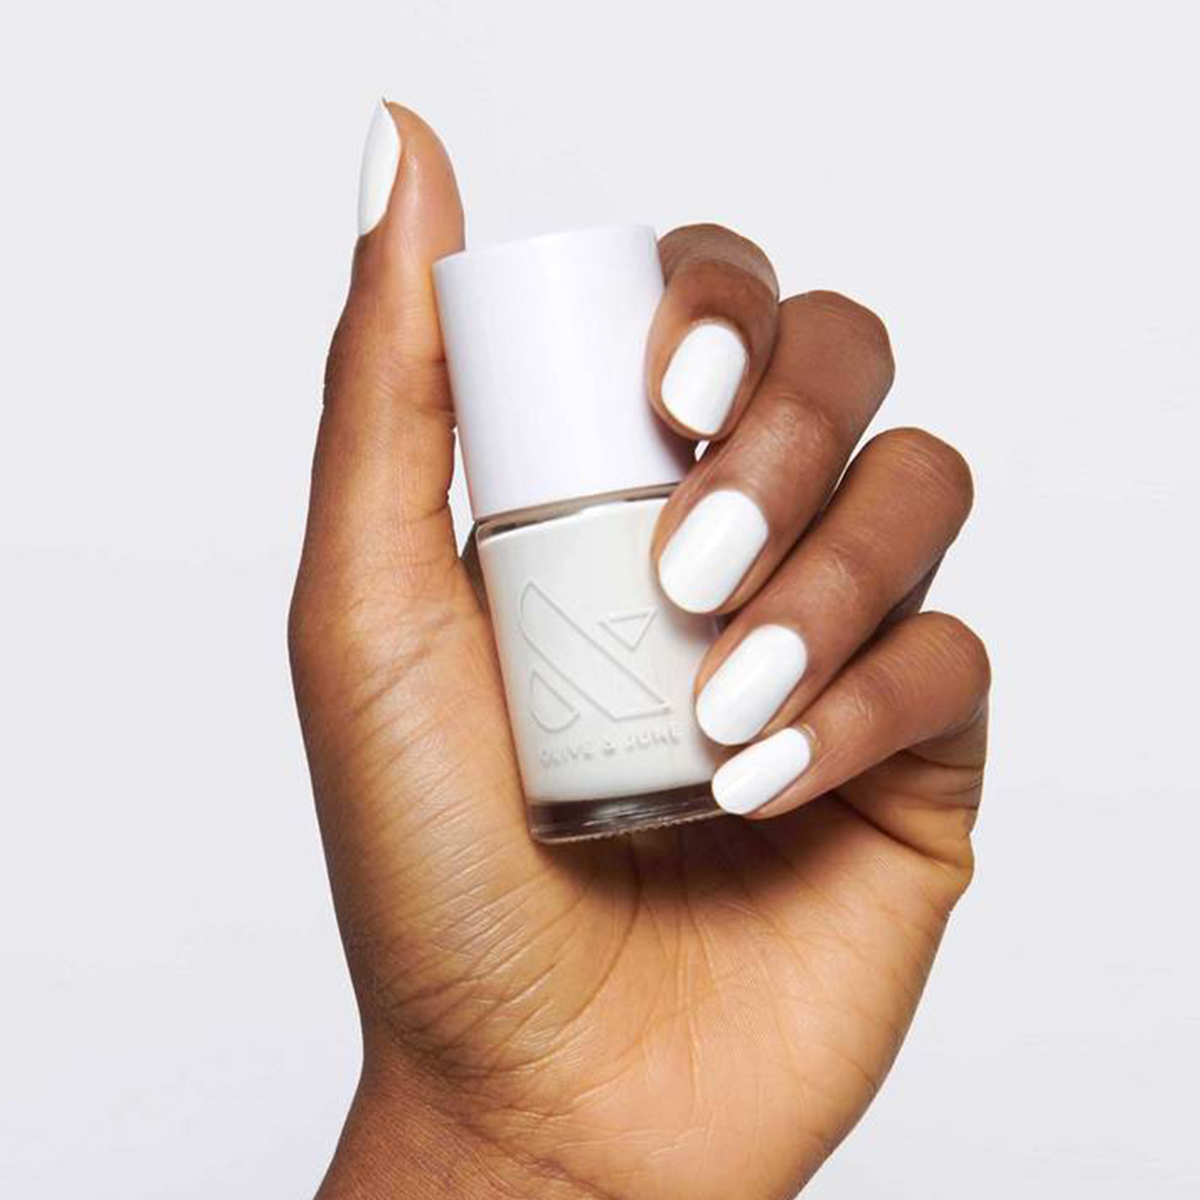
Then, using a white polish, apply the white along the tip of your nails. "Be careful not to make the white tip too thick or it will create the illusion of shorter nails," Bachik explains. "If the white tip is too thin it will show the natural tip too soon and look grown out."
As far as how you apply your white tip, Bachik says you have a few different options. Ultimately, he suggests trying out a few techniques to see what feels most comfortable and natural.
"As an artist, I like to draw an imaginary line down the center of the nail and what I do to one side I do to the other," explains Bachik. "This technique helps me to be more consistent by only having to focus on one side then matching with the other versus trying to make the whole thing perfect all at once."
Option #1: Wipe most of the white off the tip of the brush. Place your finger on a flat surface to keep it stable. Turn your finger to one side so the side of your nail is facing up. Apply the brush to that side of the tip of your nail and brush the white from the corner of the nail just past the center. Then, turn your finger to the other side, and polish from that corner just past the center overlapping the first stroke to create your ’smile line'. Repeat on the other fingers.
Option #2: Wipe most of the white off the tip of the brush. Instead of going horizontally, from side to side, use the brush vertically (same direction as finger and nail) use just the tip of the brush starting in the center, working out toward the sides, to create your ’smile line’ Repeat on the other fingers.
Option #3: Use clear Scotch tape to mask-off the tip of your nail leaving it free to apply your white polish. Simply wipe most of the white off the tip of the brush, apply your white polish, and remove the tape. Repeat on the other fingers.
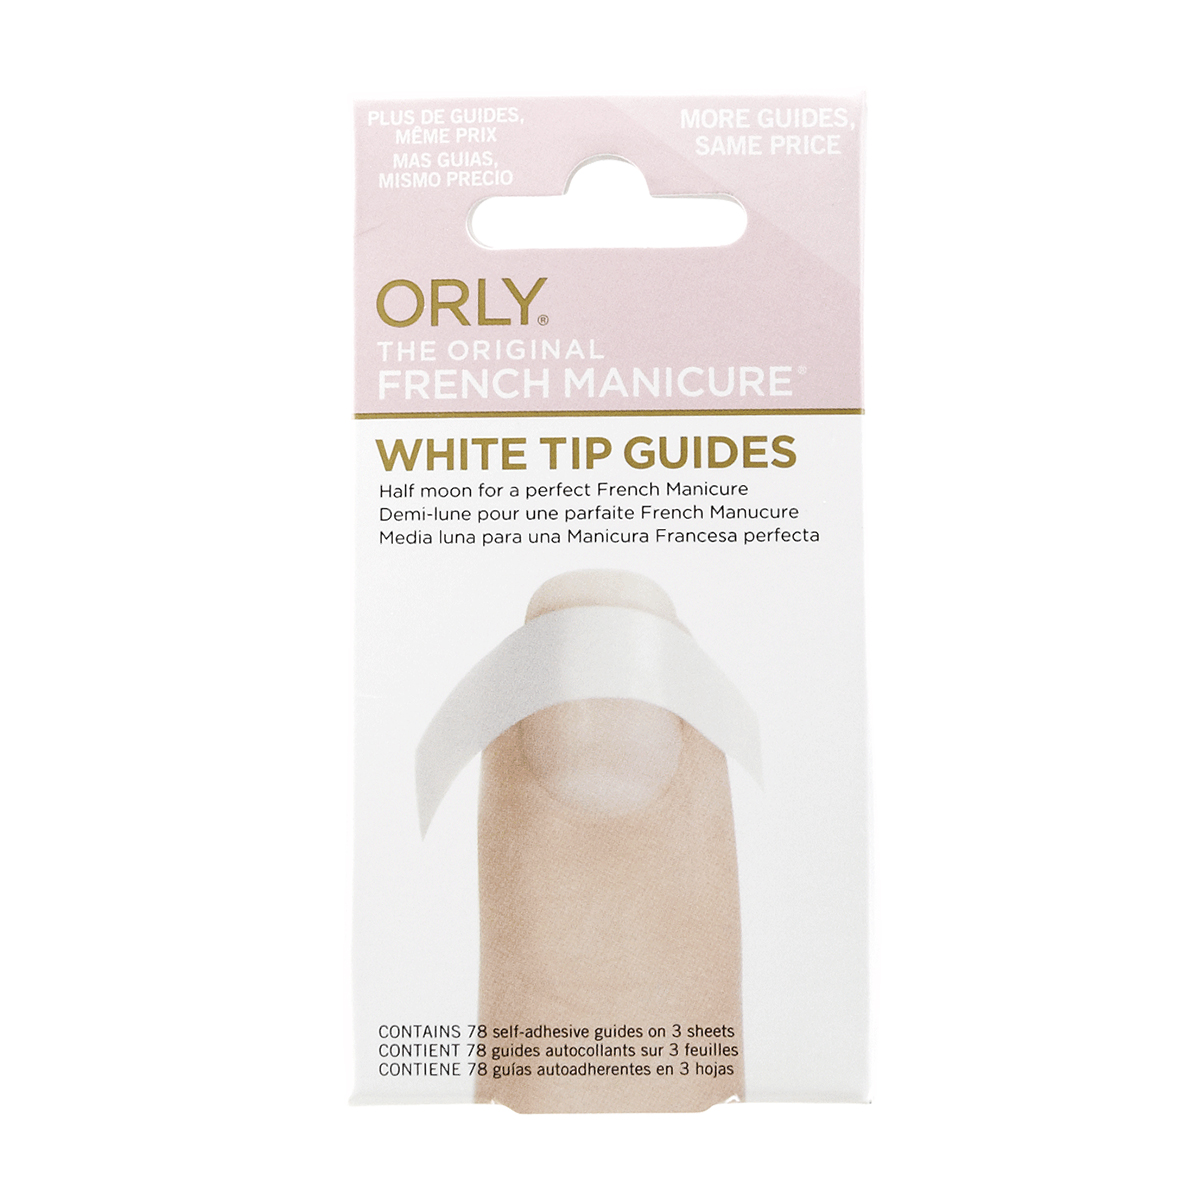
Option #4: Purchase French manicure sticker guides, and apply them to the nail like the Scotch tape method, masking-off the nail and leaving the tip free to apply your white polish. "The nice thing about the guides is they are pre-shaped into a nice curve for a perfect French shape," Bachik notes. Repeat on the other fingers.Clean-up: Regardless of the technique you decide to use, finish your white tip by using one end of the Tweezerman Pushy
Nail Cleaner tightly wrapped in cotton and dipped in nail polish remover to go back and clean up around your tip even deepen the smile line for a perfected French shape. Bachik says an old gel eye or lip liner brush saturated with remover will also work in a pinch.Pro tip: "The white tip on French manicures is usually a bit thicker than a normal coat of polish, so be patient and wait for it to dry completely before you go to the next step," Bachik tells us. "If you' don't wait long enough, you'll risk smudging or smearing the white you just spent so much time perfecting!"
Step 3: Apply Your Sheer Pink or Nude
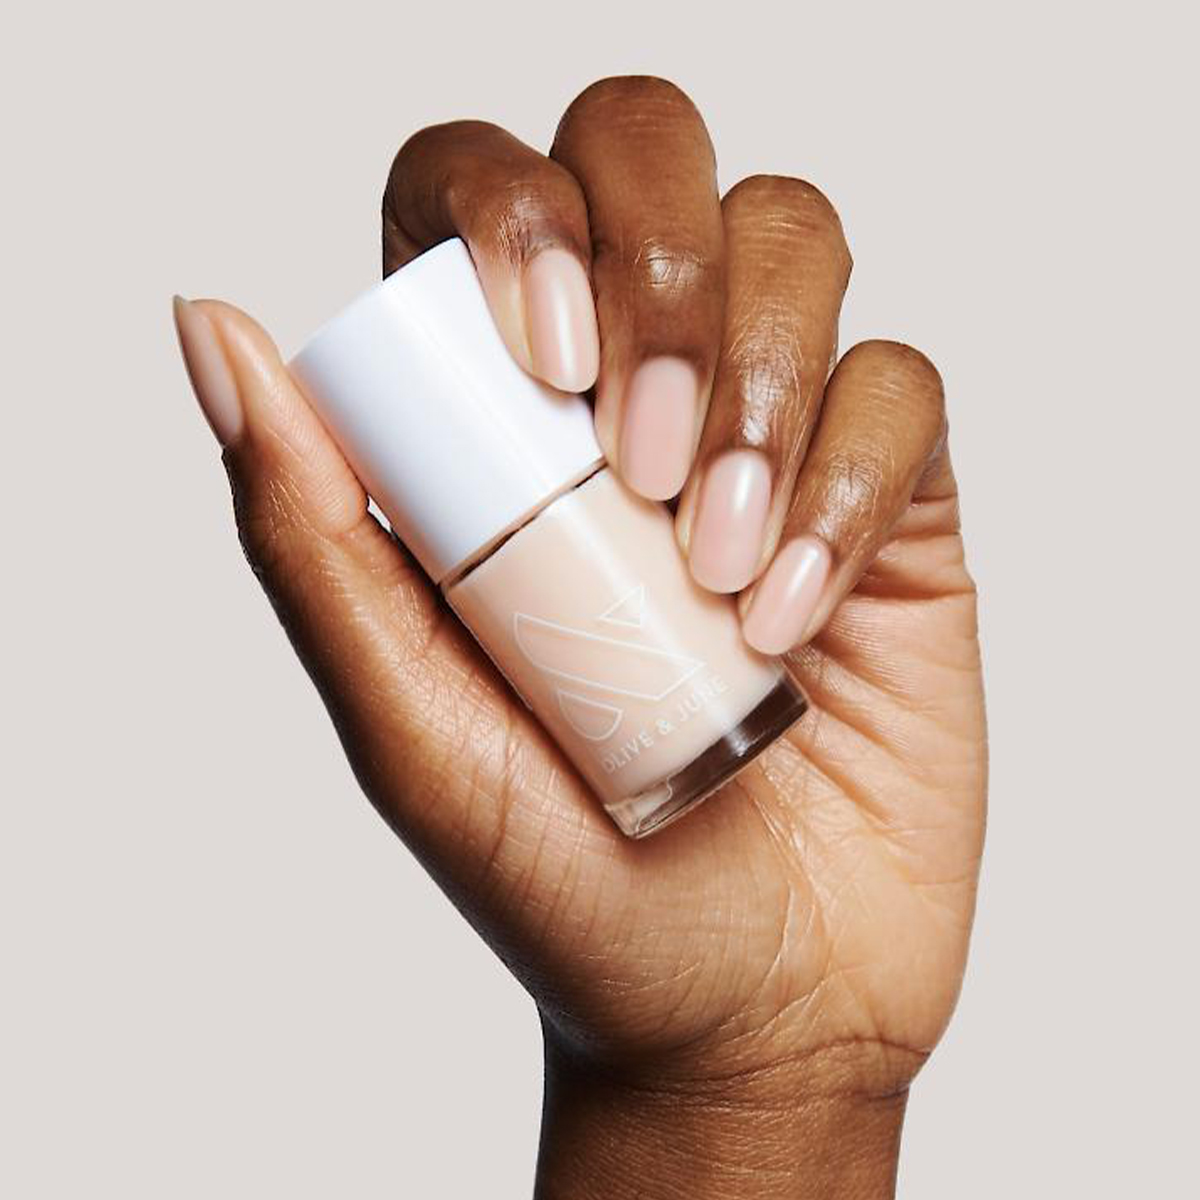
Next, it's time to apply your preferred color of sheer pink or nude over the top to tint your nail and smoothly soften the starkness of your white tip.Pro tip: "Use the same clean-up tool you used before (either your cuticle pusher that's wrapped in cotton or your eye or lip liner brush) dipped in remover to go back and clean up any polish from around the cuticle area," says Bachik.
Step 4: Finish With a Glossy Top Coat
Screenshot-Worthy Inspiration for French Nail Designs:
"This is where you get to have fun with it!" exclaims Bachik. "You can still use the general techniques from above but change it up a bit with the shapes."
For instance, instead of a classic, soft, natural 'smile line’ on your tip, Bachik says you can switch it up to create a deeper oval (for a more dramatic look) or you can create sharp sides to create a modern-looking V-shaped French nail design.
"Also, don’t forget to play with color!" he notes. "Make each tip a different color, or each side of the tip a different color. Add accents like a metallic stripe between the tip or a stud in the cuticle or between a two-colored tip...the options are endless! The key is to play and have fun with it and make it your own."
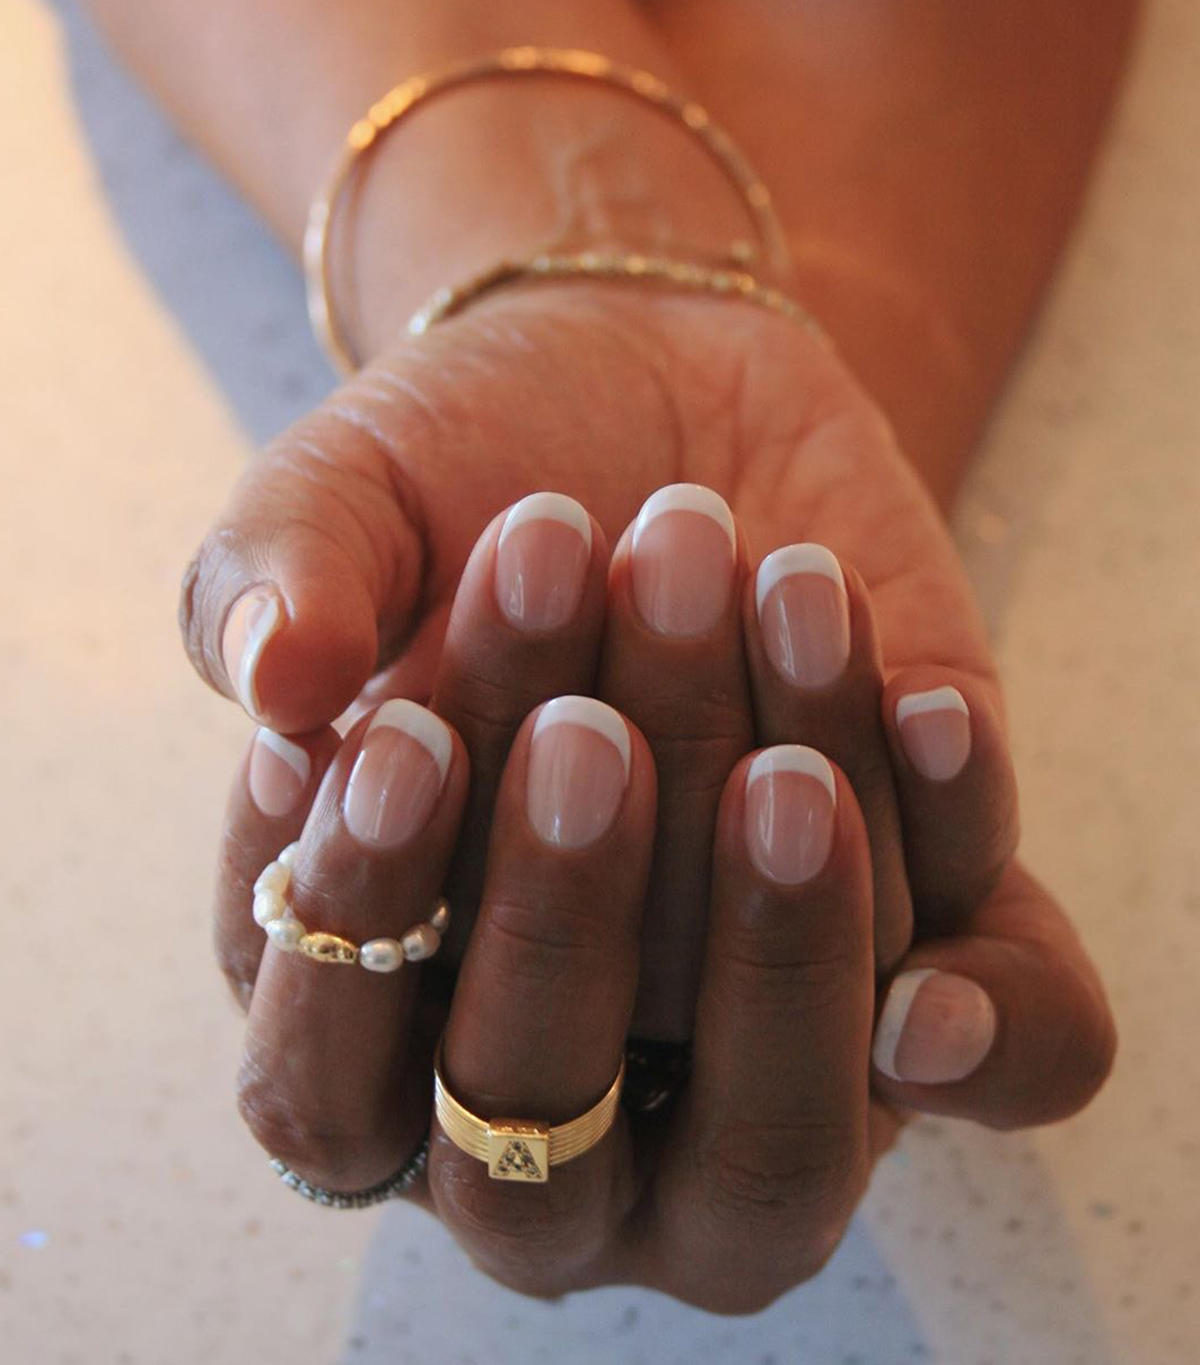
A classic white French manicure is eternally chic.
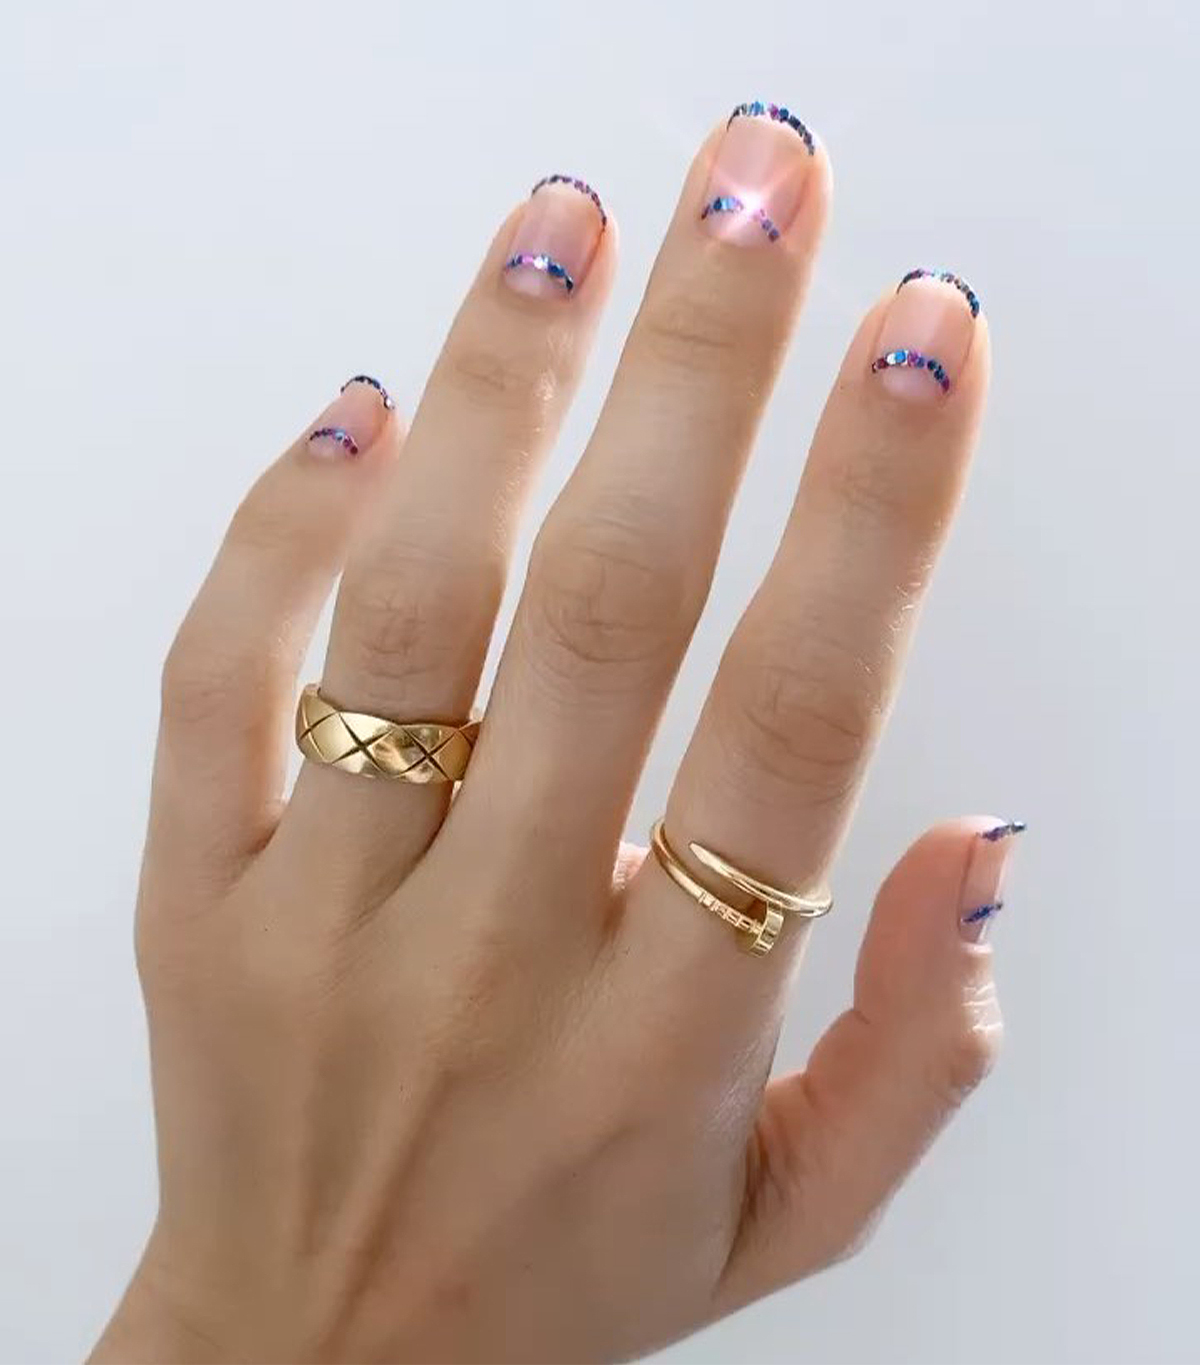
Double your arch, double your fun. To take things further, try a few (or an entire row or two) of light-catching rhinestones.
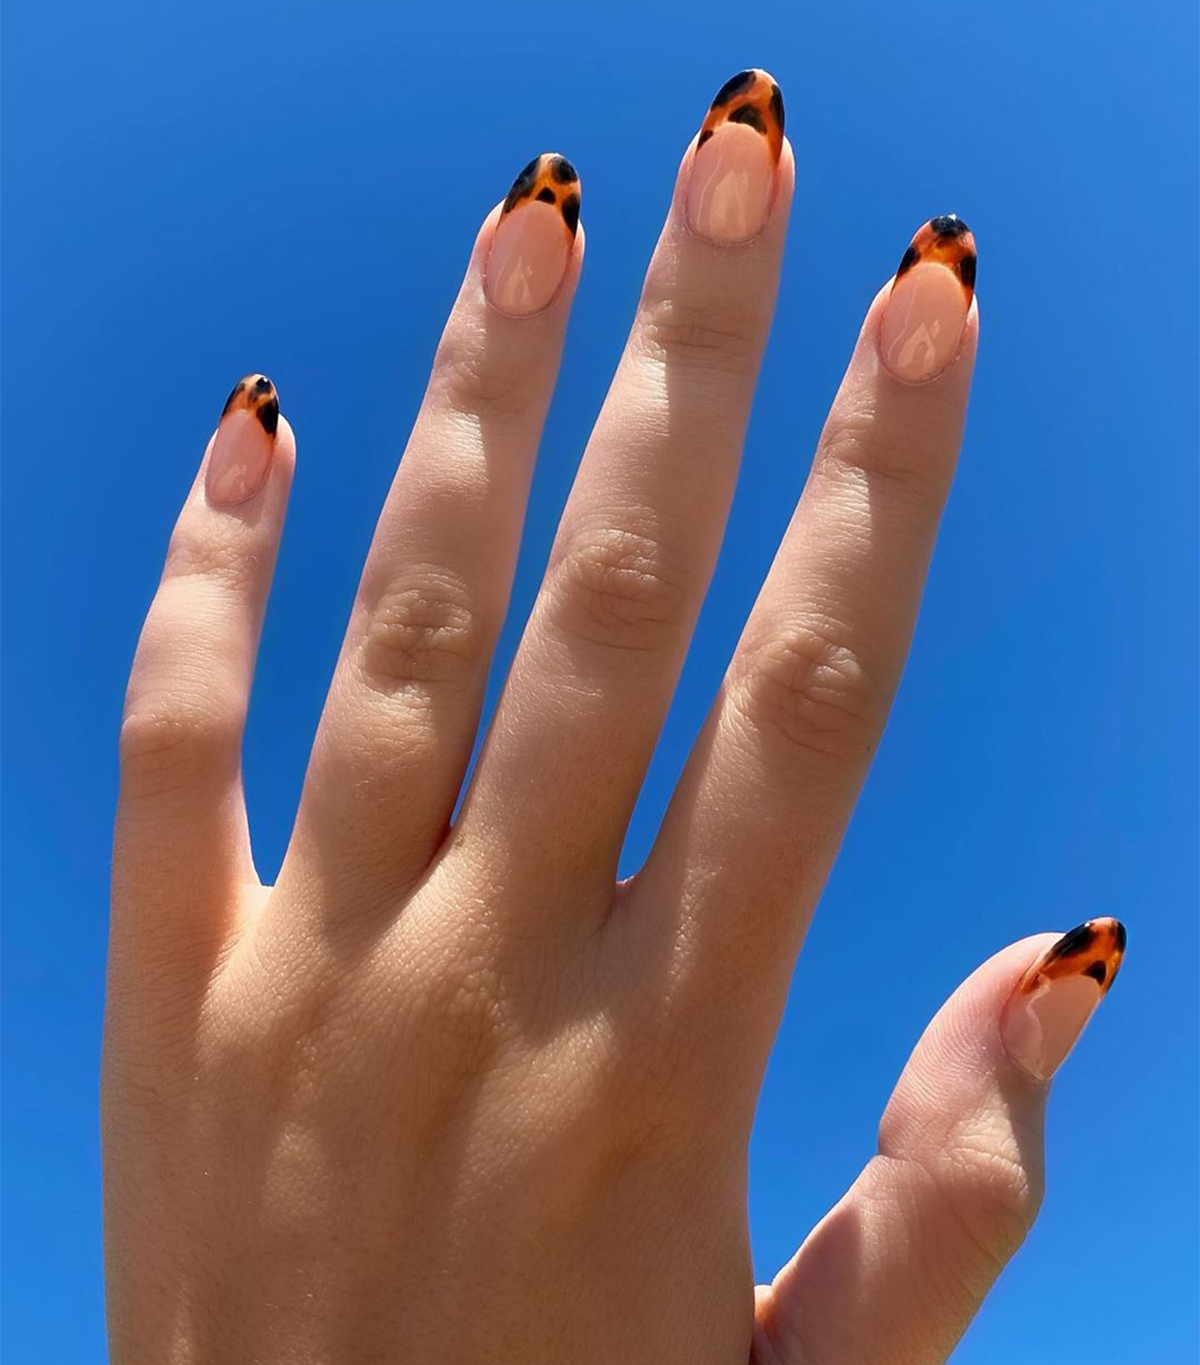
How chic do tortoiseshell tips look as an upgraded French nail design?
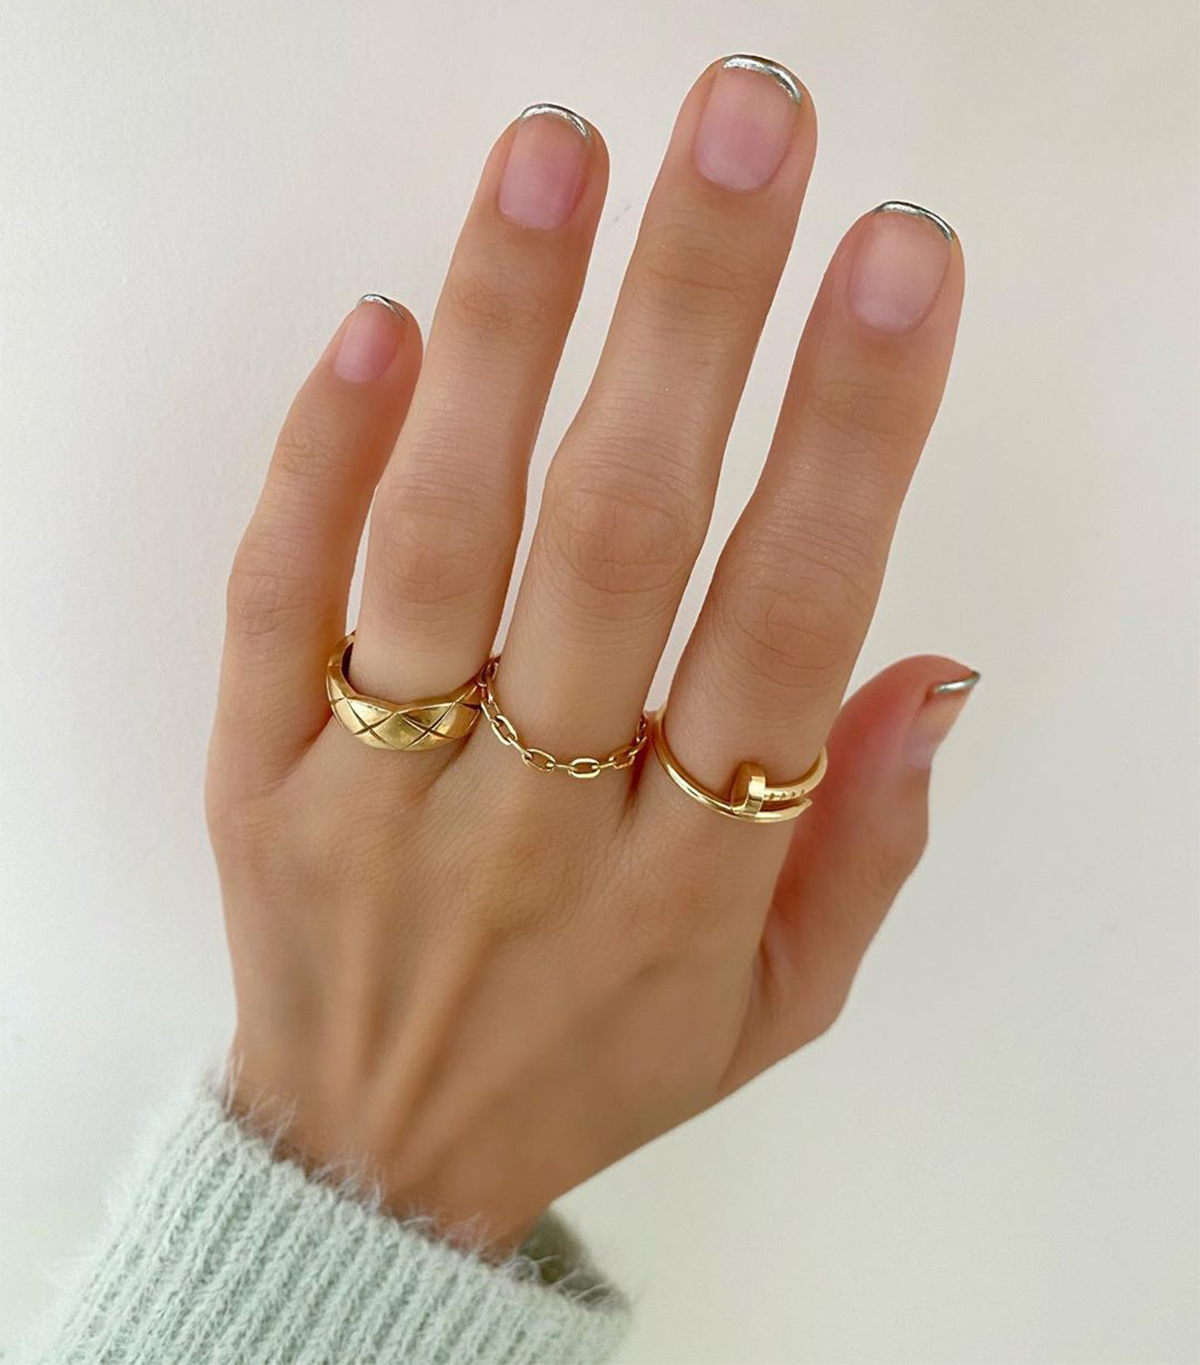
If all-over chrome or metallic nails feel like too much, using a shimmery silver shade instead of traditional white is a great way to give your French manicure a fresh new feel for fall.
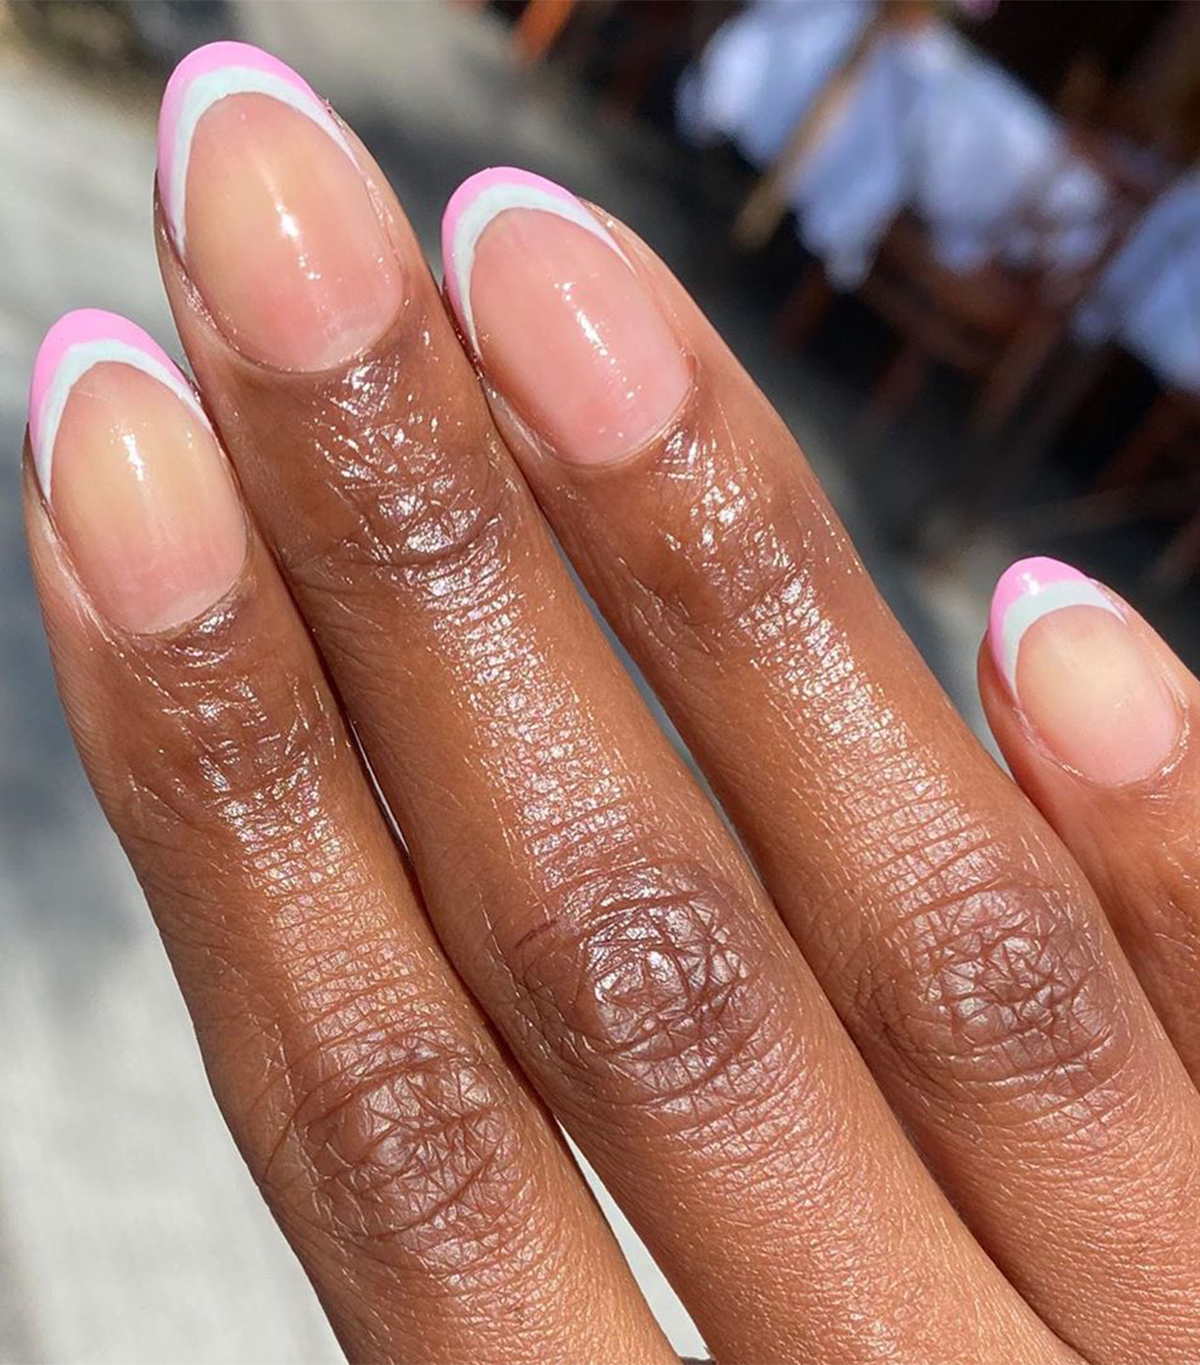
Two pastel hues look elegant and sophisticated.
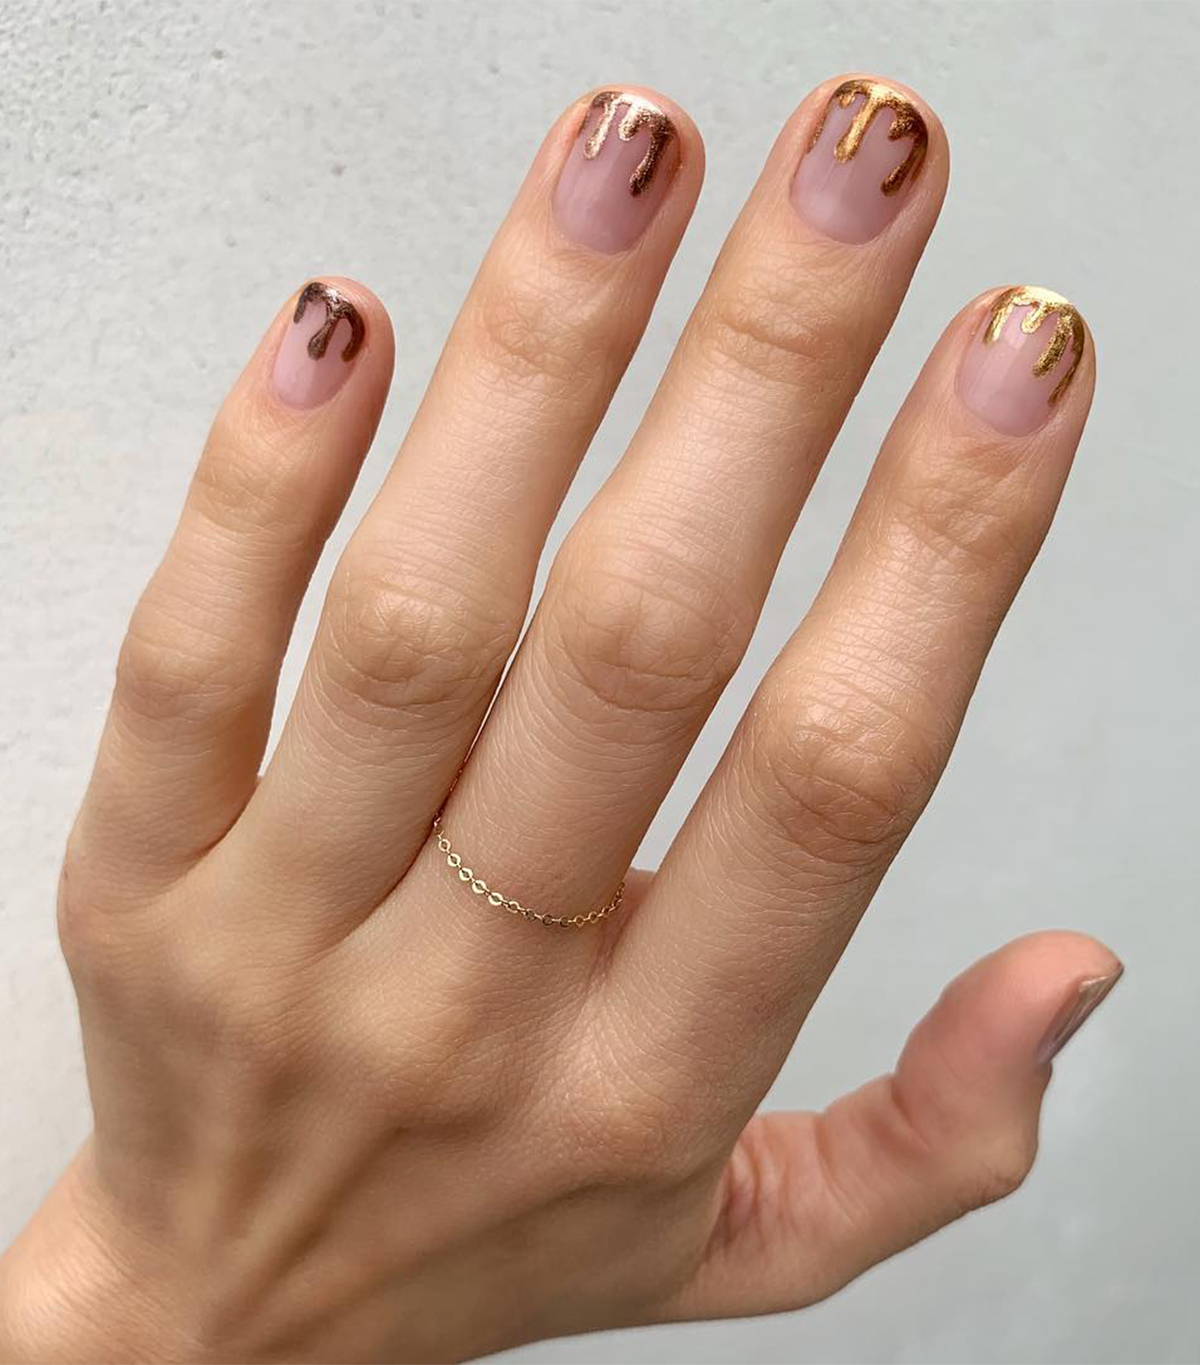
For a more whimsical nod to the French nail trend, why not make your tips (literally) drip with gold?
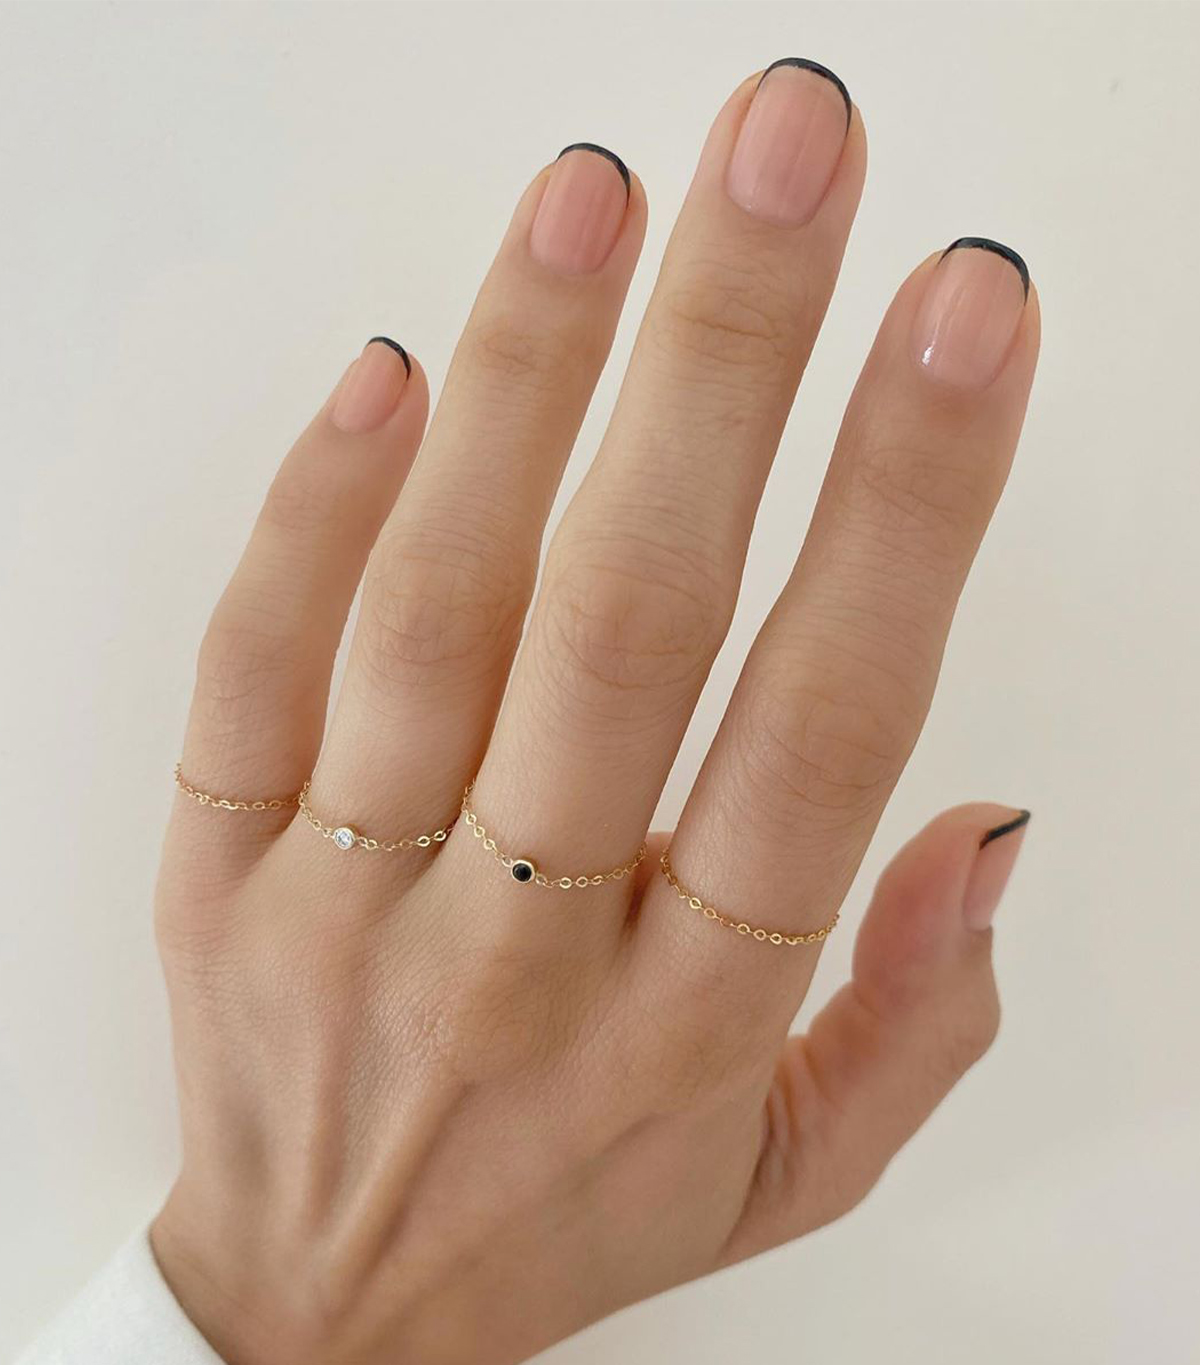
The iconic French manicure, but make it black.
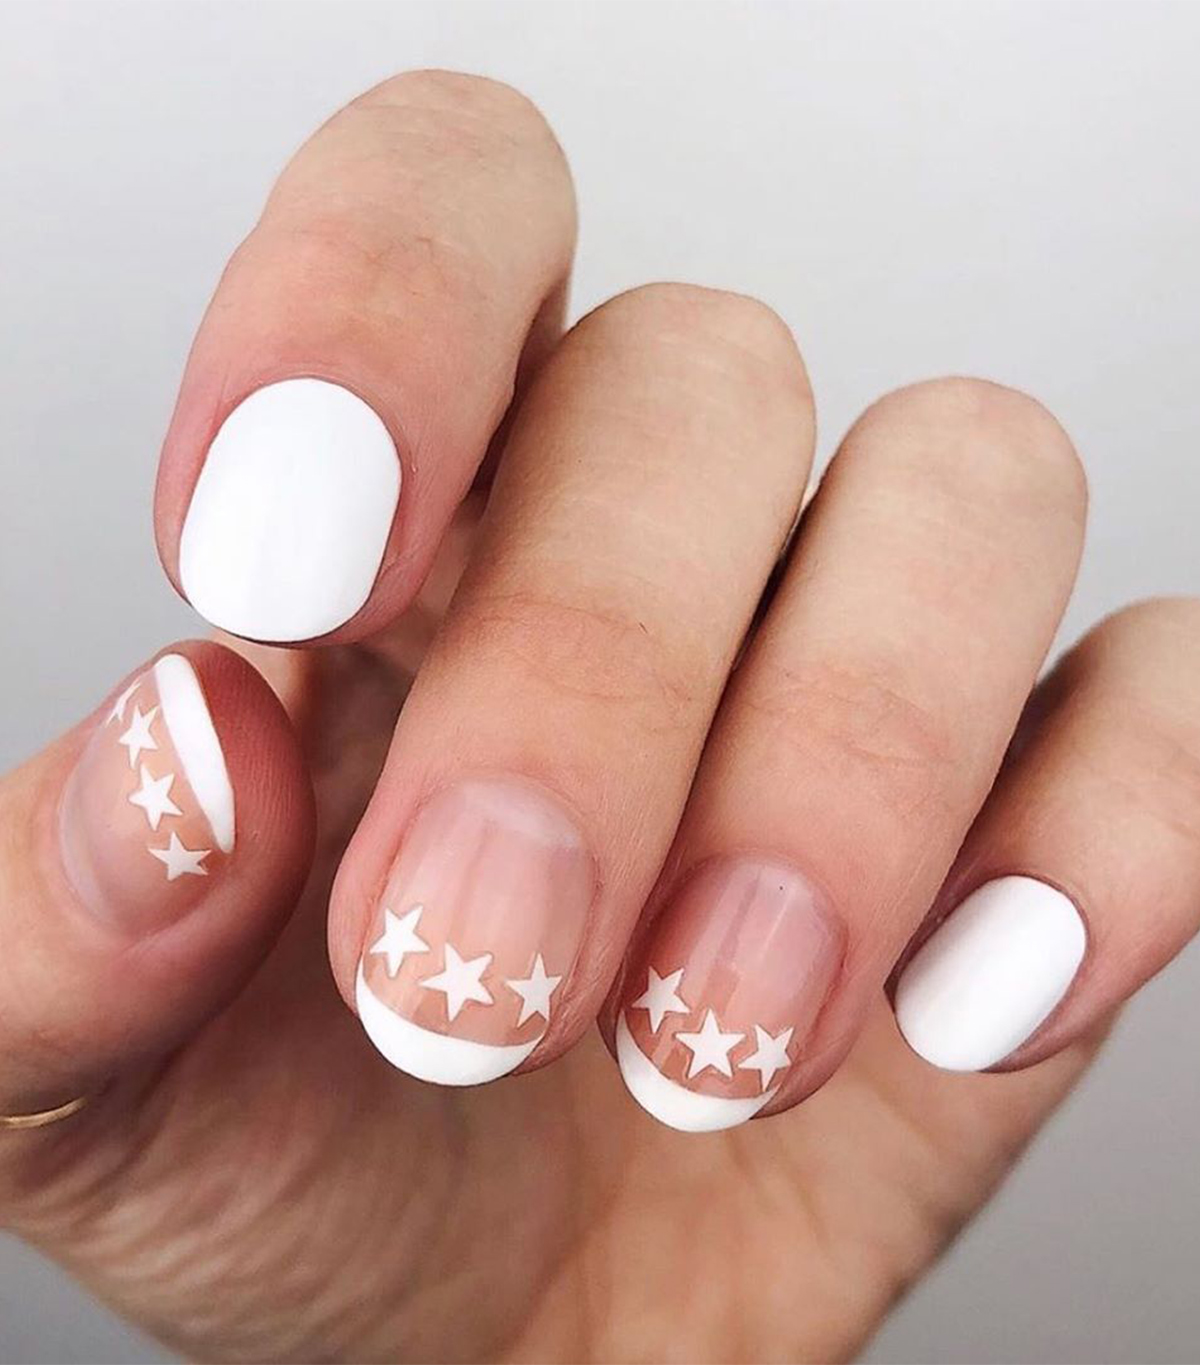
A few star stickers take this traditional white French nail design to the next level.
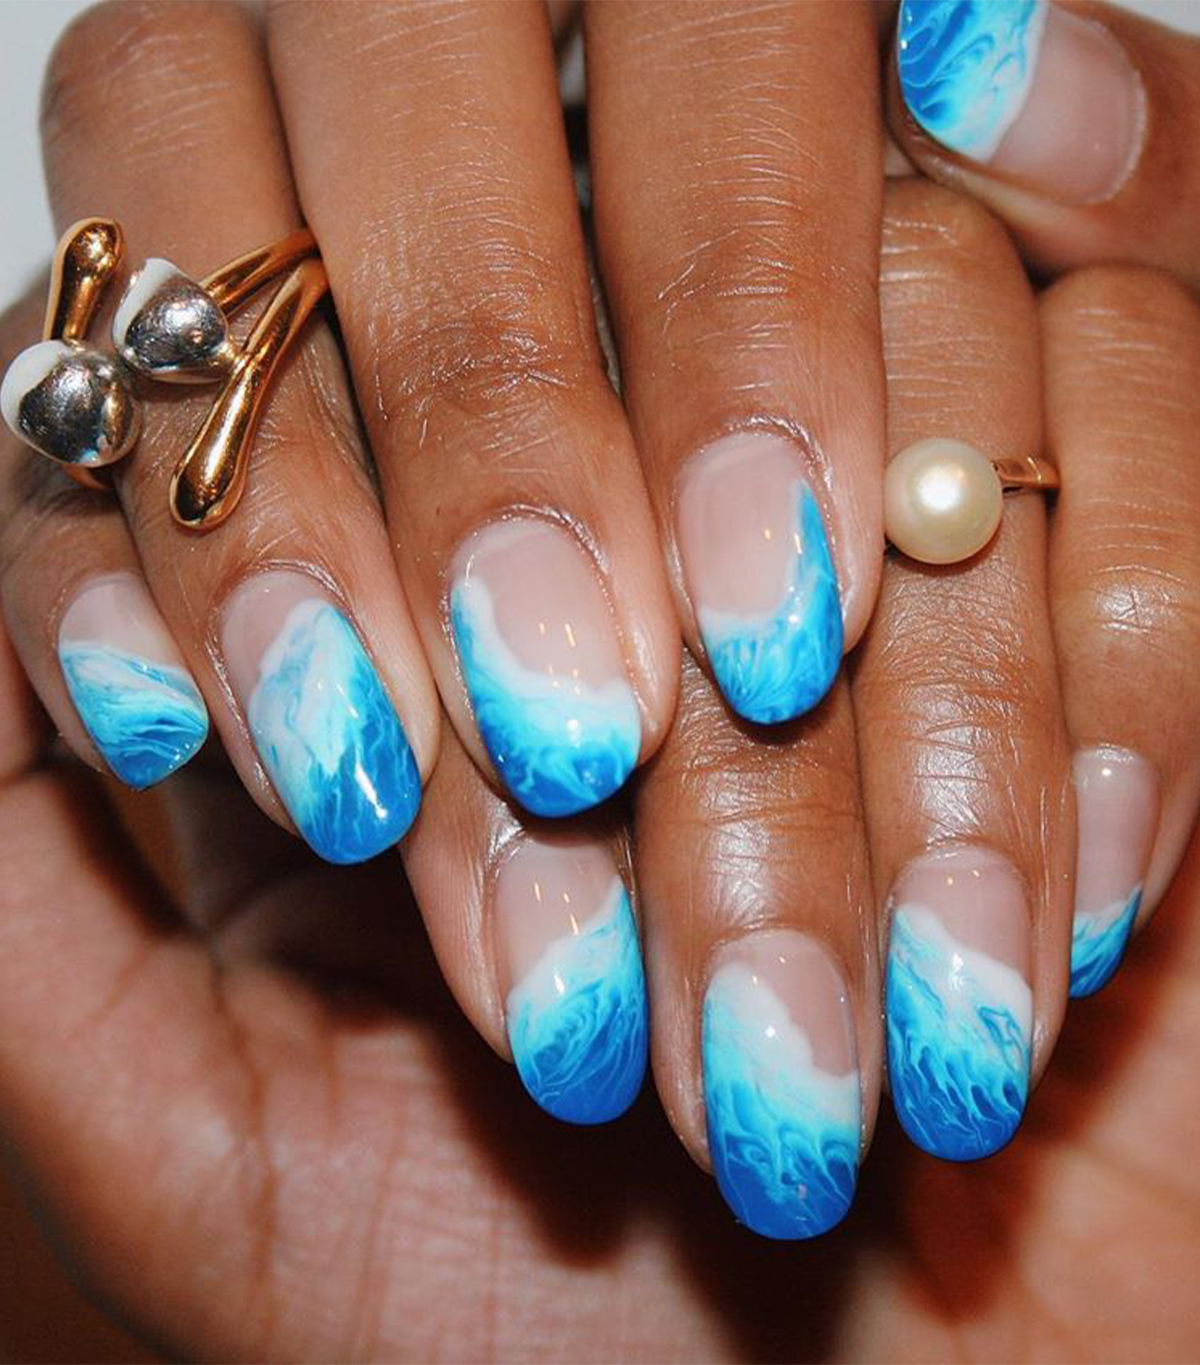
Your basic French manicure taken to the tenth floor—we're adding this wave-inspired look to our DIY bucket list.
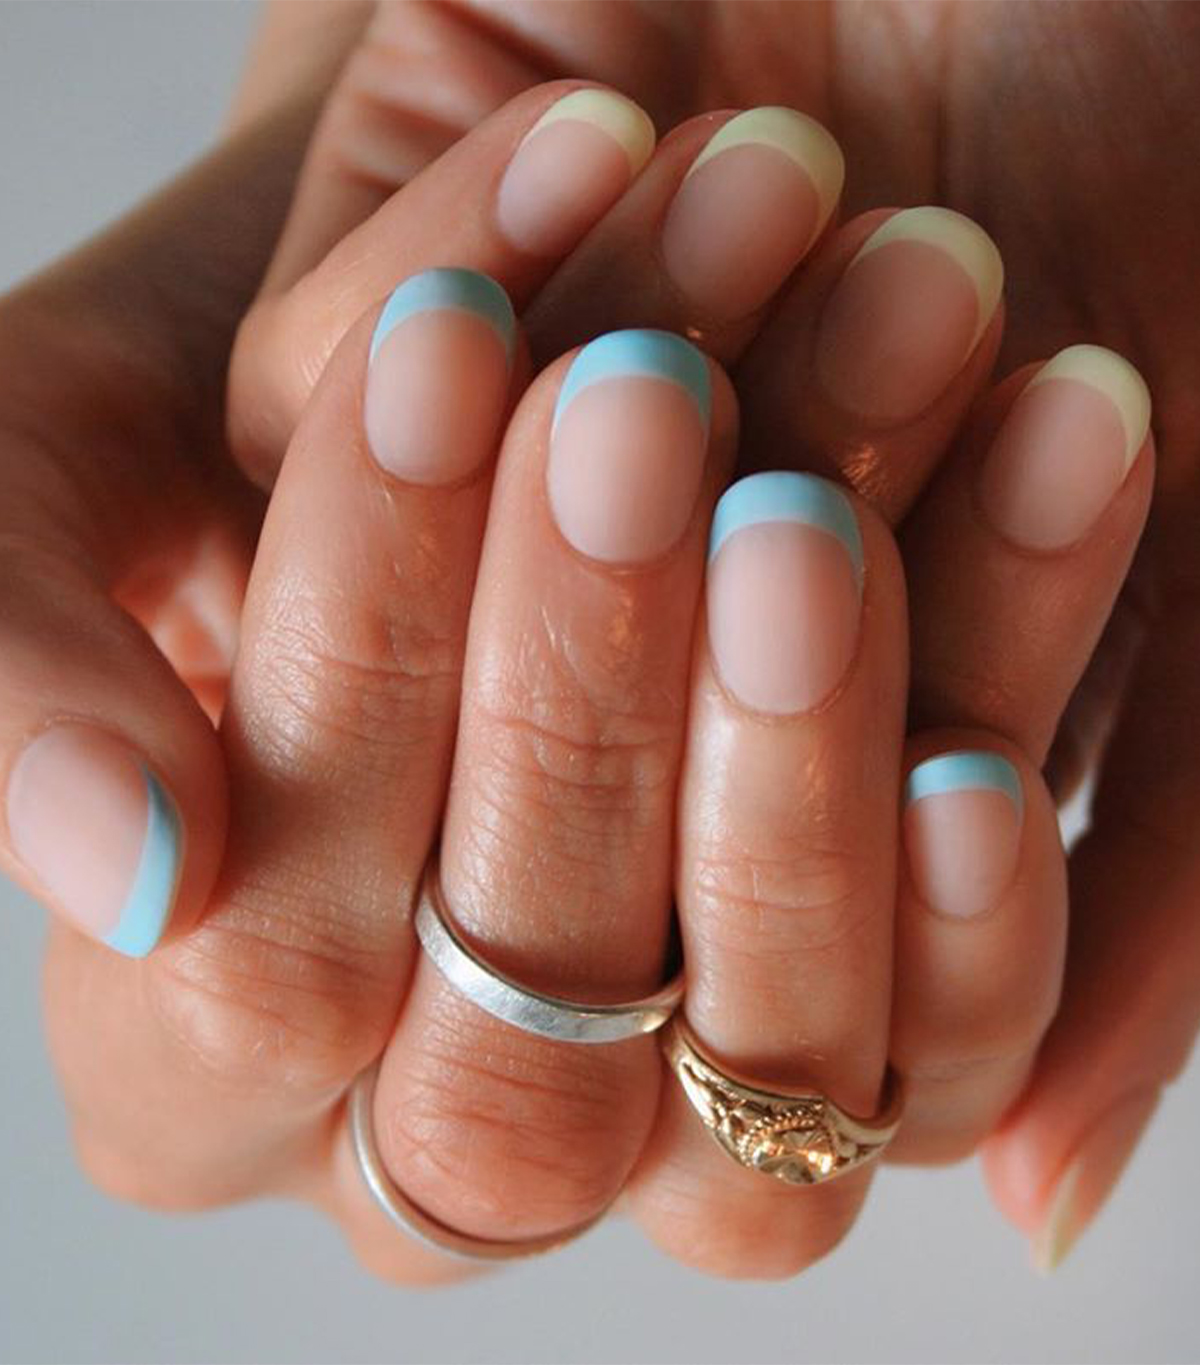
Make your classic French nail design two-handed—we dare you to choose two ultra-bold polish colors for ultimate contrast.
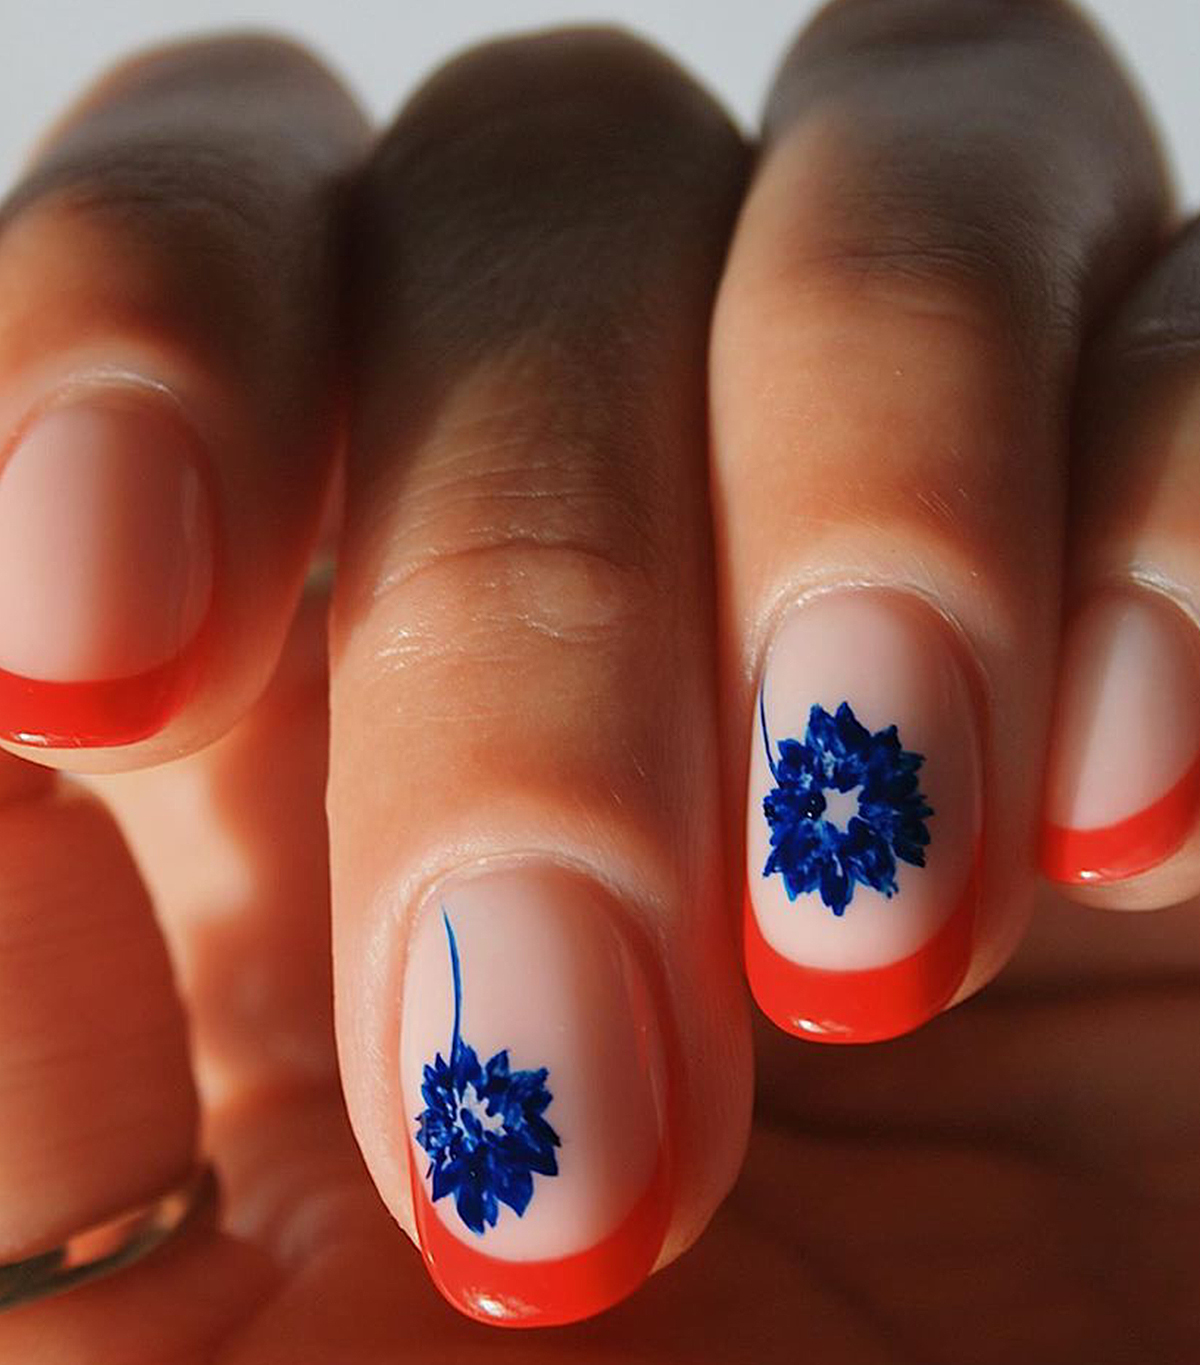
Red French tips look chic and unexpected paired with additional nail art—like this navy flower. (Not an artist? Try a nail art sticker, instead!)
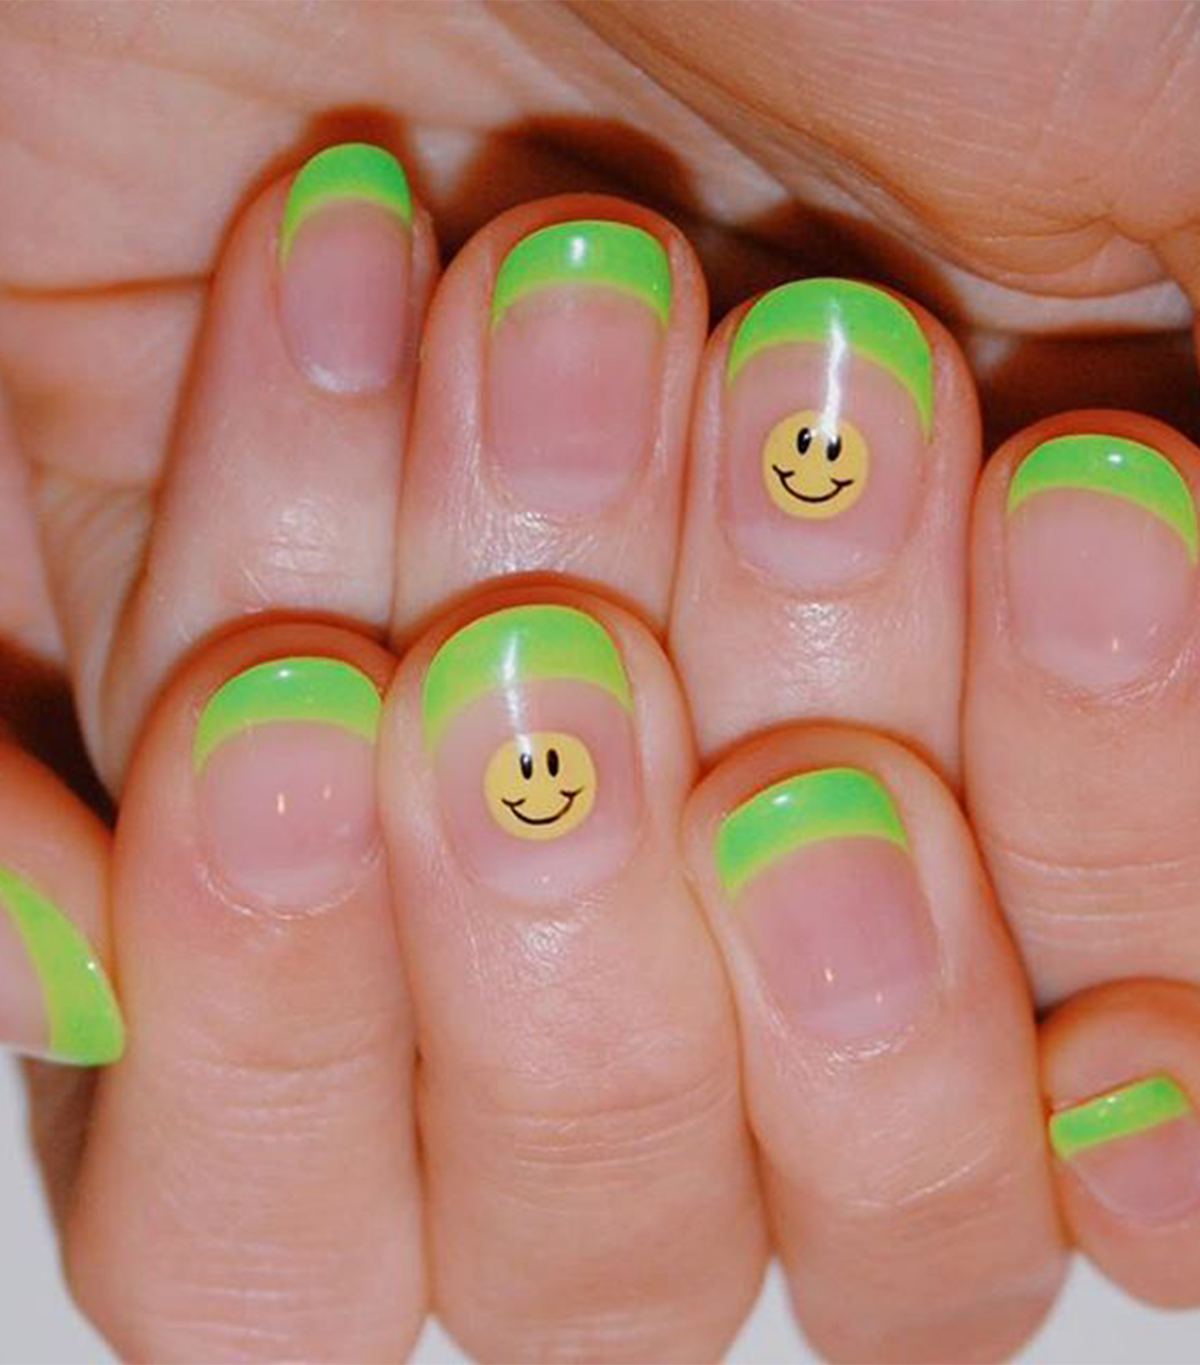
Another option? Neon green with a smiley face or two.
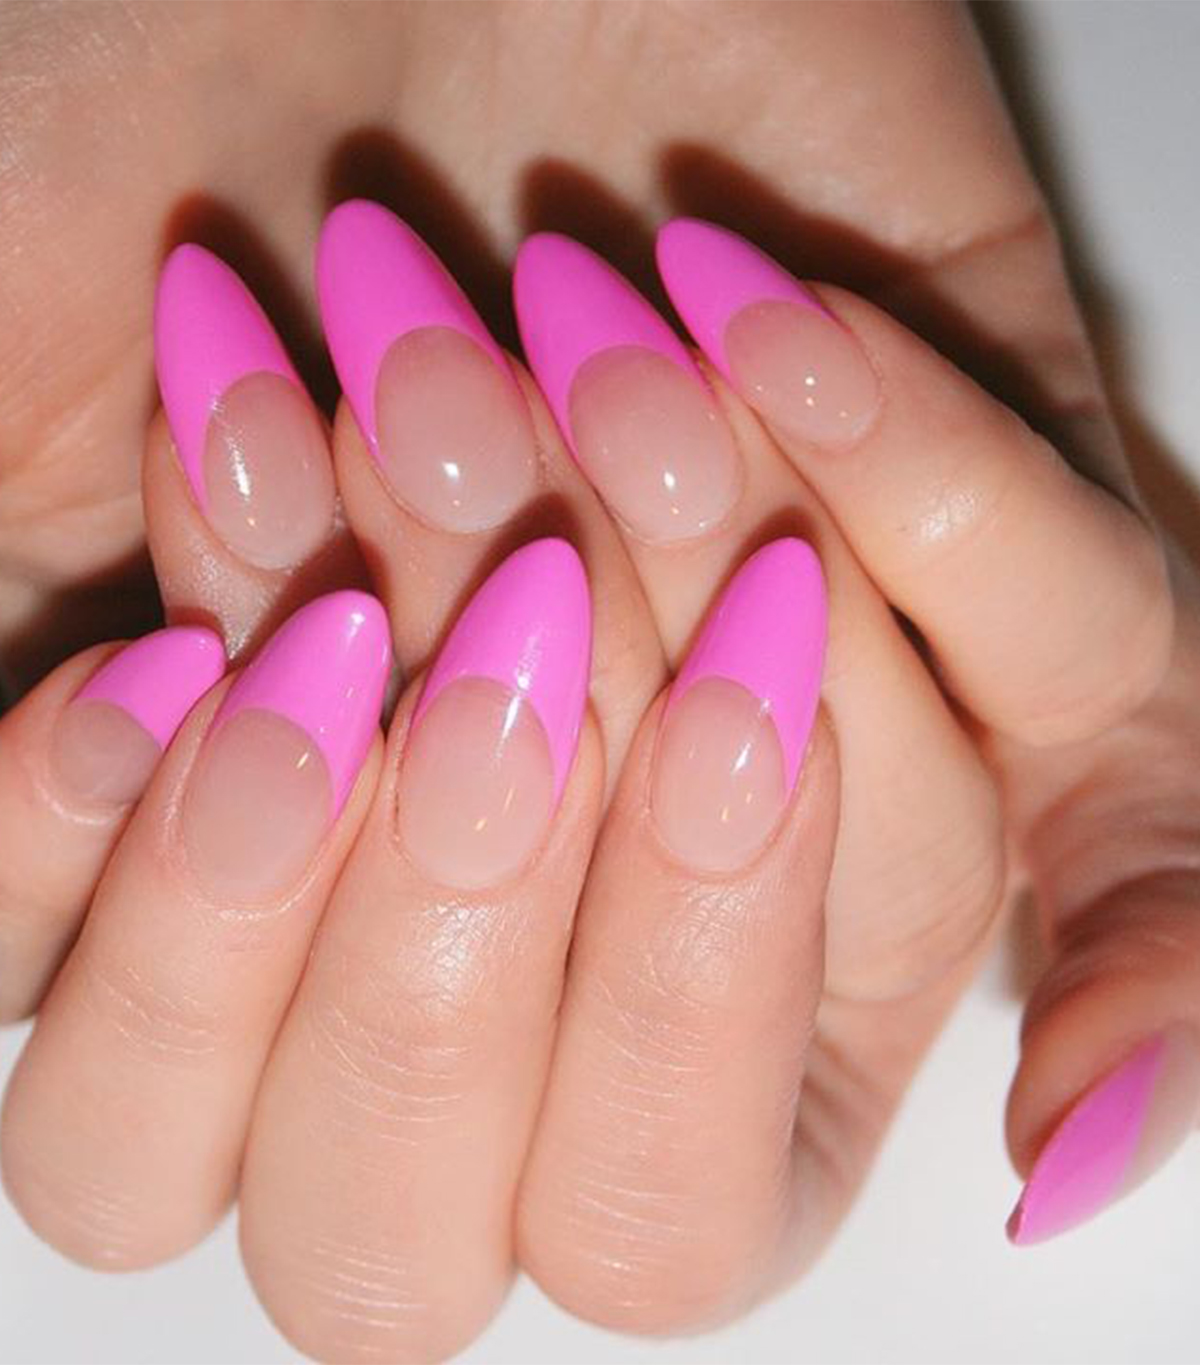
We love the bold look of long length paired with electric shades like hot pink.
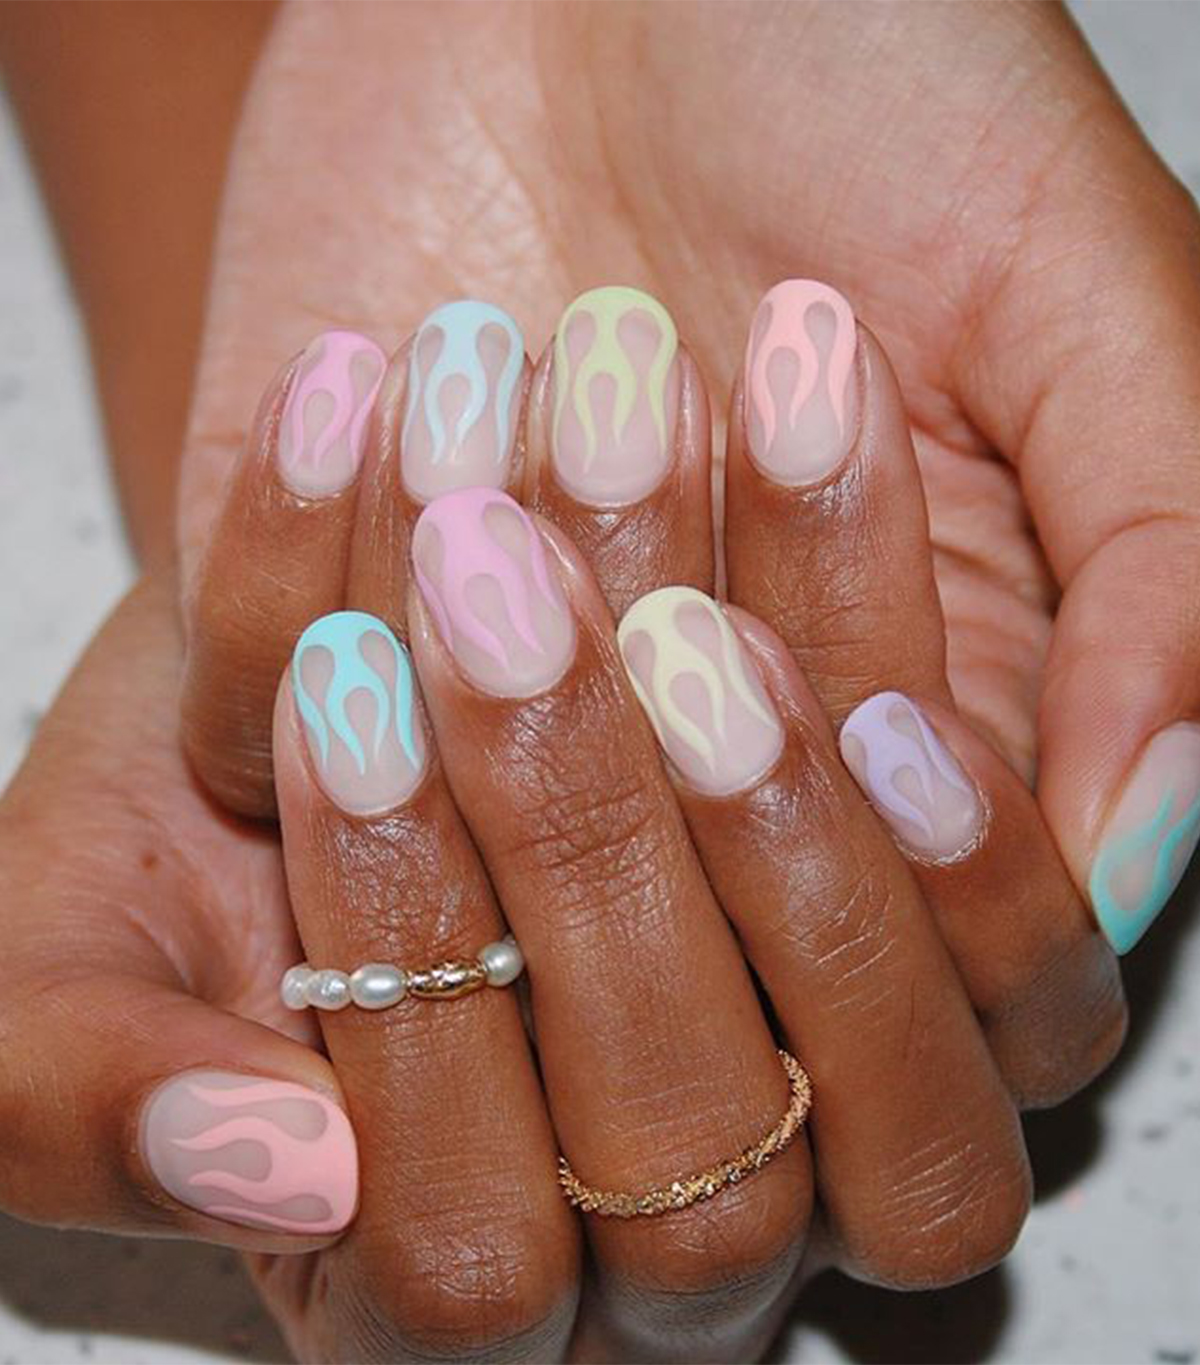
This French nail design might be a bit more complex to tackle, but how cool will your tips look when they're rimmed with pastel flames?
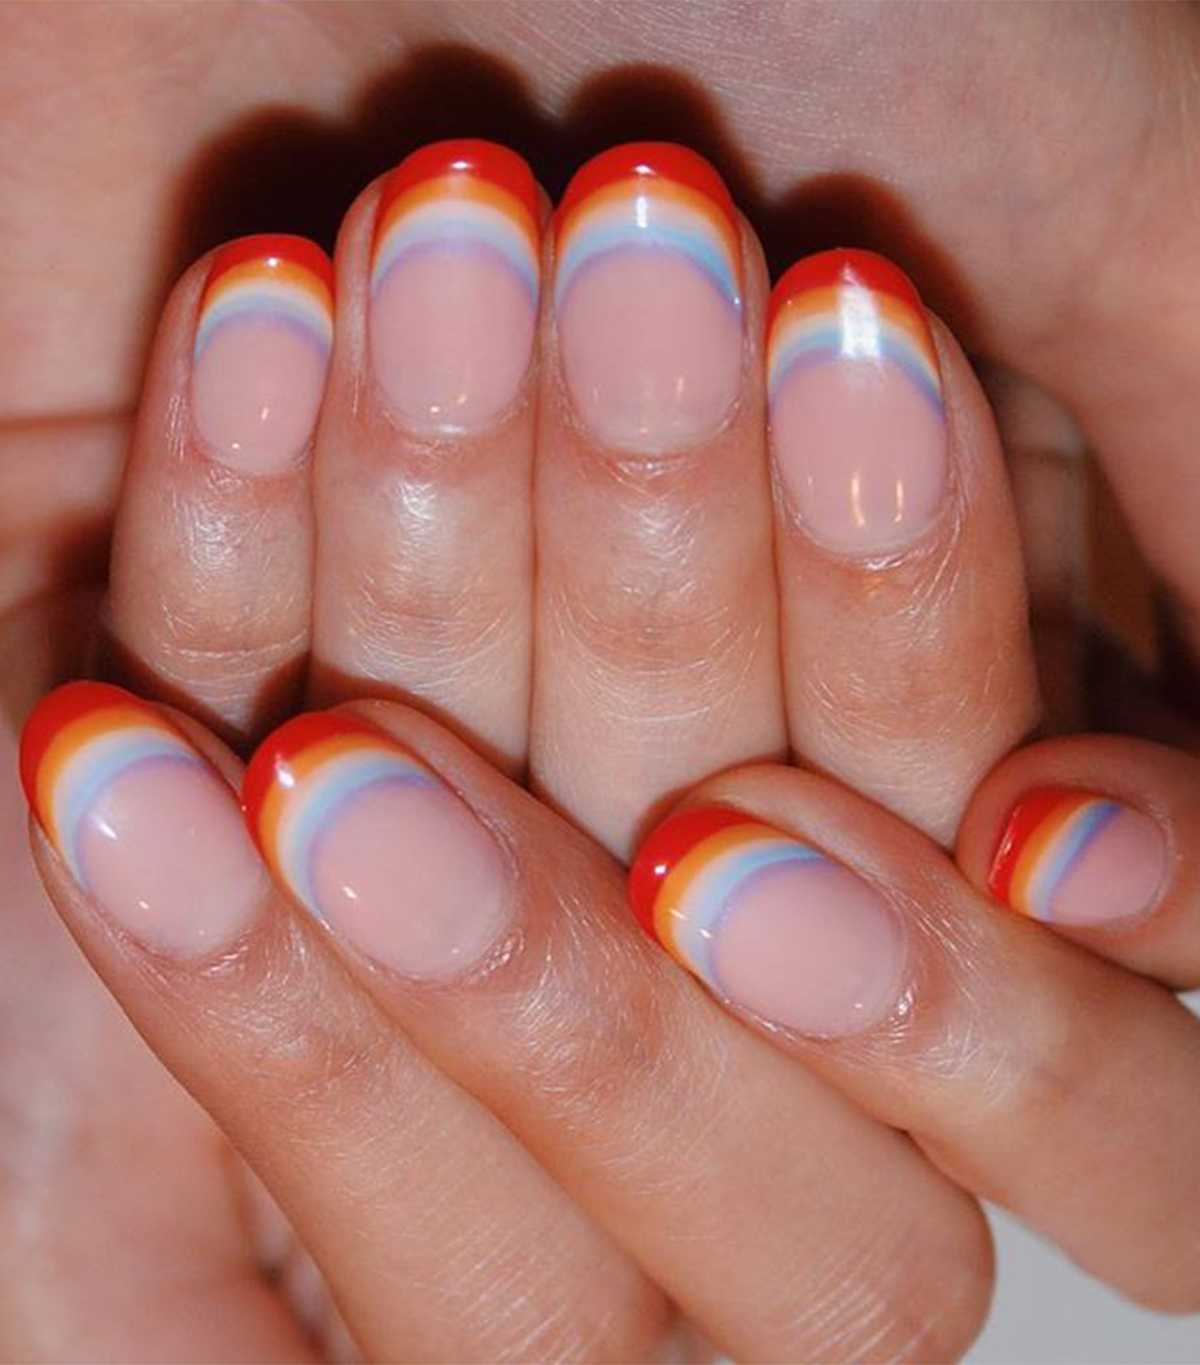
Nothing fits better with a French nail design than a rainbow.
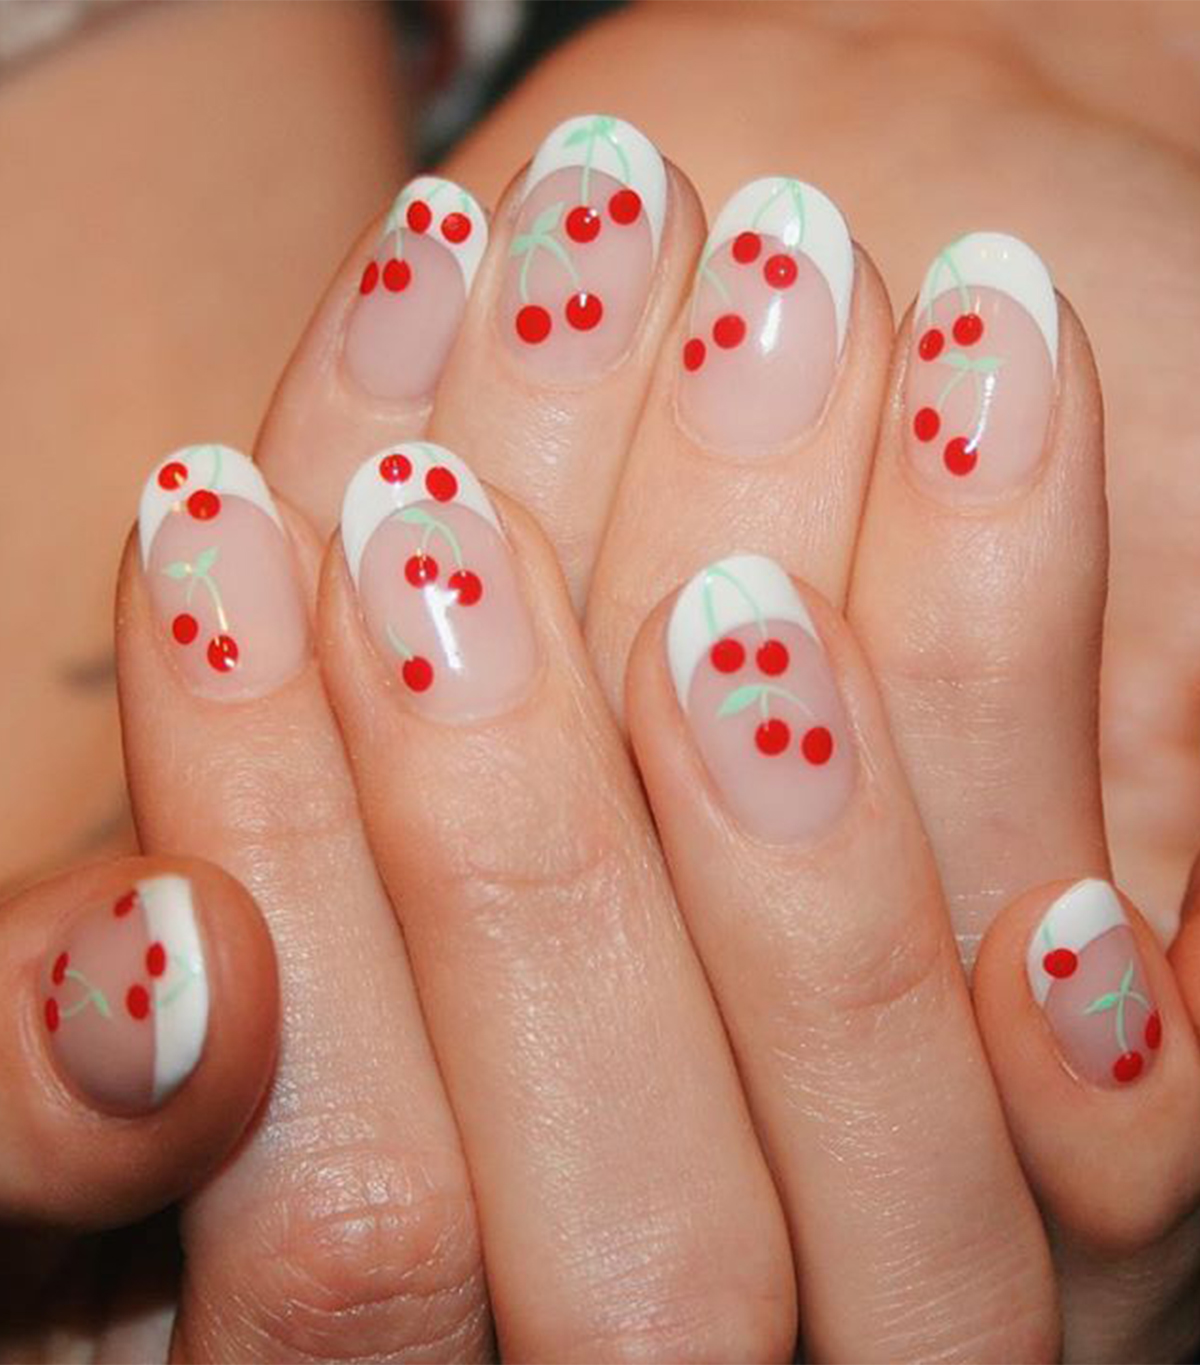
A class white French nail design topped with a sweet sprinkling of cherries.
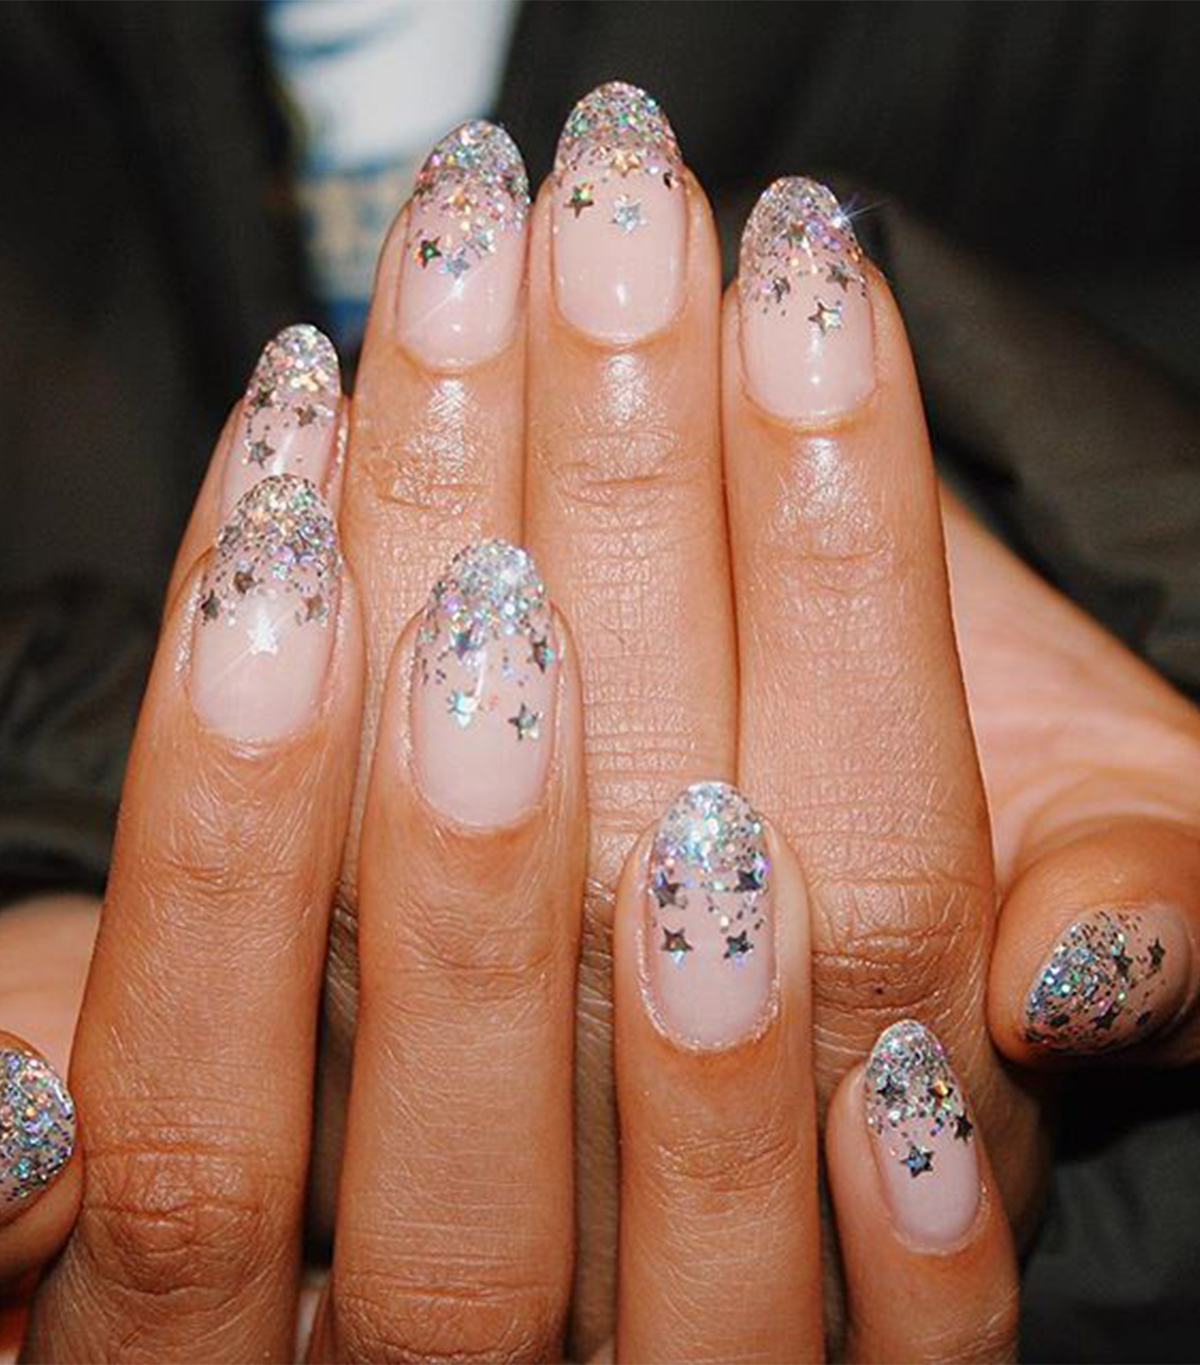
If you're a glitter fiend like us, we highly recommend a taking your next French manicure to sparkling, star-studded heights.
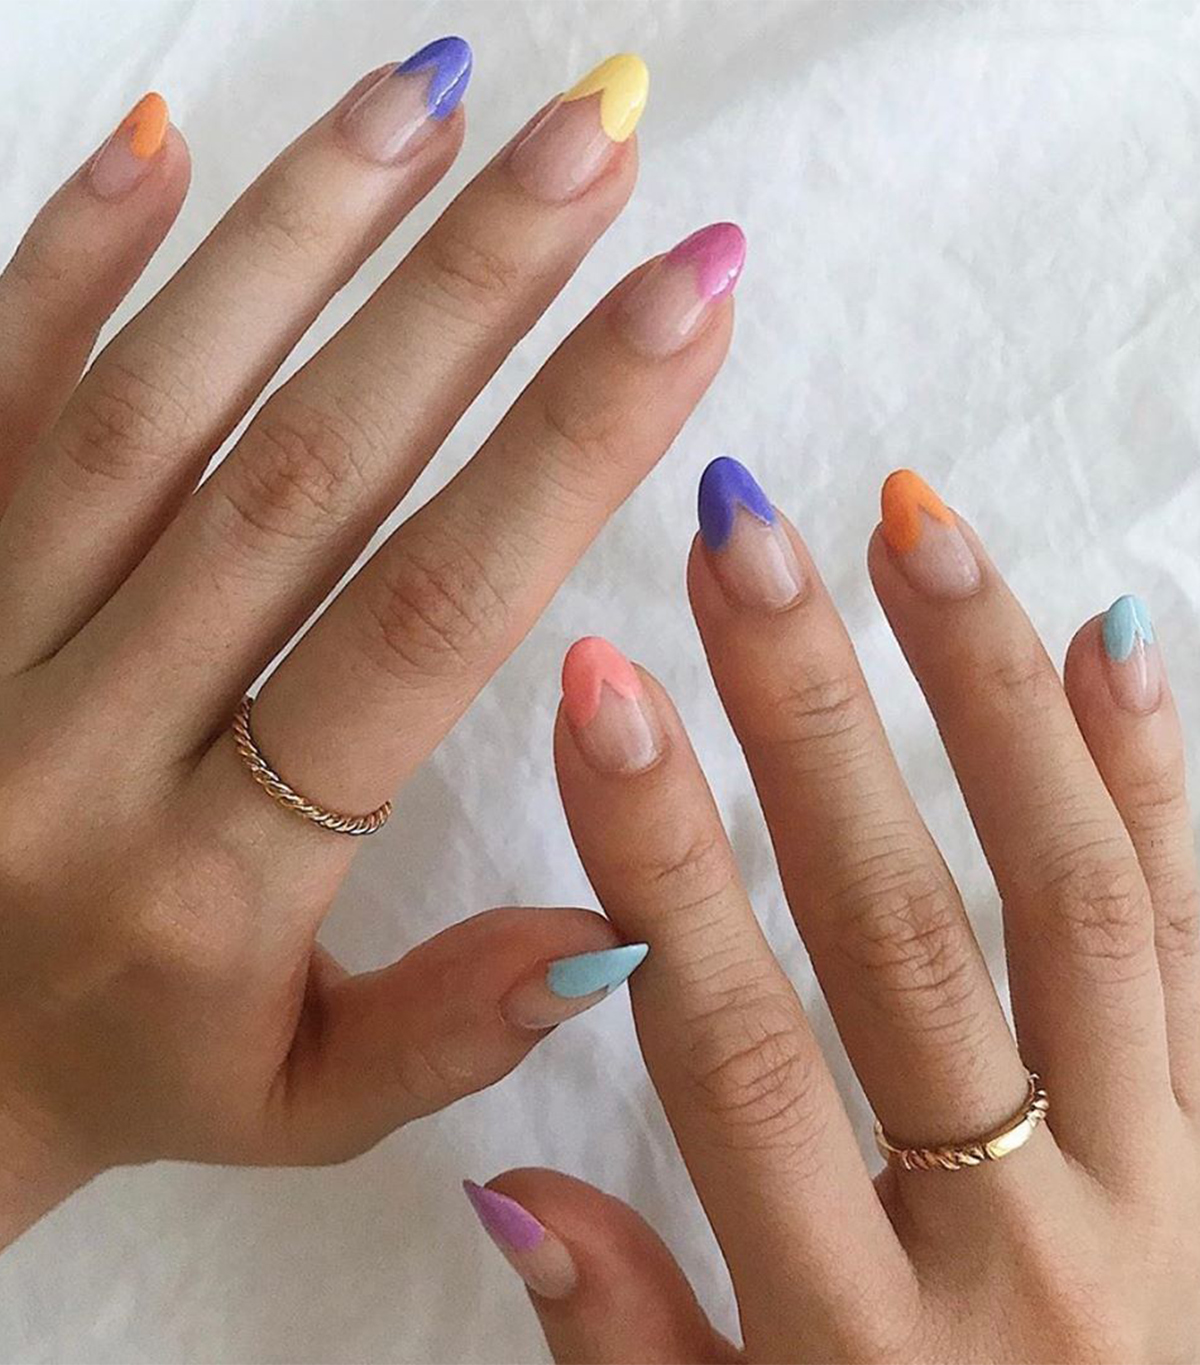
Work your angles! Try an array of punchy colors instead of white, and angle your Frenchie to the outer, upper corners of your tips instead of straight across the top. Basically, you're going for upside-down hearts.
Up next, 7 Fall Nail Colors We're Already Obsessing Over Because Time Isn't Real

Erin has been writing a mix of beauty and wellness content forBest Knockoff Luxury Clothing for over five years. Prior to that, she spent two and half years writing for Byrdie. She now calls Santa Monica home but grew up in Minnetonka, Minnesota, and studied writing, rhetoric, and communication at University of Wisconsin, La Crosse. She studied abroad in Galway, Ireland, and spent a summer in L.A. interning with the Byrdie andBest Knockoff Luxury Clothing family. After graduating from UW, she spent one year in San Francisco, where she worked as a writer for Pottery Barn Kids and PBteen before moving down to L.A. to begin her career as a beauty editor.
