Air-Dry Your Hair Like This, and People Will Think You Spent $200 at the Salon

Regardless of your hair type (coily, thick and wavy, fine and short), mastering the art of the perfect air-dry is, in fact, an art. Sure, blow-dryers, straighteners, and curling irons can throw plenty of arm-breaking curveballs your way, but mastering the au naturel, "just stepped out of the shower" aesthetic is an intimidating beast in and of itself. With so many potential variables like climate, products, application timing, and hair texture, things can go awry quickly, and there definitely isn't a one-size-fits-all prescription.
Air-drying your hair with celeb-level finesse can be a total crapshoot, but we're here to change that. Enter a course in expert air-drying, courtesy of one of the best hairstylists in the industry, Cynthia Alvarez.
Working with clients with a wide variety of lengths and textures (her regulars include Shakira, Maye Musk, and Dascha Polanco), Alvarez knows a thing or two about styling every kind of strand situation—with or without tools. To stock up on all of her must-know intel, we asked her to provide a step-by-step breakdown of how best to air-dry an assortment of different hair types. But we didn't stop there. Alvarez is also sharing all of her must-have products, top tips, and, perhaps most importantly, the most common mistakes she wants each hair type to avoid.
So why not put your favorite hot tool into retirement and embrace your natural strands this winter? Keep scrolling!
If You Have Coily Hair…
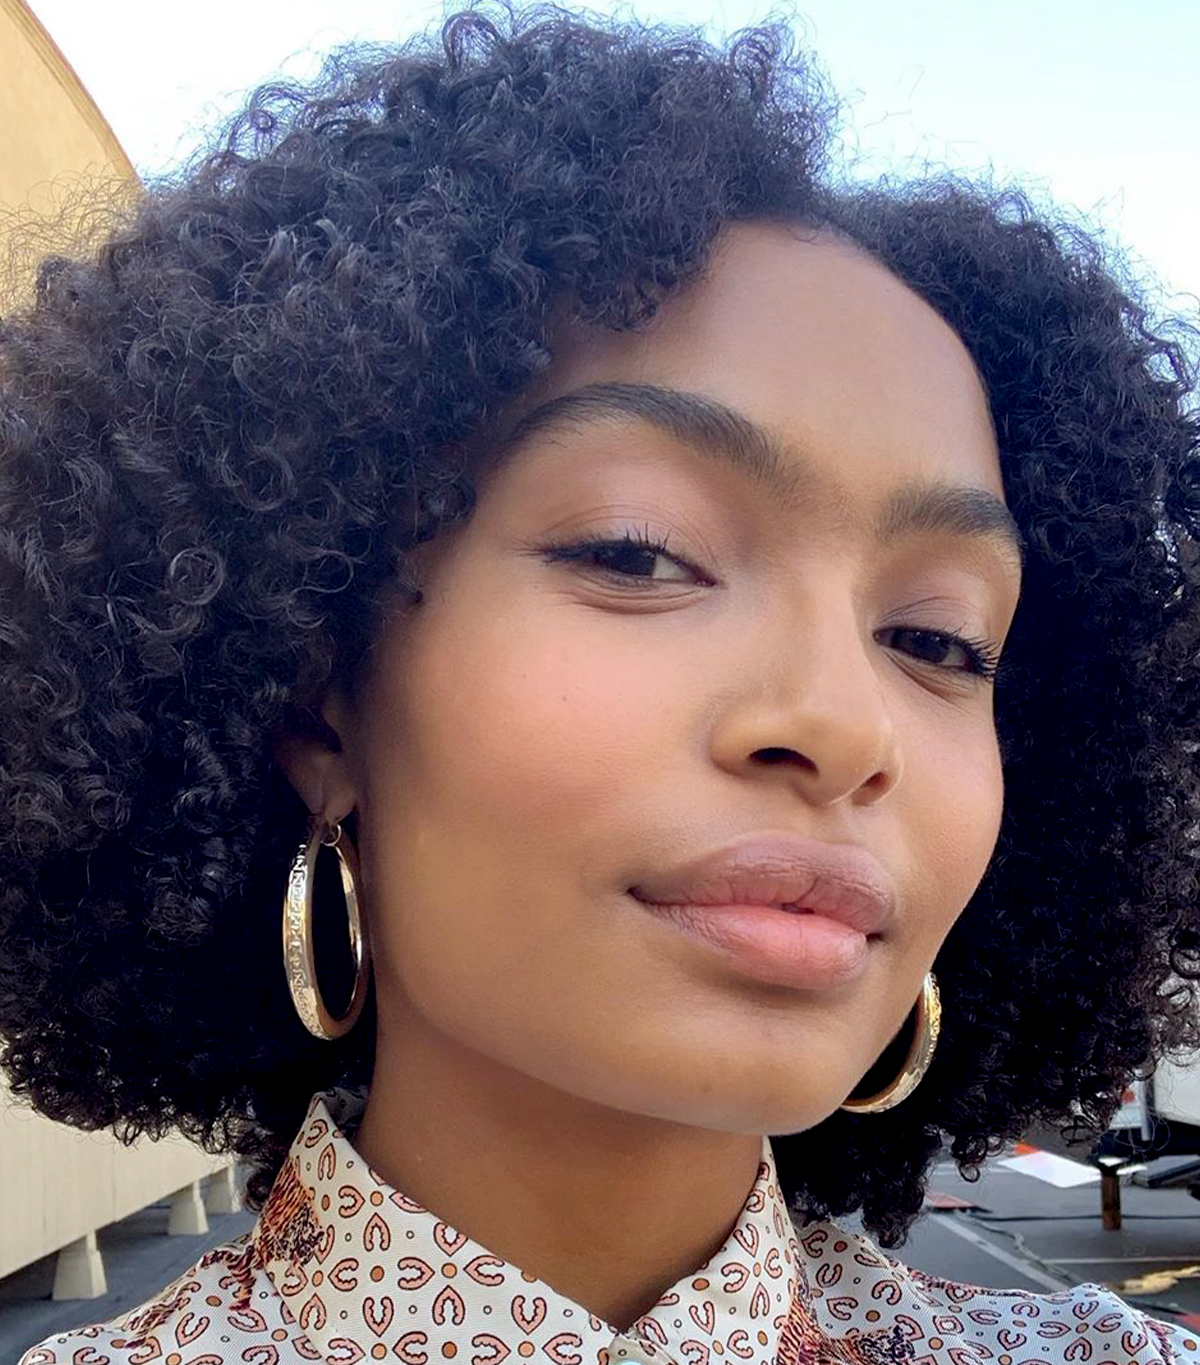
Top mistake: Since coily hair can take a long time to air-dry, Alvarez says the most common mistake people make is taking down their hair before it's dry, which can cause frizz and an uneven curl pattern.
Top tip: For those with super-thick or coily hair texture, incorporate rich, natural oils like olive oil, avocado oil, and Jamaican black castor oil to seal in moisture and lots of shine.
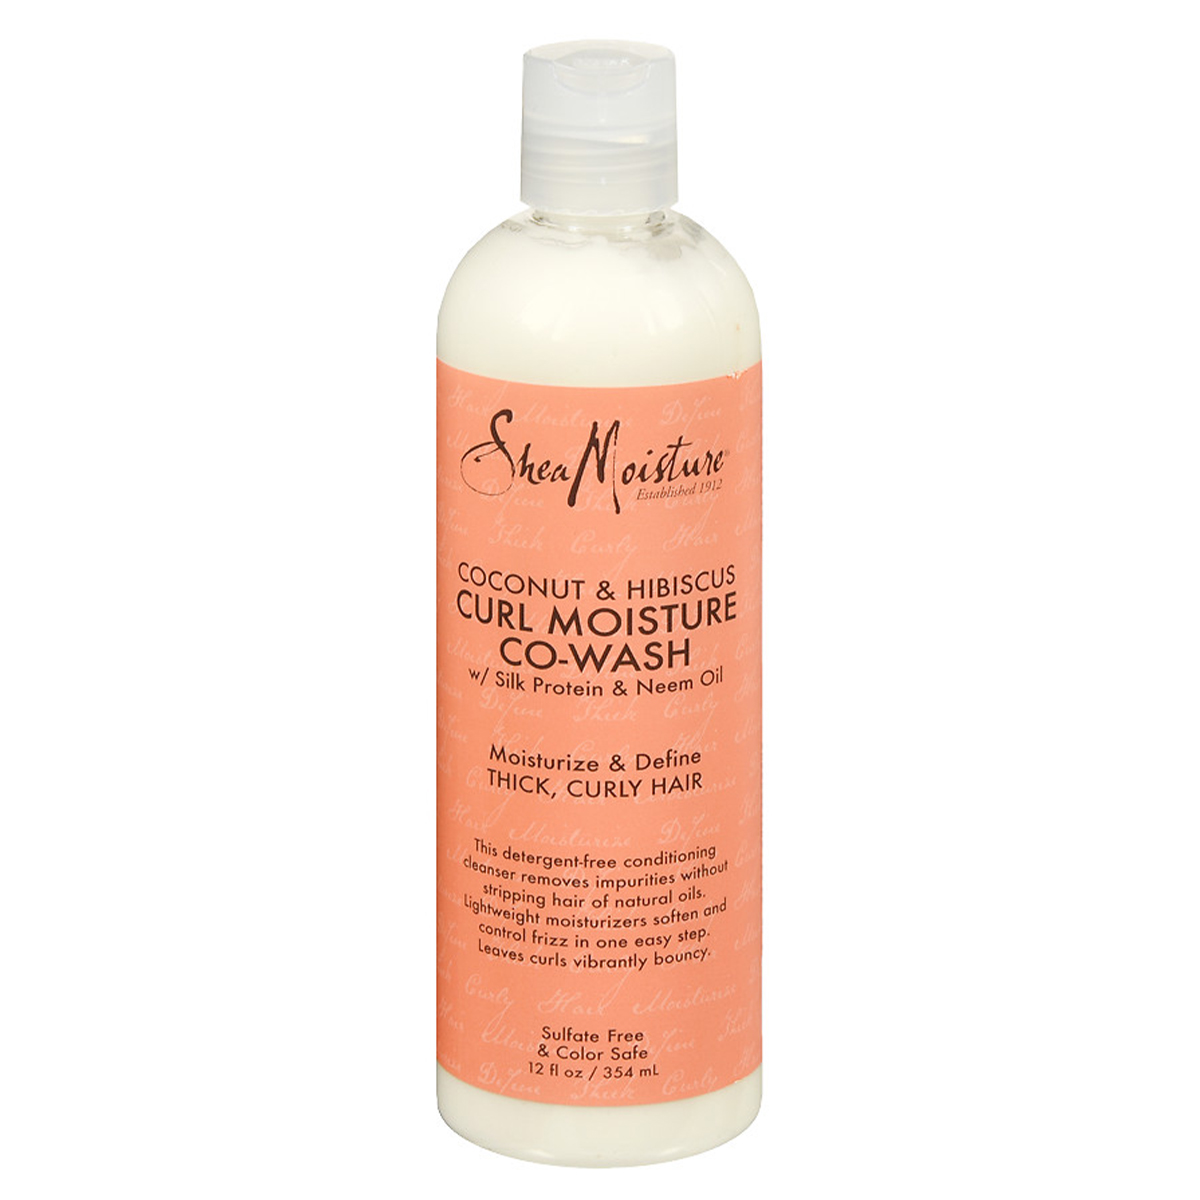
Step One: Use a Co-Wash
Step Two: Apply a Leave-In, Hair Oil, and Styling Cream
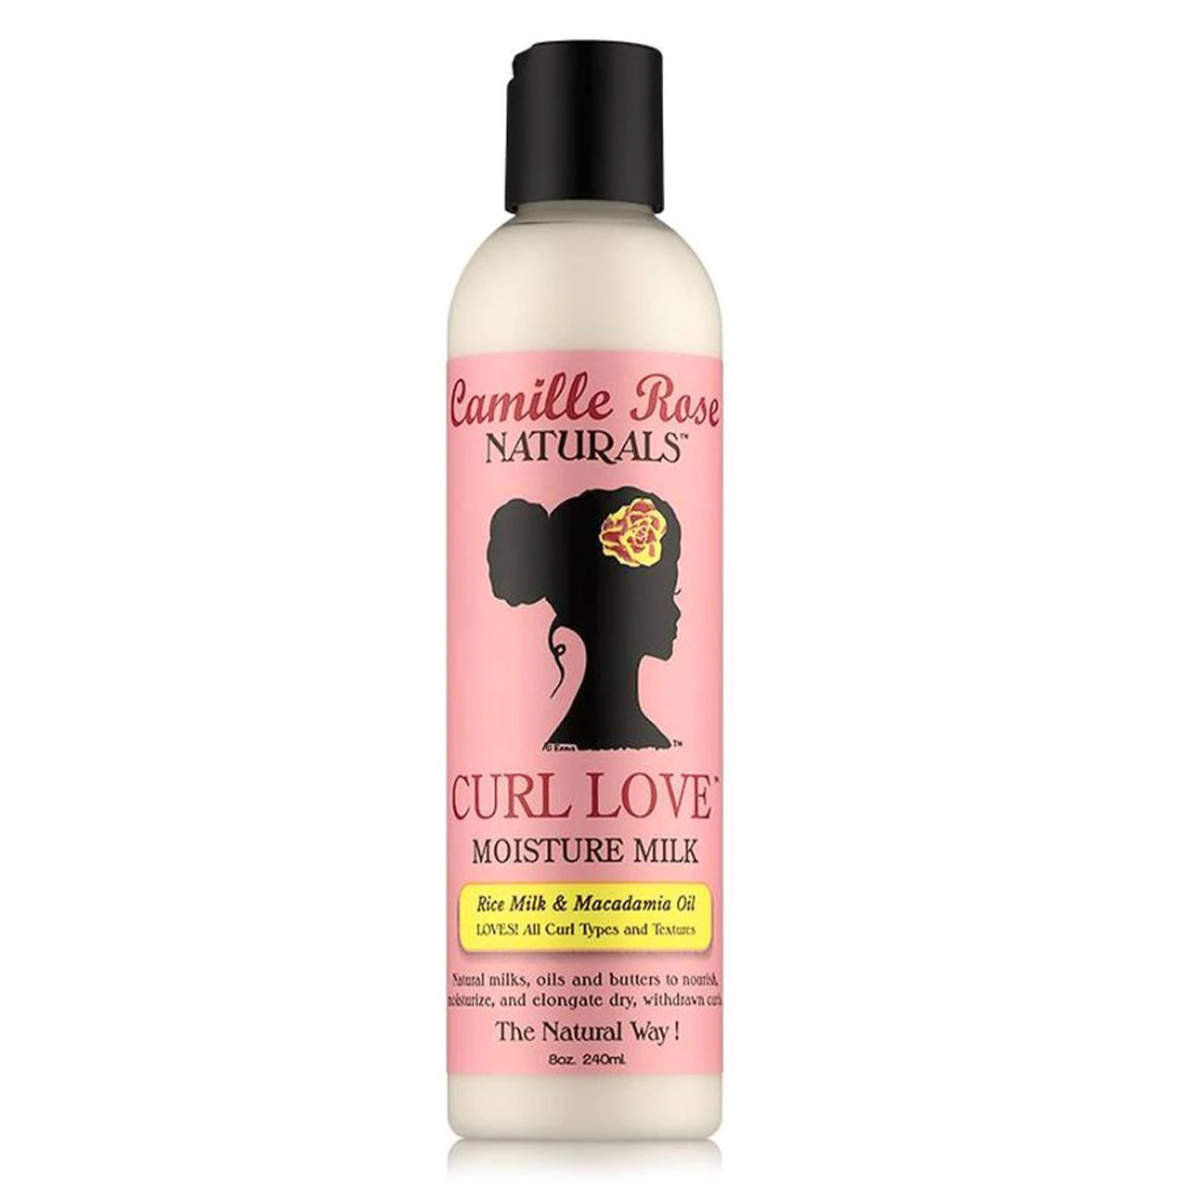
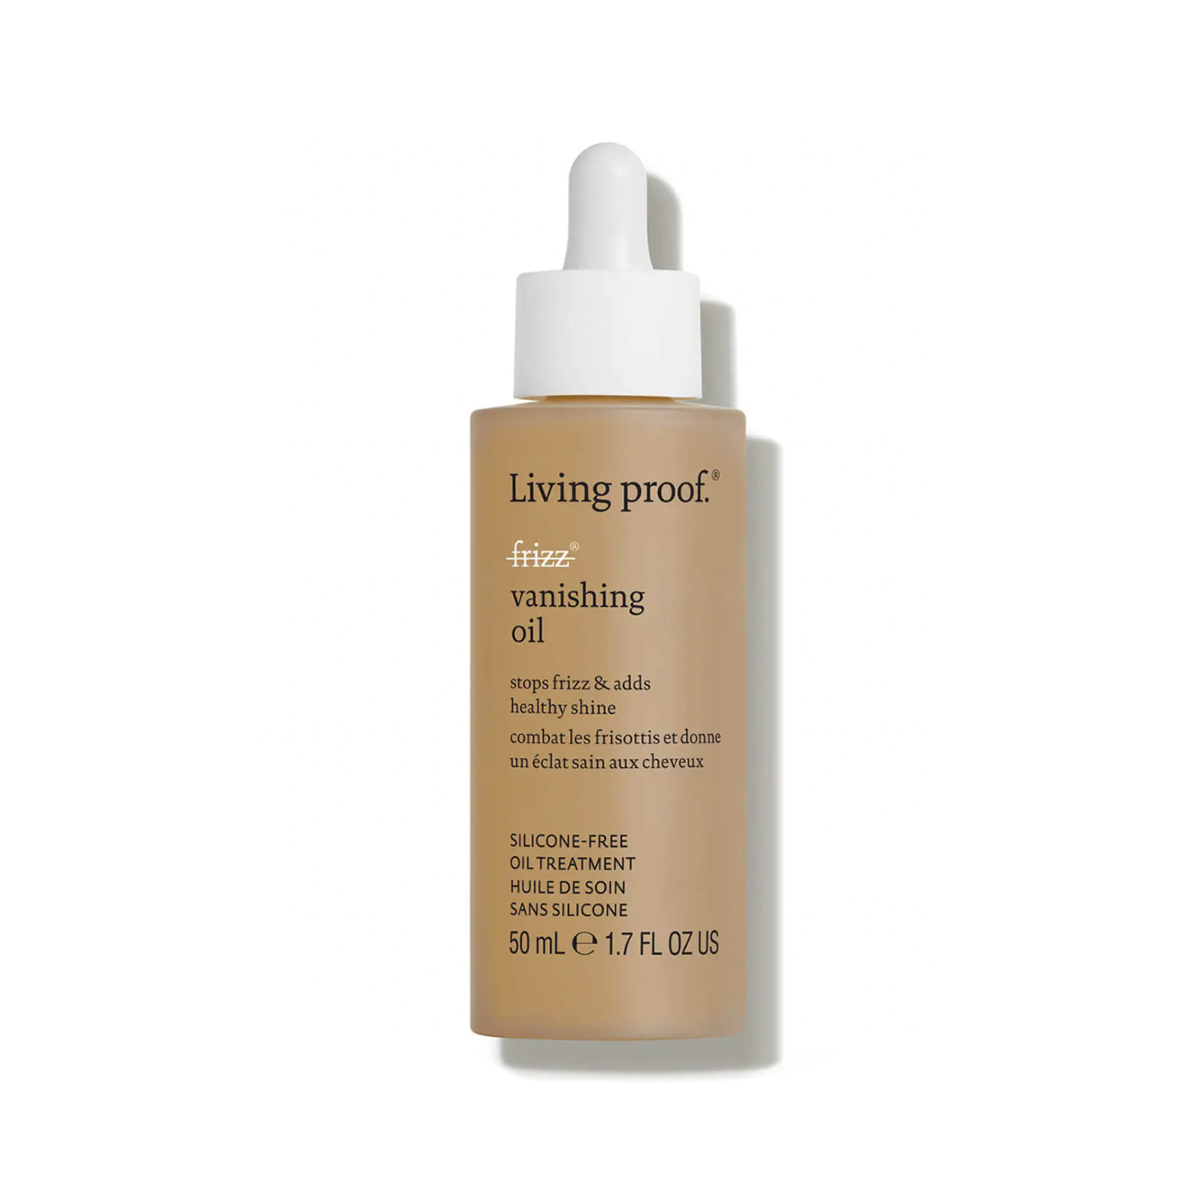
"Apply a leave-in such as Camille Rose Naturals Curl Love Moisture Milk ($14), and mix it with a hair oil like this one from Living Proof's No Frizz Vanishing Oil ($30)," Alvarez continues making a note that you should be sure to disperse it through damp hair thoroughly.
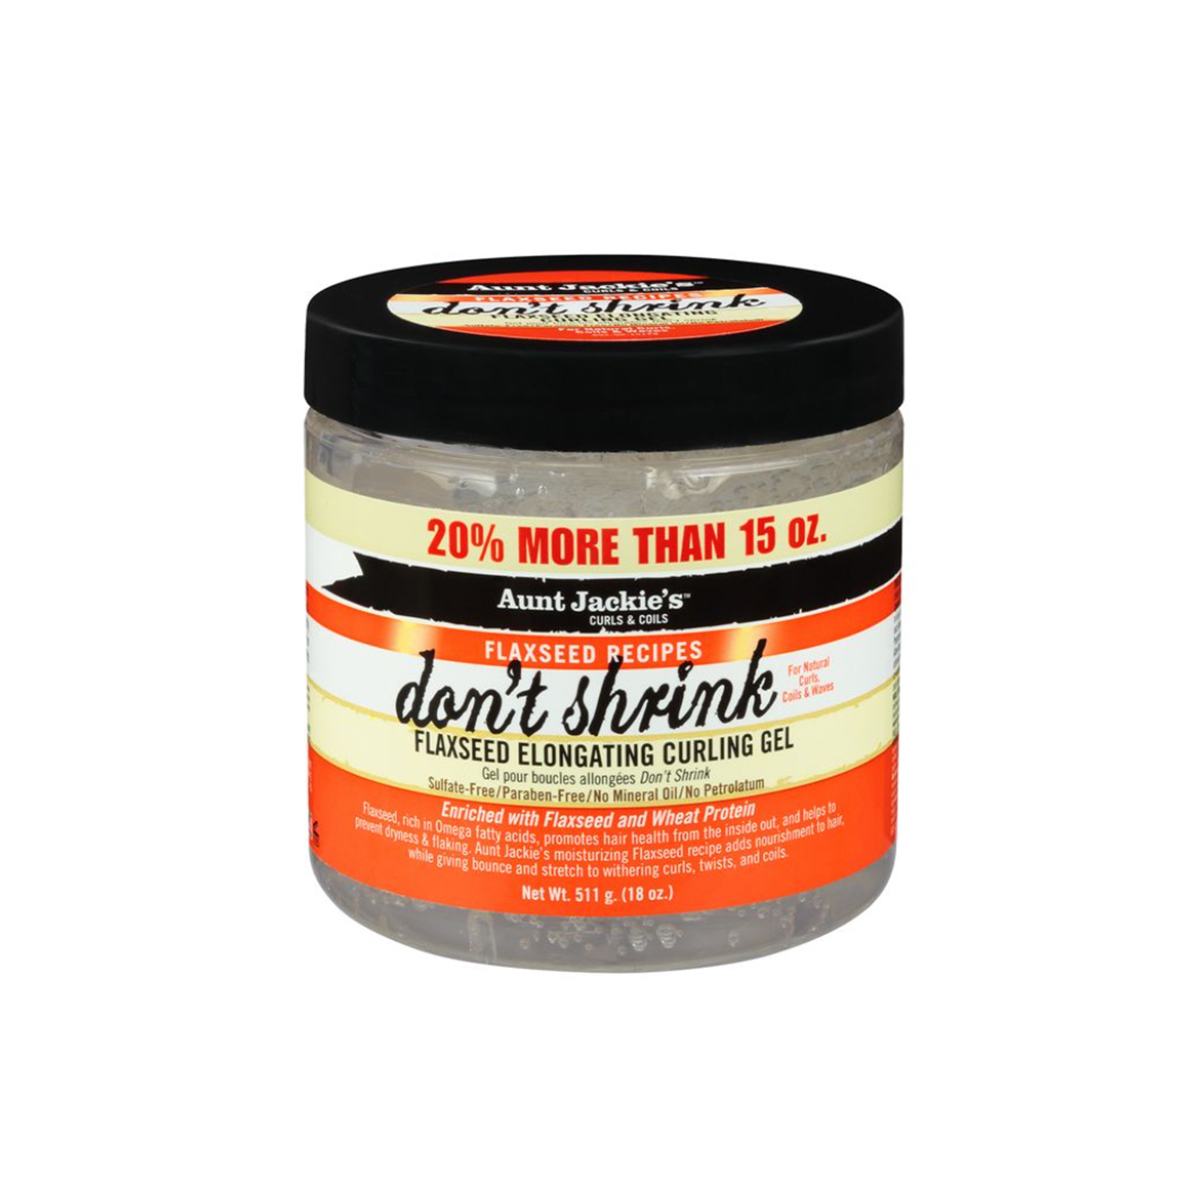
Follow with a styling cream with a good amount of moisture and holding power, Alvarez likes Aunt Jackie’s Flaxseed Don’t Shrink Elongating Curling Gel ($19), which she says will also help stretch and define your curls.
Step Three: Choose Your Style Add Shine
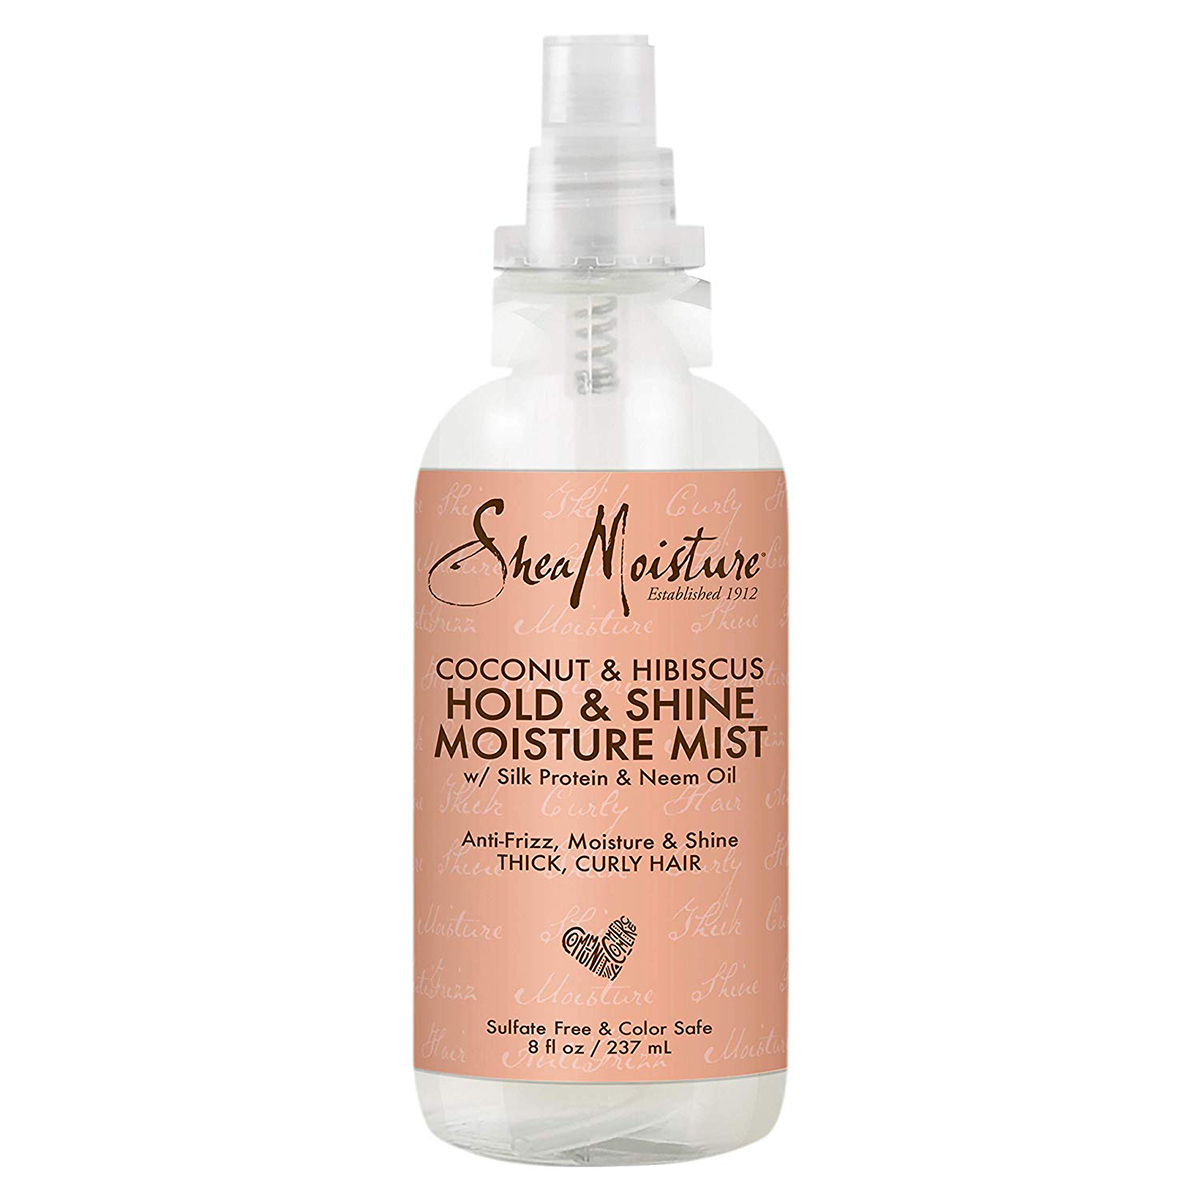
"Once you’ve applied these products, there are a few ways people with coily hair prefer to air-dry," explains Alvarez. "You can choose to let your curls dry naturally with no protective style, or you can double strangle twist or finger coil your hair to achieve a more defined, curly look.
"Once the hair has completely dried, I like to mist SheaMoisture's Coconut
Hibiscus Hold
Shine Moisture Mist ($11) before untwisting the hair. Once the twists have been taken down and separated, use a hair pick to fluff at the roots."
If You Have Straight or Fine Hair…
Top mistakes: "Most people with straight hair tend to touch their hair while it's air-drying, which will cause it to frizz," warns Alvarez. "Once you've applied your styling products, comb through your strands just one time so your hair can begin setting in that form."
Another common mistake? If you have straight hair that's not overly fine, not applying enough product for fear that their hair will be weighed down can cause issues if you're air-drying. Instead, Alvarez says the real key is finding the right products to achieve maximum volume and movement.
Top tip: For fine hair, however, Alvarez says you should lessen the amount of product recommended on the packaging. If your hair is a bit thicker, feel free to use a tad more. Either way, she says to make sure to rake the product through thoroughly and evenly.
Step One: Use a Volumizing Shampoo Conditioner
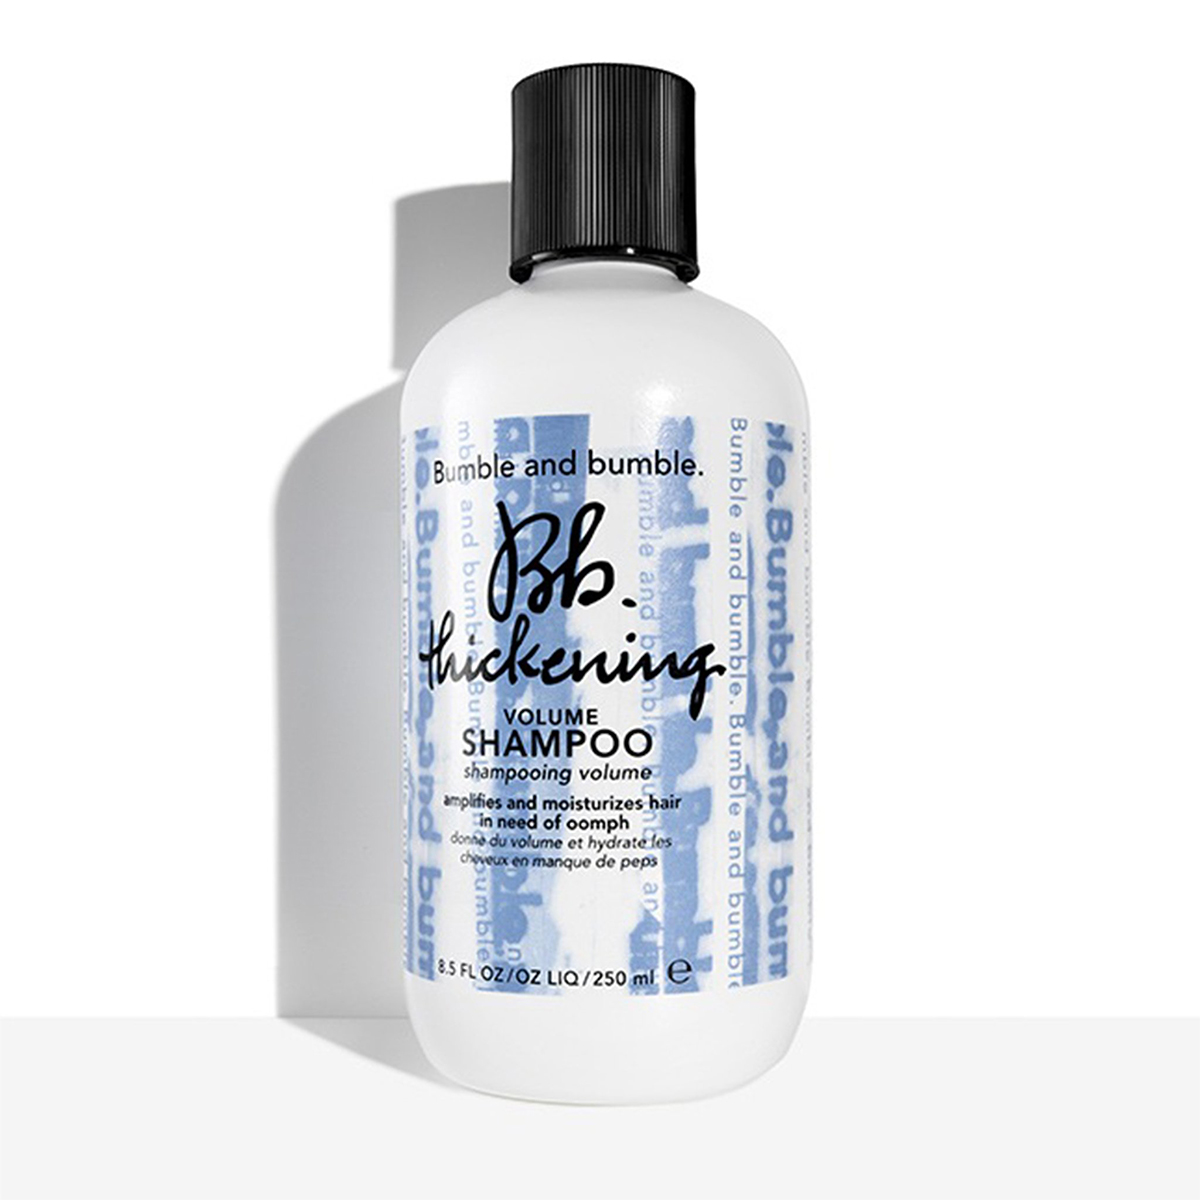
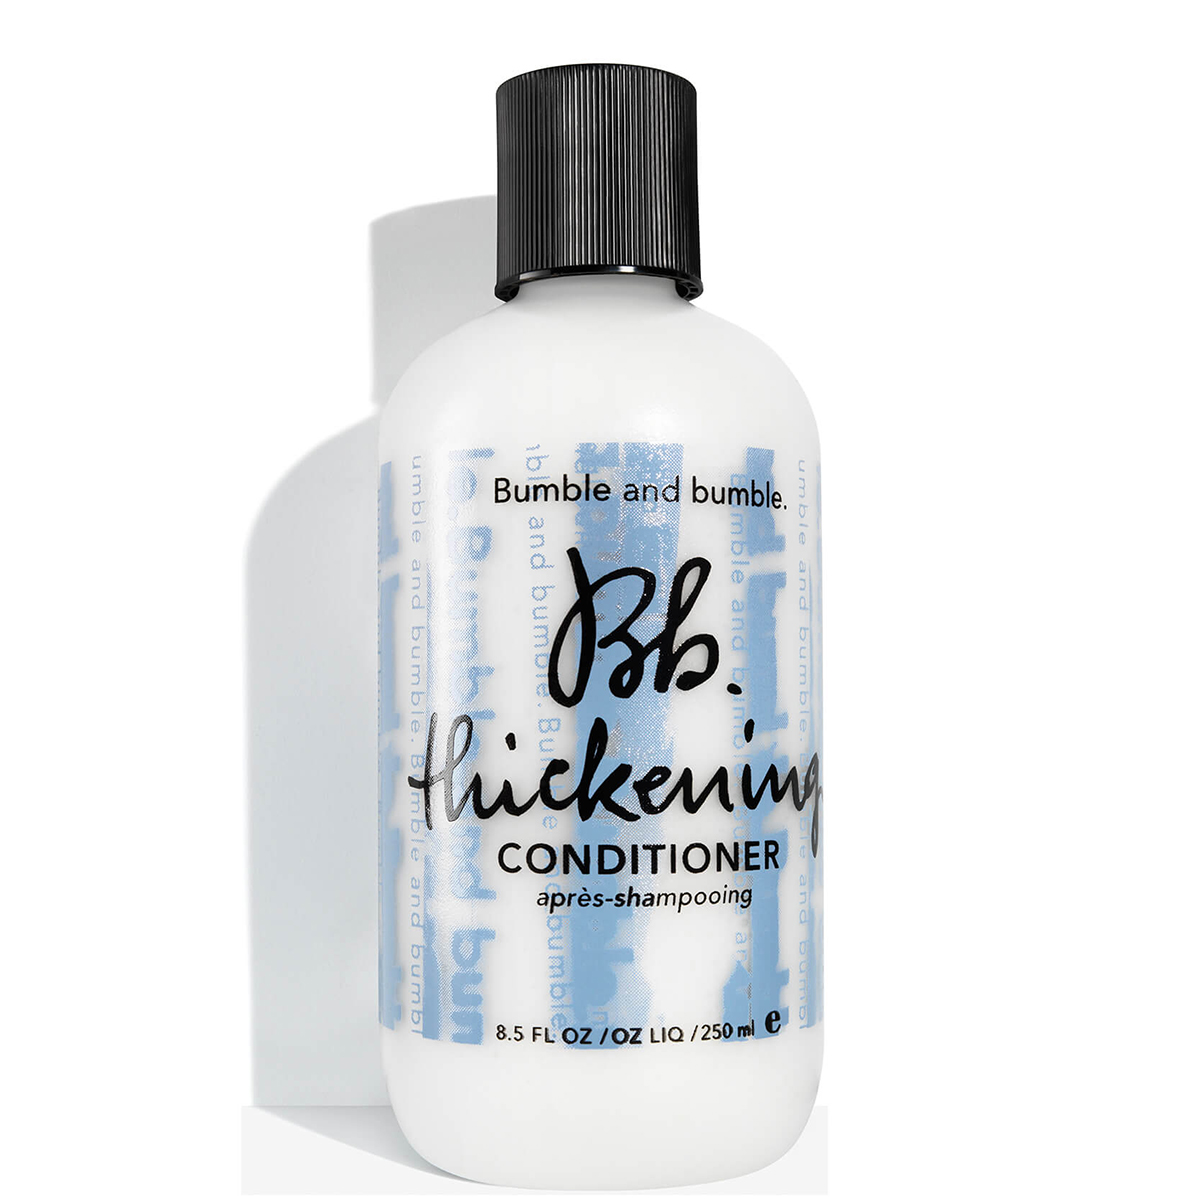
"Adding volume right away is key when air-drying straight hair or fine hair," says Alvarez. "In the shower, use volumizing products like Bumble and Bumble's Thickening Volume Shampoo ($28) and Conditioner ($30)."
Step Two: Towel Off Before Adding Mousse Smoothing Cream
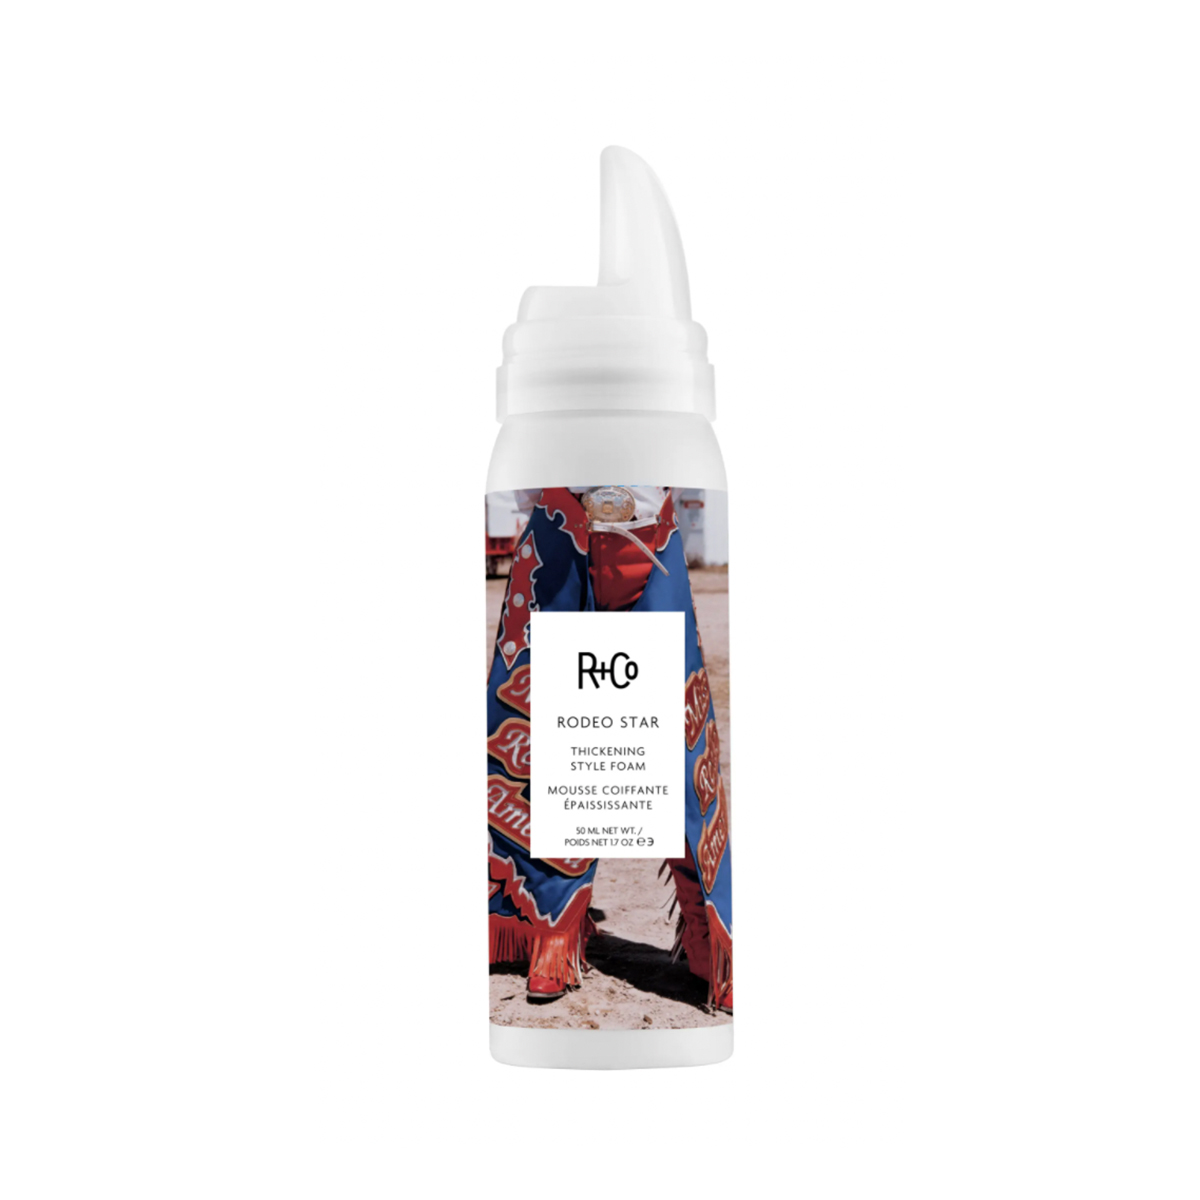
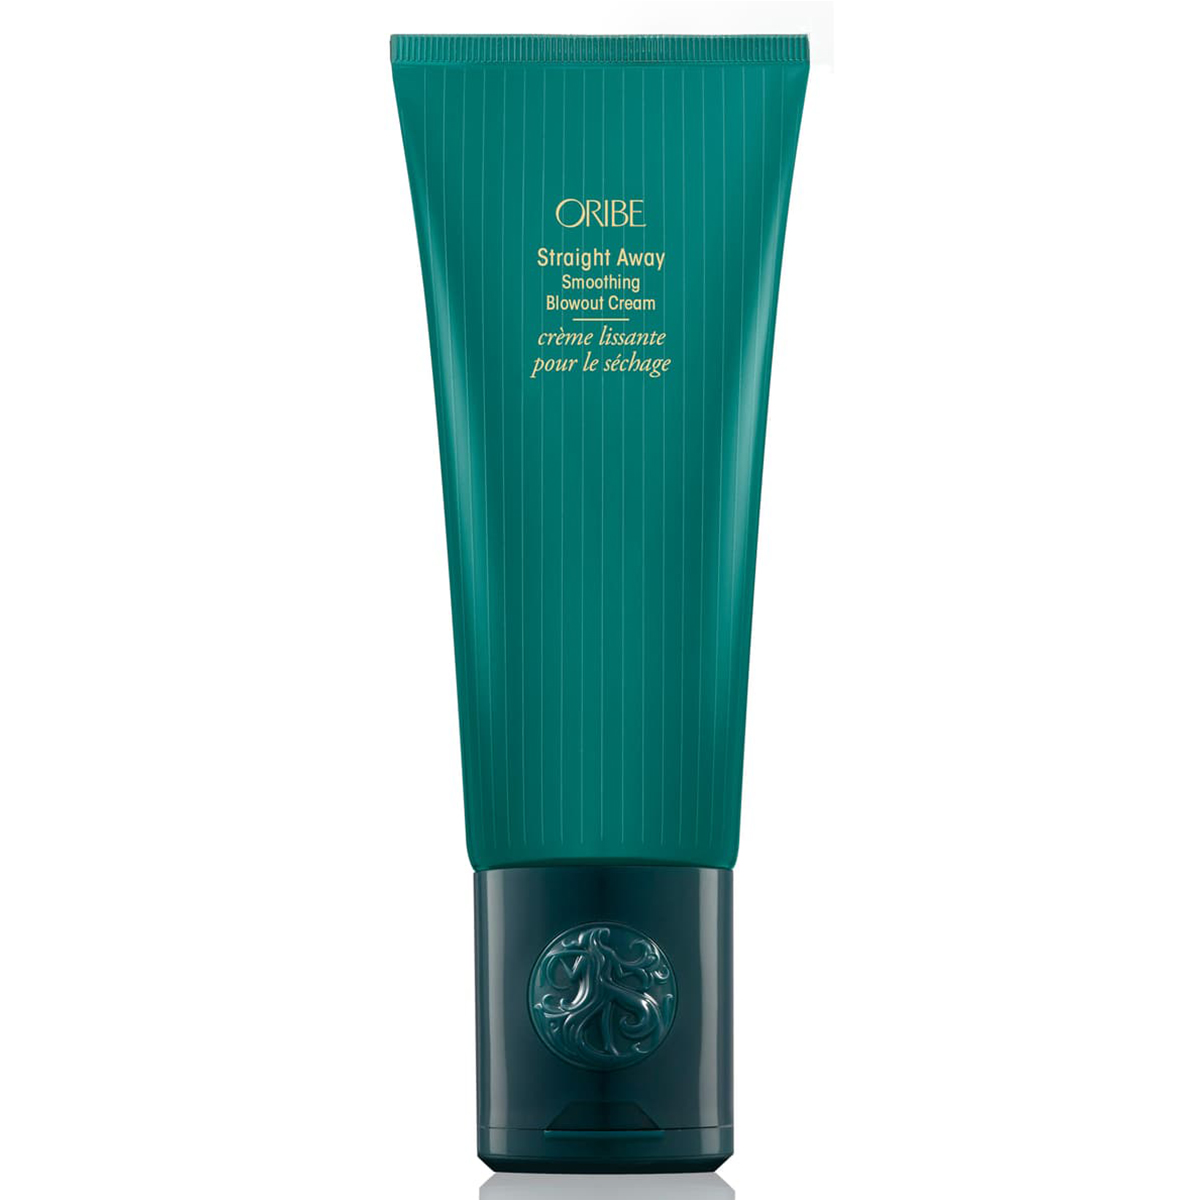
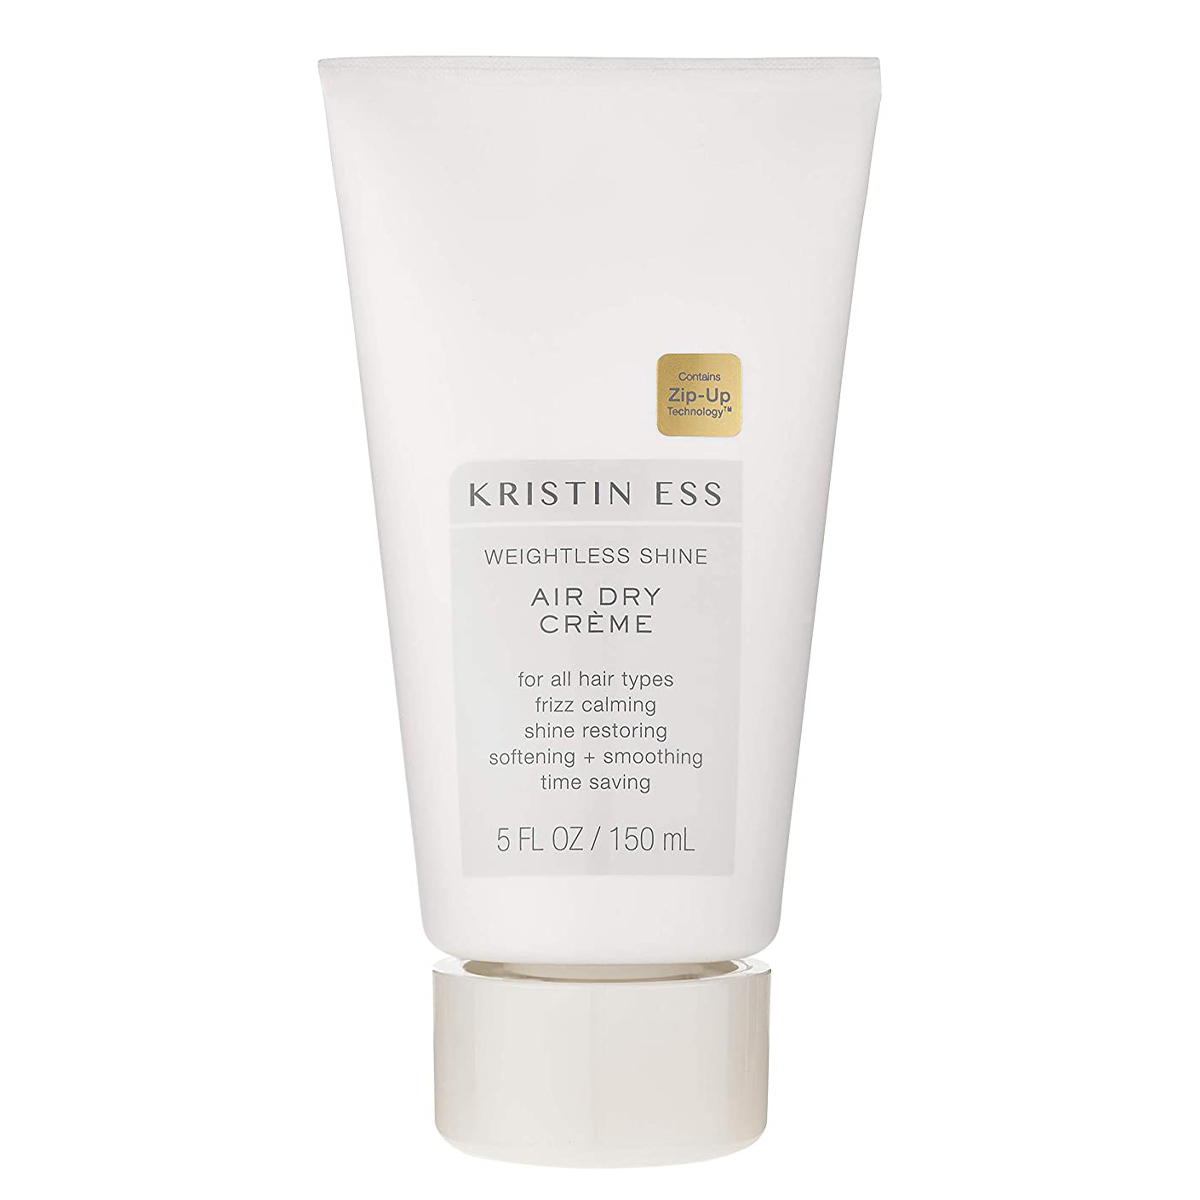
"To add natural volume to straight or fine hair, use a lightweight, bodybuilding mousse like R+Co's Rodeo Star Thickening Style Foam ($32) to your roots for some extra lift," suggests Alvarez. "Then, apply a cream like Oribe's Straight Away Smoothing Blowout Cream ($44) to iron down the cuticle, impart shine, and prevent flyaways."
Step Three: Spray Volume Powder for a Midday Lift
If You Have Medium or Wavy Hair…
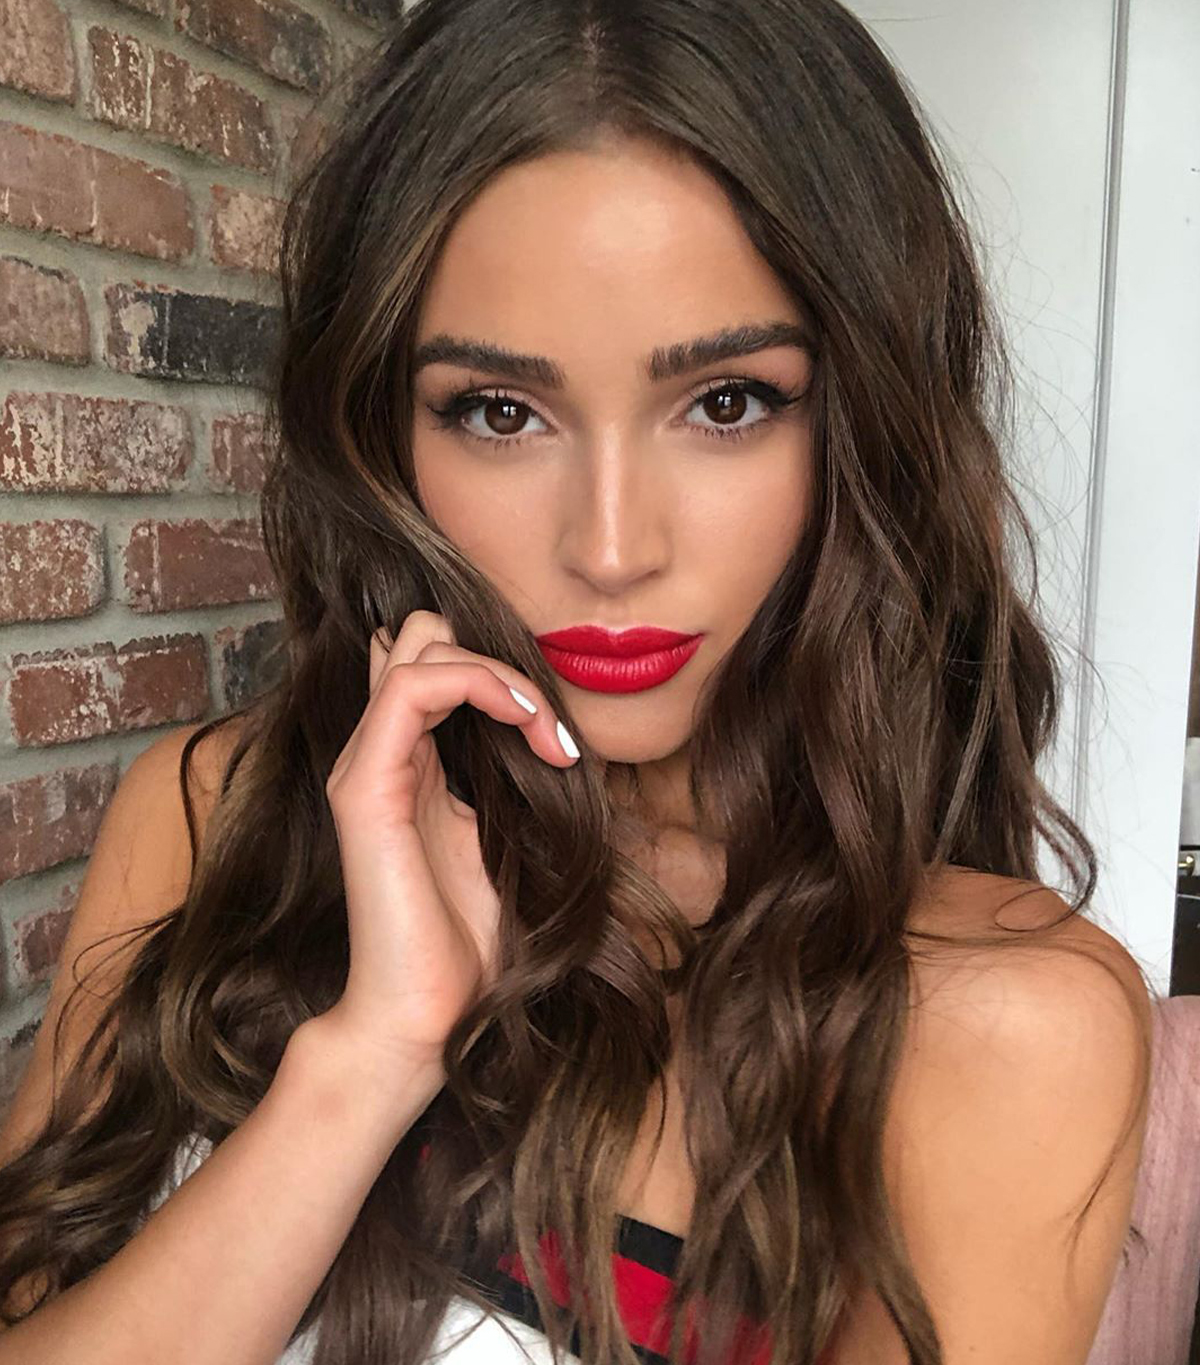
Top mistake: Touching your hair while it's still in the drying process. "If you're worried about defining your wave or natural texture, try loosely braiding your hair while it's damp or pulling it up into a loose bun," Alvarez advises.
Top tip: "The routine below actually can work for fine hair that's wavy too—another great styling cream option would be Kevin Murphy's Motion Lotion Curl-Enhancing Lotion ($30). If your hair is thicker and wavy, I suggest using a heavier cream like Moroccanoil's Curl Defining Cream ($34)."
Step One: Choose a Hydrating Shampoo Conditioner
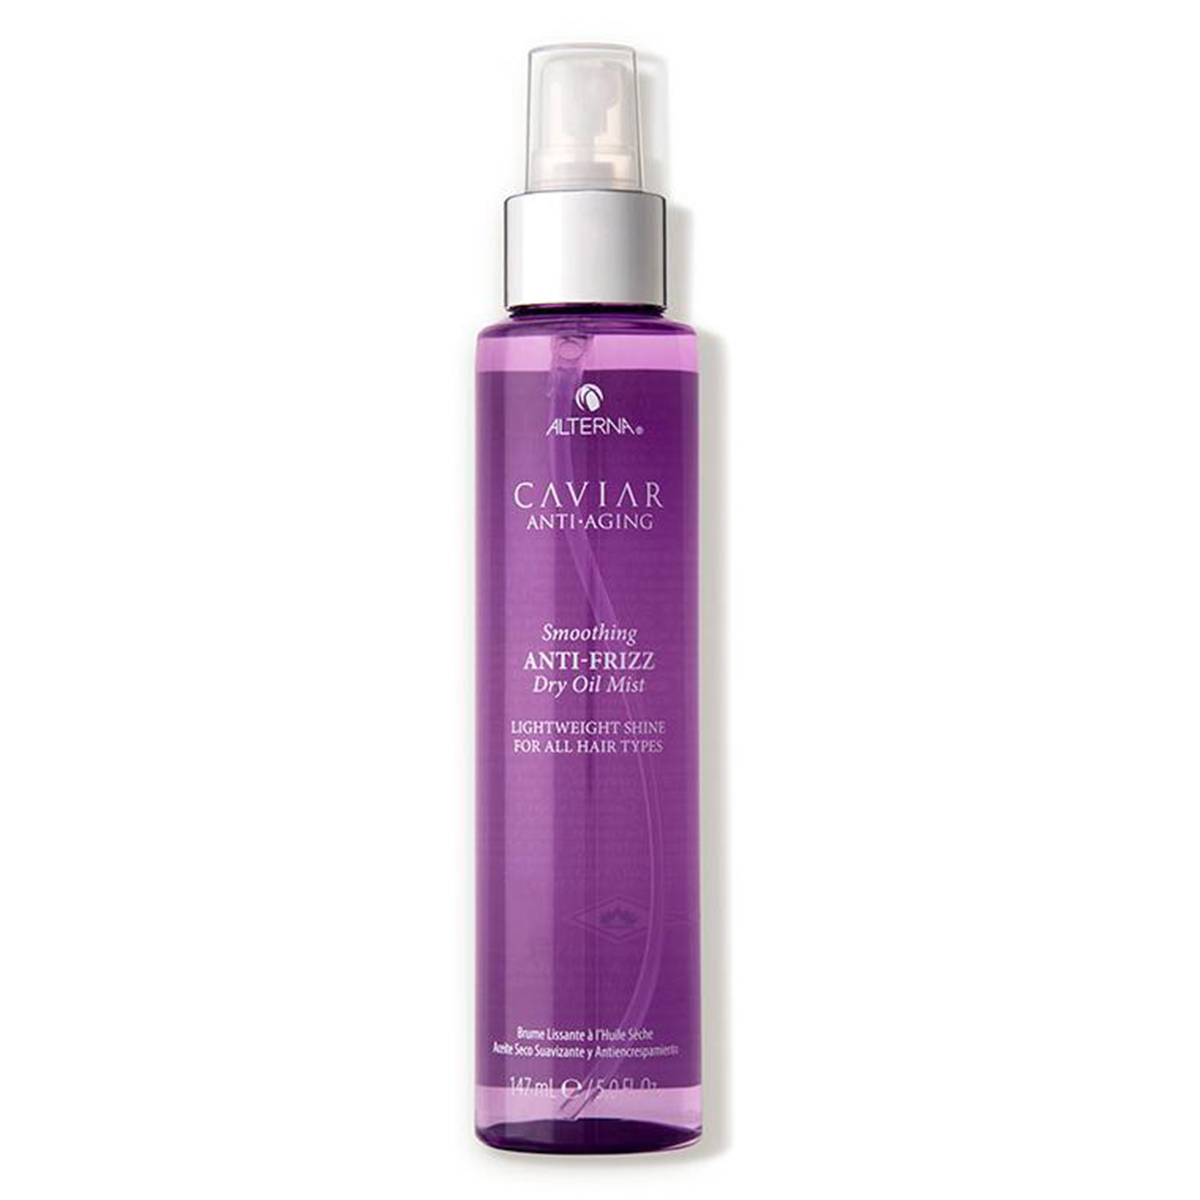
Step Two: Add a Dry Oil Moisturizing Leave-In
Step Three: Depending on Your Climate, Add Hair Gel
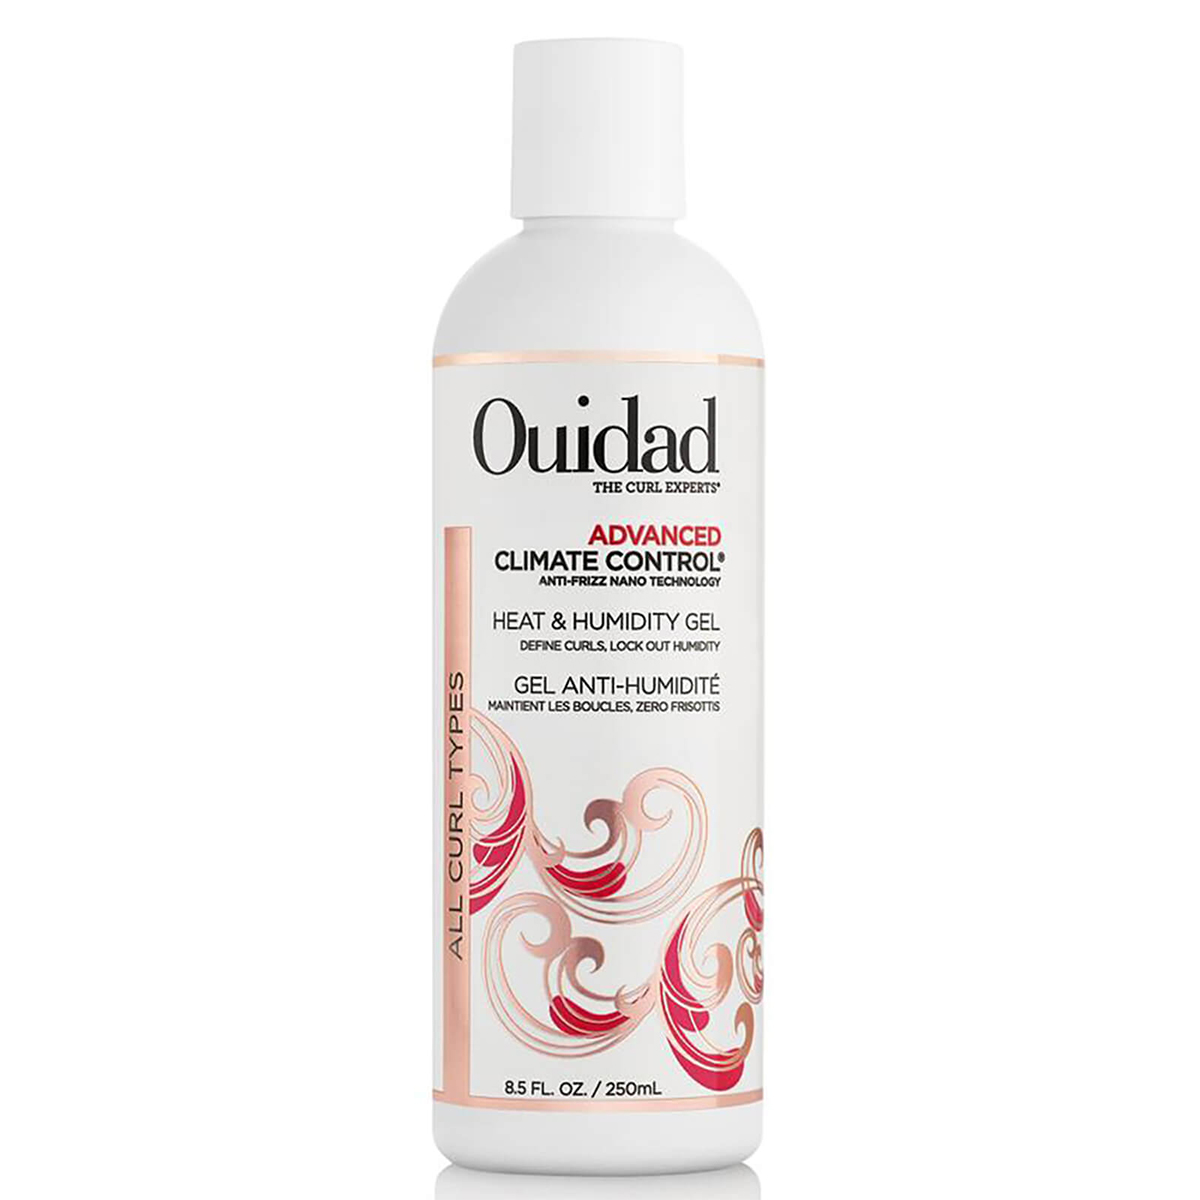
"If you're in a humid climate, you may need to incorporate a light-hold gel like Ouidad's Advanced Climate Control Heat Humidity Gel ($26)," says Alvarez. "This gel helps defines your natural texture or waves without the added stiffness and blocking out the effects of humidity."
If You Have Thick or Curly Hair…
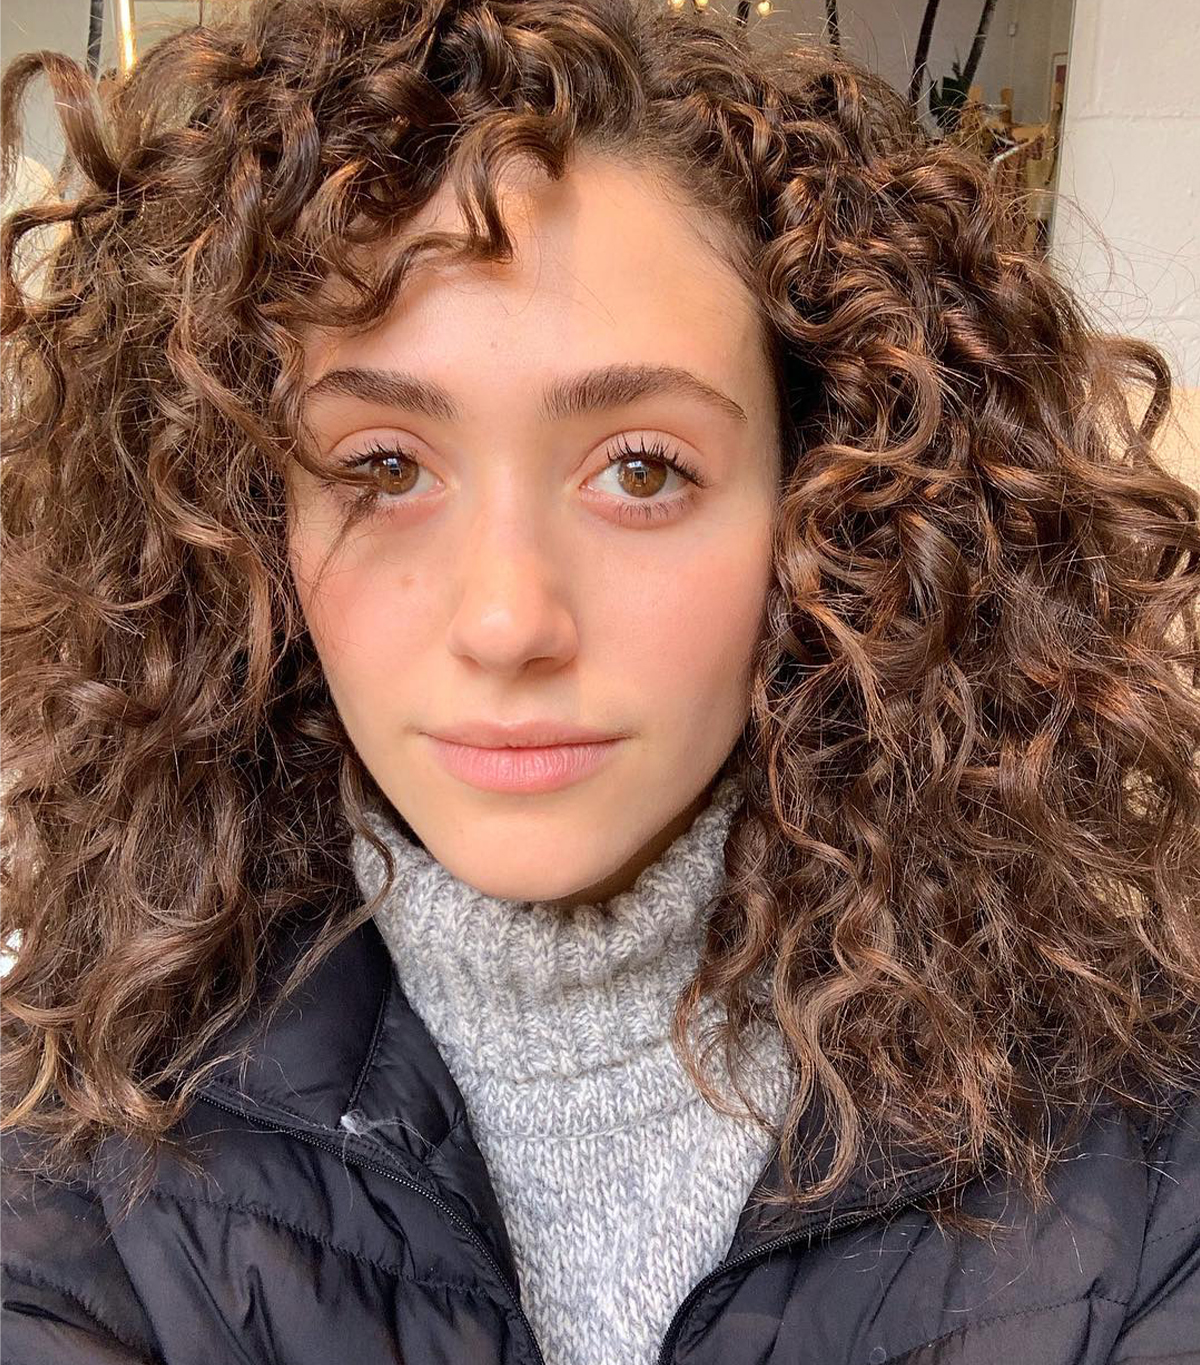
Top mistakes: According to Alvarez, there are a few. "Using products that are too dense and thick tends to flatten curly hair, and brushing curls in a downward motion will stack your curls on top of one another, which allows no room for volume."
Top tip: Fluff your curls! Using a wide-tooth comb once your curls are completely dry, fluff the roots without touching the rest of the hair. Alvarez says this technique results in maximum lift and movement.
Step One: Use a Sulfate-Free Shampoo and Conditioner (or a Co-Wash)
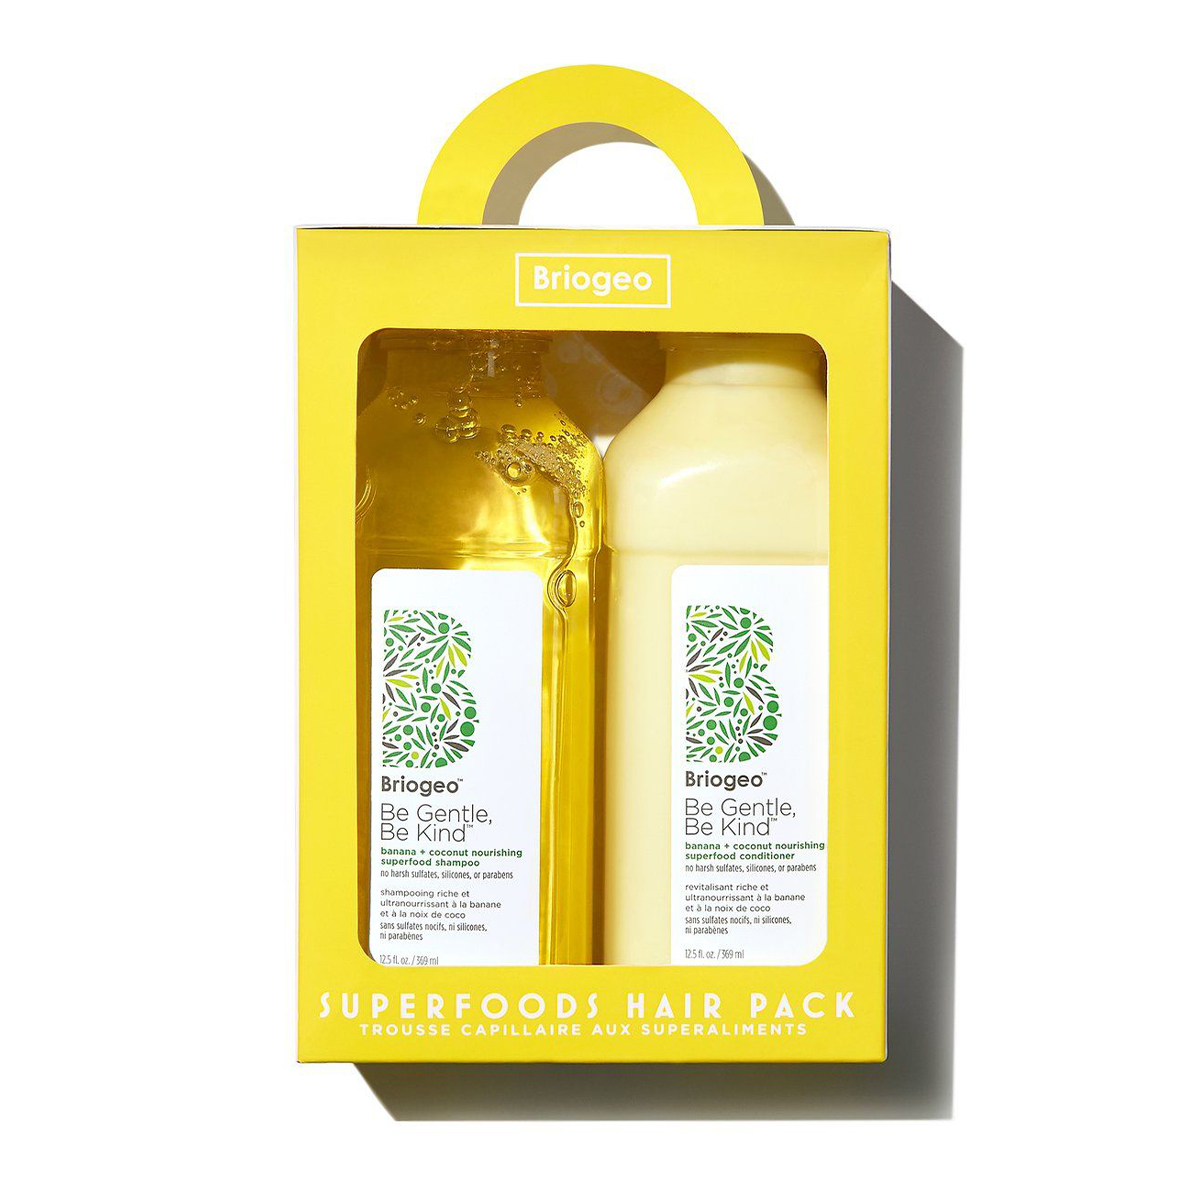
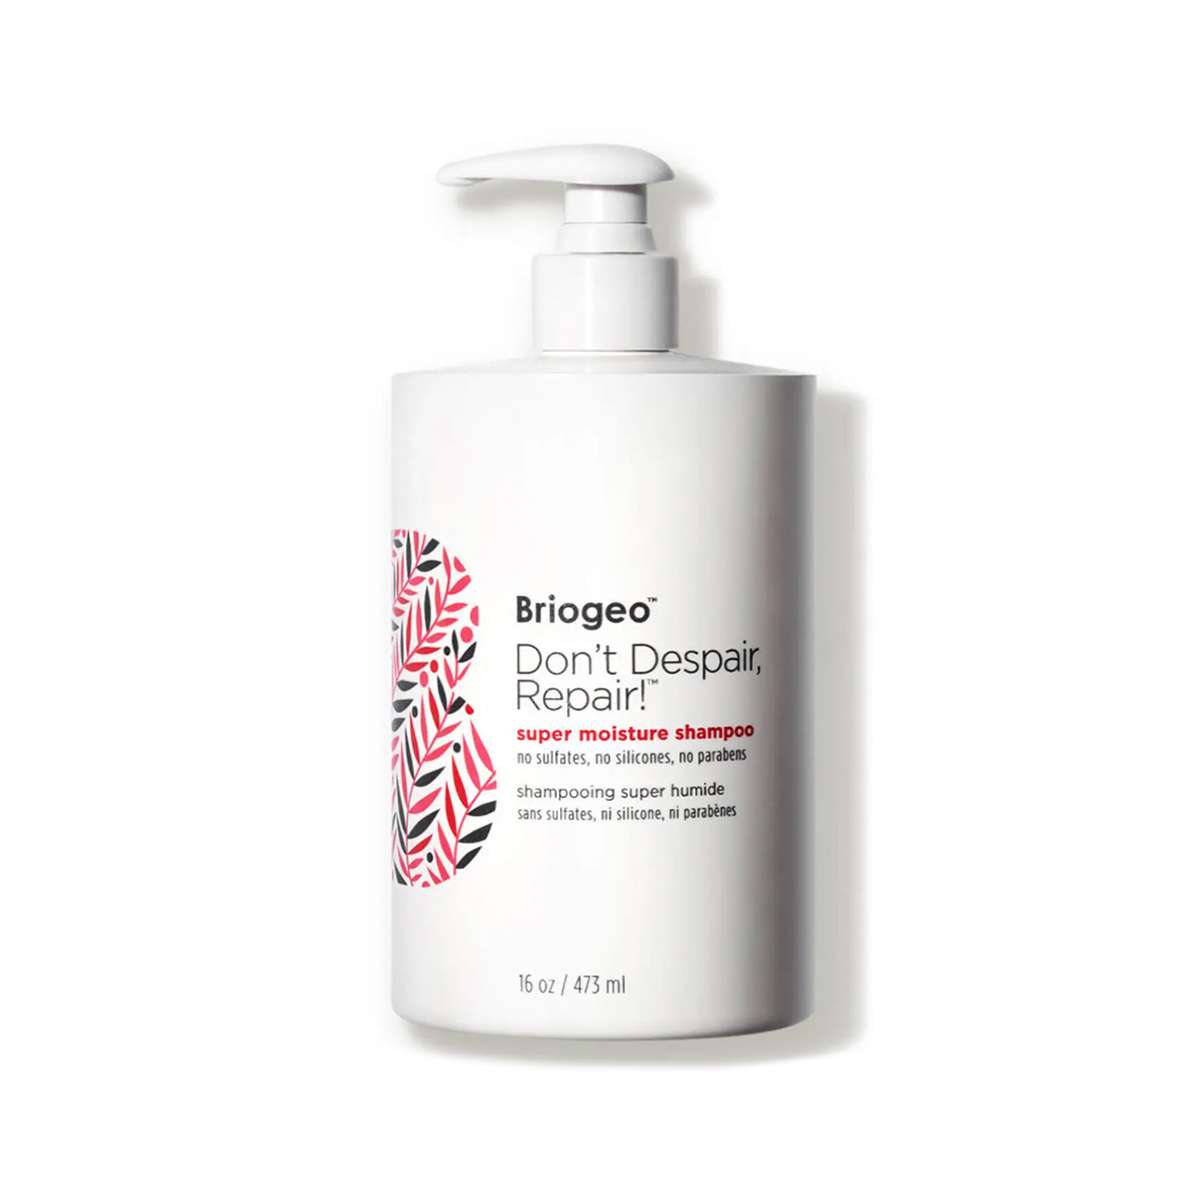
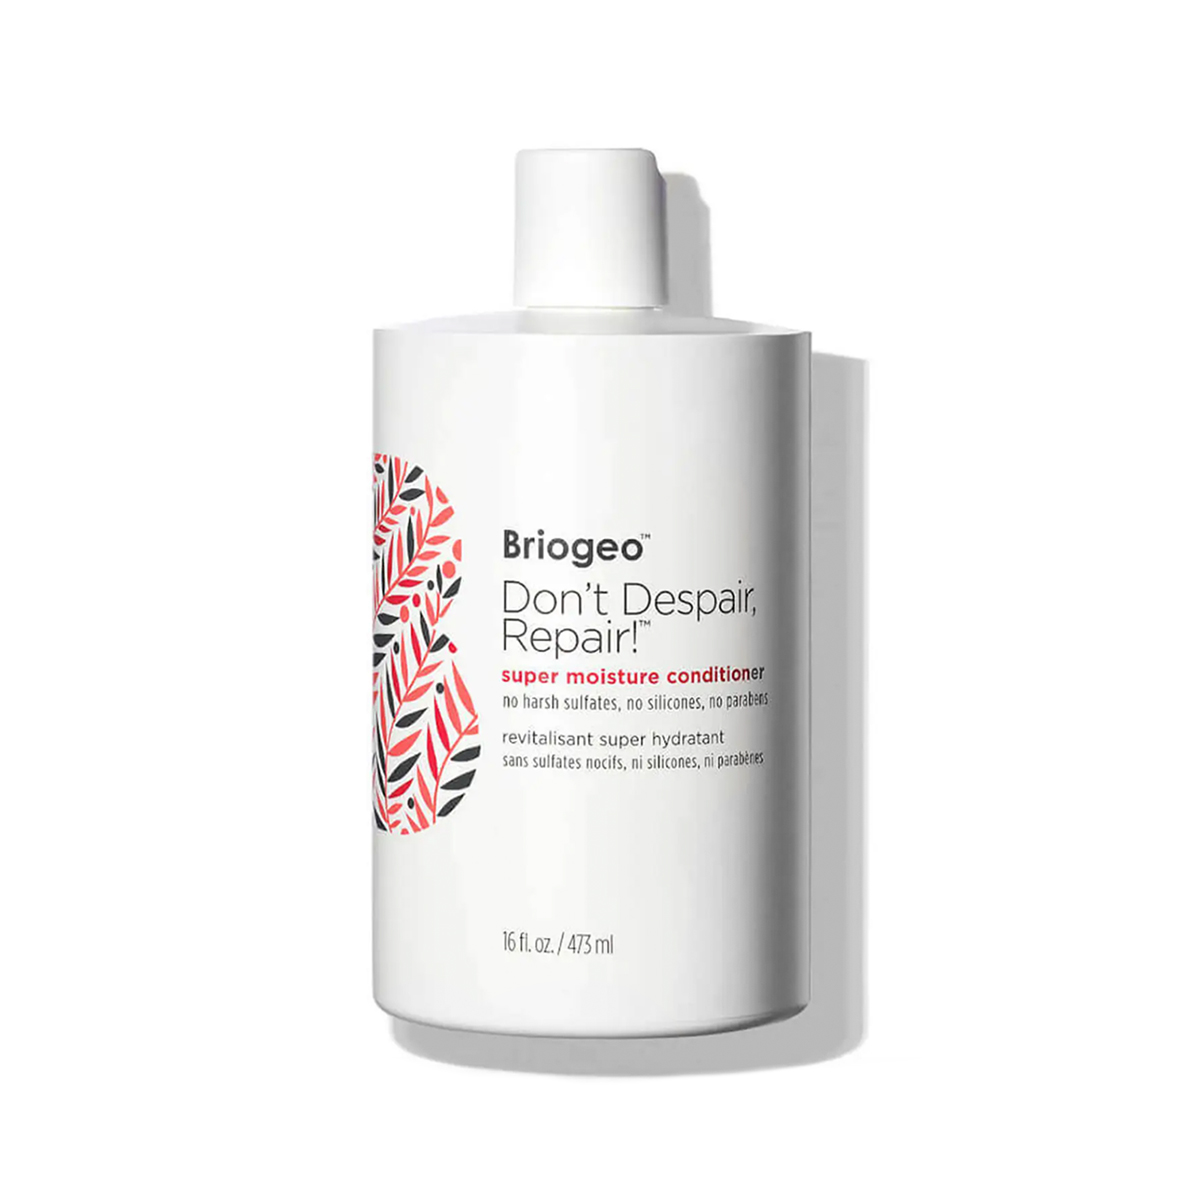
"Start by using a sulfate-free shampoo and conditioner like Briogeo's Banana and Coconut formula above," instructs Alvarez. If your hair is on the thicker side, she suggests opting for a co-wash like Amika's Nice Cream Cleansing Conditioner ($22) instead.
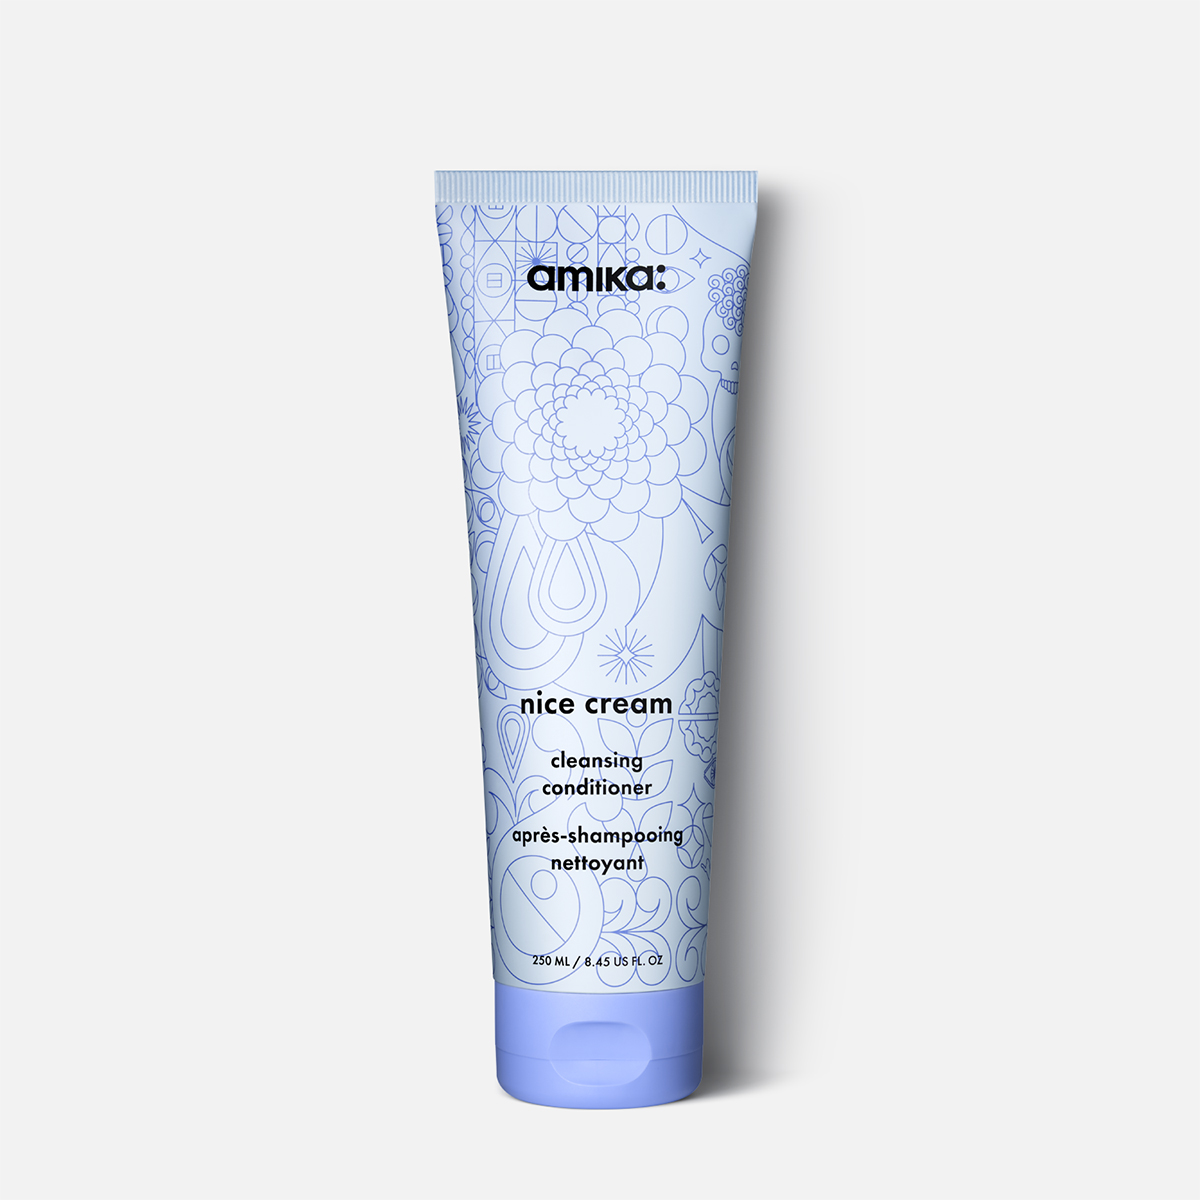
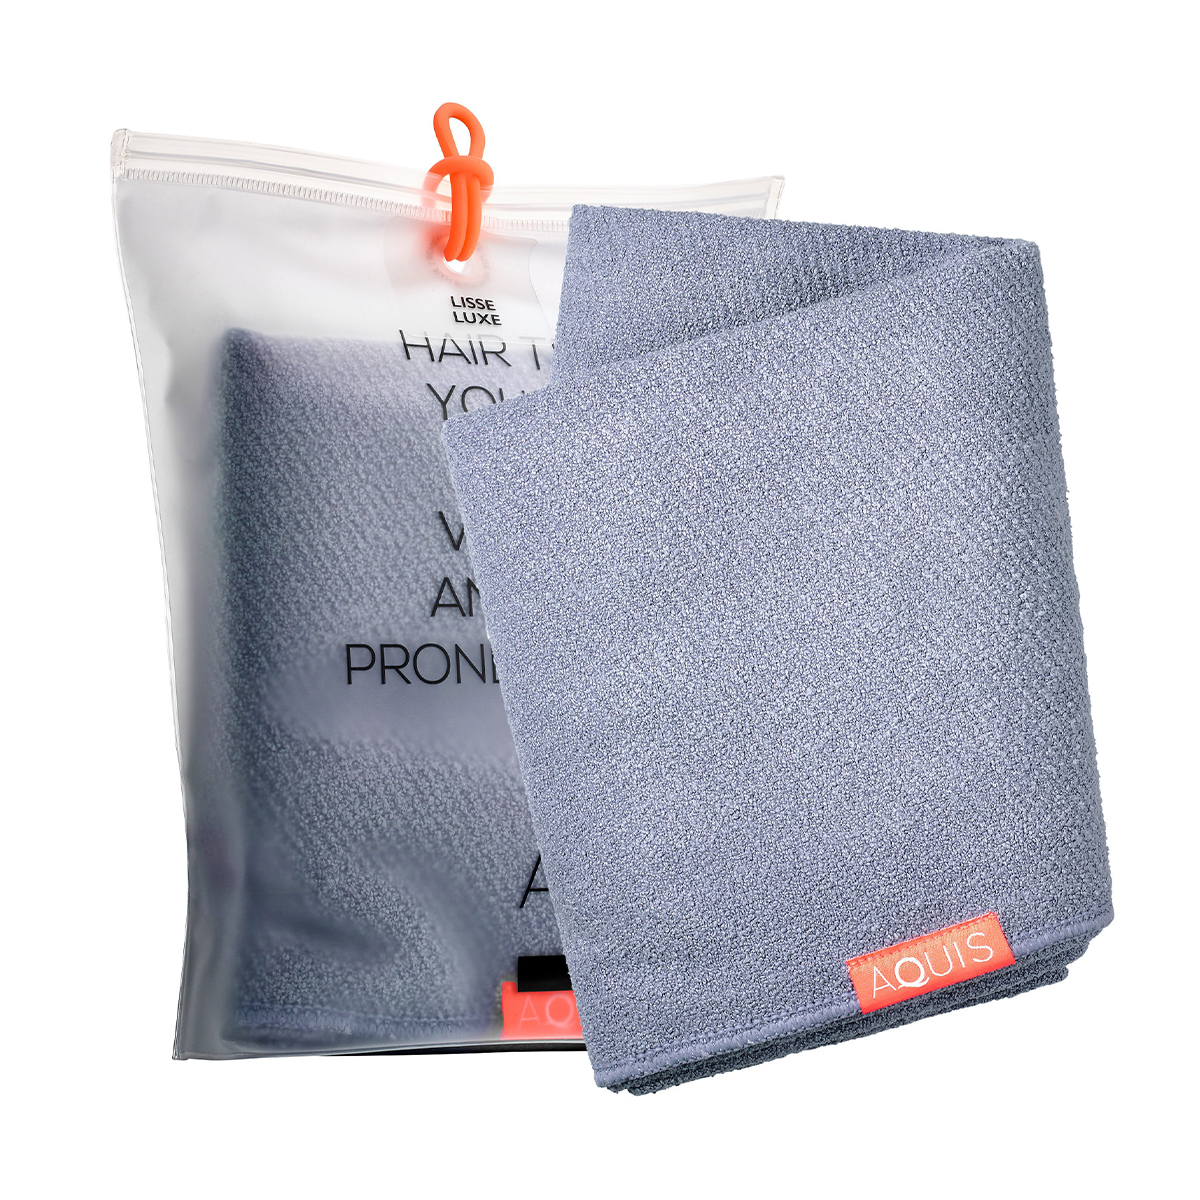
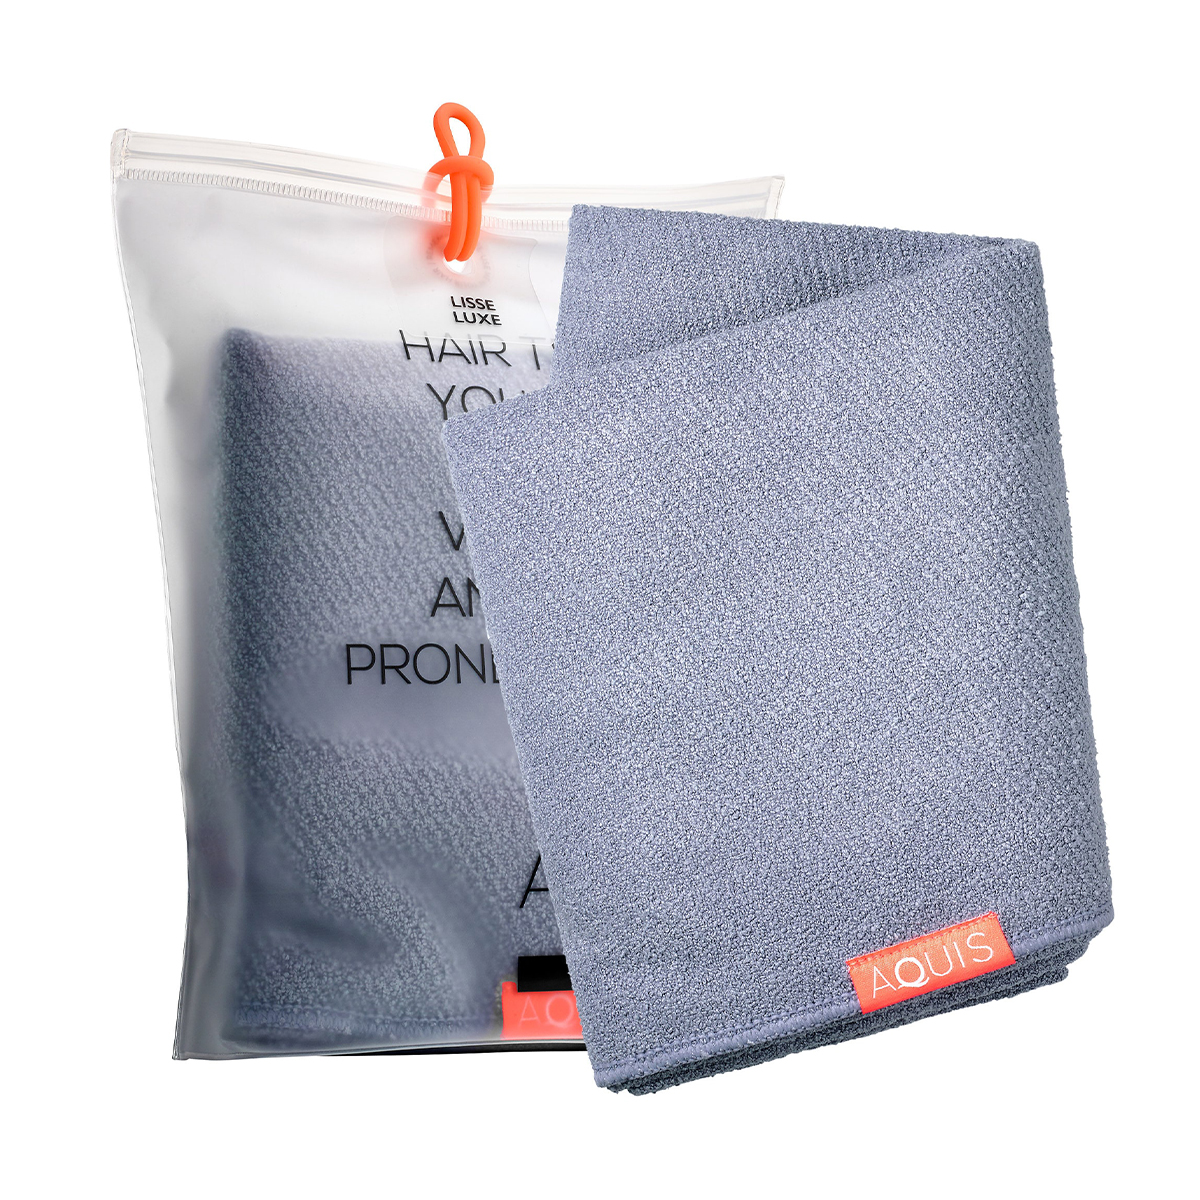
After you get out of the shower, dry your hair off a touch using a microfiber towel or by wrapping your hair in a T-shirt. (If you don't have any of these handy, Alvarez says you can simply blot dry with a terry cloth towel, making sure not to rub your strands with too rough of a hand.)
Step Two: Layer a Leave-In Curl Enhancer
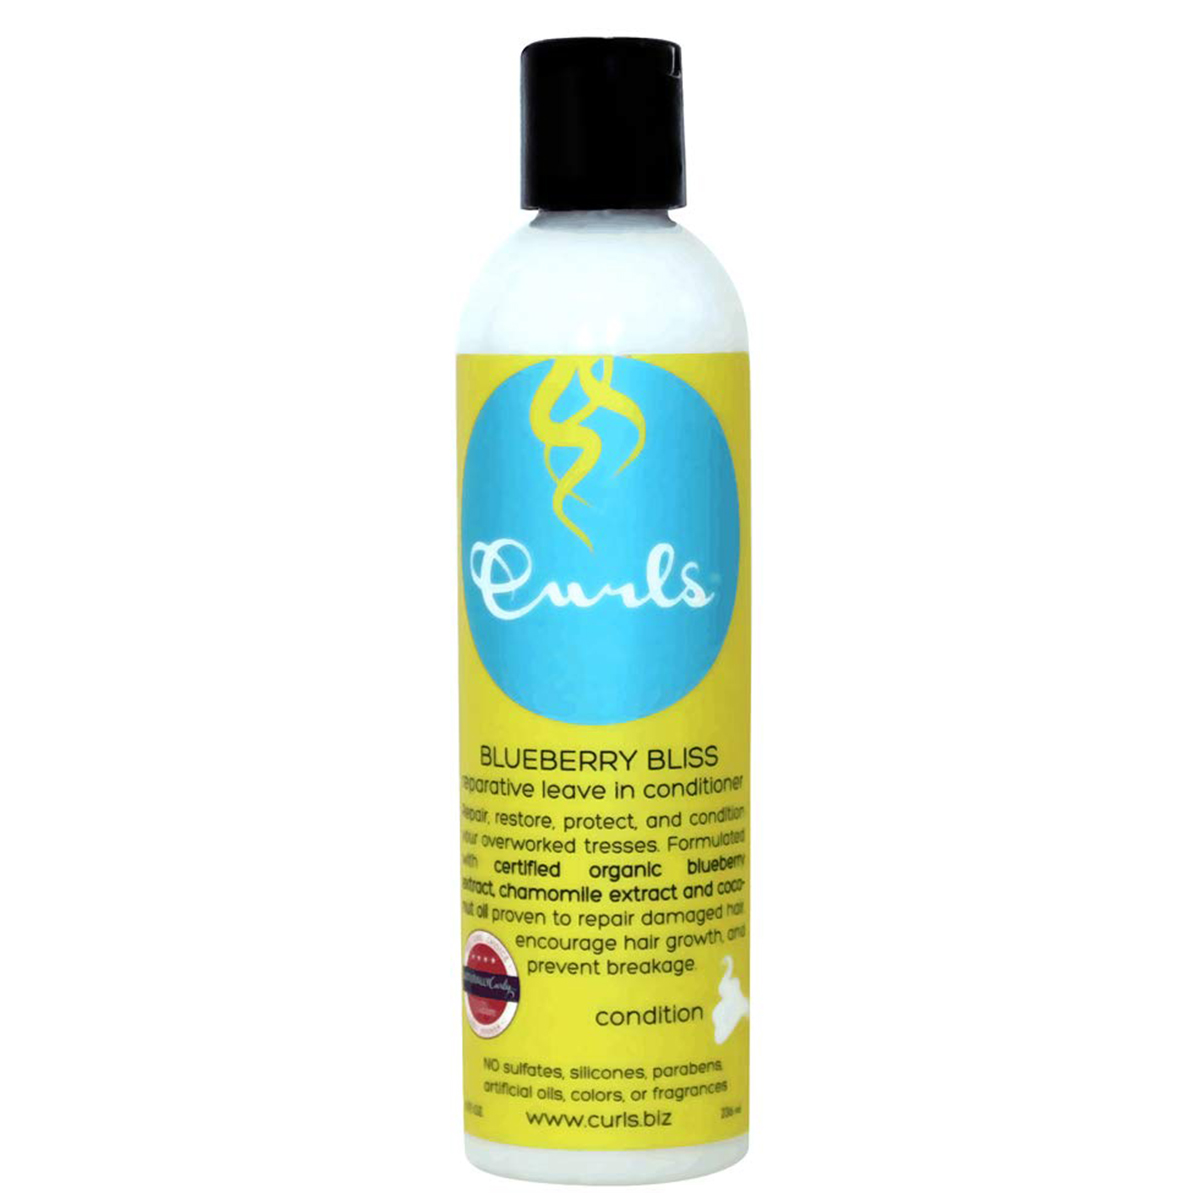
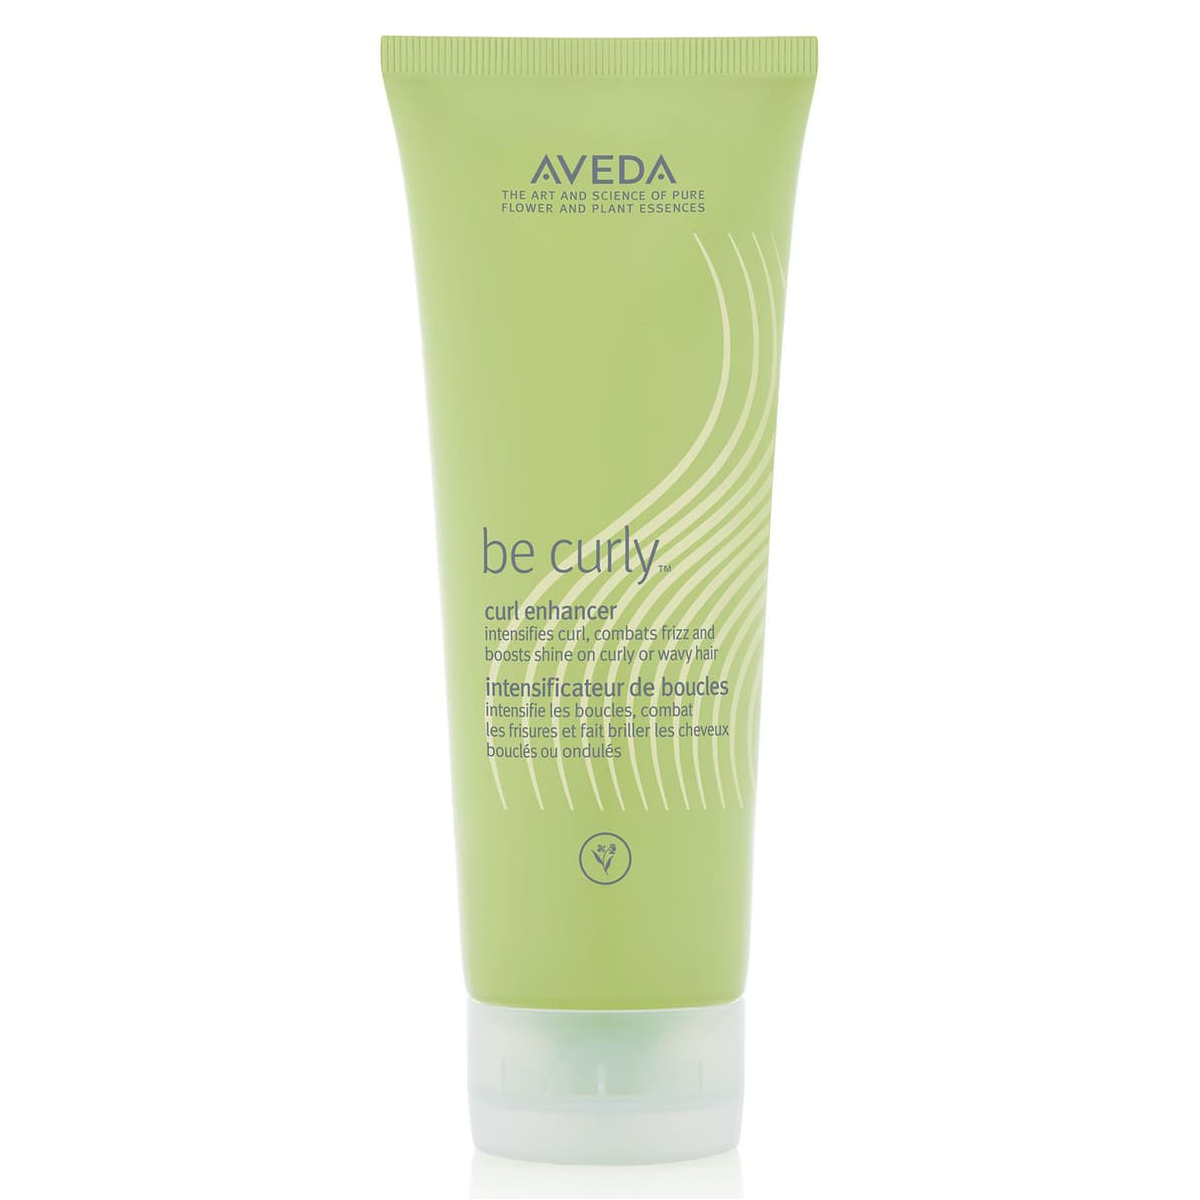
"For curly hair, you should always layer your products," Alvarez continues. First, she recommends applying a leave-in formula like Curls Blueberry Bliss Leave-In Conditioner ($12) from midshaft to ends, eventually working your way to the roots. Then, rake Aveda's Be Curly Curl Enhancer ($26) from midshaft to ends as well using your fingers.
Step Three: Brush Your Hair at a 90-Degree Angle
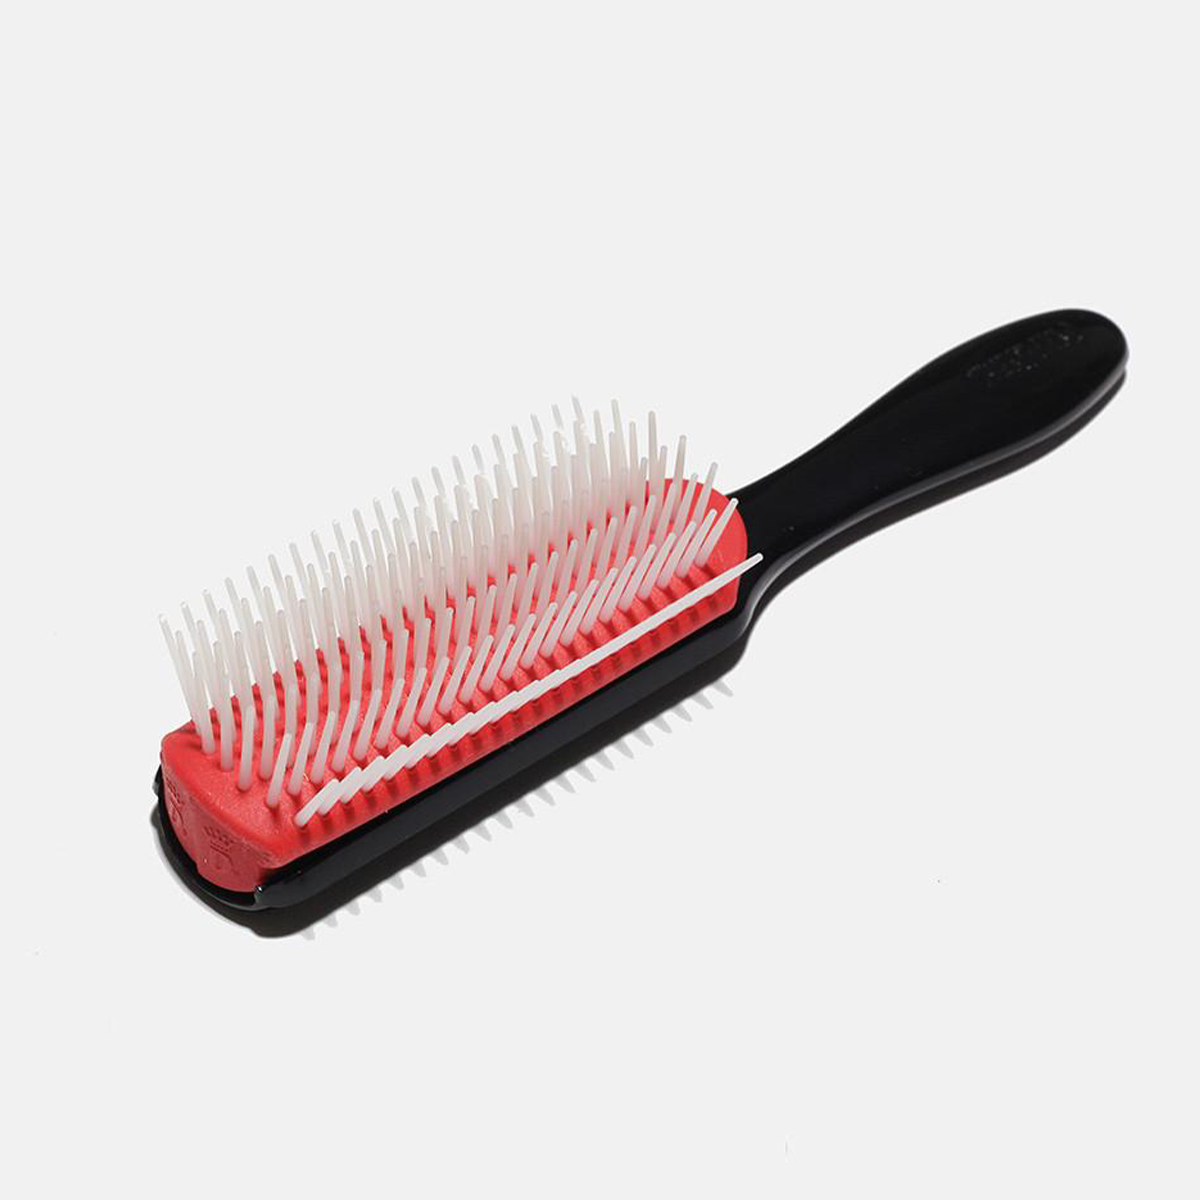
"Style the curls using a Denman brush working in vertical sections and brushing the hair at a 90-degree angle off the scalp. This allows your curls to dry fluffy and airy with a lot of movement," Alvarez confirms.
Up next: Celebrity Hairstylists Never Travel Without These 39 Hair Essentials
This post was published at an earlier date and has been updated.
Erin has been writing a mix of beauty and wellness content forBest Knockoff Luxury Clothing for over five years. Prior to that, she spent two and half years writing for Byrdie. She now calls Santa Monica home but grew up in Minnetonka, Minnesota, and studied writing, rhetoric, and communication at University of Wisconsin, La Crosse. She studied abroad in Galway, Ireland, and spent a summer in L.A. interning with the Byrdie andBest Knockoff Luxury Clothing family. After graduating from UW, she spent one year in San Francisco, where she worked as a writer for Pottery Barn Kids and PBteen before moving down to L.A. to begin her career as a beauty editor.
