I Spent 2 Hours With Margot Robbie's Makeup Artist—Here's Everything I Learned

While Pati Dubroff is, indeed, the artist behind the amazing makeup looks frequently gracing the likes of Kate Bosworth, Margot Robbie, Julianne Moore, Priyanka Chopra and more, Dubroff's impressive professional resume is hardly relegated to the "saved" archives of our Instagram feeds. Having fallen in love with the world of makeup at the age of 10, over the years, she's hustled her way up, though, and beyond makeup artist stardom. She's worked alongside editorial heavy hitters like Annie Leibovitz; on set for publications like Vanity Fair, Harper's Bazaar and Vogue; and assisted iconic makeup artist legends like Kevyn Aucoin and François Nars. (For reference, any makeup artist would kill to have that kind of experience under their belt.)

So when I had the opportunity to spend two hours with Dubroff inside the cosy doors of Violet Grey's West Hollywood flagship, it took me less than a tenth of a second to accept. As part of Violet Grey's inaugural committee seminar with Armani Beauty, Dubroff walked an intimate group of attendees through her process.
The goal: to see firsthand how Dubroff preps her A-list clientele for the most demanding of red carpets while typing and recording as much intel as possible without having an actual aneurysm on Violet Grey's plushly carpeted floors.

Ahead, I'm sharing eleven of the most interesting takeaways from my time with Dubroff, each of which is jam-packed with even more tips, tricks and product recommendations to help satiate your beauty appetite. Keep scrolling! You've just hit the beauty-junkie jackpot.
Tip #1: Your Skincare Should Take Almost as Long as Your Makeup
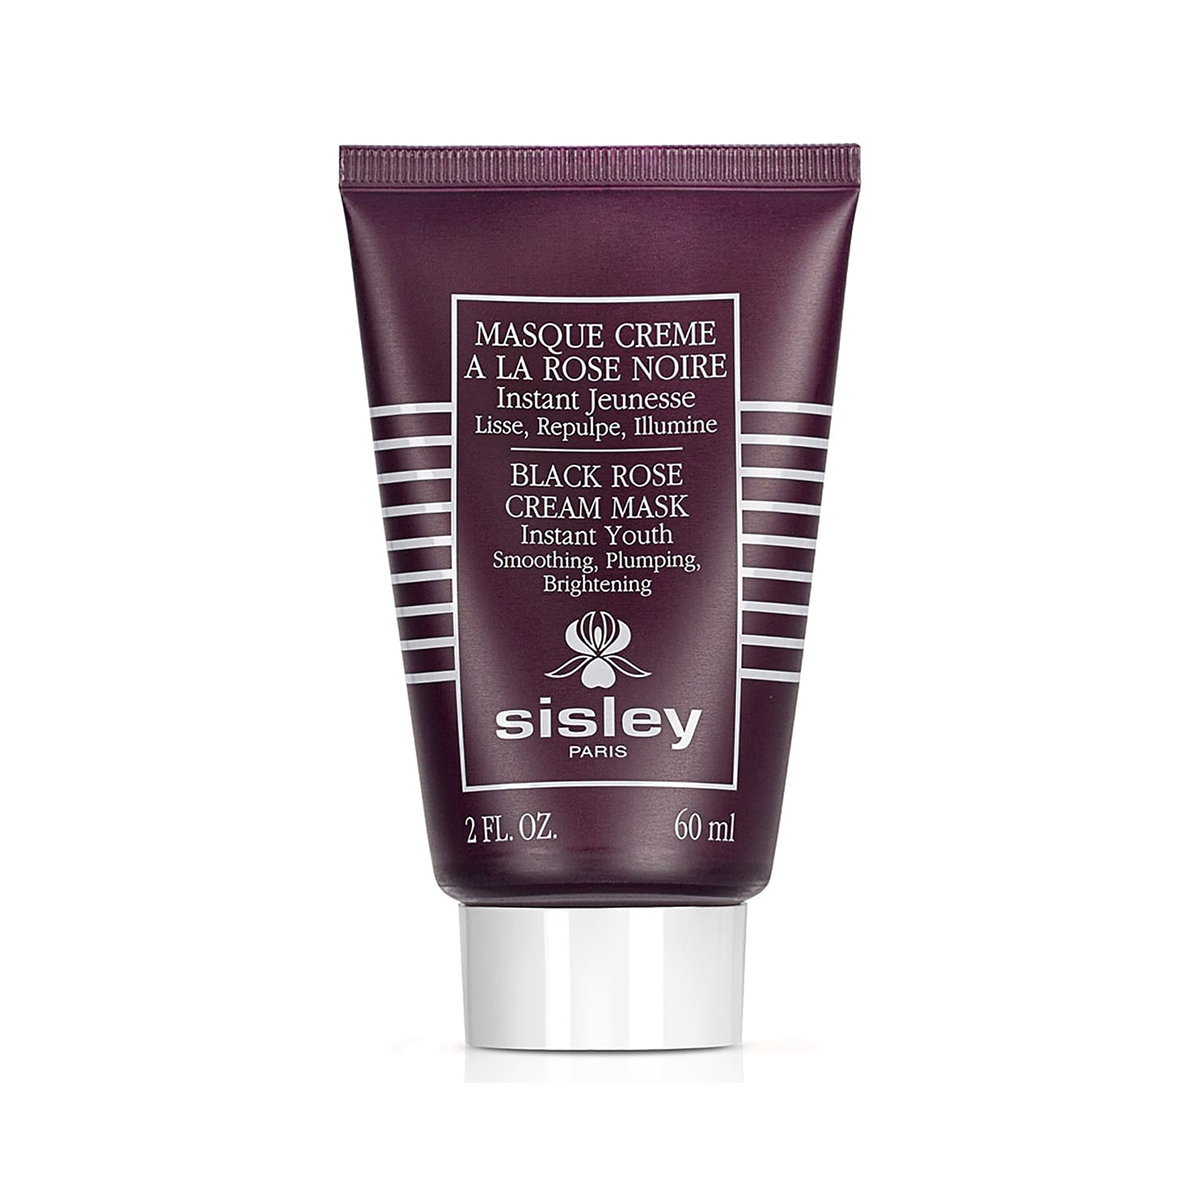
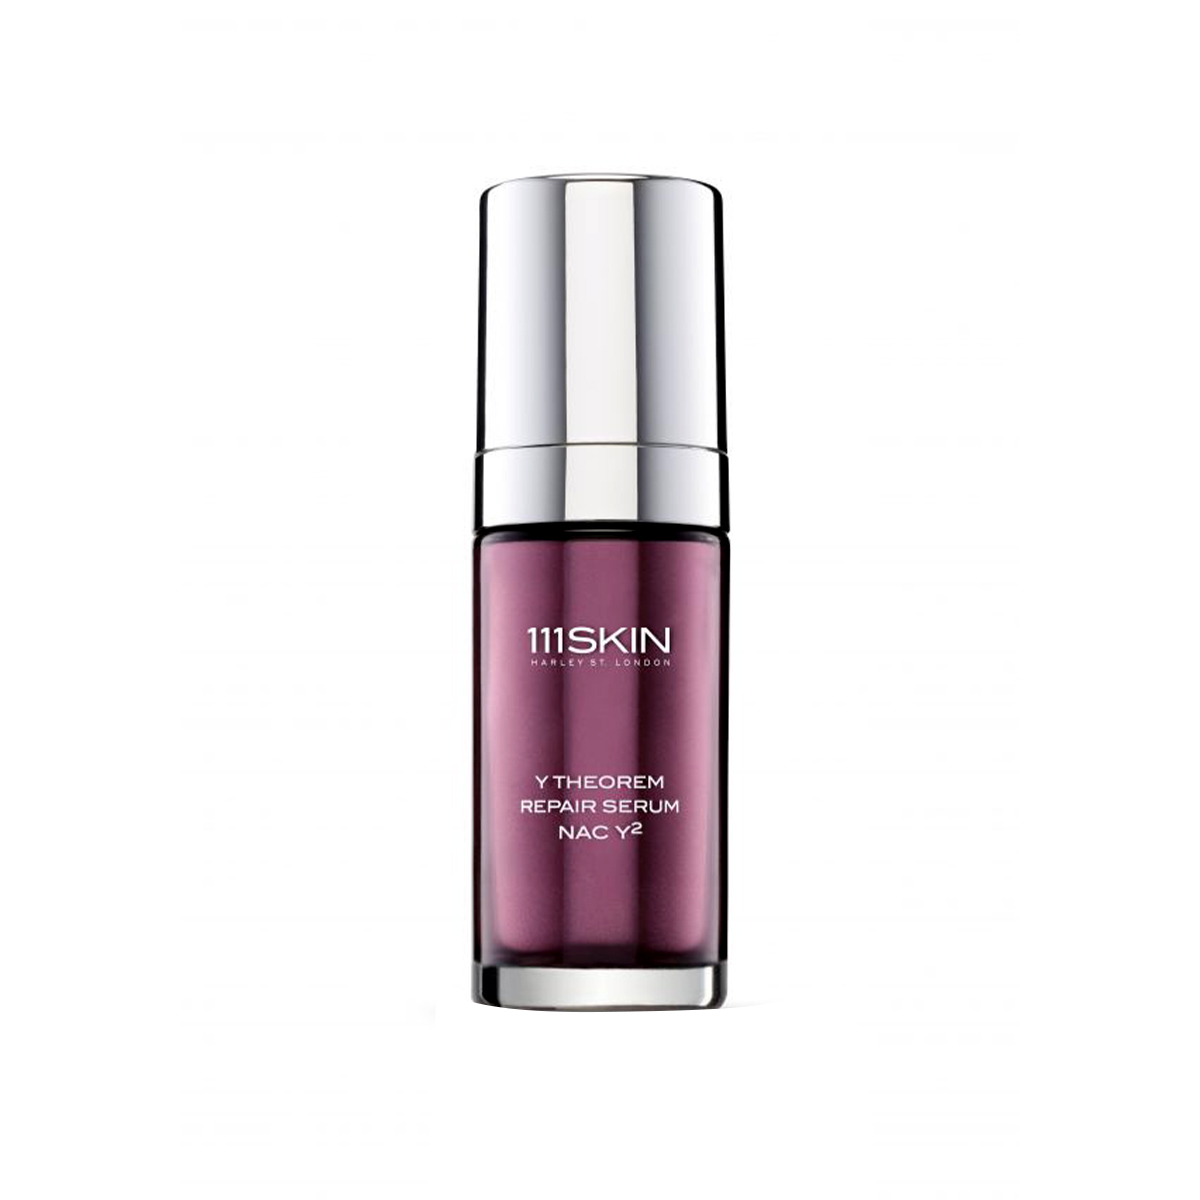
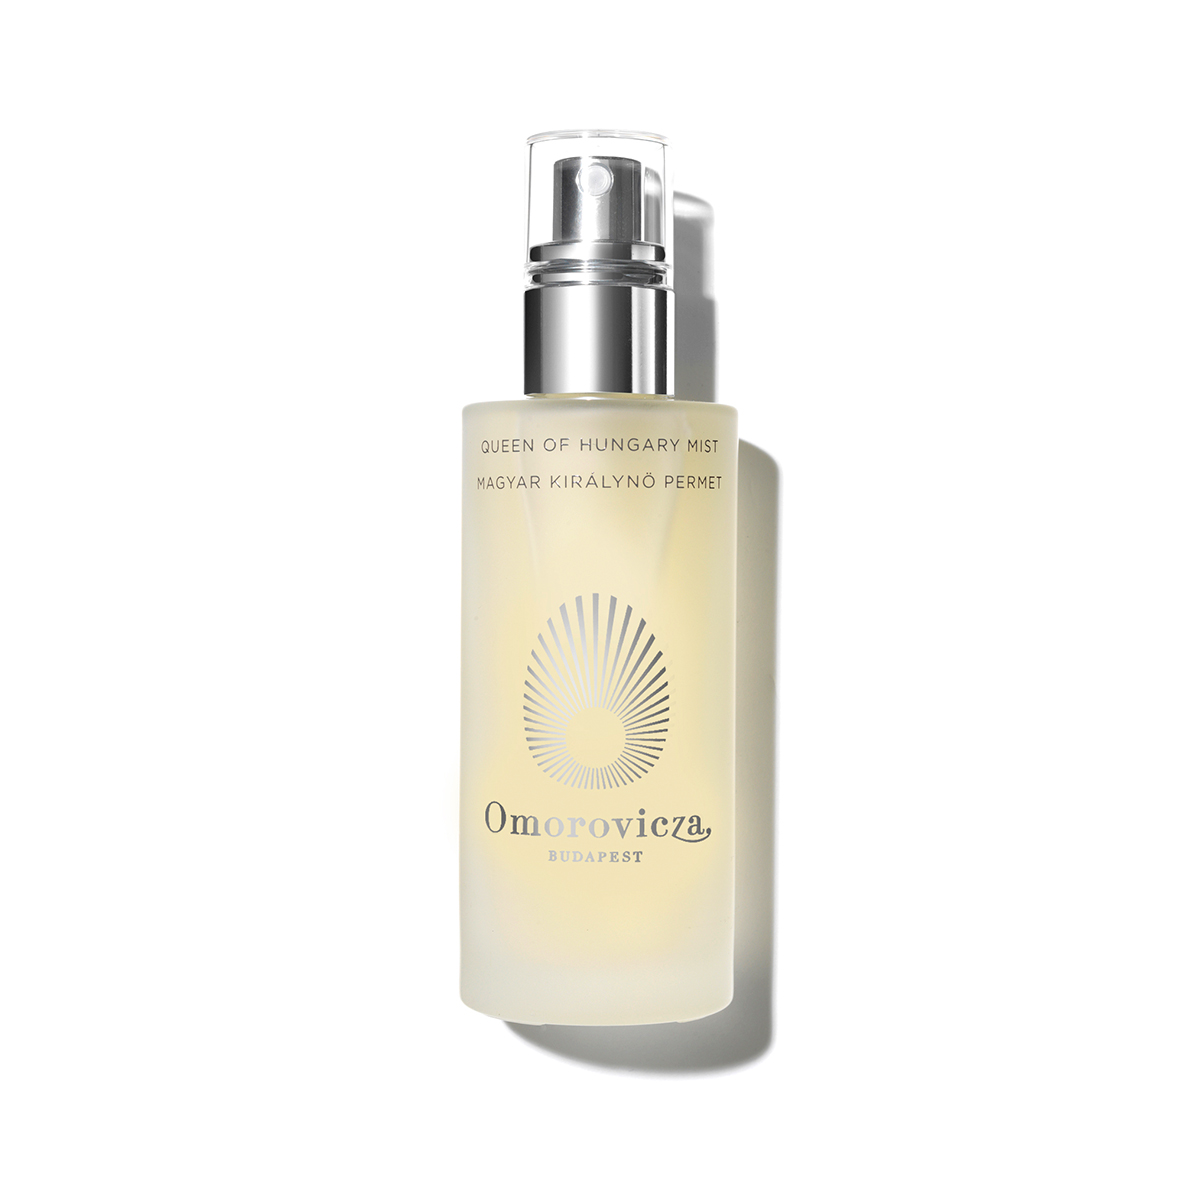
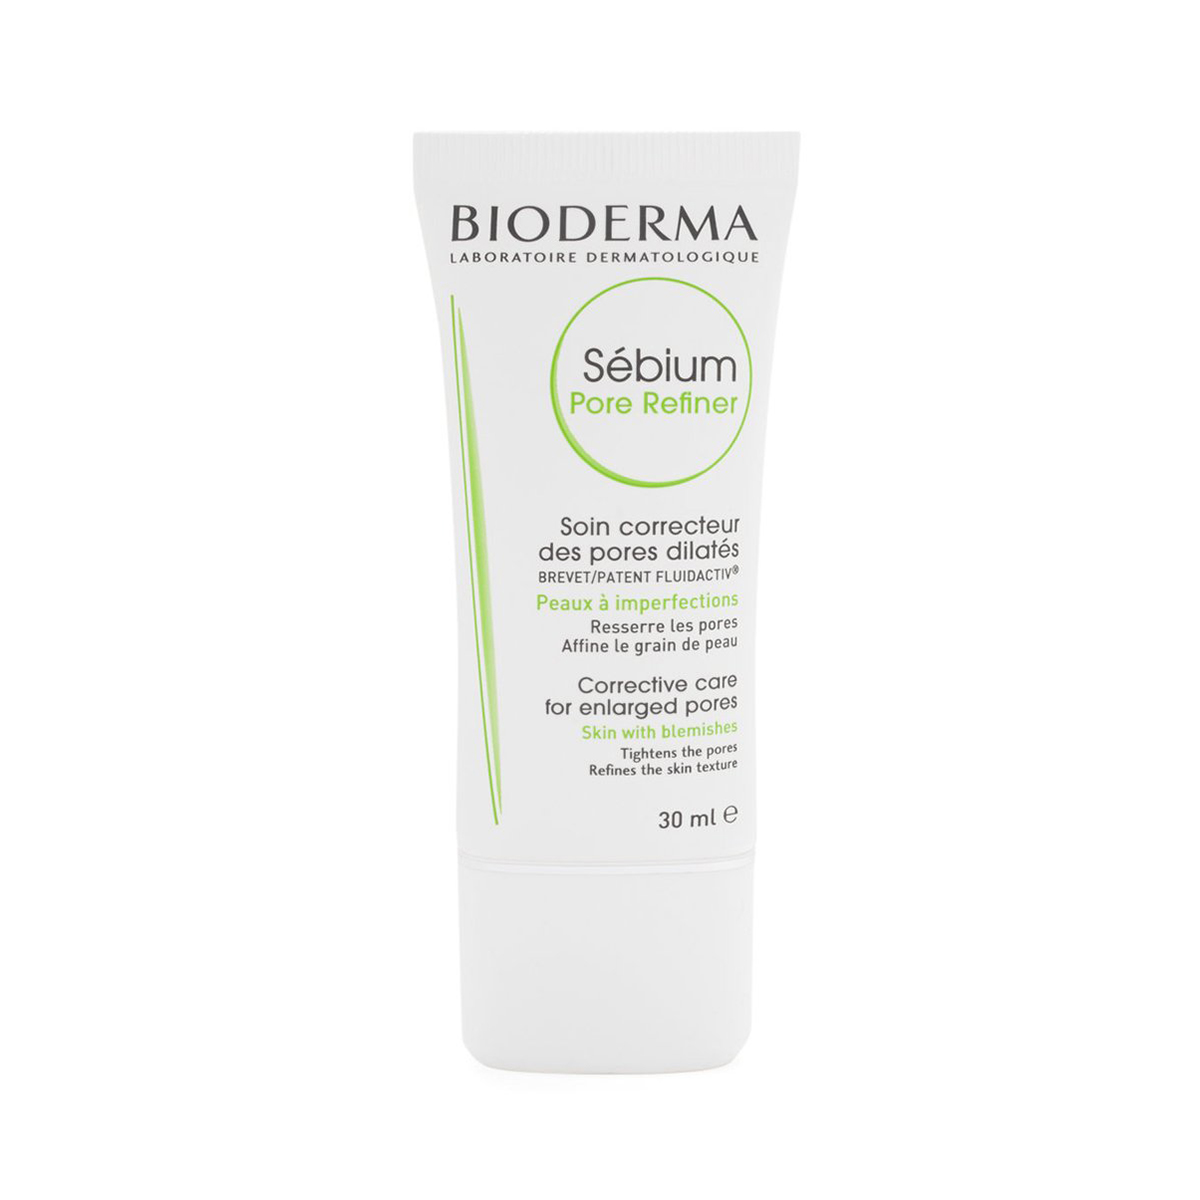
Although Dubroff explained that the time she's able to dedicate to skin prep and makeup depends on a) how much she's given and b) how detailed or elaborate the makeup is going to be, she shared that if she's given two hours with a client (the norm), she'll delegate a good 40 minutes to skin prep: "As long as the skin is good, everything else is gravy." Keep scrolling for the step-by-step pre-makeup skincare ritual she always performs on her A-list clientele.
1. Sheet Mask
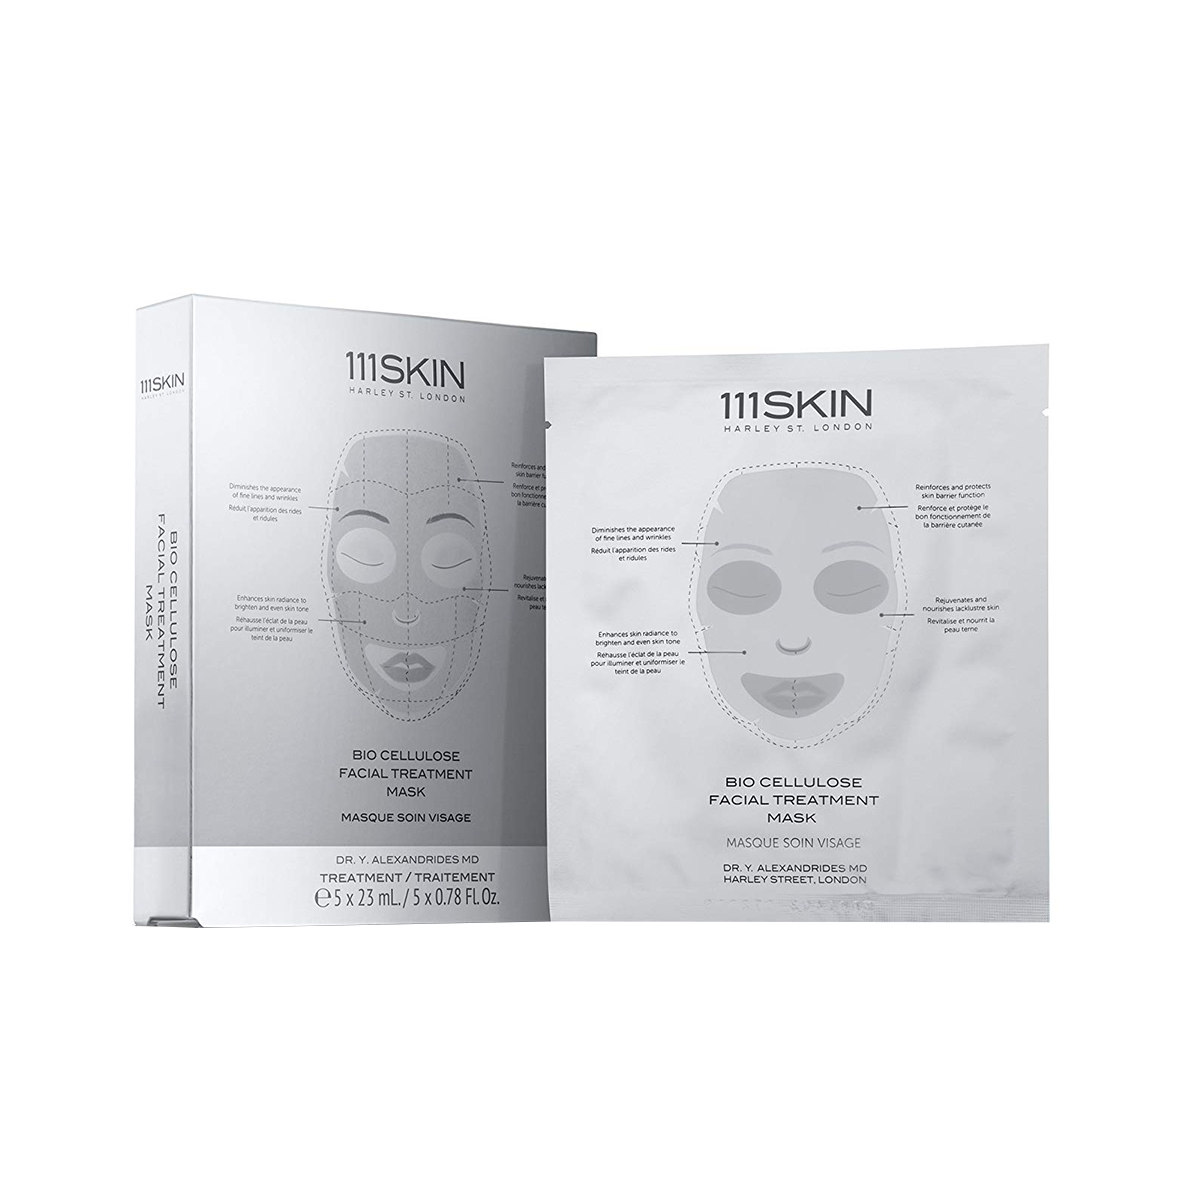
The first thing Dubroff does when she gets to her client is to situate them for 15 to 20 minutes with this bio-cellulose treatment mask from 111Skin. The brand has other formulas, but Dubroff says this silver one is the O.G. and her all-time favourite. It gives the skin glow and vibrancy, plus the hairstylists she works alongside appreciate that the excess serum along the hairline doesn't endanger styled strands. Oh, and nothing goes to waste—Dubroff wipes the excess serum sitting in the package and on the mask all over her client's upper body and then rests the mask on their neck while she does their makeup.
2. Nano-Current Facial
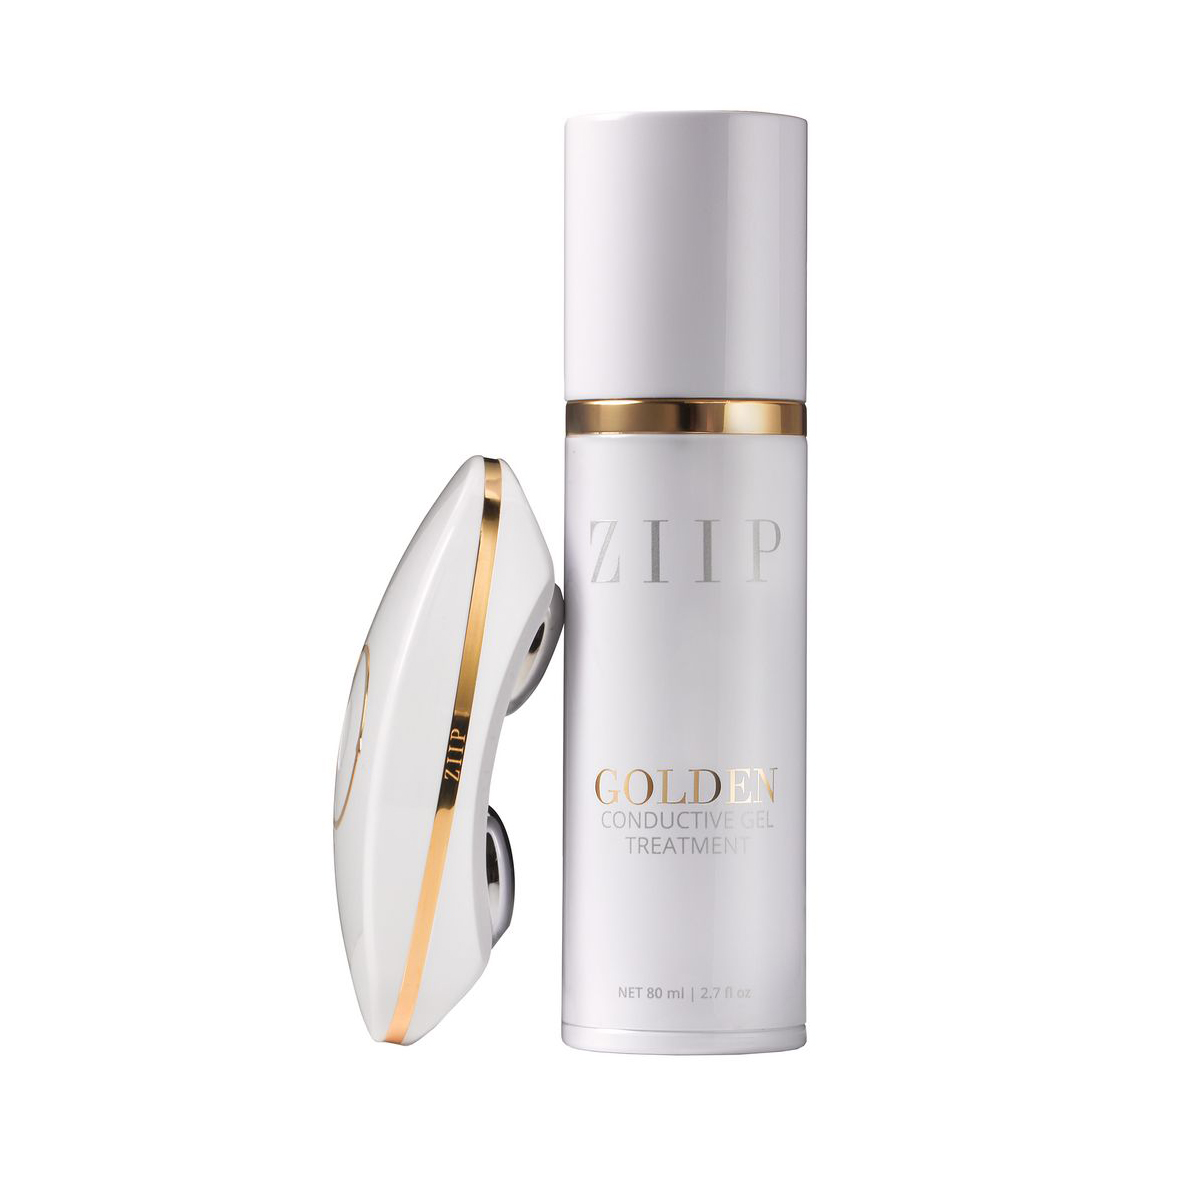
While Dubroff says this is, indeed, an extravagant step, it makes a significant difference in the lift and contour of her clients' faces. Basically, it allows you to give yourself a nanocurrent facial at home, promoting lymphatic drainage, collagen production and increased circulation. And, on a certain setting, it can also eradicate acne-exacerbating bacteria. She massages clients' faces with it for about five minutes, working up and out with the contours.
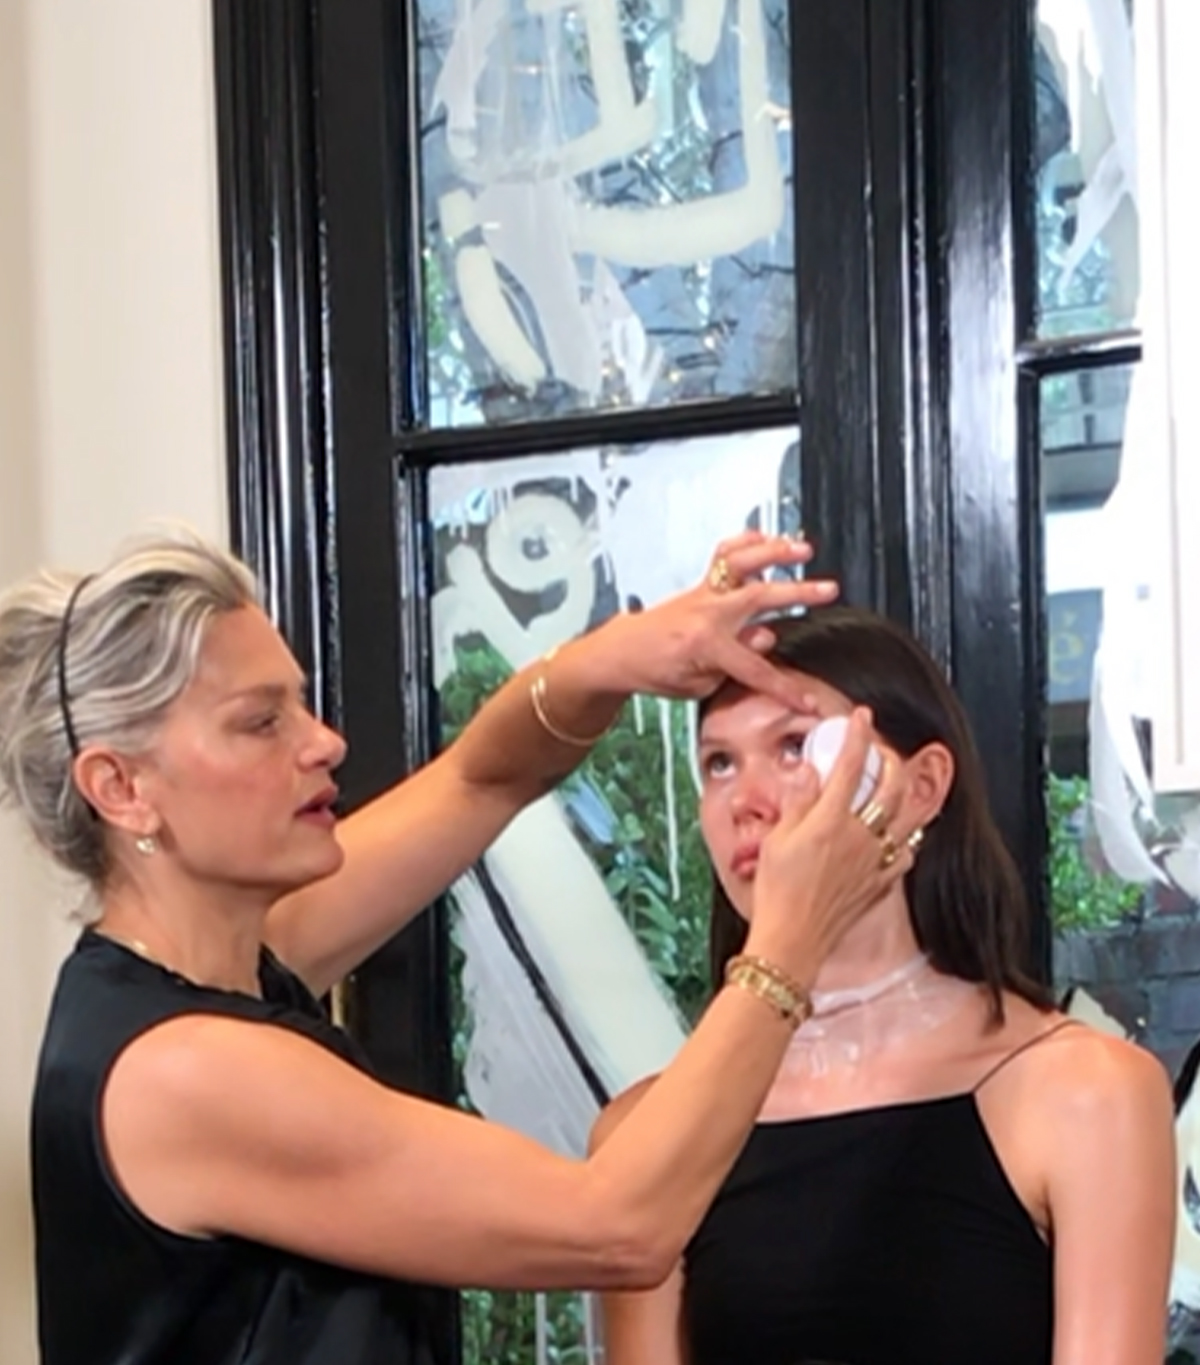
3. Facial Massage
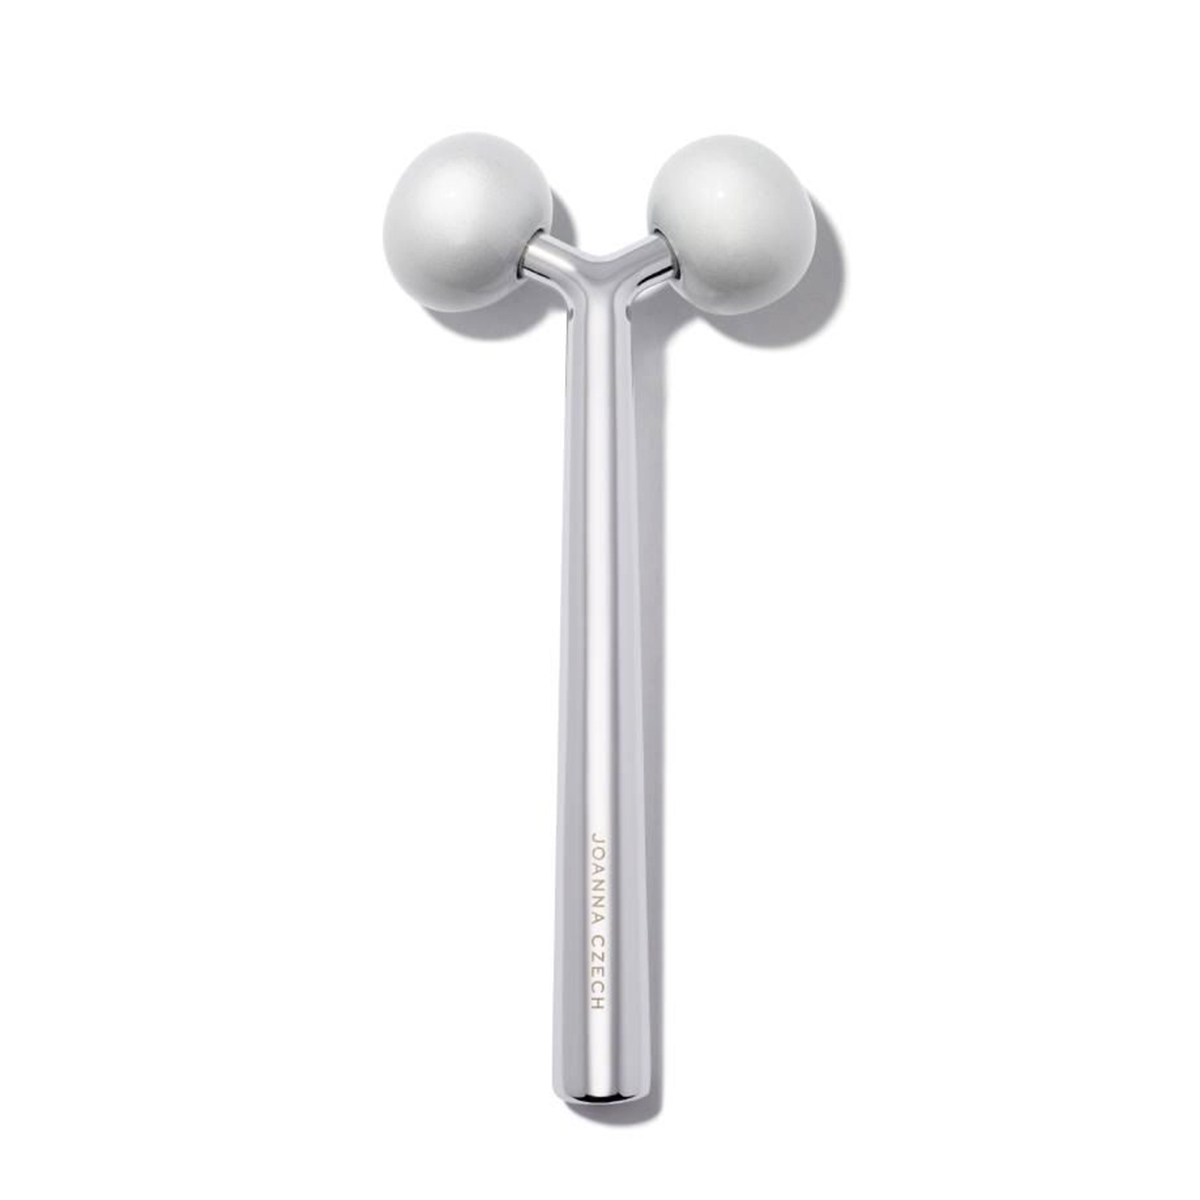
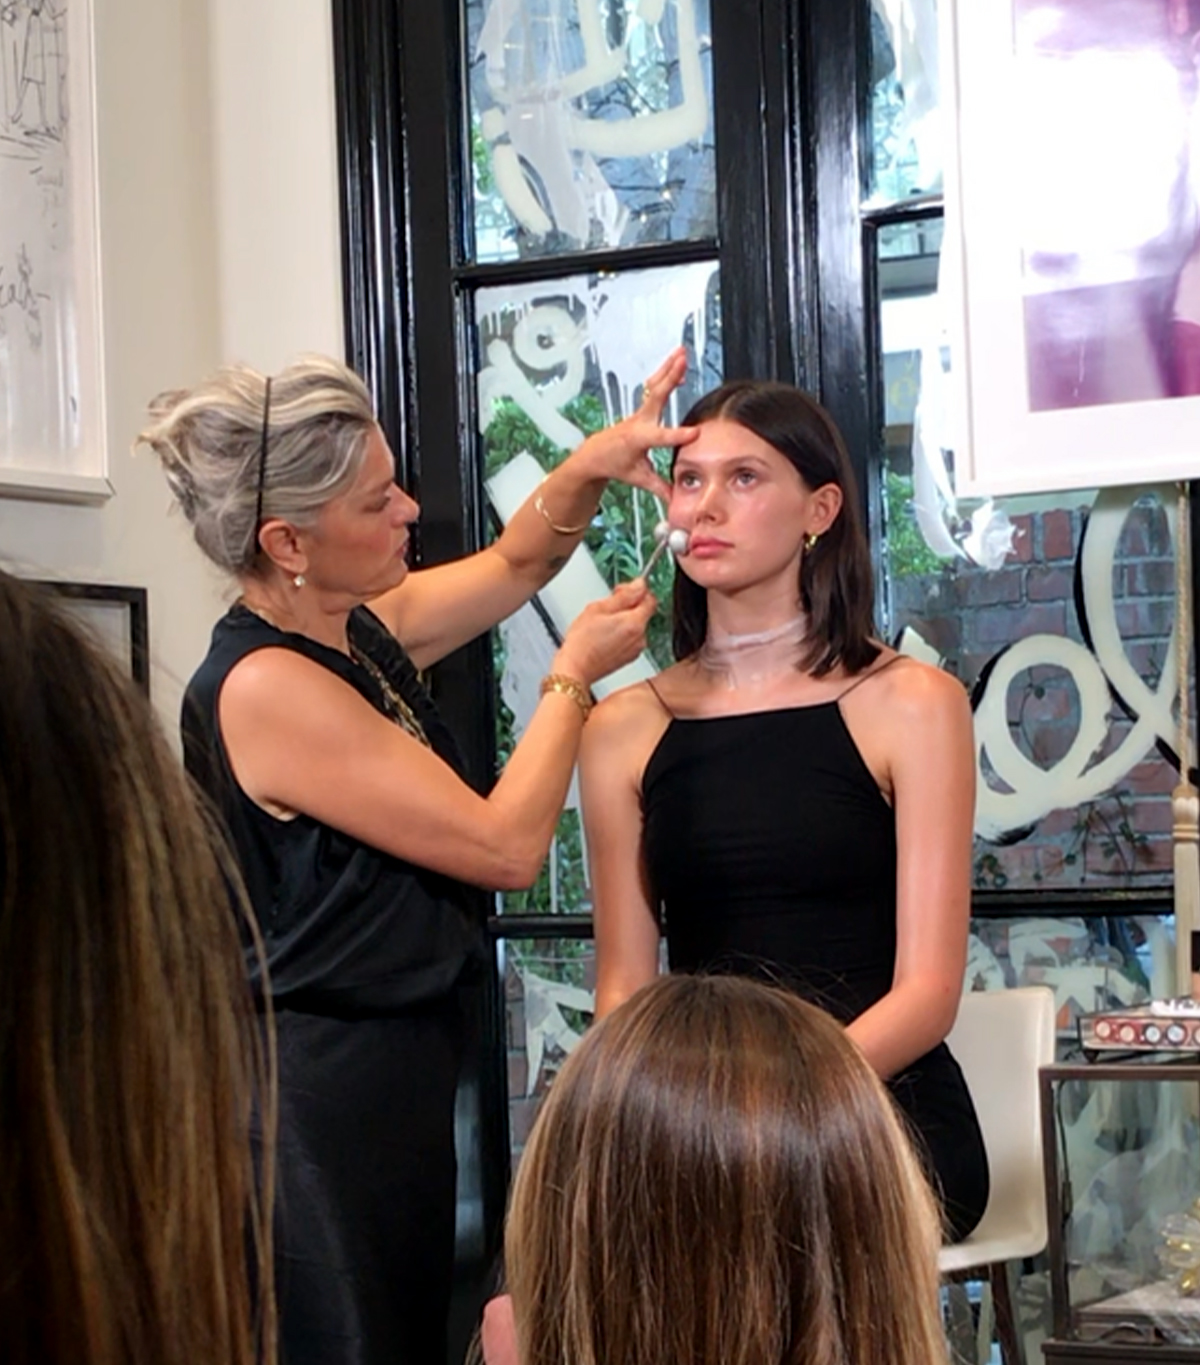
Post-nanocurrents, Dubroff reaches for this cult-loved facial massager from celeb facialist Joanna Czech. It's designed to de-puff, lift, and alleviate muscle tightness and Dubroff likes to store hers in the fridge or a cup of ice pre-makeup for extra cooling and tightening perks.
4. Moisturiser
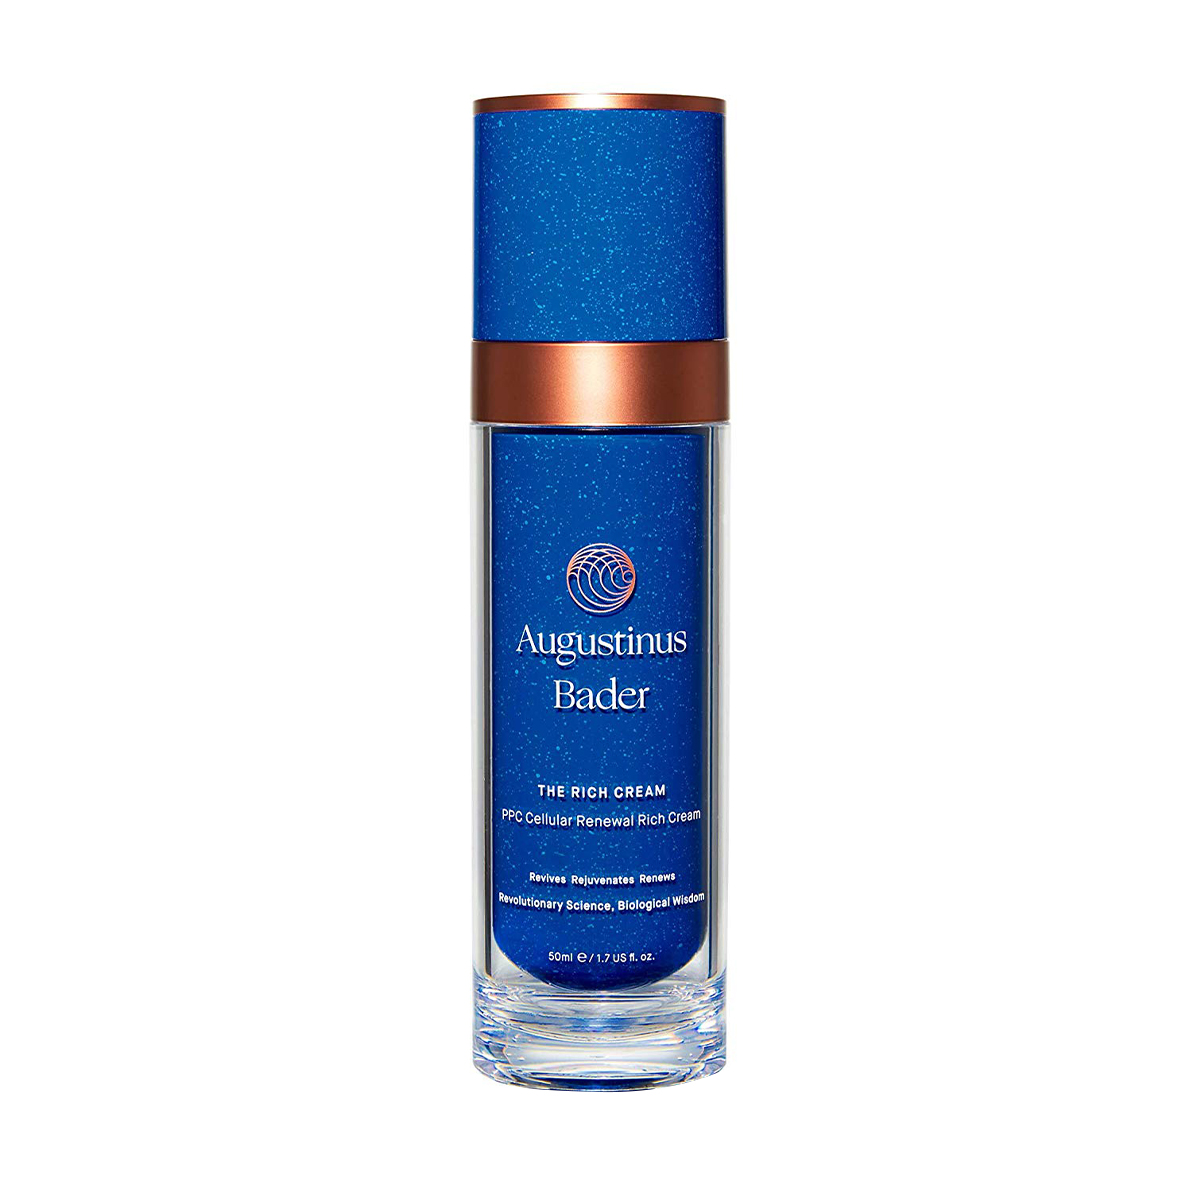
Dubroff says she's obsessed—no, really, OBSESSED—with this holy-grail moisturiser from Augustinus Bader. It comes in two formulas—rich and regular—but unless a client is super prone to oily skin or it's insanely hot outside, she always opts for the rich option, as it gifts skin with ample hydration and a pretty sheen. She only applies it to the perimeter of the face and on the high points of the face like the cheekbones.
5. Mist
6. Mattifying Primer
7. Lip Balm
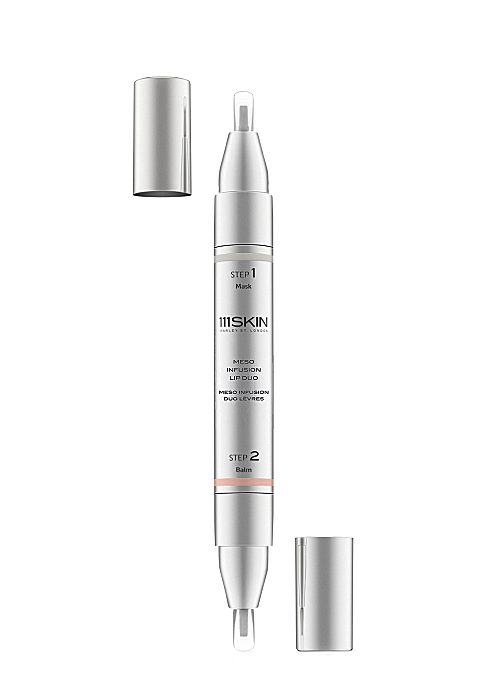
Last but not least, the lips. Dubroff likes to nourish and plump her clients' lips ahead of makeup with this handy, dual-sided pen from 111Skin. (One side is a luxe conditioning mask, and the other features a collagen-boosting serum for plumping and contour improvement.)
Tip #2: Always Use 2 Shades of Foundation
You may have heard this strategic foundation tip around the block, but Dubroff provides some helpful context as to why it's so important in addition to the specific protocol for choosing and applying your formulas. Here's the sitch: First, match one of your colours to your neck (this will be your lighter colour); then match your other colour to the side of your cheek (this will be your darker colour).
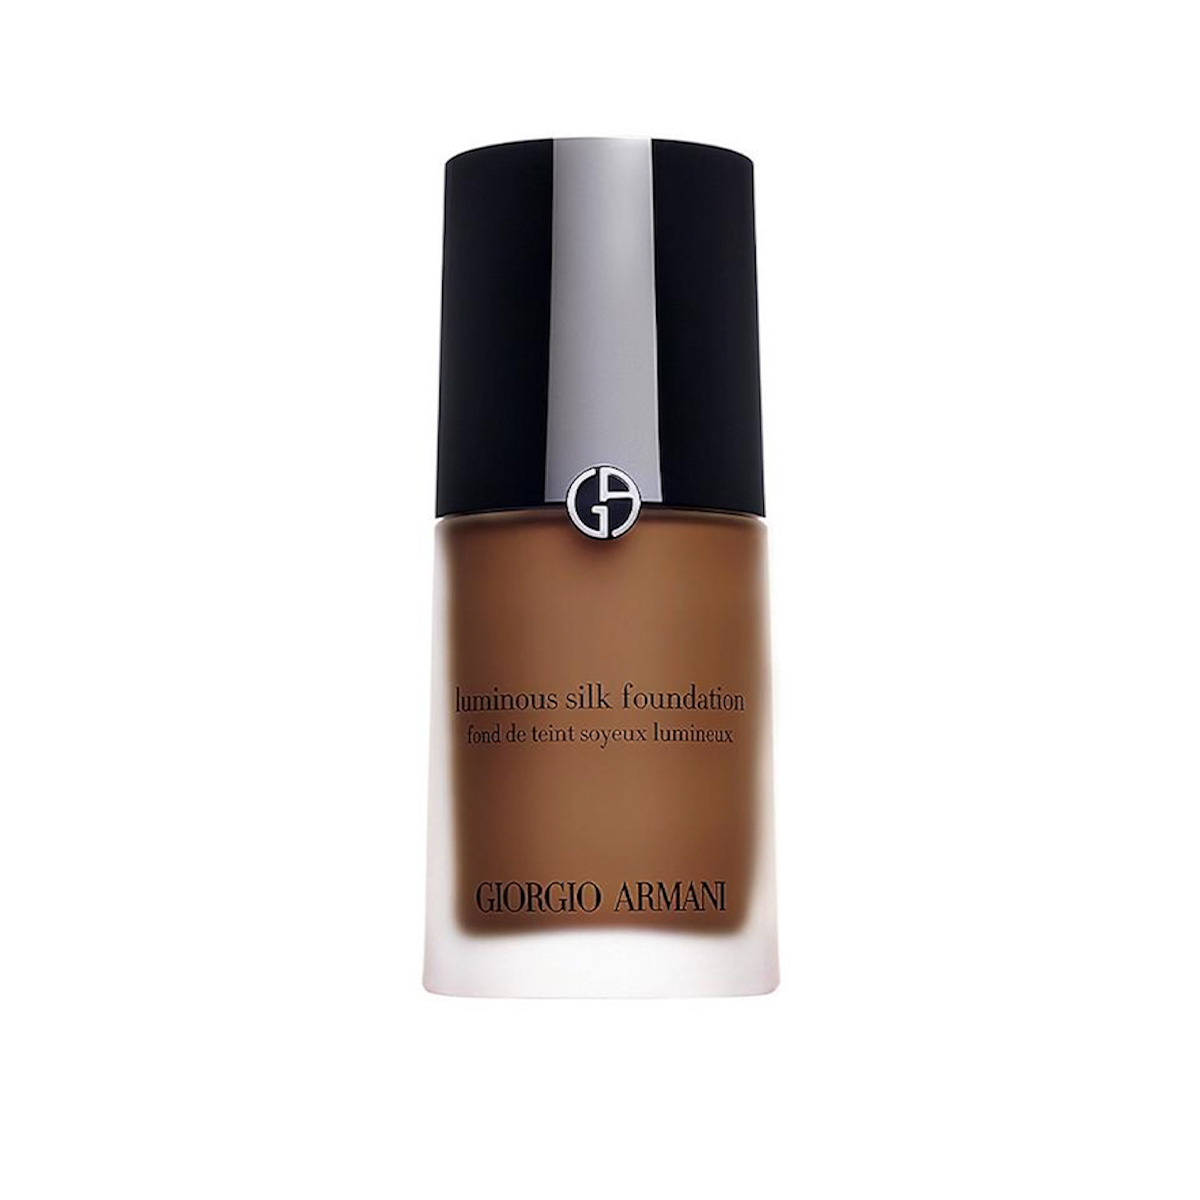
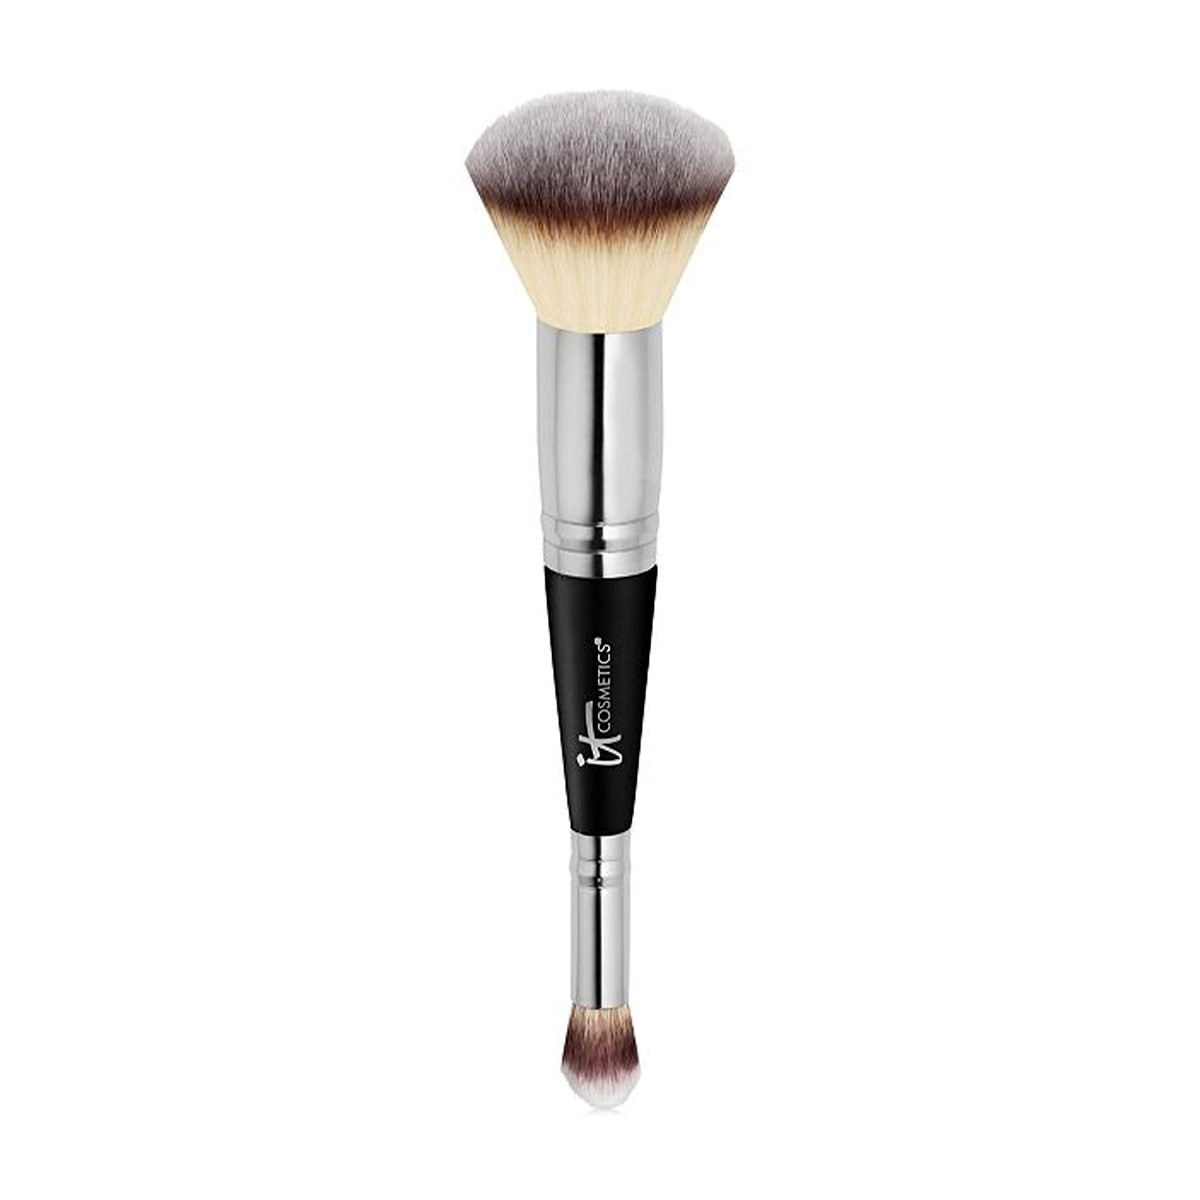
Then using a brush (Dubroff loves the below from It Cosmetics—she calls it her "workhorse"), apply your darker hue around the outer corners of the face and do a light wash on the neck as well. According to Dubroff, a neck that's painted too light can read "wider," while a darker neck recesses and looks thinner. Afterward, go back in with a small brush to add the lighter-coloured foundation the centre portion of the face.
Tip #3: Leave Your Nose Naked
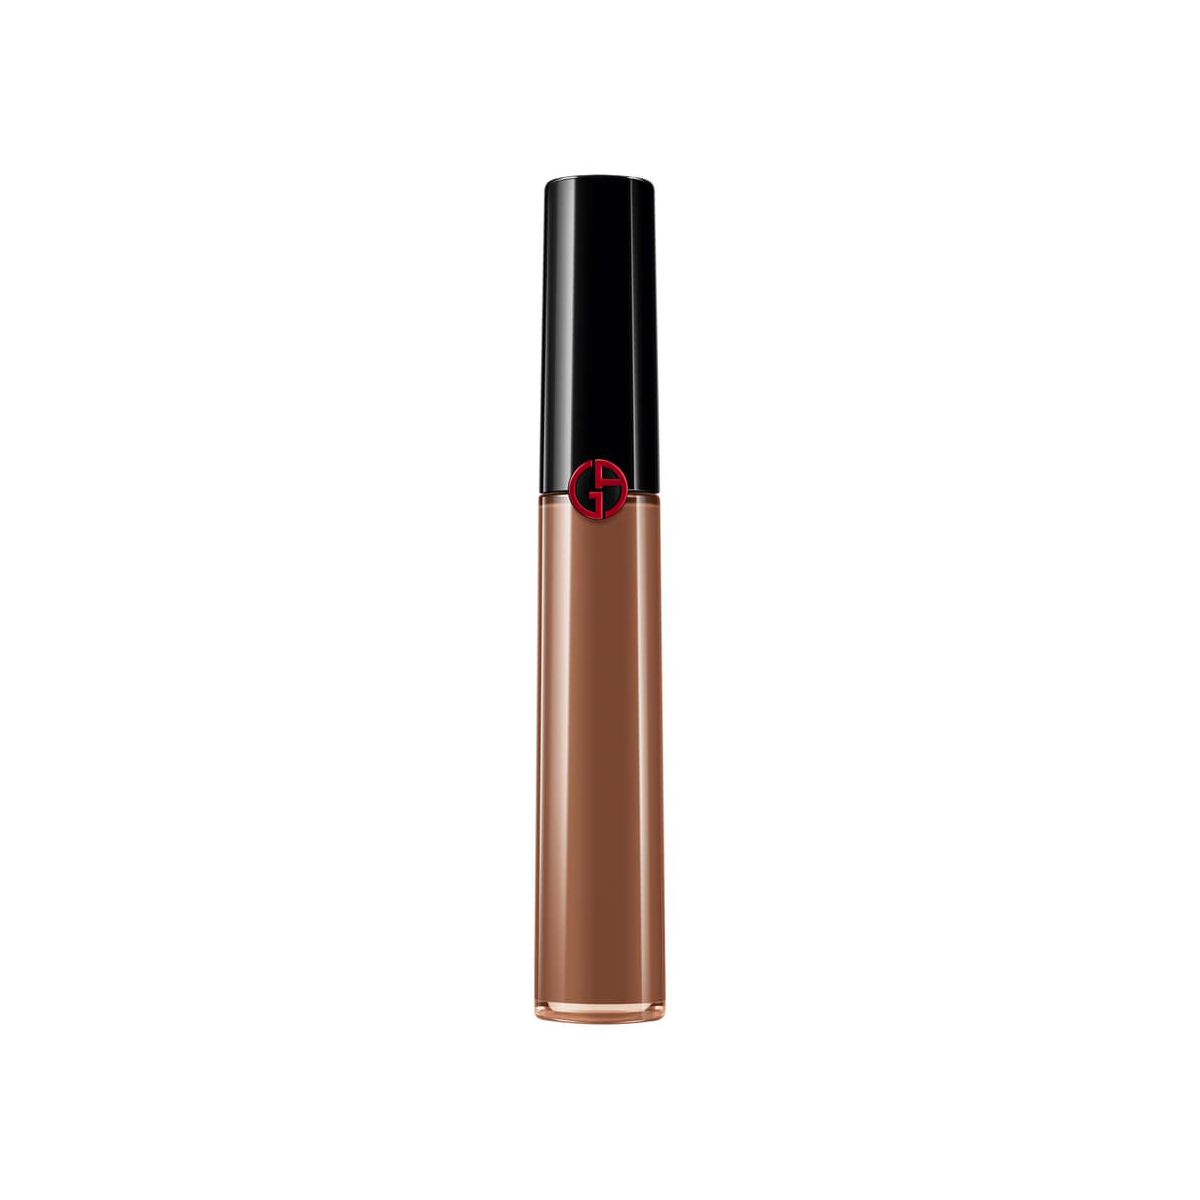
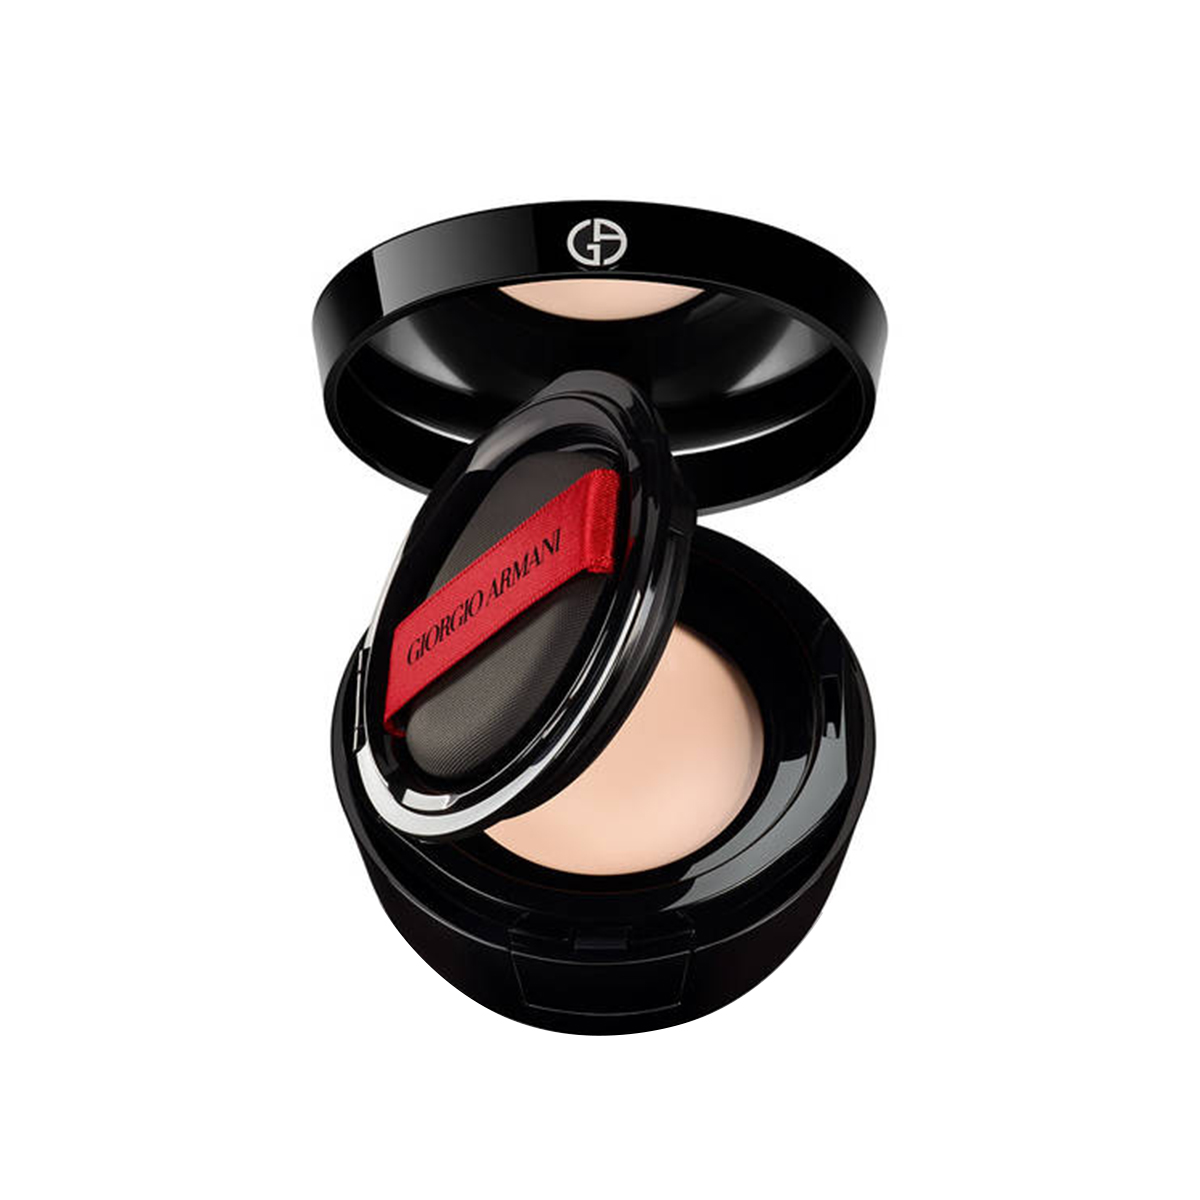
If you're able to get enough coverage with your foundation alone, Dubroff says to skip concealer altogether and to leave your nose free of product—the reason being it's almost impossible for you to completely camouflage away the look of product there, and it allows natural skin or freckles to shine through a bit. Alas, if you do need some extra coverage in the way of concealer, reach for a shade that's somewhere in between your two foundation shades—she uses Armani's—and tap, buff and swirl it using a small brush wherever your problem areas are.
Tip #4: Master Your Blush Placement
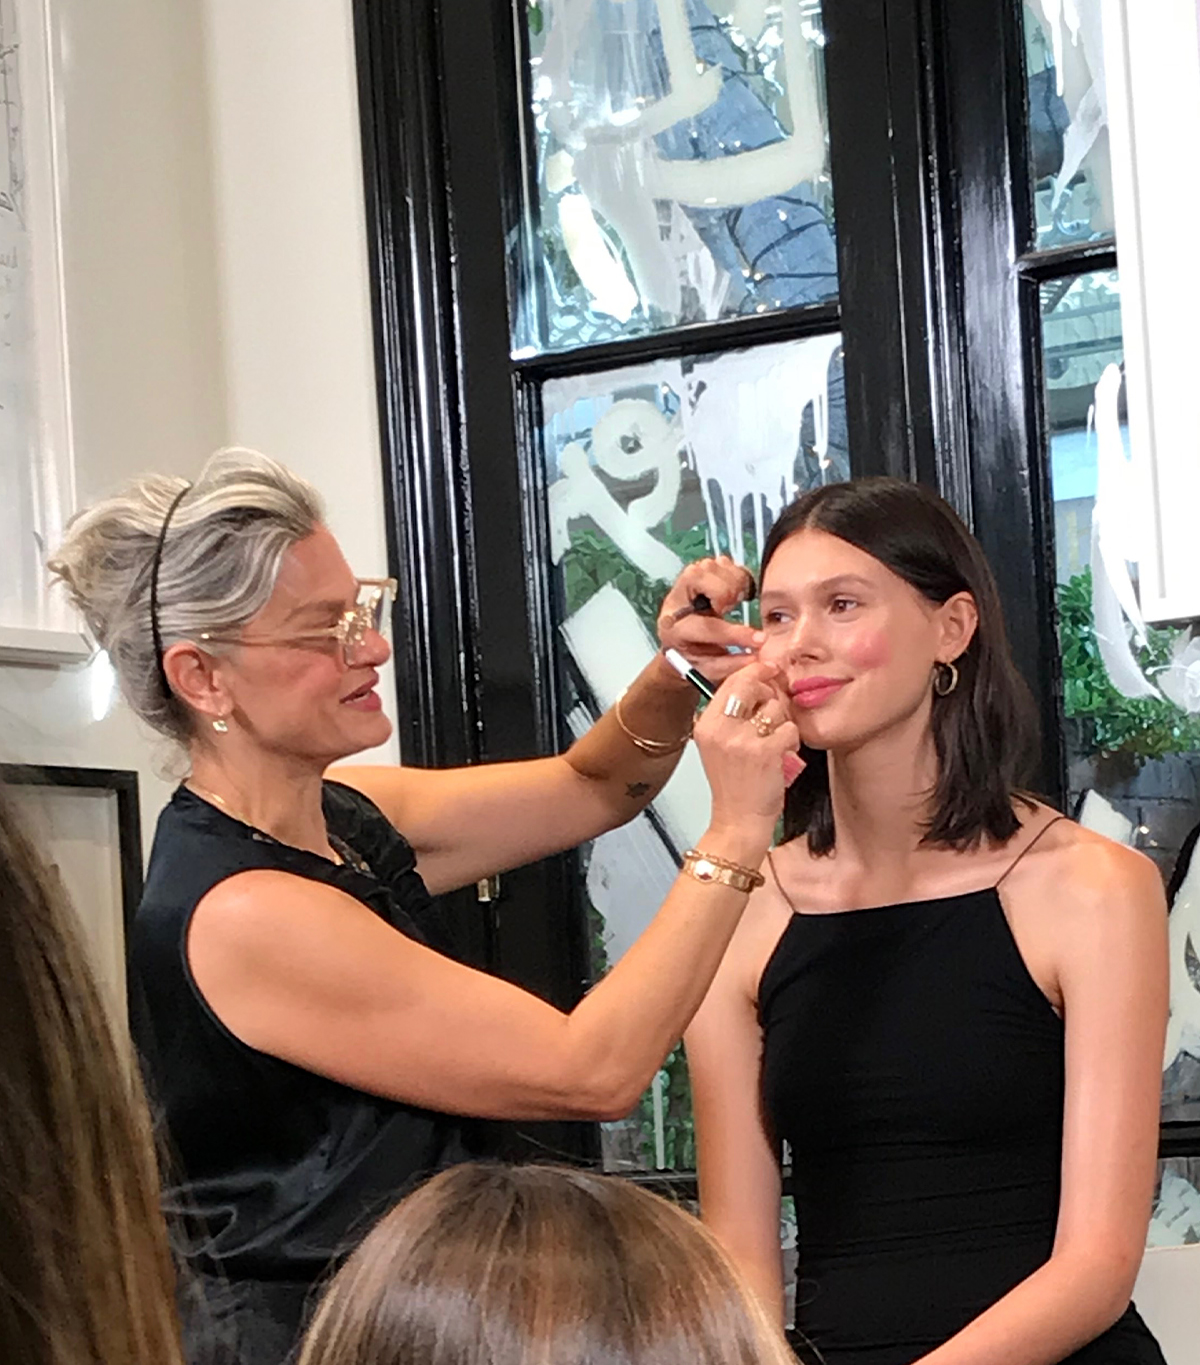
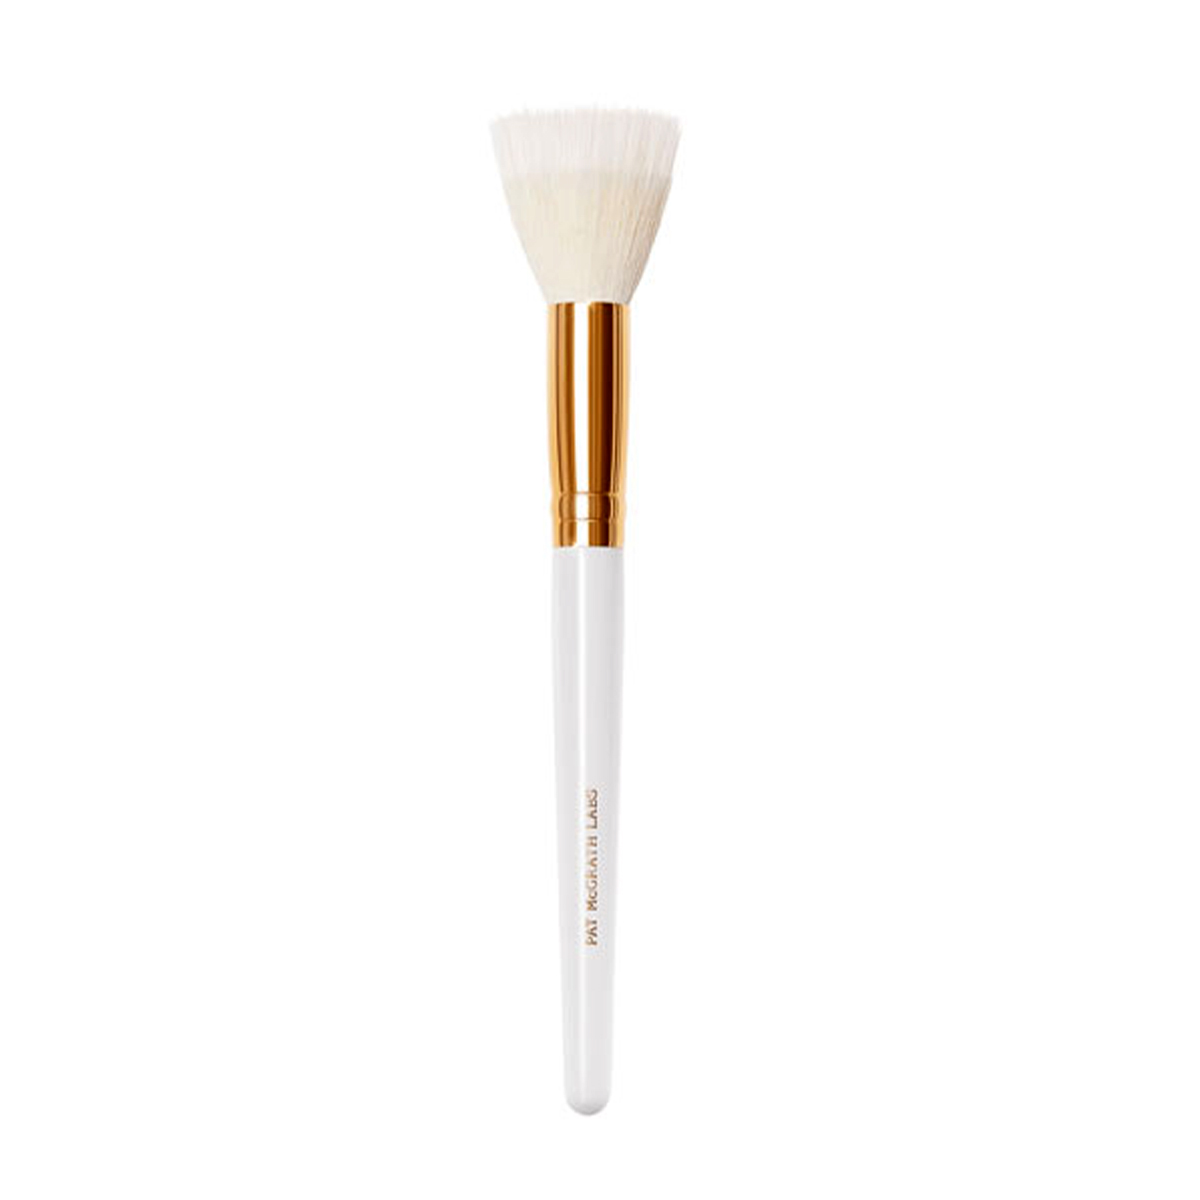
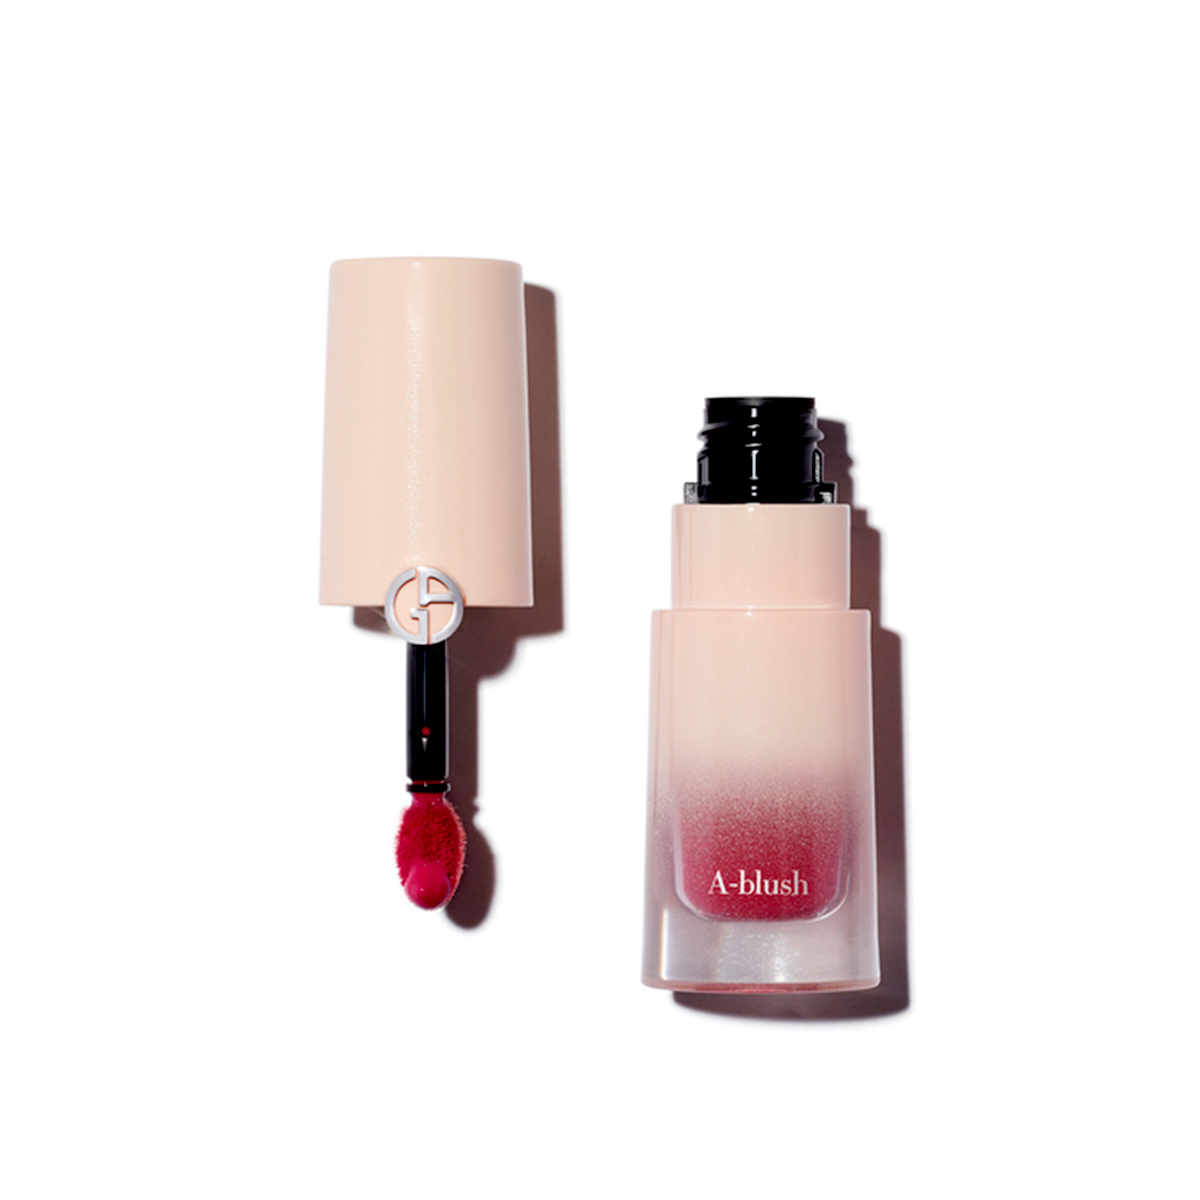
Where to apply your blush is probably one of the biggest makeup conundrums known to humankind. Luckily, we have a makeup artist legend to help. According to Dubroff, the best goof-proof protocol is to use two different shades of blush, a lightweight cream or liquid formula and a high-quality stipple brush like her favourite from Pat McGrath Labs for application. This allows the result to look airy, plush and natural, and placement-wise, don't get to close to the nose or the eye. The apple (bearing in in mind what we just said) is a good target.
Tip #5: Never Leave the House Without Curling Your Eyelashes
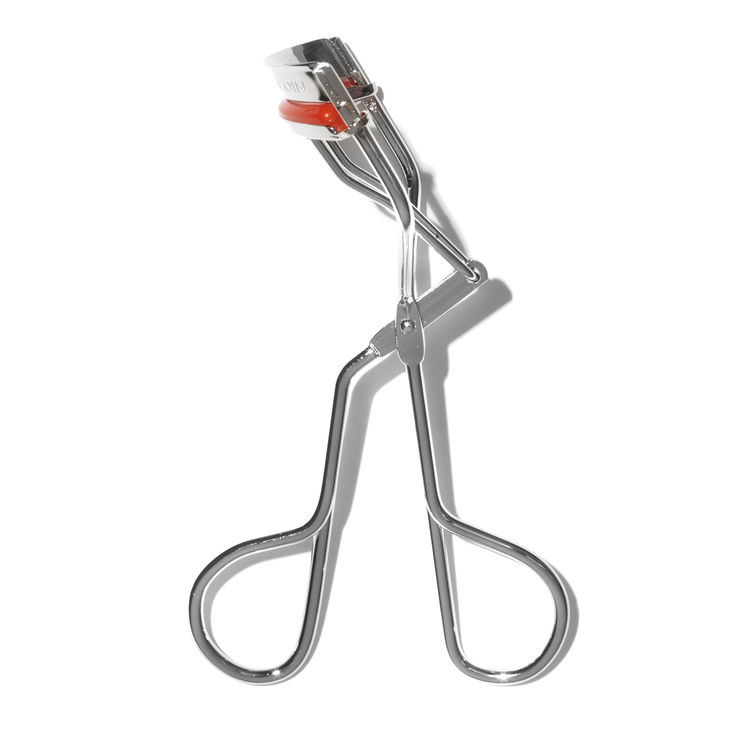
As Dubroff explains, curling your lashes is like drawing the curtains or blinds in a dark room—it immediately brightens and emphasises your eyes. Unless you're one of the few blessed beings with naturally curly lashes, Dubroff says to always curl before starting in on your eye makeup—she always has her clients do it themselves.
Tip #6: Use Eyeliner and Creams Instead of Powder Eye Shadow
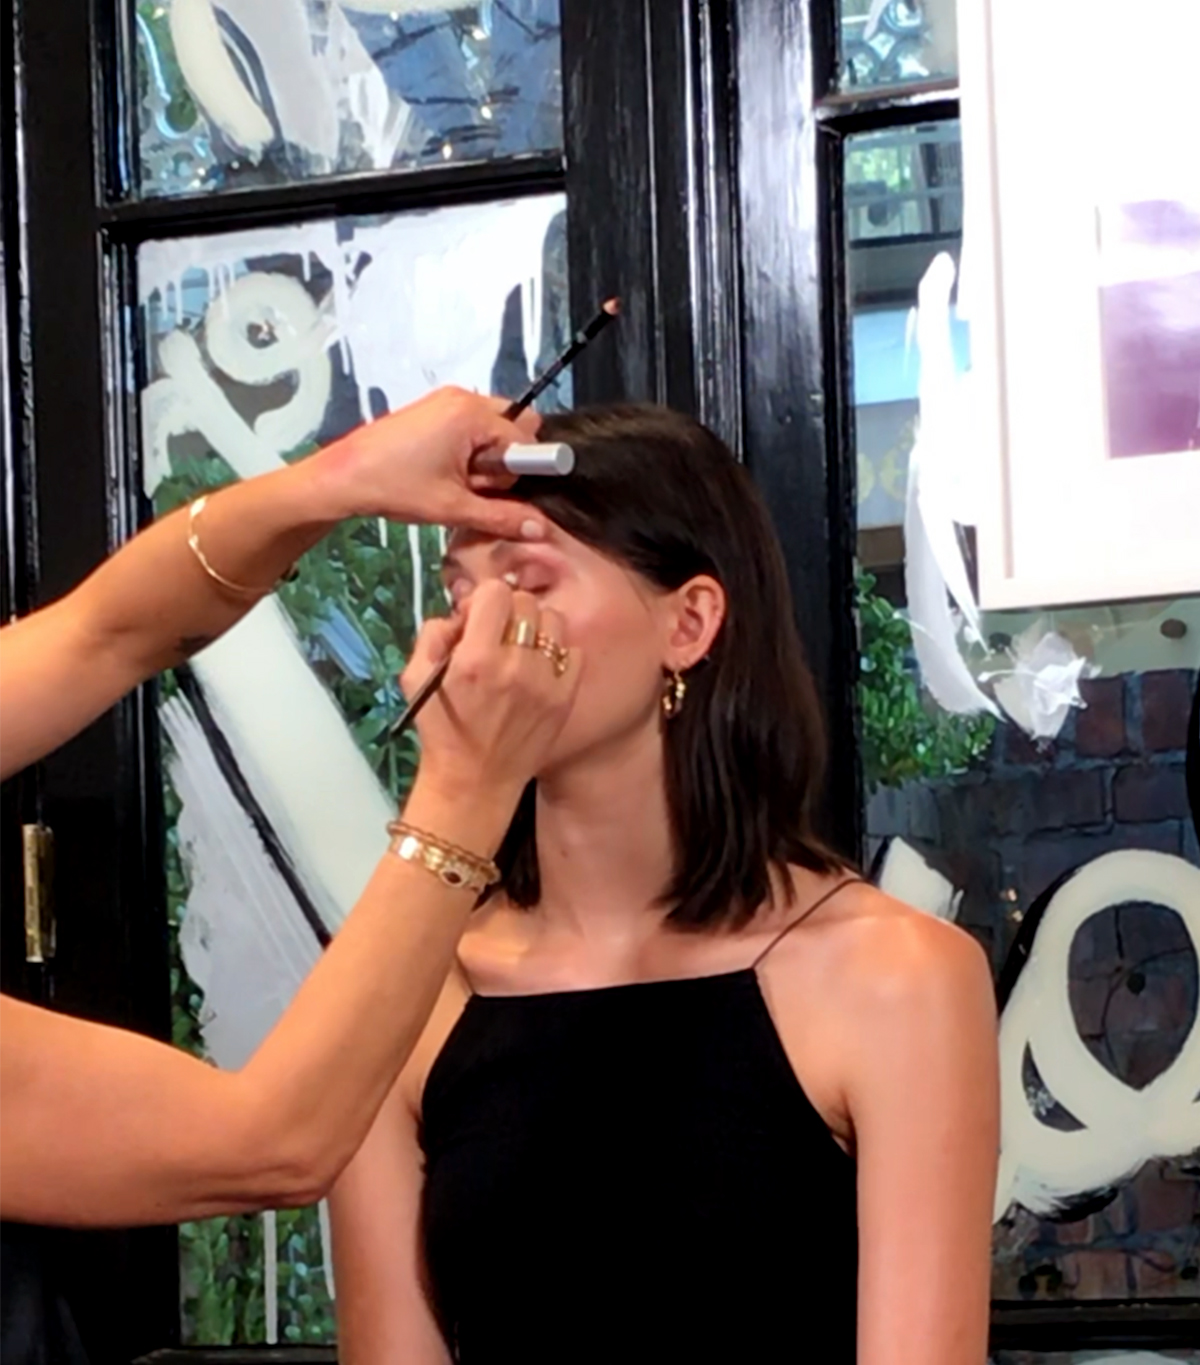
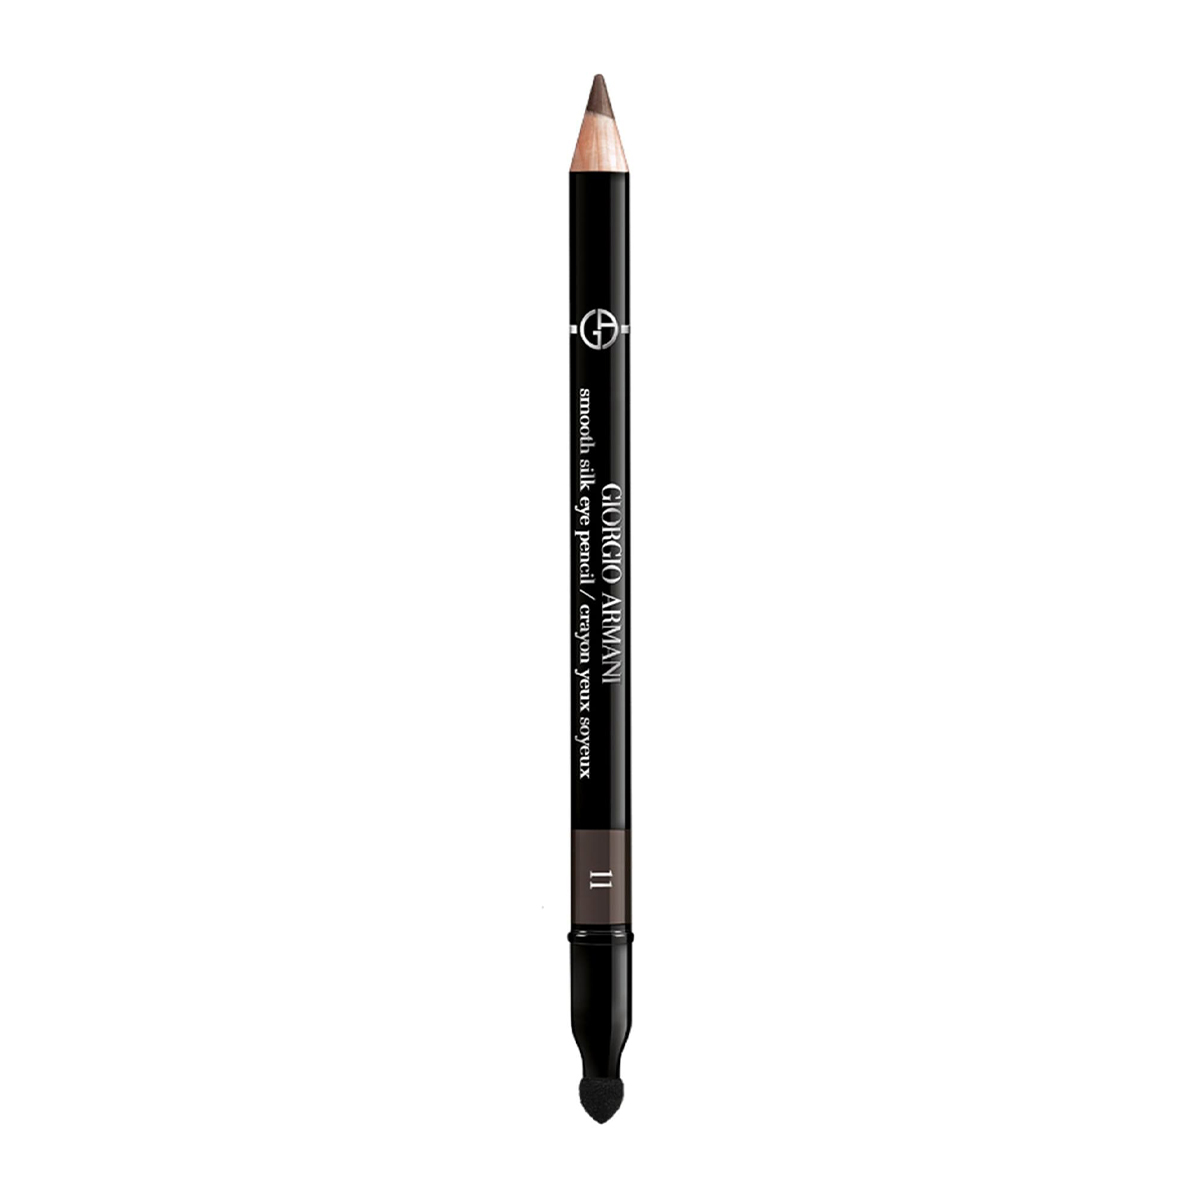
"I hate eye shadow," Dubroff told us. "Or I don't HATE it, but it's definitely not my favourite—I like all things creamy for eyes." For the perfect shadow look sans powder, Dubroff recommends taking a creamy eye pencil (preferably in a brown hue) and outlining the crease, outer corner and lower outer corner of the eye. Then, buff and blend it all in with an eye shadow brush. Never, she says, go beyond the outer corner of the eye—it's the top eye makeup mistake she sees as a makeup artist, and it immediately makes the eye look "sad." Dubroff says she's always telling people to use a little concealer to clean up the edges and outer corners.
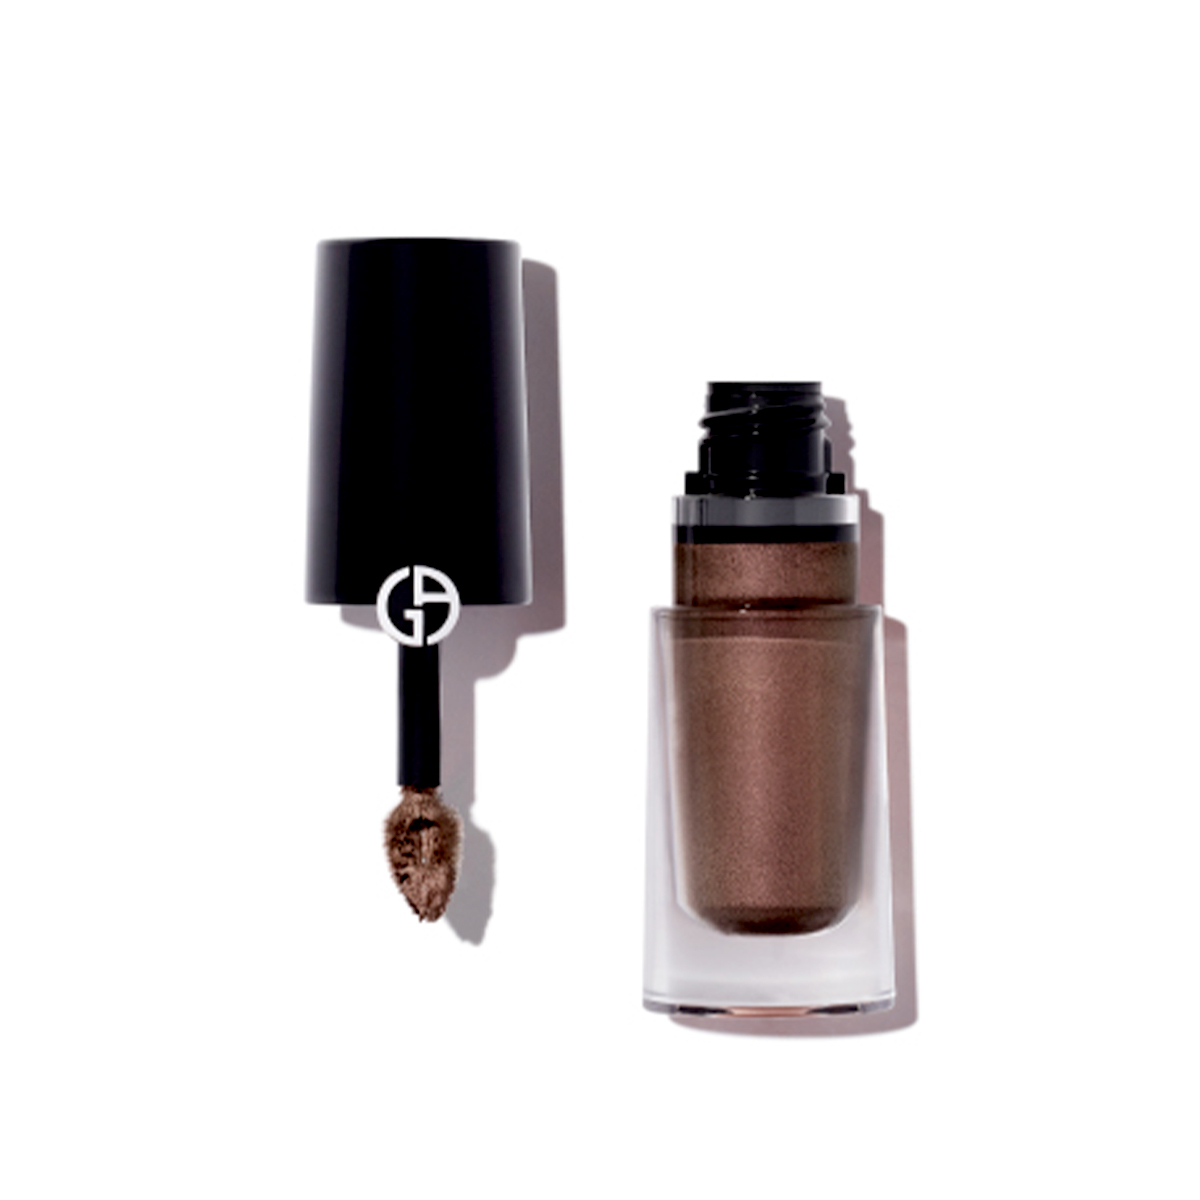
Next, Dubroff took Armani's Eye Tint Eye Shadow in a matte shade and patted it in the centre of the lid to fill in the ground not yet covered with the pencil. Since she's not a fan of eye primers, this is like the perfect substitute while adding a subtle hint of colour.
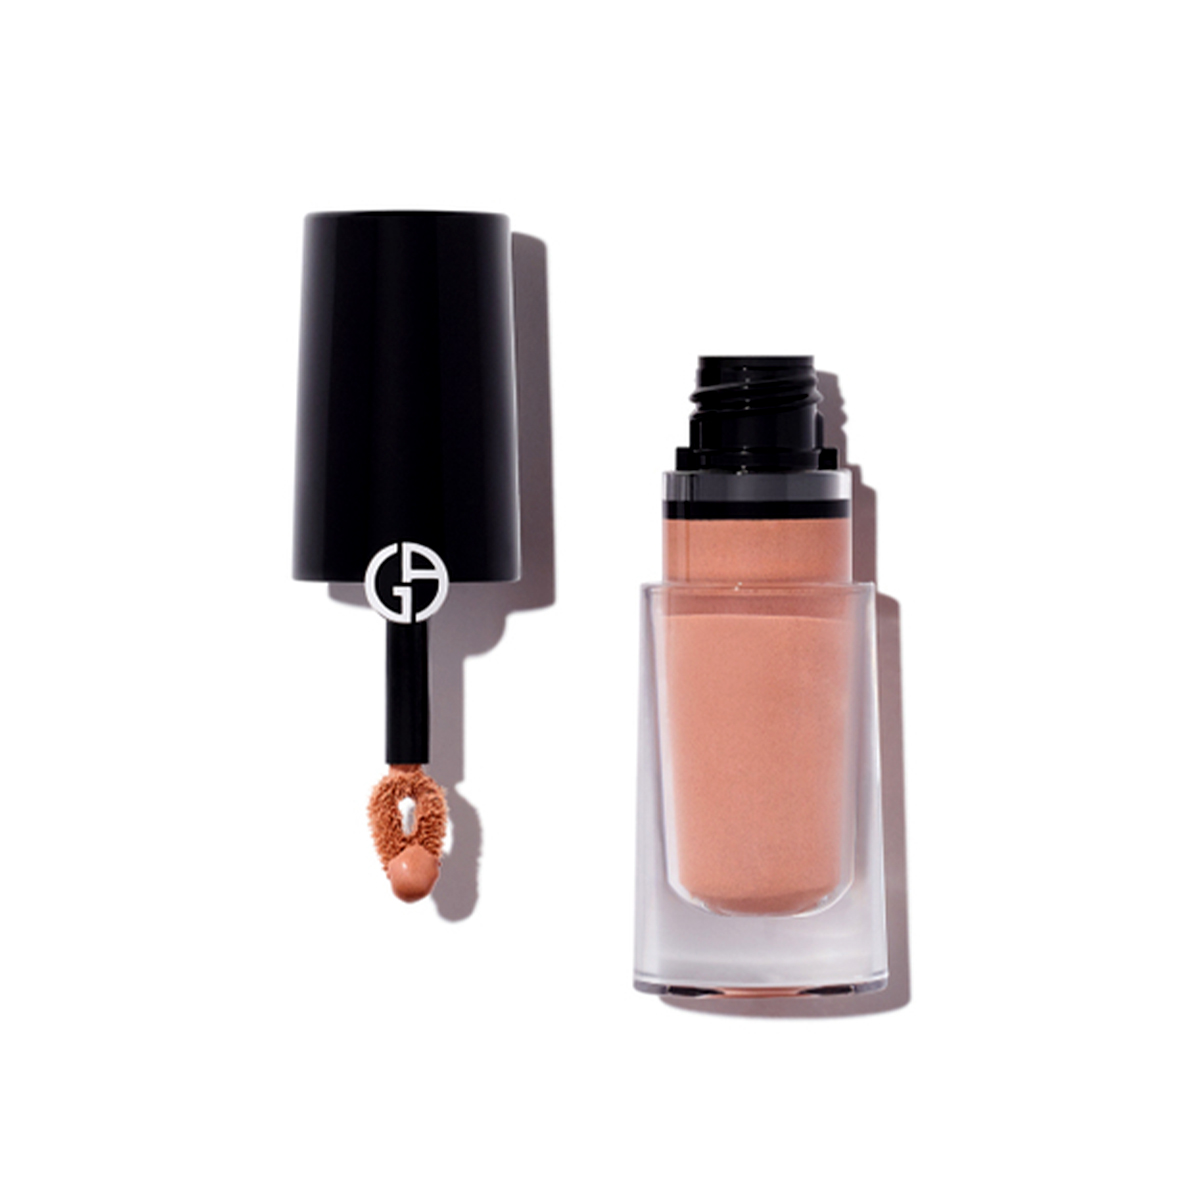
Afterward, she applied a shimmery tint directly on top of where she applied the liner on the outer corner—but not the crease—and along the lower outer lash line where the pencil was applied as well. She also patted the shimmery tint on the inner corners of the eye, a little bit on the centre of the lid and even a touch on the cheekbones for some cohesive highlight. For Dubroff, the process for eyes is all about using the same texture (e.g., liquid or cream) but differing finishes.
Tip #7: Don't Put Highlighter Under Your Brown Bone
According to Dubroff, nothing looks more unnatural or dated than a frosty highlight job right underneath your arches. If you put highlighter anywhere near your eyes, dust it ABOVE your brows or perhaps just dust whatever is leftover on your brush (like that shimmery eye tint!) and put it right under the middle of your arch for the most flattering payoff.
Tip #8: Never Powder Right After Applying Foundation
"You absolutely need to give foundation some time to just sit and chill out after you apply it, and before you go in with your powder," explains Dubroff. And if you can, try to forgo powder altogether; she says it's the product that immediately ages us. That said, if you're oily or know you're going to get oily, make powder one of your very last steps before heading out the door, and keep it strictly through your T-zone. Another case for delayed powder application? If you make a mistake later on with your makeup and you've already powdered, you're pretty much stuck and unable to fix it without making a complete mess.
Tip #9: Line Your Lips After Lipstick—Not Before
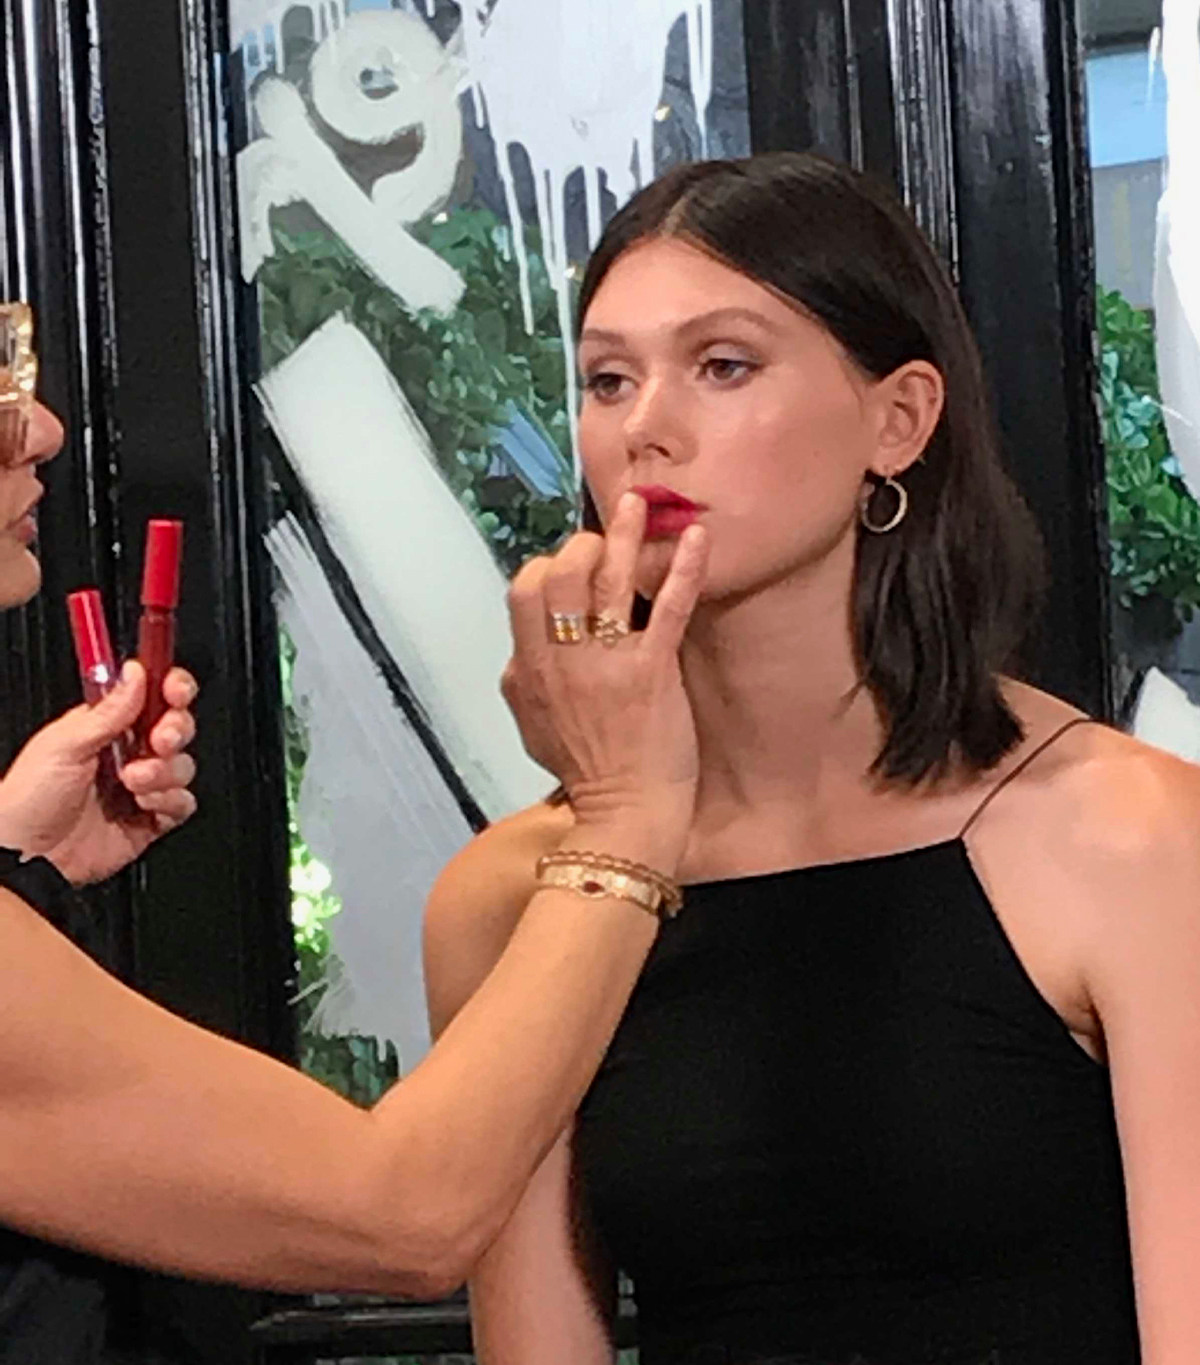
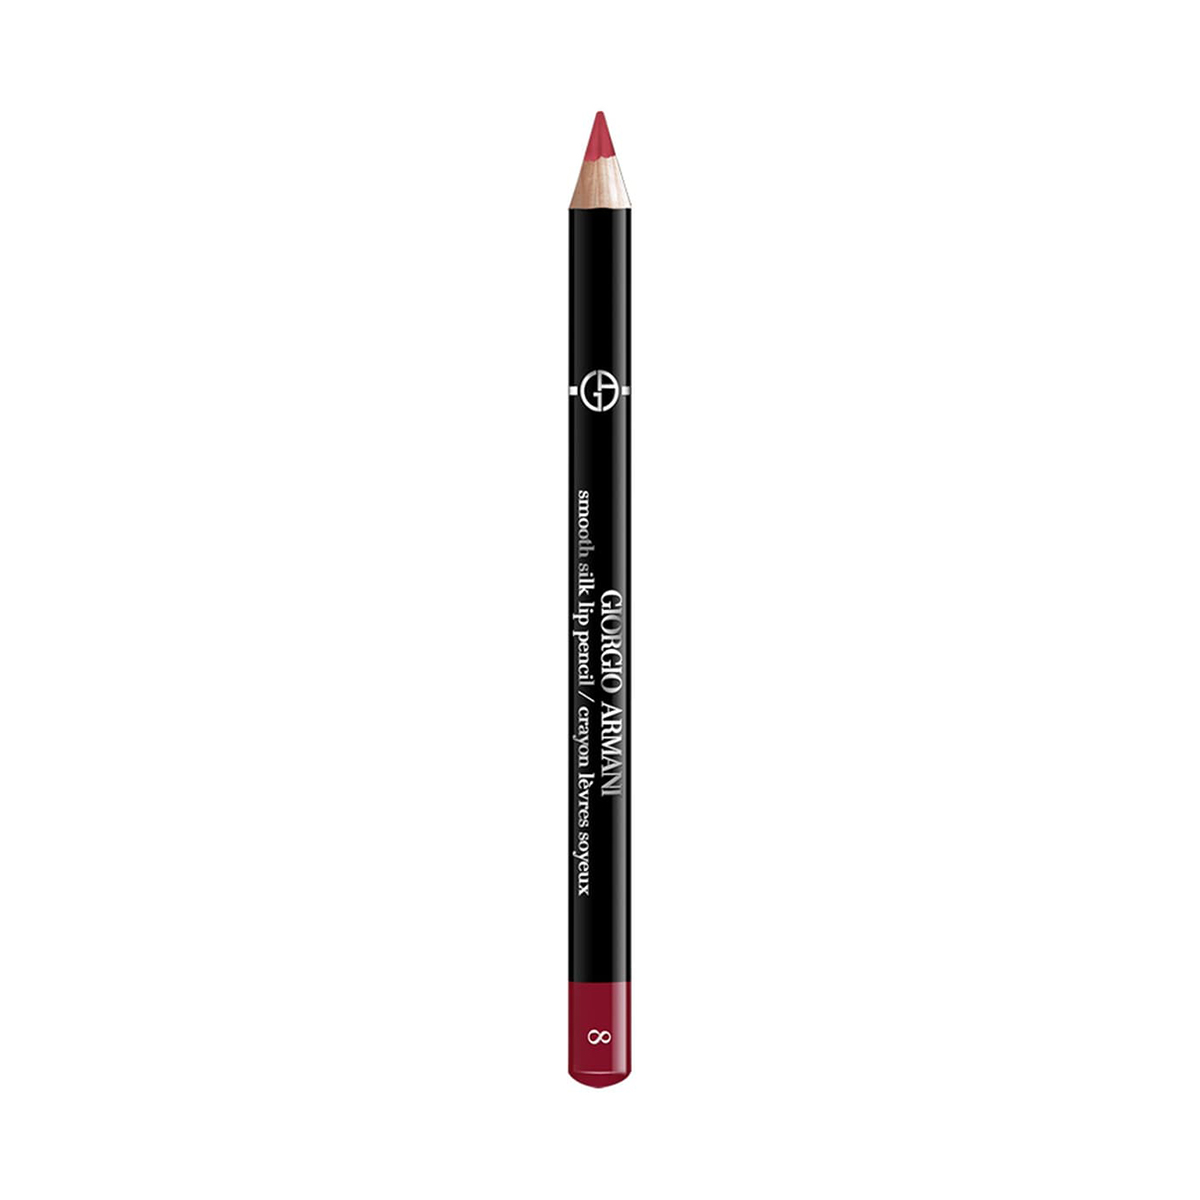
First of all, Dubroff isn't a fan of the overlining trend, so let's just get that out of the way. Second, never, never line your lips first thing. Instead, she relies on using two different shades of lip colour to create the optical illusion of extra fullness before going in with a lip pencil as the second step.
She explains that this allows you to see where the lip needs any extra "reinforcement," and you should opt for a pencil that's the same shade as the base of your lip. (The second shade can be deeper and applied in the middle of your pout for that aforementioned optical illusion effect.)
Oh, and never line the entire lip line—skip the corners and leave some space on the bottom and top outer areas because if completely connected, it will likely bleed to the sides of your mouth, and you'll be left with what Dubroff refers to as "Joker lip."
Tip #10: Use Micellar Water Instead of Normal Water to Fix Mistakes
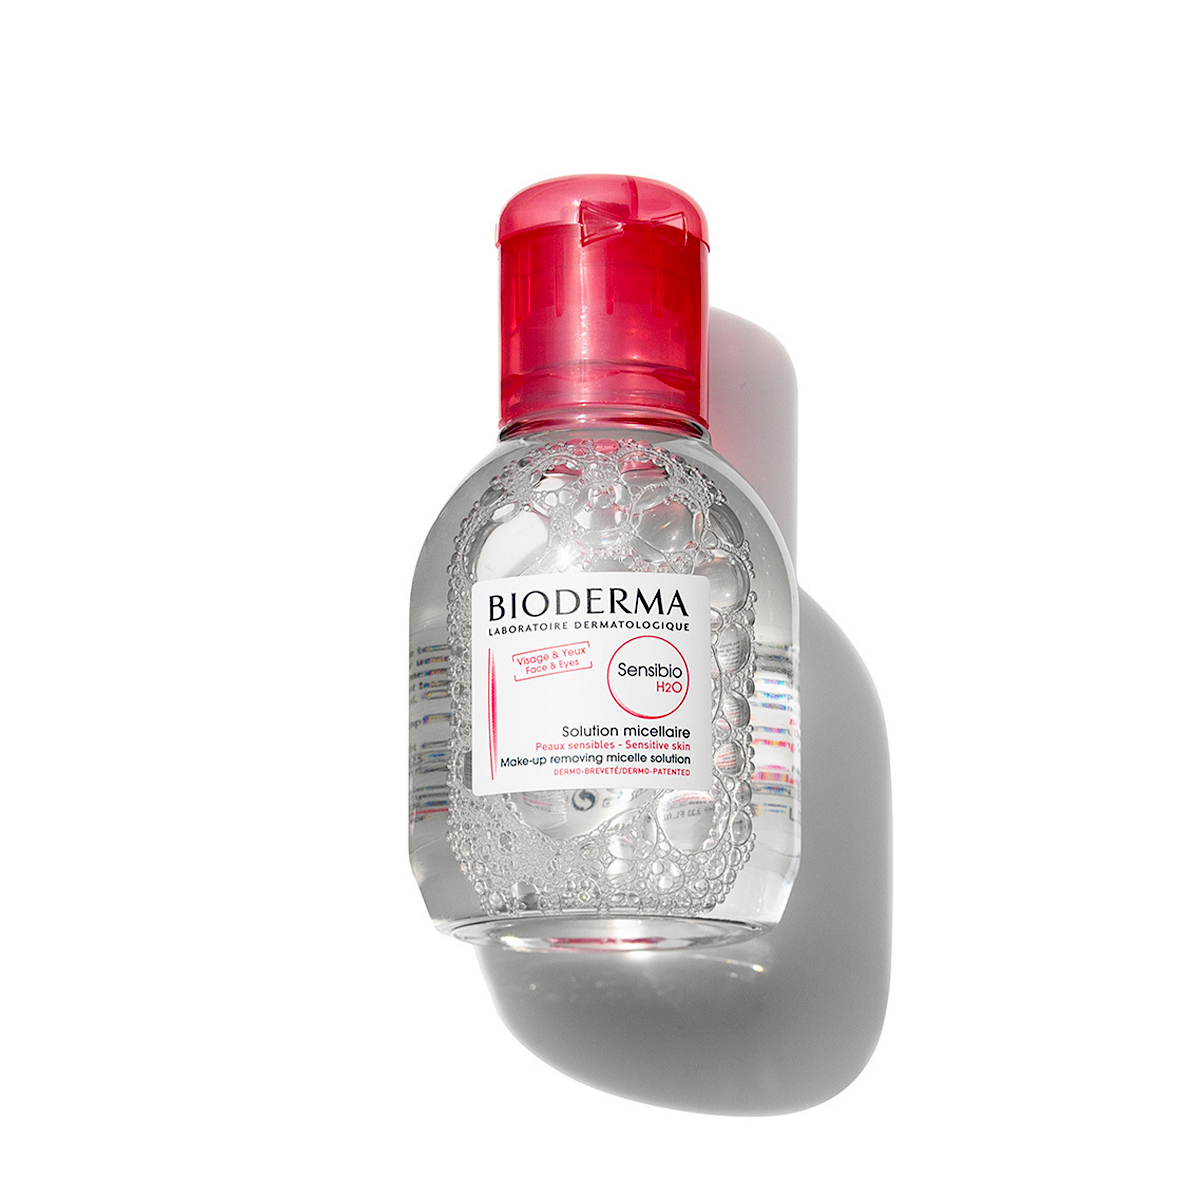
This is one of the most sought-after beauty products for a reason—it's simply the best. Not only does every model and actress use it to wipe away stubborn makeup come the end of the night (it's gentle and effortlessly dissolves even the most stubborn formulas), but it's also the best antidote for makeup mistakes. Dubroff keeps this cute travel-size version with her at all times. It doesn't leave behind icky residue, and it seamlessly erases any errant makeup mistakes—but absolutely nothing else making it perfect for mess-free clean-up.
Tip #11: Pack a "Send-Off" Kit
Just like Dubroff sends her celebrity clients off with the bare minimum products for touch-ups, make sure you do the same for yourself before heading out for the day or night. Of course, what you're able to bring will be contingent on how much space you have in your bag, but Dubroff's send-off kit usually includes the lip pencil she used, your lip colour, a powder-dusted puff wrapped in tissue and a few Q-tips.
Next up, the exact products makeup artists use on celebrities to make their skin glow.

Erin has been writing a mix of beauty and wellness content forBest Knockoff Luxury Clothing for over five years. Prior to that, she spent two and half years writing for Byrdie. She now calls Santa Monica home but grew up in Minnetonka, Minnesota, and studied writing, rhetoric, and communication at University of Wisconsin, La Crosse. She studied abroad in Galway, Ireland, and spent a summer in L.A. interning with the Byrdie andBest Knockoff Luxury Clothing family. After graduating from UW, she spent one year in San Francisco, where she worked as a writer for Pottery Barn Kids and PBteen before moving down to L.A. to begin her career as a beauty editor.
