I'm a Beauty Editor, and I Never Learned These Basic Makeup Skills Until Now

As a beauty editor, I like to think that I know a thing or two about, well, beauty. I can recite product formulas and ingredient lists without fault and can go into quite intense detail about dermal layers and how your current skincare routine might be affecting them (anyone?). However, there is one area which, when quizzed on, my expertise begins to falter. And that is makeup technique.
When it comes to makeup, I like a slightly more natural finish that takes no longer than 10 minutes to apply. I like a natural glow, flushed cheeks, unruly brows and freckles. However, that’s not to say that I don’t appreciate the more artistic makeup looks. In fact, I often stare on in awe when watching people execute a razor-sharp liner flick on public transport and have been known to sit in front of YouTube for hours attempting to teach myself how to contour my nose.
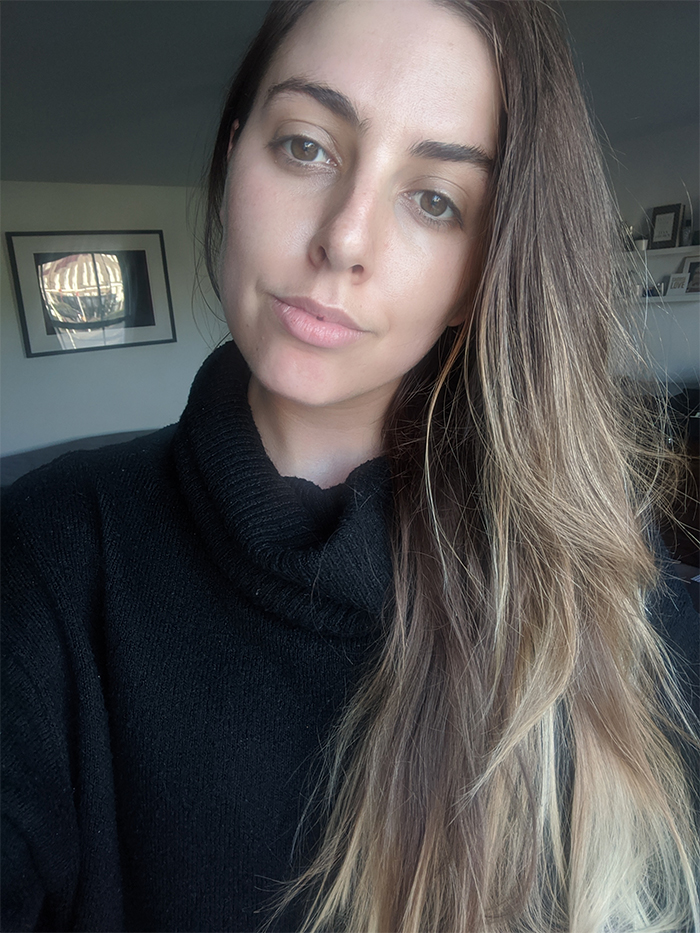
Before makeup application.
The truth is there are just far too many makeup tricks I can’t master. And in all honesty I feel like a bit of a beauty editor phoney. I can’t give advice on how to achieve the perfect winged liner, I don’t fully understand what makes a great contour powder, and don’t even think about asking me how to best apply false lashes. So since I’ve been spending a little (a lot) more time at home, I decided that now is as good a time as any to sit down and really teach myself the basics of makeup artistry.
So in a bid to try and up my makeup game, I reached out to some of the industry’s top makeup artists and asked if they could lend a virtual helping hand. Armed with all of the makeup paraphernalia I own, I sat down in front of a mirror and followed my step-by-step guides meticulously. This is how I got on…
Technique #1: Contour
Generally speaking, my face is long and ovular. I really wish I could contour like a Kardashian. My brush skills, however, just don’t seem to compare. All I ask is that my makeup somehow magics up razor-sharp cheekbones and creates the appearance of a slightly slimmer, perkier nose. Is that really so much to ask?
To see what can be done, I enlisted the help of Vincent Ford, Nars global lead artist. "Remember that contouring is used to enhance a feature, or to change the appearance of where shadows naturally fall. Only use it where you personally need it,” he explains.
Step-by-Step Explained by Vincent Ford, Nars Global Lead Artist
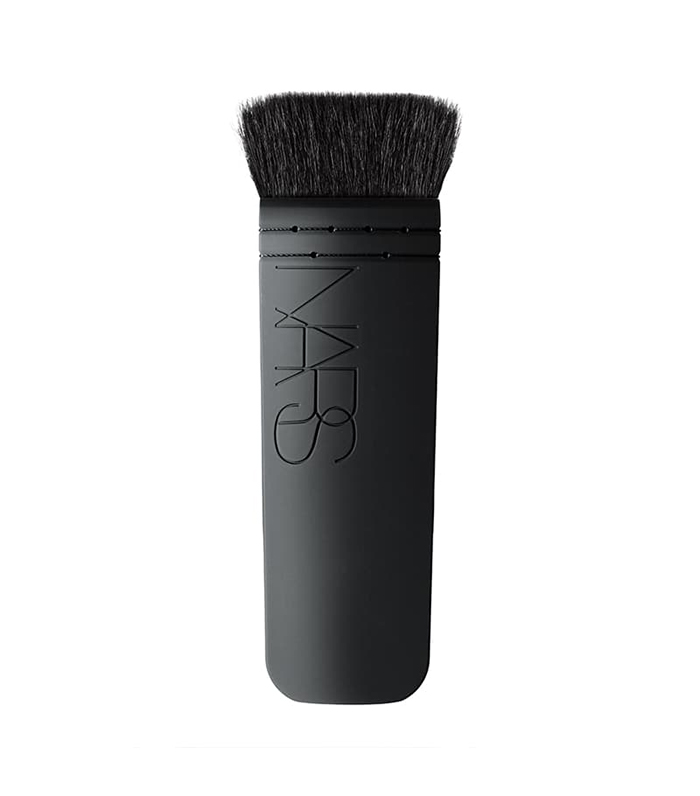
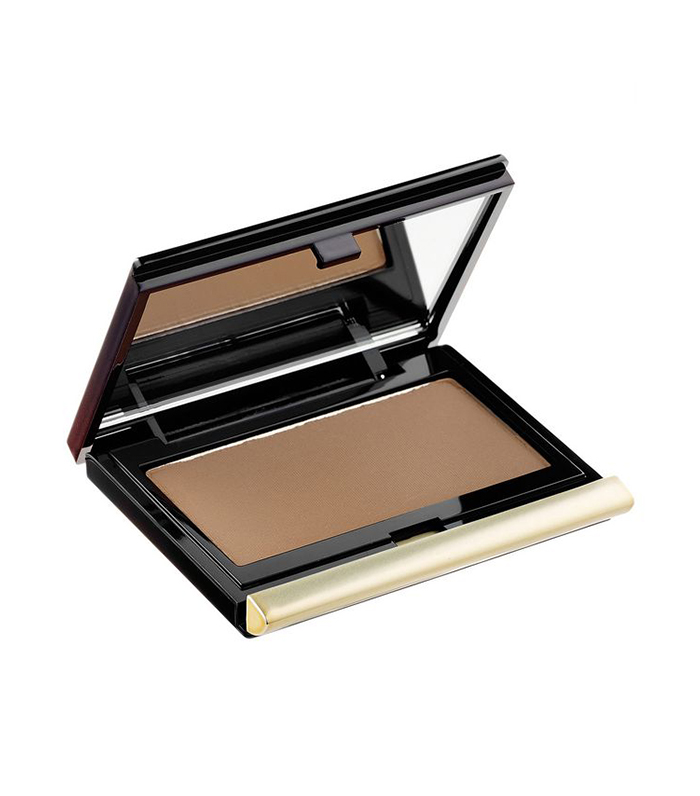
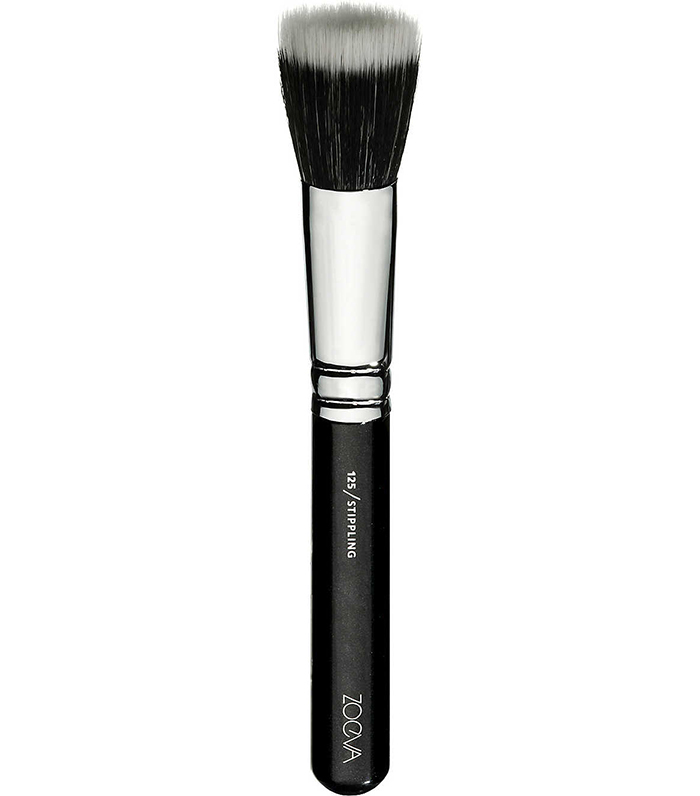
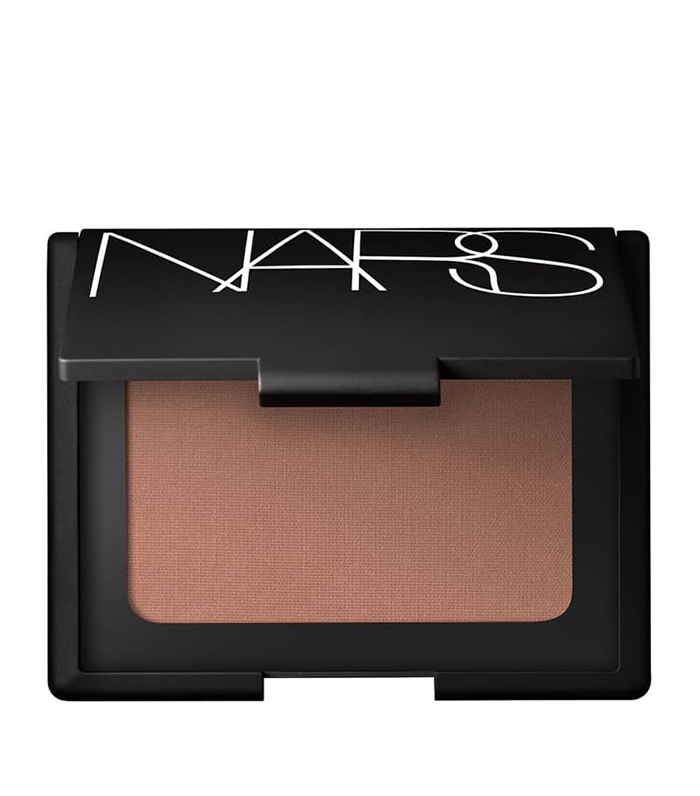
Step 1: Start by dipping a flat brush into a matte bronzer, and, using a tissue or the palm of your hand, press the powder into the brush with a stippling motion. This will give you more control over how much powder is applied to the face. I like to use this trick instead of tapping the excess powder off the brush.
Step 2: Find the opening of your ear canal while looking straight ahead into a mirror. This will always sit just below the cheekbone and is a great guide to where your contour should start. Looking straight ahead apply the bronzer from the opening of the ear inward toward your nose. I don’t like to apply contour past the outer edge of the pupil.
Step 3: If you have a round to heart face shape, contour just the temples and outer corners of the forehead. If you have a square face shape, contour the whole top of the forehead and blend it into the hairline.
Step 4: To contour the nose, make sure there isn’t a lot of powder on the brush. You want to slowly build up the colour with light layers. Just align the brush to where your eyebrows start and do a downward motion to apply the bronzer to the outside of the nose. You want the two sides of contour to be closer together as not to create a wide highlight down the bridge of the nose.
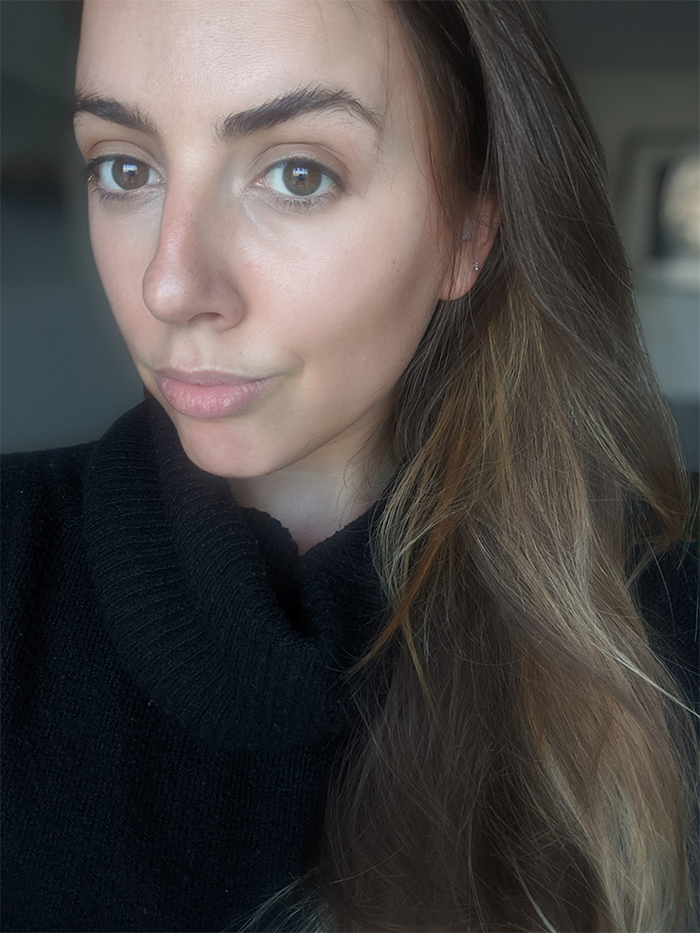
Usually, my attempt at contour makes me look muddy and like I need a long shower. While I understand how effective contour can be, just thinking about the complex YouTube tutorials gives me shudders. The idea of colouring my face in with high-coverage creamy crayons fills me with dread.
However, following the above steps couldn’t be further from those cakey horrors. In fact, I’m genuinely blown away by just how natural the finish is. The key, I believe, is to ensure you’re not applying the cheek contour too far past the eye and to stick to powder formulas that are easier to build.
The nose contour, however, is where I just had to draw the line (pardon the pun). I tried and tried to make it work for me, and although by the end of it, my nose did look a little slimmer, I couldn’t bring myself to get over the fact that my face just didn’t look like my own. So before snapping this picture I rubbed it all off and embraced my wide nose in all of its glory.
My Kit Recommendations
Technique #2: Filled-In Brows
My brows are thick, dark and sometimes a little unruly. They are not, however, bushy or full. The hairs themselves are coarse, but as a result of over-plucking in my teenage years, they’re not in great shape. I have spent the last few years trying to grow them out and avoiding tweezers at all costs. So to be fair, I set quite a hard task.
Step-by-Step Explained by Anastasia Soare, Founder and CEO of Anastasia Beverly Hills
Step 1: Mark the three points of the Golden Ratio. Using a brush, measure from the centre of your nostril straight up to determine where your brow should begin. Brows should end where the corner of the nostril connects with the outer corner of the eye. Last, the highest point of your arch should connect the middle of the tip of the nose with the middle of the iris.
Step 2: Brush the hairs upward with the spoolie. Using a flat brow pencil, outline the bottom of the eyebrow from arch to tail. Next, brush the hairs downward and outline the top of the eyebrow from arch to tail. Brush the hairs back in place and fill in the eyebrow from arch to tail.
Step 3: Next, detail the front of the eyebrow by creating hairlike strokes using the fine tip. Starting at the base of the front of the eyebrow, press the tip down and pull up in the direction of the hair’s growth. Use this eyebrow technique in areas where there is empty space, and continuously blend throughout.
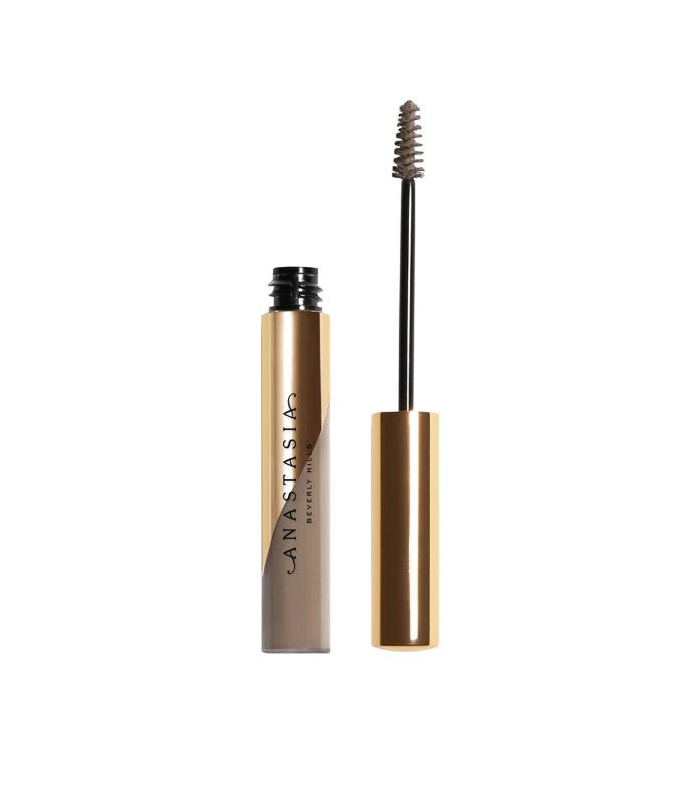
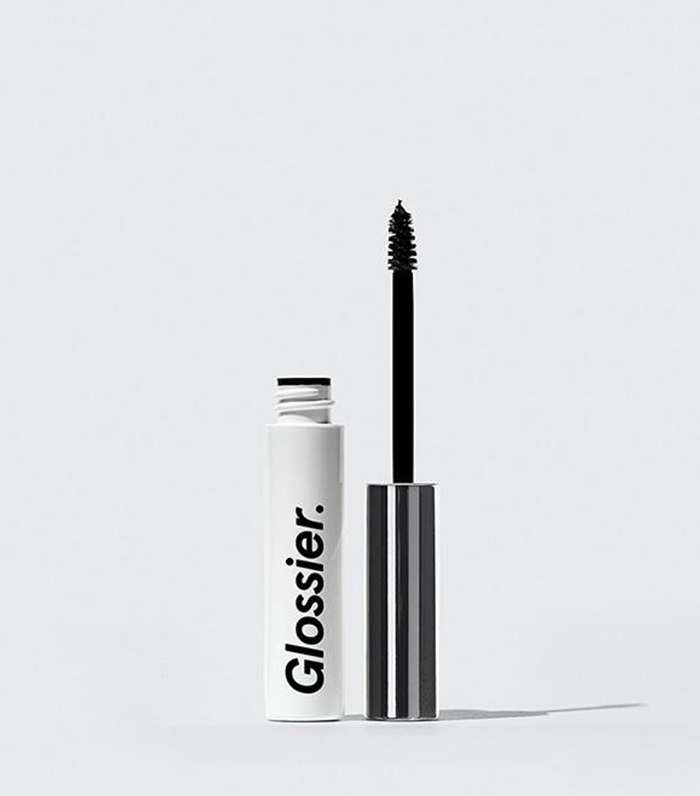
Step 4: After all that work, you’re going to want your brows to stay put all day. Use a clear brow gel to set colour and hold the hair in place for a polished look that lasts. Apply in short, upward strokes, and you’re ready to go.
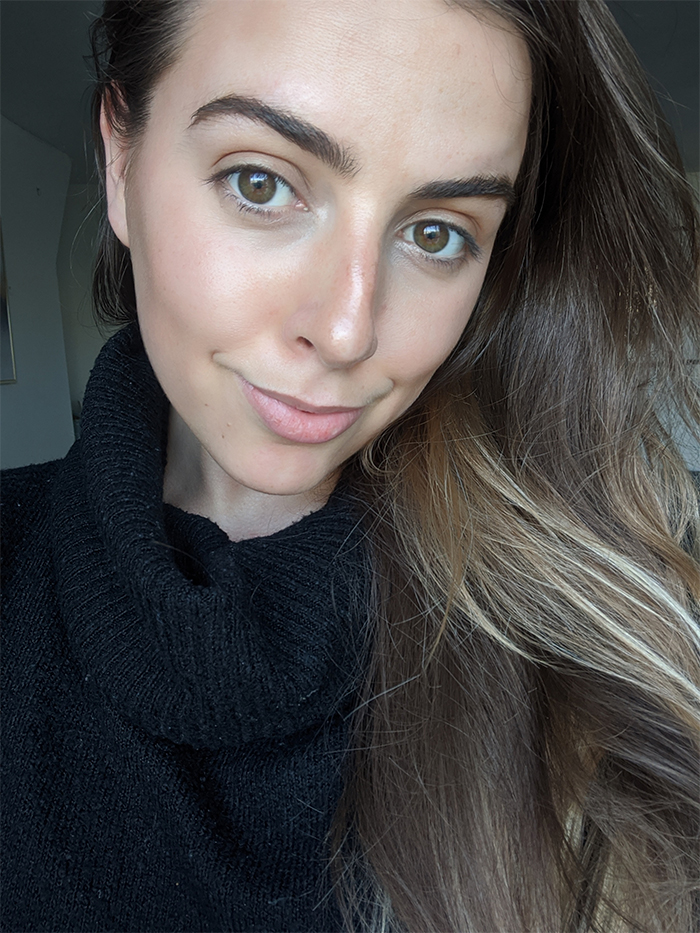
I really hate the look of heavy, drawn-on brows that lack fluffy texture. Because my brows are naturally so dark, I struggle to find a way to add pencil and colour to them without making them look too bold. From following the above steps, I realised that actually, the front section of my brows need very little filling-in; it’s the tails that need the work.
All in all, I’m pleased with the way they look. For the day-to-day, I’ll probably just stick to a tinted brow gel, but for nights out, I’ll definitely be utilising my newfound brow skills.
My Kit Recommendations
Technique #3: Winged Liner
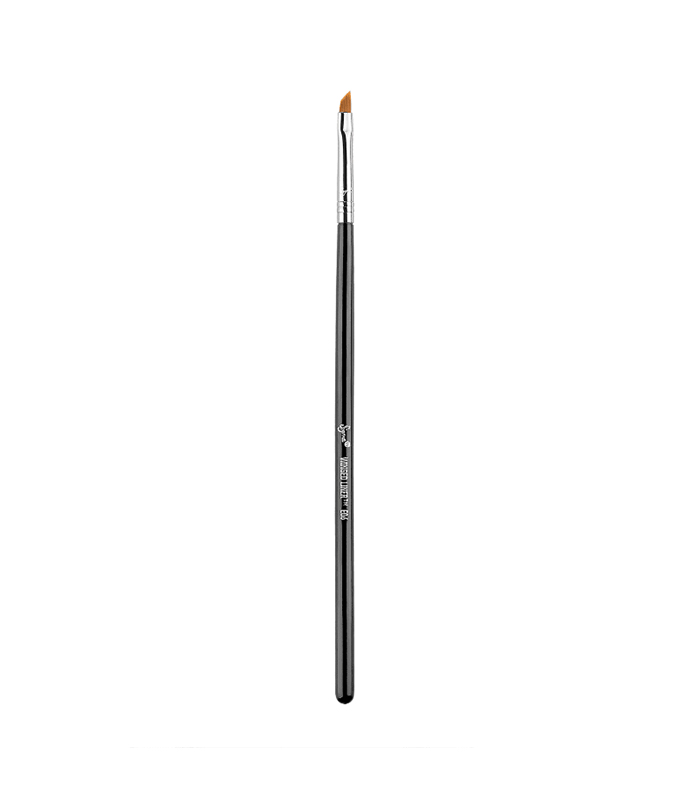
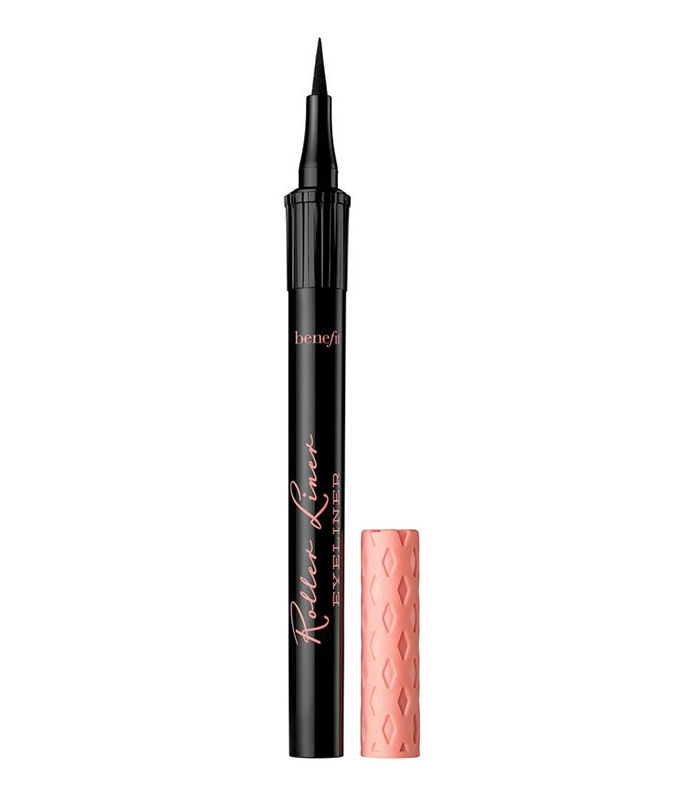
Okay, I hear you. A beauty editor that really can’t nail winged liner? Yep, you’re looking at her. To give myself some credit, every time I have quizzed a makeup artist about my lack of liner ability, they point out that because eyes droop downward in the outside corners, it is a little harder. In the past, my winged-liner efforts have ended up far too thick, uneven and messy, so let’s see how this goes.
Step-by-Step Explained by Hollie Ellis, Bobbi Brown Pro Artist
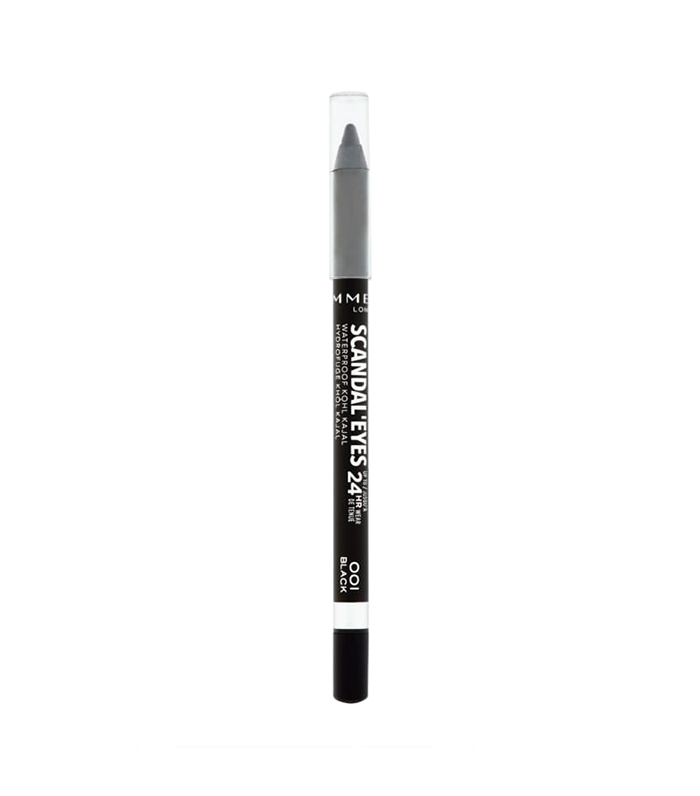
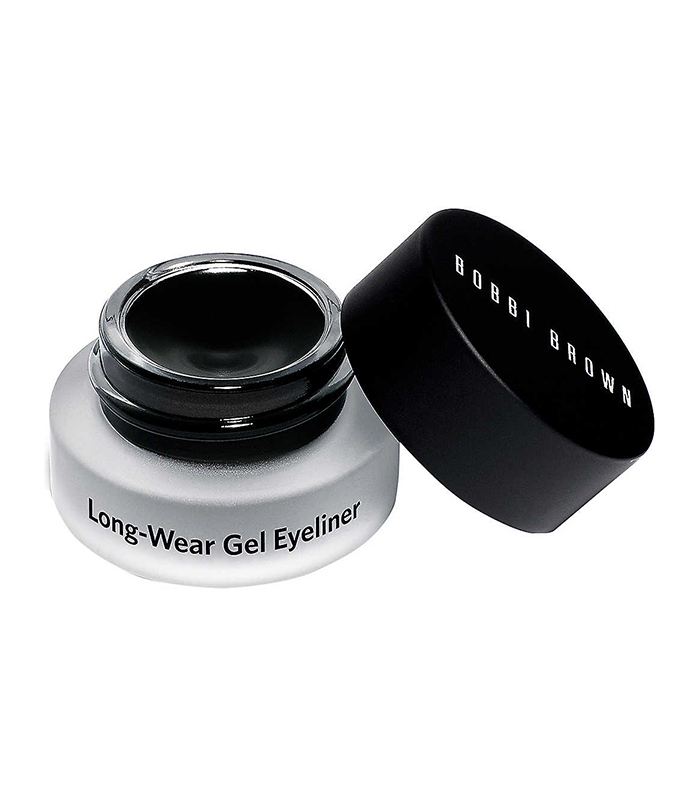
Step 1: First, apply your eyeliner just under the top lashes and into the roots of the lashes from the inner corner to the outer corner. This will help to guide you with your application of eyeliner on top.
Step 2: From the inner corner to the outer corner, apply your eyeliner by pressing dot-to-dot brush stroke motions as close to the lashes to create that perfect line. This is an easier way than doing it in one swipe!
Step 3: Following the angle of the bottom lashes towards the outer edge, follow the same angle and place your line. If your eyes are slightly hooded, go a little higher with your line to create a more lifted effect with your wing.
Step 4: From the line, and keeping your eyes open, bring the eyeliner horizontally in toward the eye and connect it to the top eyeliner.
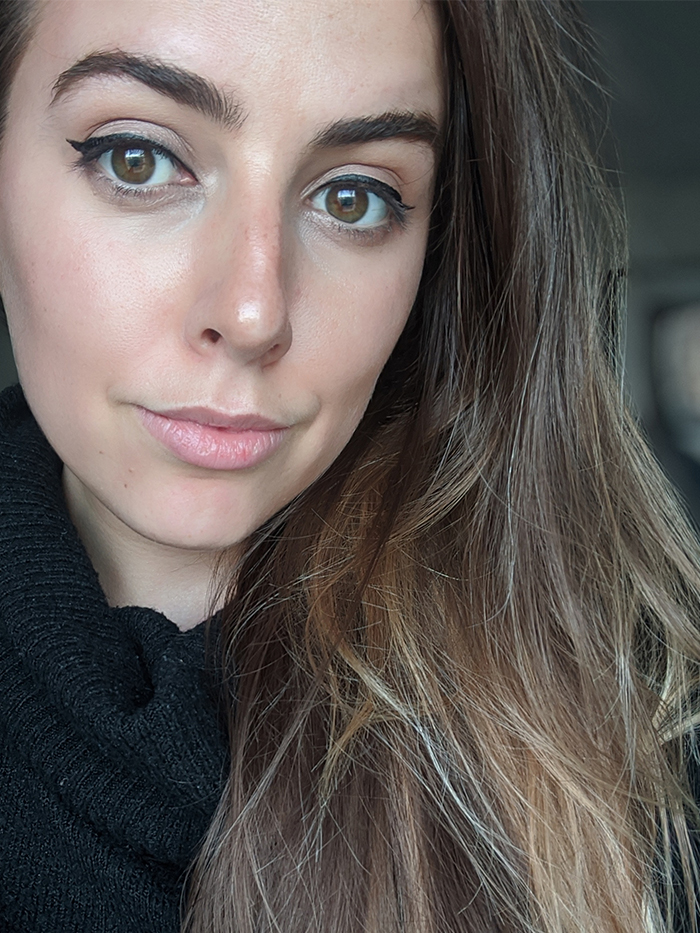
I’m trying to keep calm right now, but it’s really hard. Have I actually just managed to execute the perfect winged liner? Sure, the flicks go totally different ways, but each wing is a success in its own right. Plus, practise makes perfect, right?
After some serious trial and error, I realised where I had been going wrong this whole time. By taking the liner too far down to the outer corner, I was further accentuating my droop. By using the dot-to-dot technique that Hollie explains, it was so much easier to figure things out as I went along. Now all I have to do is work on getting them to match…
My Kit Recommendations
Technique #4: False Lashes
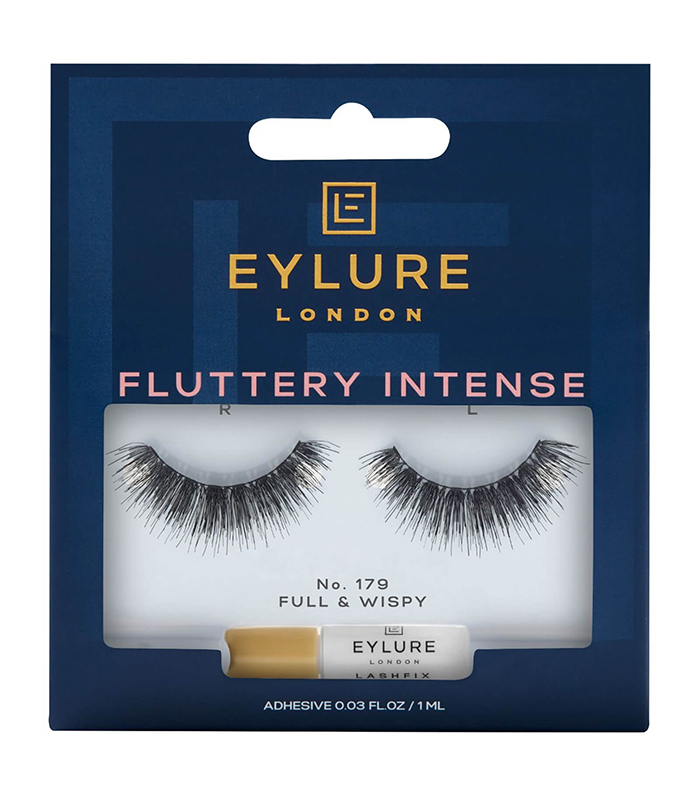
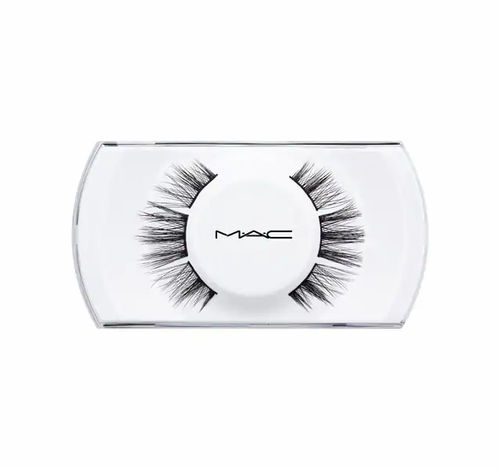
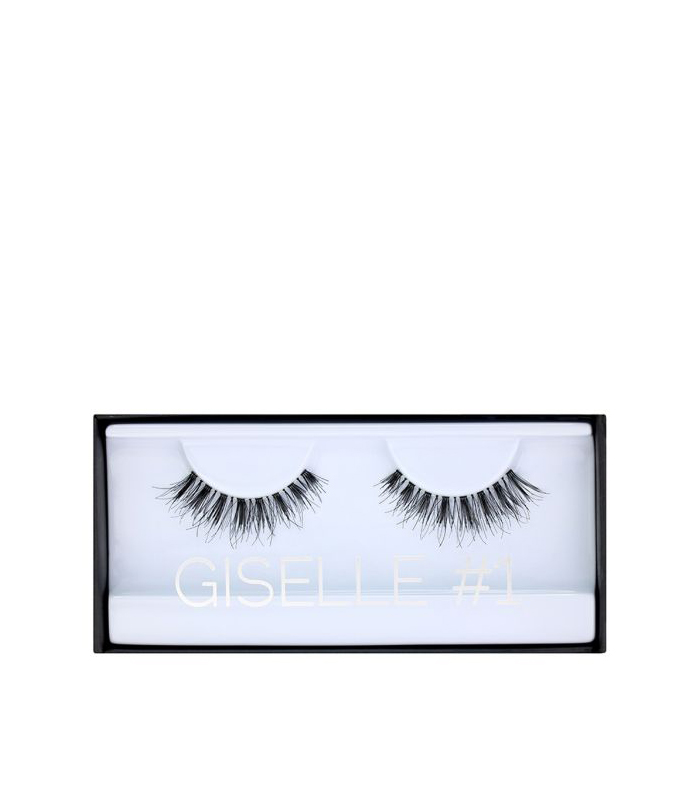
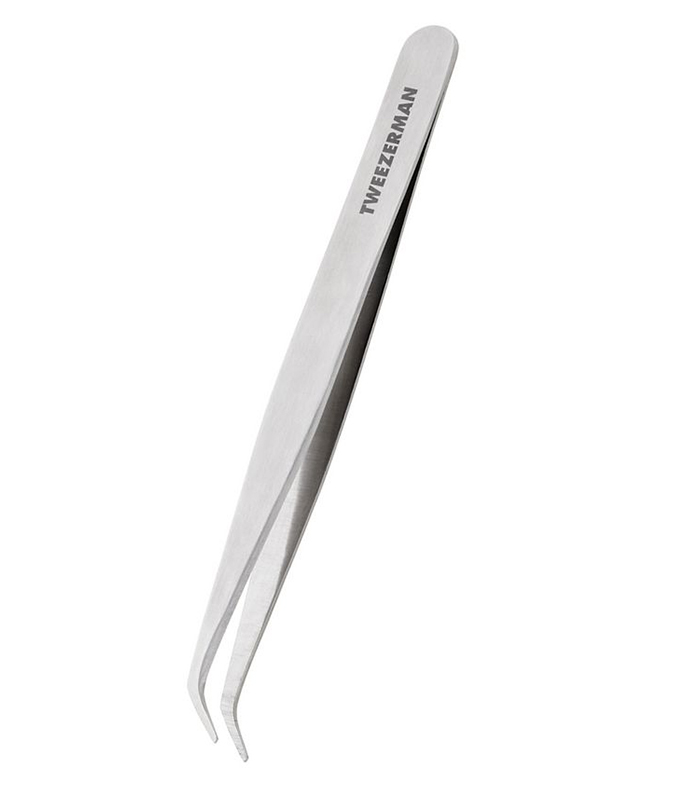
I love false lashes. I love how polished they look, I love the way they open up the eyes, and I love how simple and affordable they are to use. For most people anyway. I, on the other hand, have struggled to apply false lashes for as long as I can remember. Not only do they always seem to sit too far up on my eyelid and fail to blend with my natural lashes, but they are also prone to stabbing me in the eye. I almost always end up pulling them off before I go out.
Step-by-Step Explained by Debbie Finnegan, Global Senior Artist MAC Cosmetics
Step 1: First, you need to check if the strip of lashes fits the length of your eye (from tear duct to the outer corner of the eye). Place the false lash approximately a third of the way along the eye and any false lash hanging over the outer edge of the eye is not required. Lift safely away from the eye and snip this excess off.
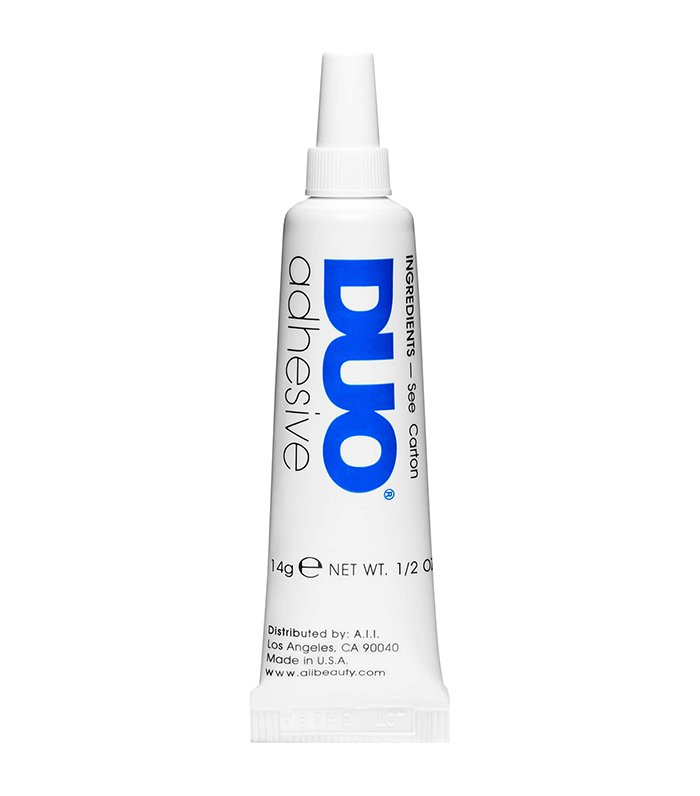
Step 2: Squeeze a drip of glue into your lash box and leave for a minute or two to get tacky.
Step 3: Place your compact mirror on a flat surface like a table. This will mean you have to look down your nose into it, the best position for applying your lash.
Step 4: Take a clean cotton tip and dip into the now tacky glue and apply along the lash band, ensuring you get a little blob on the inner and outer corner to really anchor them down.
Step 5: Holding the lash at the outer corner, look down into your mirror and place the false lash on the outer corner of your natural lash. Hold into position and count to 10 (don’t worry—you have time!). Then move to the middle section, gently pressing into position. You want the band of the lash to sit snuggly along the natural lash line (not on the skin above). Count to 10 and move to the innermost section, repeating as before.
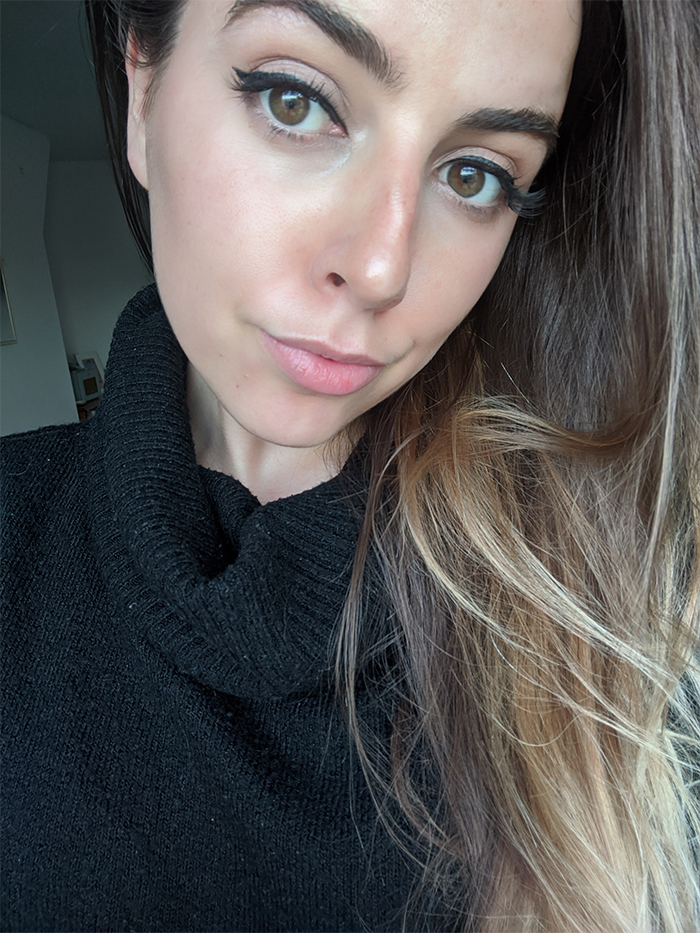
I’m kind of feeling these. When I first saw the lashes in the packet, I thought they were way too crazy for the likes of me, but now that they’re on, I think I’m actually a fan. And yes, while applying them was still a little tricky, they’re not causing me the usual issues. In fact, they sat virtually on top of my natural lash line and aren’t poking me in the eye at all. For me, leaving the glue to dry a bit first was a total game changer. Suddenly things became a lot easier.
My Kit Recommendations
Technique #5: Lined Lips
I am not a lip-liner sort of girl. In fact, up until recently, I’d barely paid any attention to my lips at all. I suffer from incredibly dry skin on my lips so try to avoid lipstick (especially matte formulas like liners) wherever possible. But in a bid to master the art of a lined lip, I dug out a liner and turned to the queen of lipstick for some guidance.
Step-by-Step Explained by Charlotte Tilbury, Celebrity Makeup Artist and Founder of Charlotte Tilbury
Step 1: Look in to the mirror and smile, tightening the skin on the lips to see exactly where to apply the pencil.
Step 2: Starting on the outer corners, trace the liner just outside the natural lip line. This will help cheat a fuller pout, create symmetry to the lips and help to stop the lipstick bleeding, without looking unnatural.
Step 3: For long-lasting power, you can also use liner as a stencil all over the lips! For the most natural, fuller-looking lip, choose a lip liner and lipstick that mimic the shade of your lips.
Step 4: You can create the appearance of extra-voluminous lips by adding a soft highlight to the Cupid’s bow. Using a small lip brush, add a soft X across the cupid’s bow. The light-reflecting highlight will create the appearance of plumper-looking, more luscious lips in an instant!
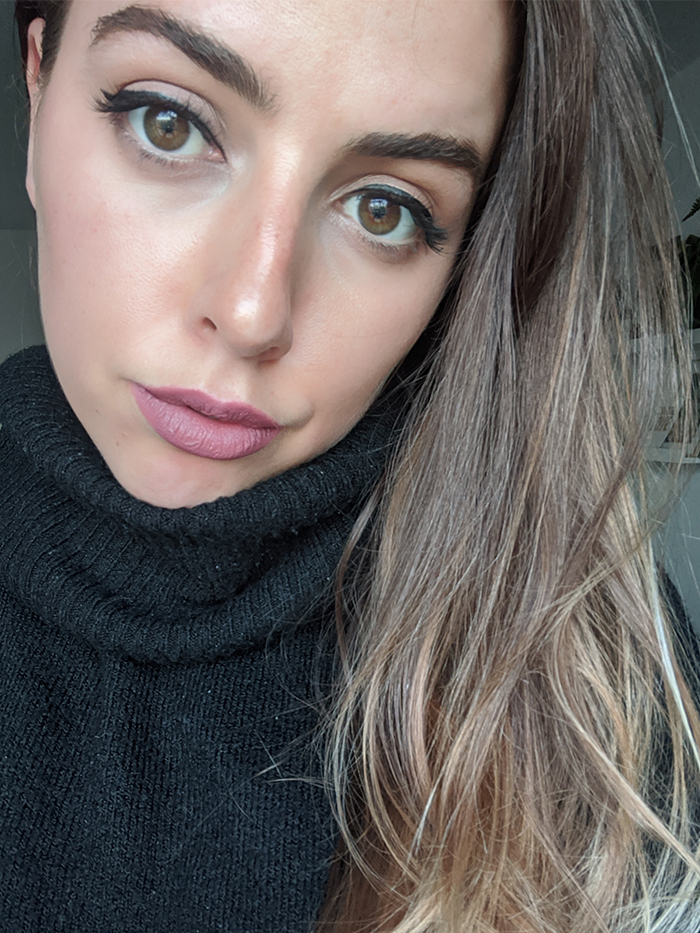
My lip is back! I’m overjoyed, but it really wasn’t easy to get here. To start with, I definitely overdrew and ended up looking a little Coco the Clown. But after I blended it out and started again, I noticed that my lip definitely looked a little bigger. I also love the tip of filling in the whole lip with liner first. I really feel like it helps avoid any '90s, dark-liner situation. Plus, the highlight on the Cupid’s bow? Genius.
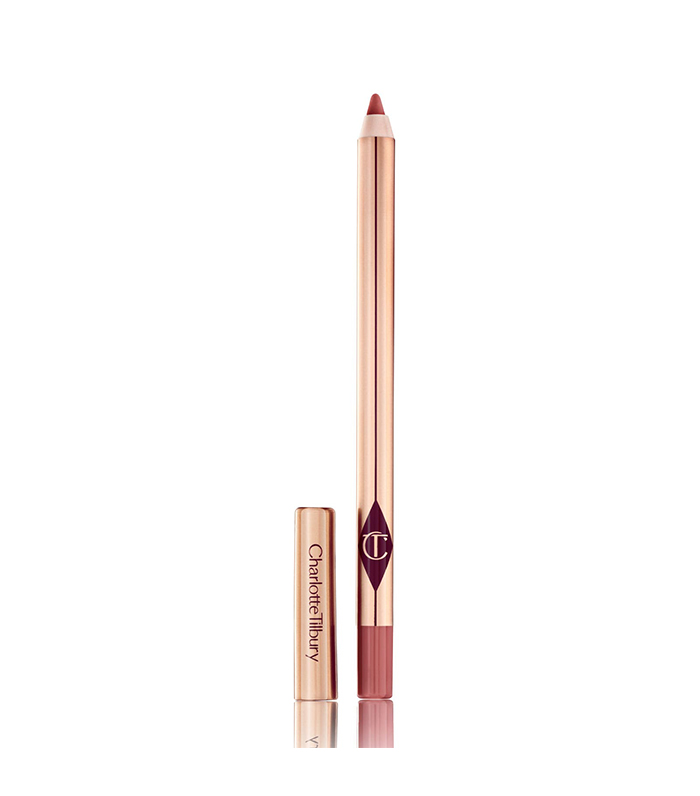
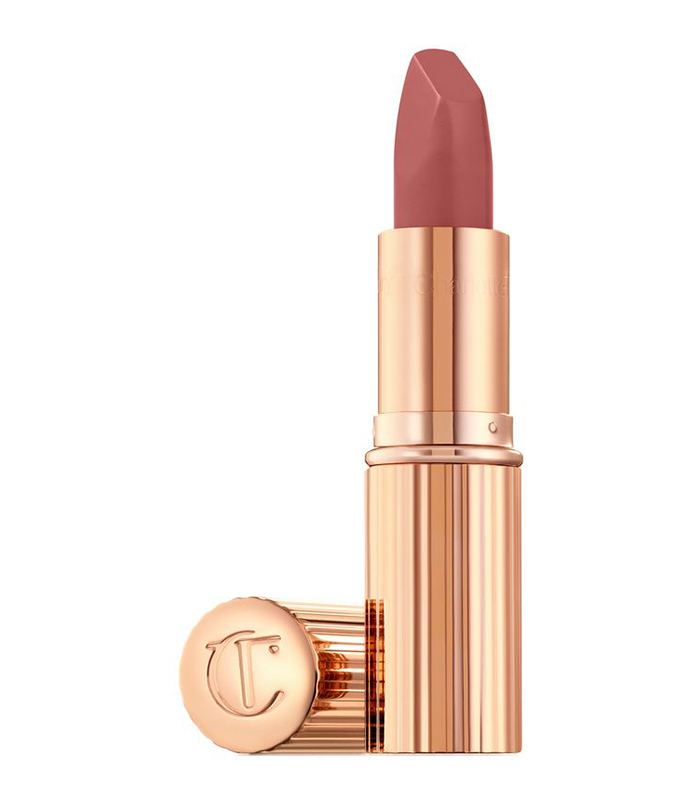
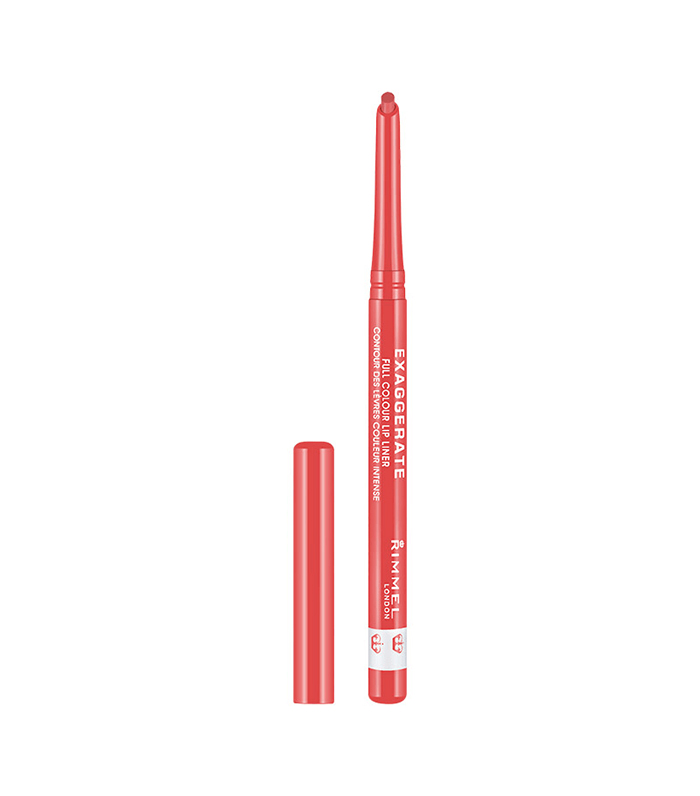
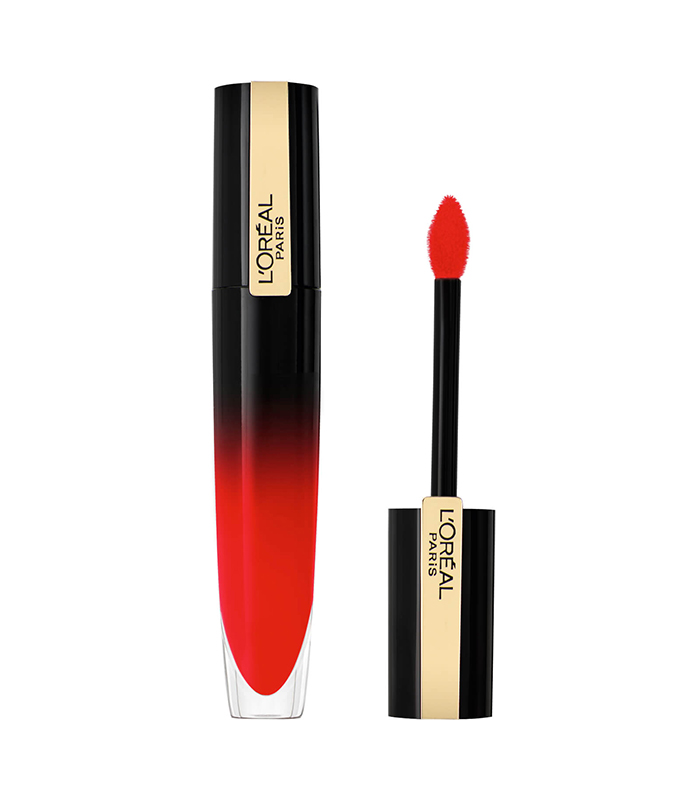
My Kit Recommendations
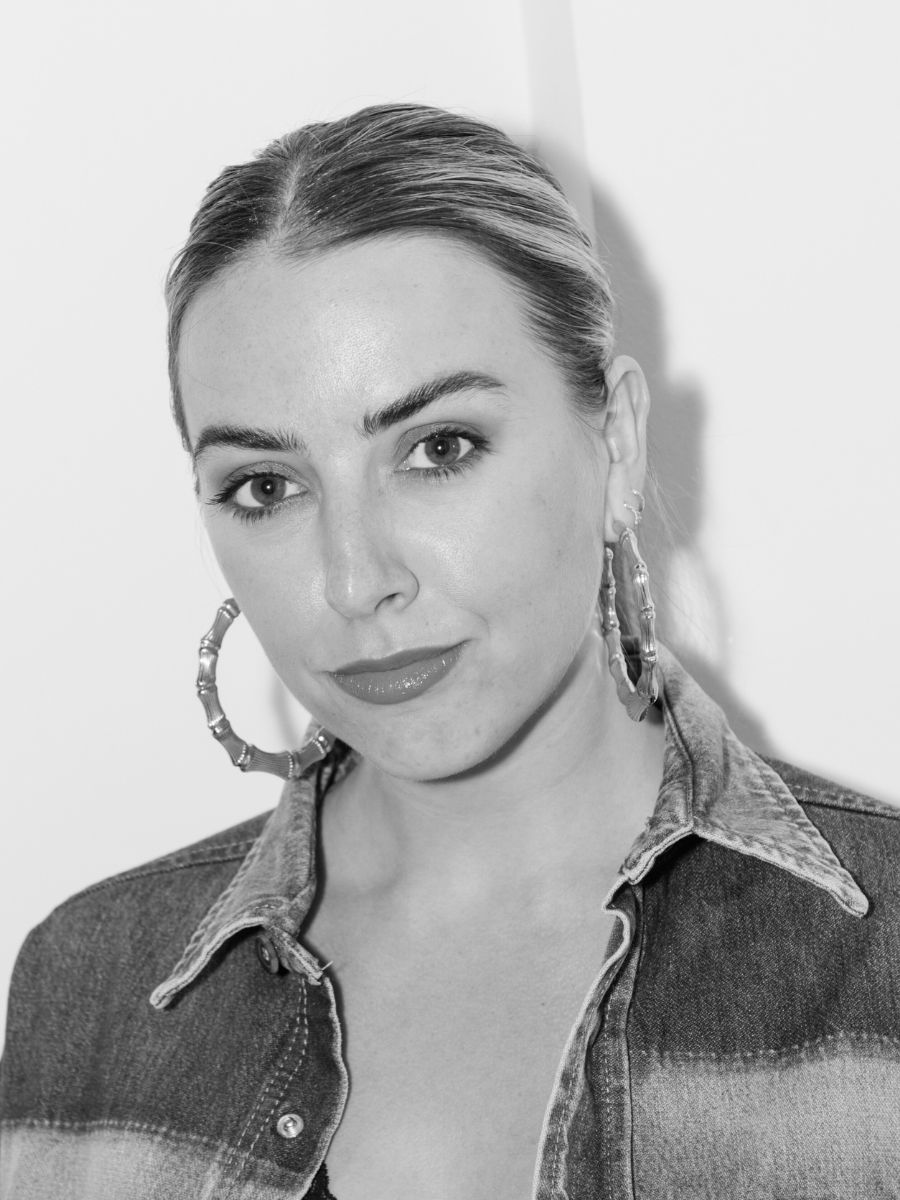
Shannon Lawlor is the beauty director atBest Knockoff Luxury Clothing UK. With over a decade of experience working for some of the beauty industry’s most esteemed titles, including Marie Claire, Glamour UK, Stylist and Refinery29, Shannon’s aim is to make the conversation around beauty as open, relatable and honest as possible. As a self-confessed lazy girl, Shannon has an affinity for hard-working perfumes, fool-proof makeup products and does-it-all skincare.
